How To Plan and Set Up a Recording Studio Layout
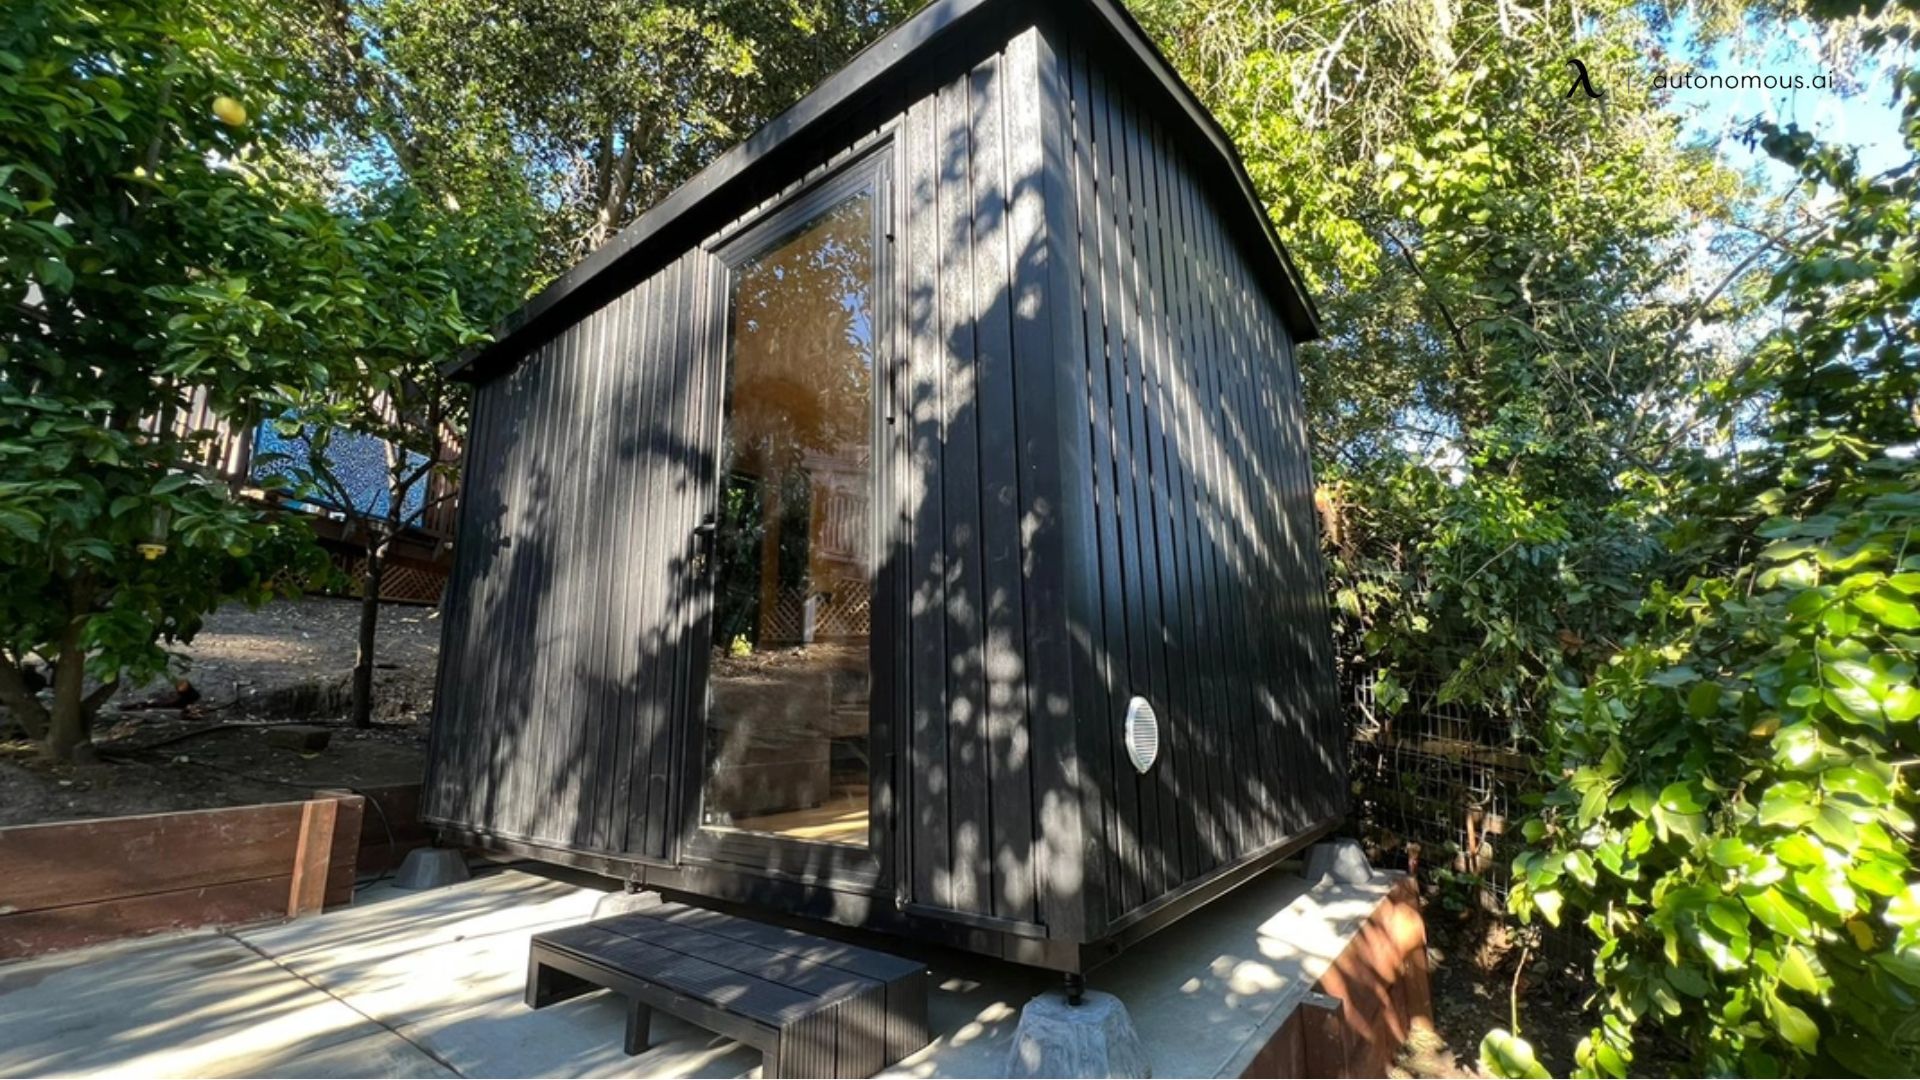
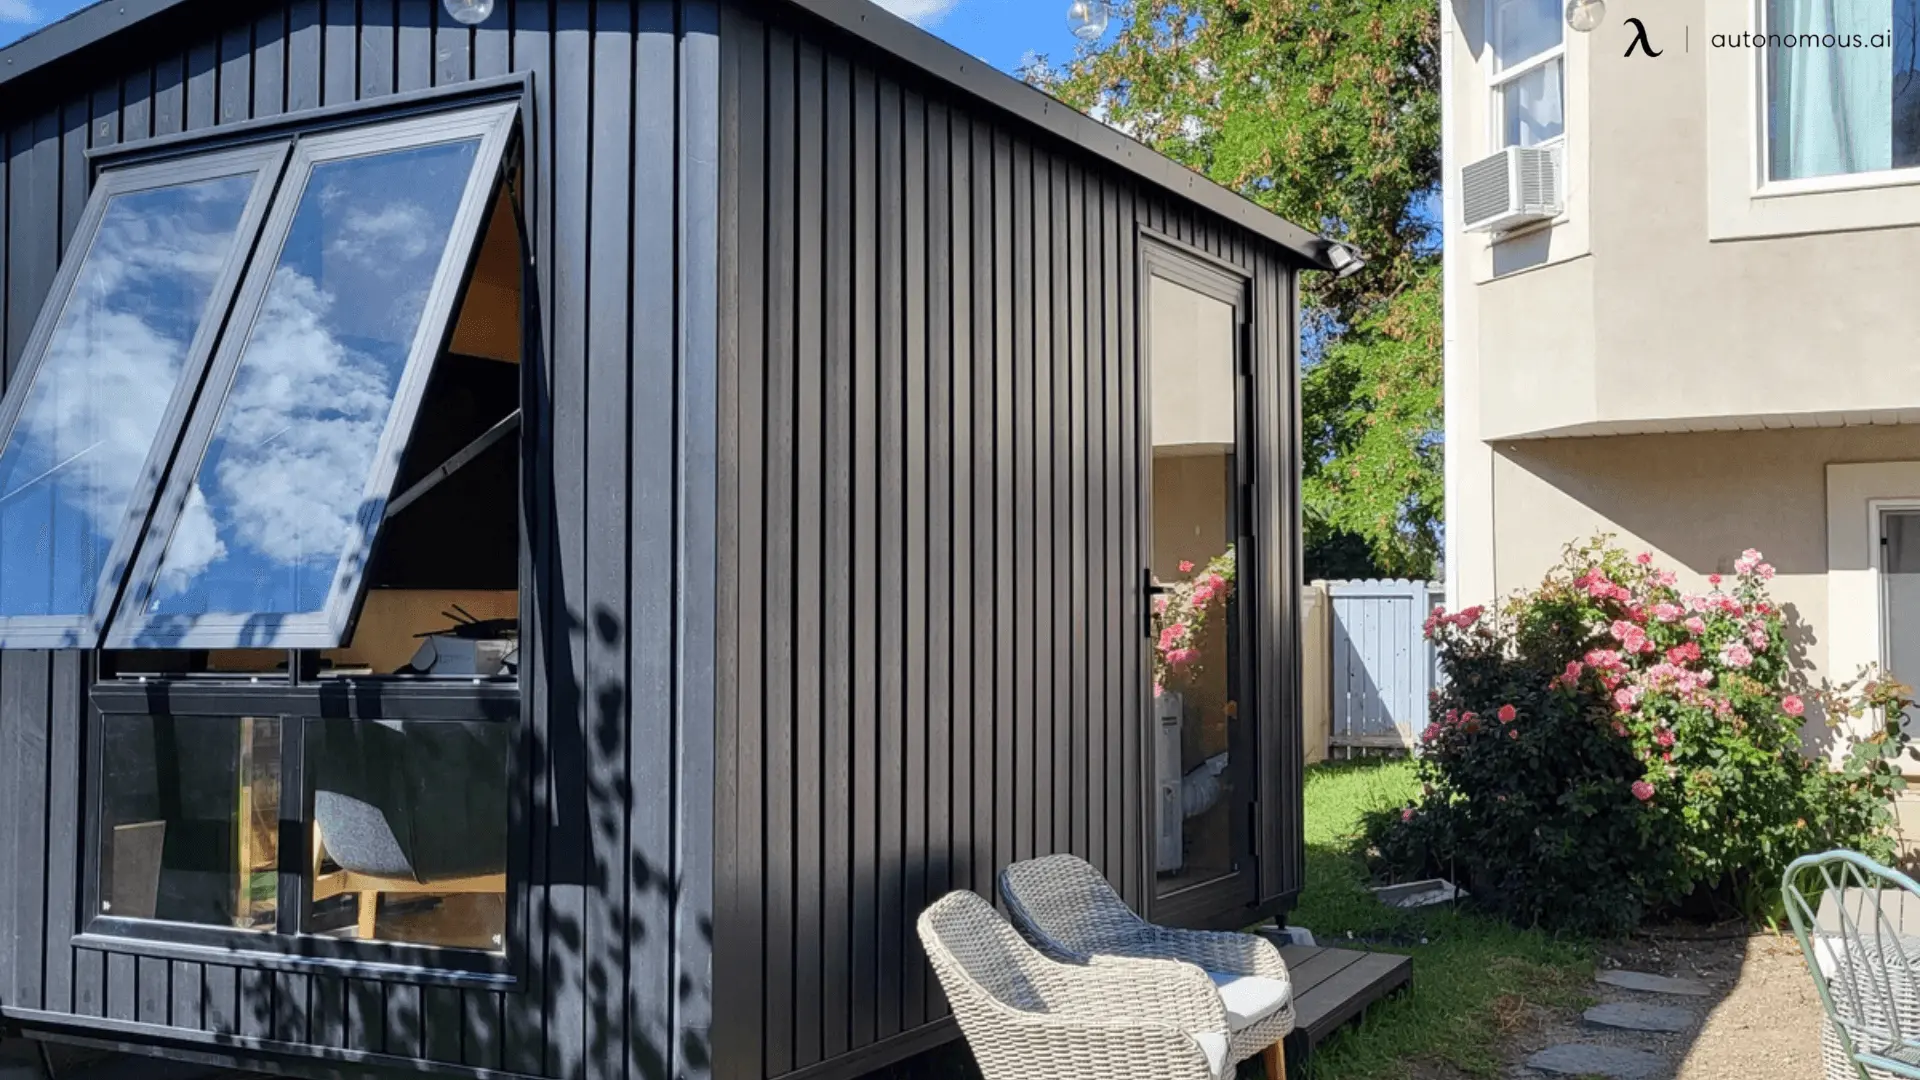
The next major job after assembling a basic set of equipment is designing and setting up your home recording studio layout. The reality is that a well-designed room or a privacy pod may mean the difference between easy sailing and severe hassles down the line, even though most newcomers undervalue the significance of this phase. We recommend you go for a prefab studio shed.
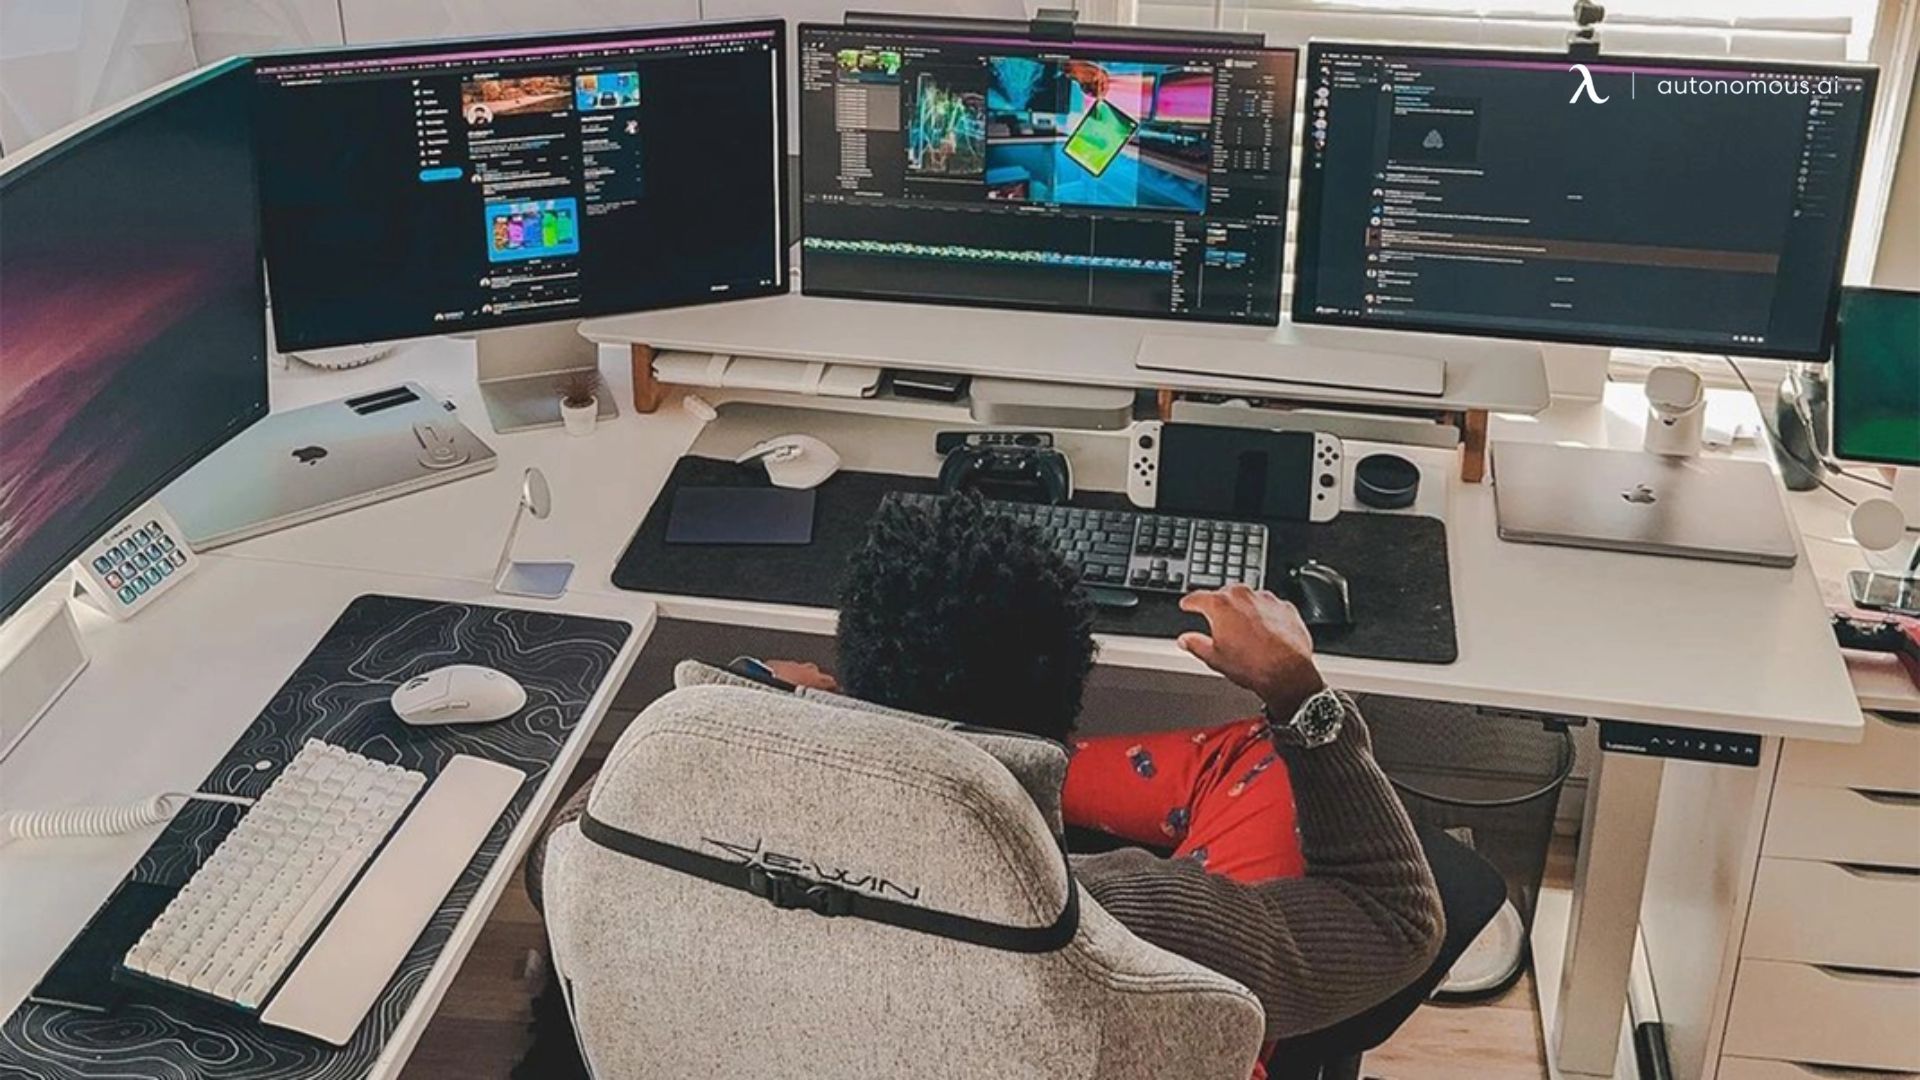
This might include getting your outboard equipment correctly racked or spreading out your synthesizers so they are all within easy reach. It can include using a separate voice booth or recording area. If you need more than one place in your small prefab cabin, be sure their size and construction cost match how much usage each one will get.
What is a Recording Studio Layout?
A sound-insulated, silent space outfitted with equipment that makes it easy to record or edit audio files is called an audio home recording studio layout.
Why Try the Different Recording Studio Layout Ideas?
Monitoring (mixing and listening) & recording rooms are best found in recording studios. To get the best acoustic qualities, a sound engineer or acoustician has specifically built these rooms. By doing this, echo that may otherwise affect the outcome is reduced in the recording studio design layout. A prefabricated ADU can be the solution you need.
How to Build the Best Recording Studio Layout?
Good recording studios would be acoustic treated using materials within and around the studio walls and surfaces that both absorb and diffuse sound. The goal is to design a recording studio design layout that reacts well to noise so that it can be precisely and accurately captured.
Tips on Setting up a Recording Studio Layout
Select the Ideal Room
Some areas in your house are more appropriate for following recording studio layout ideas than others, if your home may not have been built to hold one, you can go for a home office shed.
Generally speaking, a bigger space is preferable. Large spaces provide greater areas for instruments and players. Pick a room that isn't square-shaped, if at all feasible. Standing waves often occur in square space, which will interfere with your recording session. Instead, choose a space in your home that is irregularly shaped or has a rectangular arrangement. Proper acoustic treatments will be necessary if restricted to a square room.
Room Soundproofing
It's usually a smart move to spend money soundproofing your home recording studio. If your budget permits it, a soundproofing solution is appropriate for your home studio, especially if it is set up in a prefab ADU. This reduces the amount of the outside speckle noise in your recording and enables you to produce audio of a high caliber comparable to that found in big, reputable facilities. You may also spend less time editing and re-recording your sessions.
By giving the walls more bulk and sealing the air spaces, almost every room may integrate permanent soundproofing features. To assist minimize noise, additional wall layers and rigid insulation may be built.
Invest In Acoustic Treatment
If you don't have a space in your house that has naturally good acoustics, you may wish to spend money on acoustic treatment. There are several do-it-yourself options available to enhance the acoustics of your home recording studio if acoustic treatment is out of your price range.
Another piece of advice is to locate your studio in a space with firm flooring. Carpets, for example, have weak acoustic properties and may absorb the room's acoustics. On the other hand, acoustics will reflect off of hard surfaces like concrete, hardwood, or tile and provide audio that you can control using acoustical methods. For instance, you may even out the returned sound frequencies by using area rugs, absorbers, and diffusers.
Make Equipment Selection a Priority
Equipment costs money. However, we are sure you already knew that, as they are one of the most important elements of any small recording studio layout. Instead, remind yourself that you don't have to instantly purchase every piece of equipment you want. There is nothing wrong with building up your home recording studio gradually by beginning with the gear you cannot record without.
Power Source
Separating your power source from the rest of the home may be a smart idea. Invest in a power converter or use a transformer-isolated power source if you wish to minimize interference. However, a WorkPod Versatile has a built-in power source.
Practicalities
Along with picking a studio that is accessible, it's crucial to check that the day of the shoot won't present any logistical challenges. Make a studio with simple parking and vehicle access for unloading & loading equipment. Make sure there is room to safely keep your personal belongings. Access to nearby stores, bars, cafés, and parks is also beneficial for when you need a break from arduous workouts.
Advantages of a Quality Recording Studio Layout
High-Quality Sound Production
The environment in which you record will have a significant influence on the sound quality. You may be confident that the sound quality you record with will be equally excellent by using a professional recording studio. It will be extremely hard to communicate your point if your audience has trouble understanding you.
Gain Professional Advice
You may get professional advice when you record your videos at a recording studio. Experience cannot be bought or sold. Without the necessary experience, if you film your videos by yourself, they will probably come off as a shoddy production. This may not be good for business.
Enhanced Acoustics
Your video's audio will be greatly impacted by acoustics. The sound quality of your film will be maximized since small recording studio layouts are built with acoustics in mind. You can be sure that your video is made with the greatest sound possible when you deal with a recording studio.
Stay connected with us!
Subscribe to our weekly updates to stay in the loop about our latest innovations and community news!
Spread the word