How to Assemble the Autonomous Desk Connect? (Full Guide)
Smart Products

How to Assemble the Autonomous Desk Connect? (Full Guide)

|Feb 19, 2022
12,291 Views

The new SmartDesk Connect is an excellent standing desk. It’s quieter than others, raises faster, and holds more weight. It’s important to learn how to assemble the SmartDesk Connect correctly so that you can start using it immediately. Please be careful while you build the SmartDesk Connect. The parts are sturdy and durable, but you need to follow each step.

Step 1: Connect Frames Together

The first step in the SmartDesk Connect assembly instruction is to set both frames flat. Then, you are going to insert the first frame into the second one.

For this step, the parts are pre-installed before they are shipped to you. Make sure you check to ensure that there aren’t any spare parts before you adjust the expansion bar on the frame so that it is the right length.

Connect frames together

Please don’t over-tighten the screws. Also, it’s important to ensure that the connection bar notch and pipe orifice sleeve are in the right direction. The connecting rod should be facing toward you. 

Step 2: Insert the Columns Into Frame 1 and 2

For the second step of the SmartDesk Connect installation, you need to insert the columns into the two frame components. Make sure that the holes for the screws line up on the column and frame. Then, pre-tighten the screws so that they stay in place while you tighten them all the way.

Insert the columns into frame 1 and 2

You are going to need four M6*10 screws and four plastic inserts for each side. Make sure the inserts go before the screws during placement and don’t overly tighten them. 

Step 3: Insert the Side Brackets to Both Frames

Now, you’re going to need the side brackets for each frame side. Insert them into the right areas and fasten the screws into place.

Insert the side bracket

Use the M6*10 screws, and please don’t tighten them too much. 

Step 4: Add the Feet to Columns

Learning how to assemble the SmartDesk Connect is quite simple, and you’re already halfway there. Next, you need to add the feet. You’re going to require the M6*16 screws (four for each foot).

Add the feet to columns

Line up the feet and column screw holes first and then put the four screws in without over-tightening them. 

Step 5: Connect the Base to the Desktop

This next SmartDesk Connect assembly instruction is critical, so take your time and make sure it’s done properly. 

Check the desktop sides and adjust the base so that it’s at the best width. Autonomous suggests that you keep the frame side brackets about two inches from the surface’s edge. Remember, the frame has an adjustable width between 40 and 60 inches to meet different desktop sizes. Most people purchase the SmartDesk Connect as a complete set, though.

Connect the base to the desktop

Once you have set the frame to the right width, you can fasten the screws. You’re going to need the ST4.8*16 tapping screws to attach the frame to the surface. 

For the next part of the SmartDesk Connect installation, you need the ST3.5*16 tapping screws to attach the other components, such as the control box. It’s also important to add the power cord and extension cable. 

Step 6: Install the Handset to SmartDesk Connect

You’re almost finished with the SmartDesk Connect assembly instruction guide. The handset is what allows you to raise and lower your standing desk. Make sure that you install it where it isn’t going to get bumped or hit with chairs and people.

step 6 

It’s easy to build the SmartDesk Connect, and you’re finished. Flip it over and start putting your equipment on it. Consider some of the other desk accessories from Autonomous to be more productive throughout the day. Then, tidy up the power cables and use a cable clip to secure them in place.

Setting the Presets 

Now that you have learned how to assemble the SmartDesk Connect, it is time to change the presets to meet your specific needs.

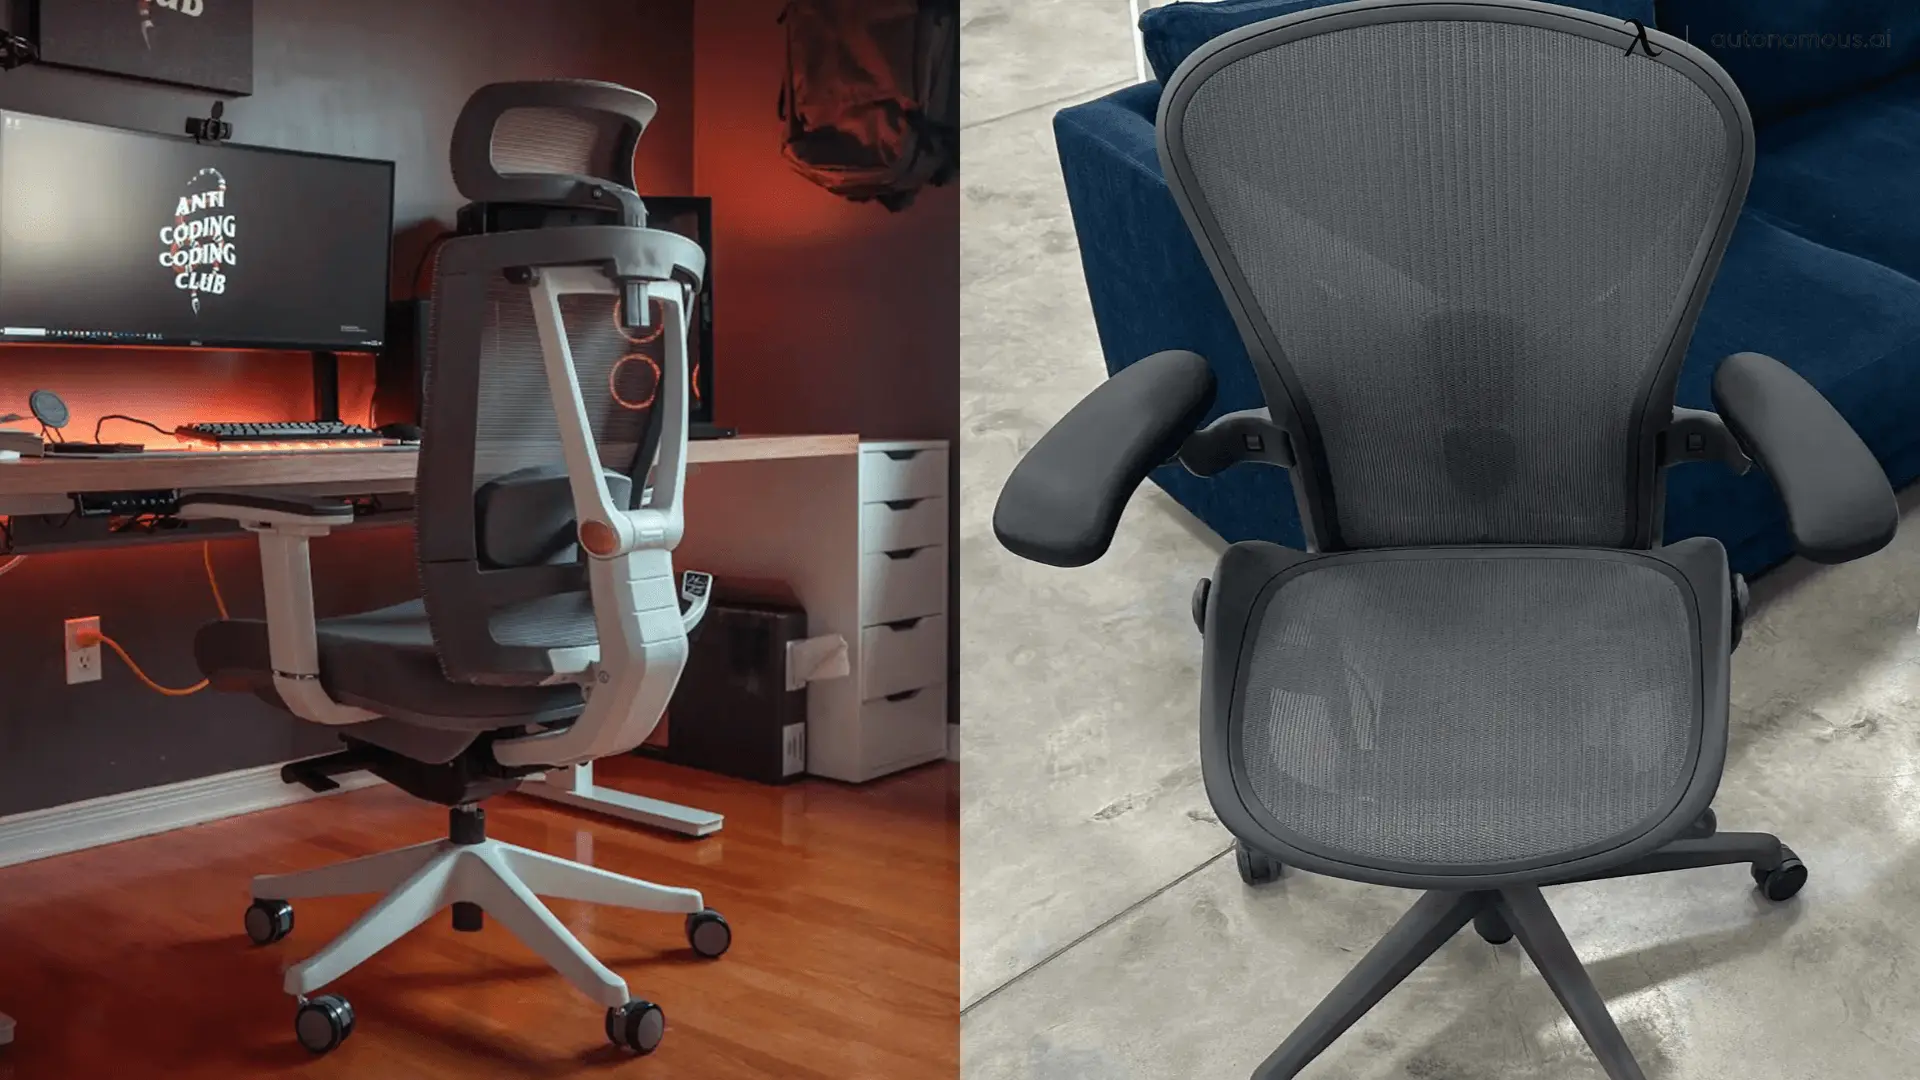
Sit down in the comfortable ergonomic chair you plan to use while working. Make sure it’s in the right position so that your legs are at 90 degrees and your feet stay flat on the ground. Now, move the desk up or down by pressing the up and down arrow keys.

Setting the Presets

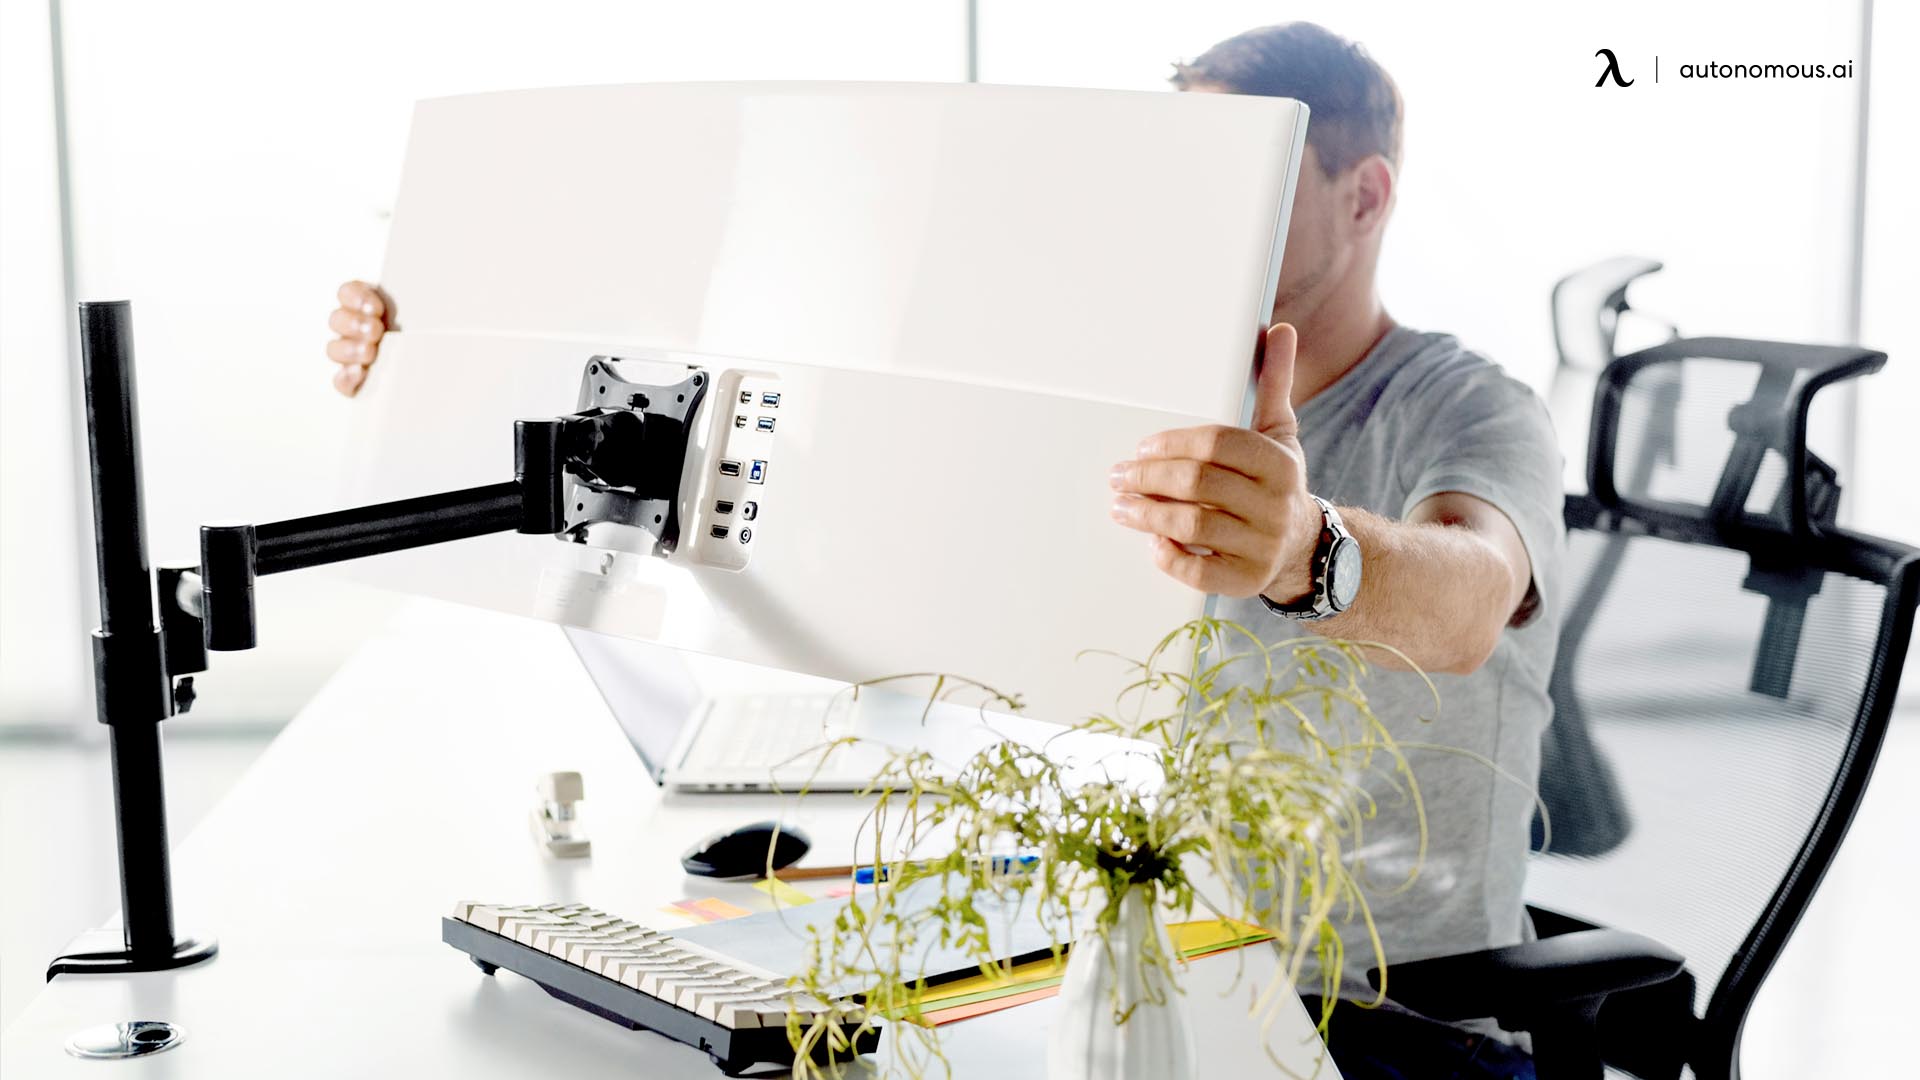
Take your time to adjust the standing desk to the proper height. If the computer monitors aren’t at eye level, consider adding a stand or using a monitor arm. You want an ergonomic desk setup to be more comfortable.

Now, you can set this as your preferred sitting position. Choose any number in the preset area. We recommend starting with “1” and going up from there. Hit the “M” key and press the number. This automatically sets it up for you. 

Now, stand up and raise the standing desk to your preferred standing height. Follow the same instructions as before to set those presets. 

FAQ for Assembling the SmartDesk Connect 

Assembling the SmartDesk connect

1. Why Do You Want an Automatic Standing Desk? 

Electric standing desks may be slightly more expensive than their manual counterparts, but they are comparable. 

Of course, most people find that it takes a lot more effort and time to raise a hand-crank desk than the new SmartDesk Connect. In fact, once you have completed your SmartDesk Connect installation and set the presets, it grows about 2 inches per second, so you can get the job done in less than a minute. 

2. Are All the Parts Included to Build the SmartDesk Connect?

Yes, you get everything you require to put it together, such as the screws and parts. You also get the SmartDesk Connect assembly instruction manual, but you can read this guide, too. Still, you need a screwdriver and might require other tools. 

3. What Is the Height Range for the SmartDesk Connect? 

Without the desktop, the SmartDesk Connect raises from 22.9 inches to 48.3 inches. 

4. I Messed Up the Preset. What Do I Do? 

You can either reset the SmartDesk Connect and erase all presets or modify it by following the “setting the presets” steps shown earlier. 

5. What Is Manual Reset and When Might I Require It? 

You must reset manually after installing the SmartDesk Connect or upon plugging it back in. To do that: 

  • Press the down arrow key continuously until you see “E-1” and “rES.” They should show alternatively.
  • Continue to press the down key so that the desktop slowly moves down until you see ‘60’ in the display area.
  • Release the down arrow key and use the adjustable desk normally. 

Conclusion

Learning how to assemble the SmartDesk Connect is essential so that you can use it effectively. Autonomous offers various standing desks, such as the SmartDesk 2, or office chairs like ergonomic chairs, and many other items that can be beneficial for those working at home. Be more productive while having the latest technology from Autonomous and buy the SmartDesk Connect.

Autonomous ErgoChair Mesh

Spread the word