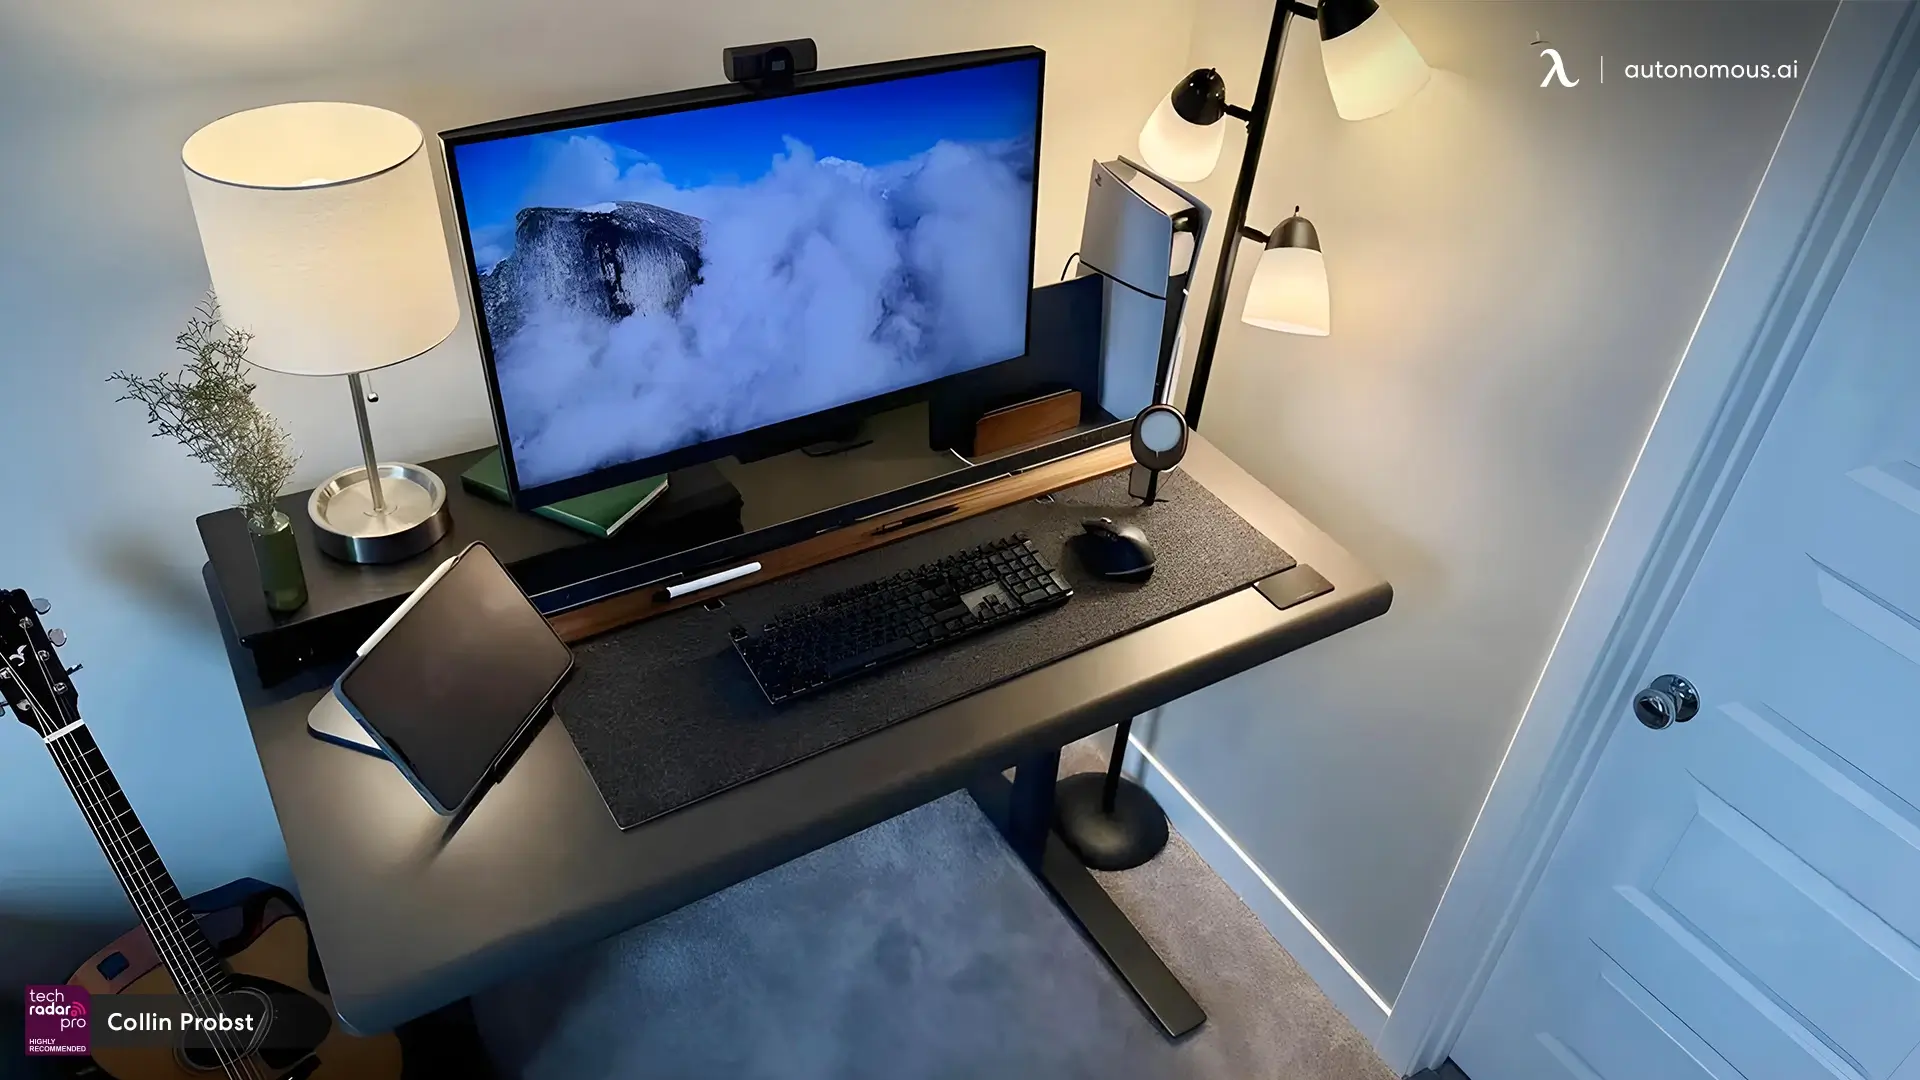
Displaying and storing items on floating wood shelves allows you to showcase beautiful wood while being very practical. For people who need to work from home and have to transform their cozy bedrooms into workspaces, foldable desks or floating desks are among the most popular things over the internet. As soon as the area isn't needed, it just unfolds and dwells alongside the surface as if it had never existed.
There are a lot of things like these in the homes of people who work from home offices. They can work comfortably and in a comfortable environment. While working at home, you don't need to worry about space and can allocate yourself to the DIY floating desk kits and DIY floating desk ideas available over the internet.
Wall Mounted or Floating Desks?
We have seen almost every type of modern floating desk that can be folded according to the moment's needs, but sometimes these types of desks save a good deal of room. These types of desks can be found on certain marketplaces. Ladder-type workspaces are ideal for people who have vertical wall spaces around their homes and wish to add a workspace.
Additionally, these shelves offer a little space for displaying your important items while providing good comfort. Folding up this type of floating desk office offers enough space to display your items and is quite comfortable. Even if you don't own one, its attractive appearance might convince you to opt for it since they don’t require much space and offer the best value in terms of price and design.
You are paying for just half a desk - literally! Floating shelves are a good alternative to installing them above the area. In addition to being compact, this is also convenient. In addition to being easy to adjust, it has a good surface area around the floating gaming desk where you can store books. Substantial developments have gone into the furniture as well. People commonly use this type of floating shelf desk in their homes.
Building a Floating Desk on Your Own
This is a "cantilever" structure you are referring to. Floating shelves are self-supporting; they simply stick out of the wall without any visible support. Only the wall or other system to which the cantilever is attached provides the actual structure of the desk (and any cantilever). A floating compact office desk can be made in two ways:
- A protruding tenon or fastener is inserted into the wall to attach the desk.
- Walls have protruding tendons that are inserted into the desk and to which it is attached.
It is simplest to hang the desk over the ledger board by fastening it to the wall with a long, horizontal piece of plywood and building the desk thick enough to fit over it. The desk should be mounted to the ledger with screws. Last but not least, hide the screws by finishing the desk.
Using this method, you can construct the desk quickly and replace the desk afterward by removing the fasteners. In other methods, the wall must be built with a fair amount of structure. This method is easier and quicker, and those methods are more robust. The reason this is more common is that it supports the load it was designed to carry, so long as it will be able to support it.
You should make a mock-up if you are doing it for yourself. Reduce the size of the image, but keep the width the same. You can find all the information you need on the short desk. You can then load it up and see how it reacts. Keep loading it until it breaks when you do this.
The failure point should be identified. The first thing is to identify the weaker spots or what breaks. By doing this, you will find all the weak points in the L-shaped standing desk and fix them before you start using it. The' break-test' aims to determine the wall's strength and whether the sit-stand desk will fit your decor arrangement.
Steps to DIY Floating Desk
Planning
- Invest in a sleek, modern wooden piece that is durable and thick enough to display items.
- You should ensure that the patch of wall surface is strong and doesn't have any holes or weak spots.
- Prepare all your tools: floating shelves can be installed easily with a few common tools and some accurate measurements.
- If necessary, mount hidden desk brackets to the wall studs and drill holes in the desk.
Preparation
- Ideally, you should start with an inch-thick and five-inch-deep piece of solid wood. Use live-edge lumber to give your project a more natural, interesting appearance.
- For mounting to the wall, ensure one edge is flat by cutting it with a table or circular saw.
- You can use a jigsaw in a pinch, but you will need to square it up and clamp it to ensure steady, even cuts.
- Drill the wall holes, preferably on-center on studs, for maximum strength and security.
Installation
- The 14" bit should be used to begin; then, the 12" bit should be used to finish drilling the hole, making sure the bracket is drilled to the right depth.
- The tape makes it easier to do the above step by tying it to the drill bit.
- Insert another bracket and ensure it is level with the first one using a level.
- A bracket is secured by inserting it and turning it until resistance is felt. Once you have tightened it, continue turning.
- You can turn the desktop clockwise until you see the plastic sleeve around the wall end begin to expand if you don't feel resistance when turning it.
- Ensure it's secure by inserting it back into the wall, turning, and repeating this step if necessary.
Test
- The next step is measuring the entire distance from the center of the bracket to the wall or another reference point like a wall fixture or furniture.
- Ensure that all measurements taken are as accurate as possible by measuring the distance between brackets and checking them several times.
- In order to install the floating standing desk, you need to drill holes in it.
- Use tape to mark your drill bit so that the depth matches the bracket's length.
Stay connected with us!
Subscribe to our weekly updates to stay in the loop about our latest innovations and community news!
Spread the word