Cricut Desk Setup: Creating an Efficient and Organized Workspace
Cricut desks are specially designed workstations for users of Cricut machines, which are popular crafting tools for cutting paper, vinyl, fabric, and more. These desks are attractive because they provide a dedicated, organized space for crafting, ensuring that all materials and tools are within easy reach.
This article will guide you through creating your own efficient Cricut desk setup by detailing ten steps to DIY Cricut workstations.
How to DIY Cricut Workstations
Step 1: Assess Your Space
You should begin by taking stock of the area that can accommodate your Cricut workplace. Check the dimensions to make sure there's enough space for the desk, some storage, and to move around. Think about nearby power outlets and the amount of natural light. Your creating experience will be more enjoyable in an easily accessible and well illuminated space.
Consider how you can make the most of this area so that you don't feel crowded while yet getting everything done.
Step 2: Choose the Right Desk
Selecting the right desk is crucial. Find a sturdy space that will hold your Cricut machine and any other tools you may have. Even in a cramped corner, an L-shaped desk may give you plenty of room to spread out. Alternatively, a simple desk setup might suit smaller spaces.
Make sure your machine and any cutting mats or other instruments you may have will fit snugly on the desk's depth.
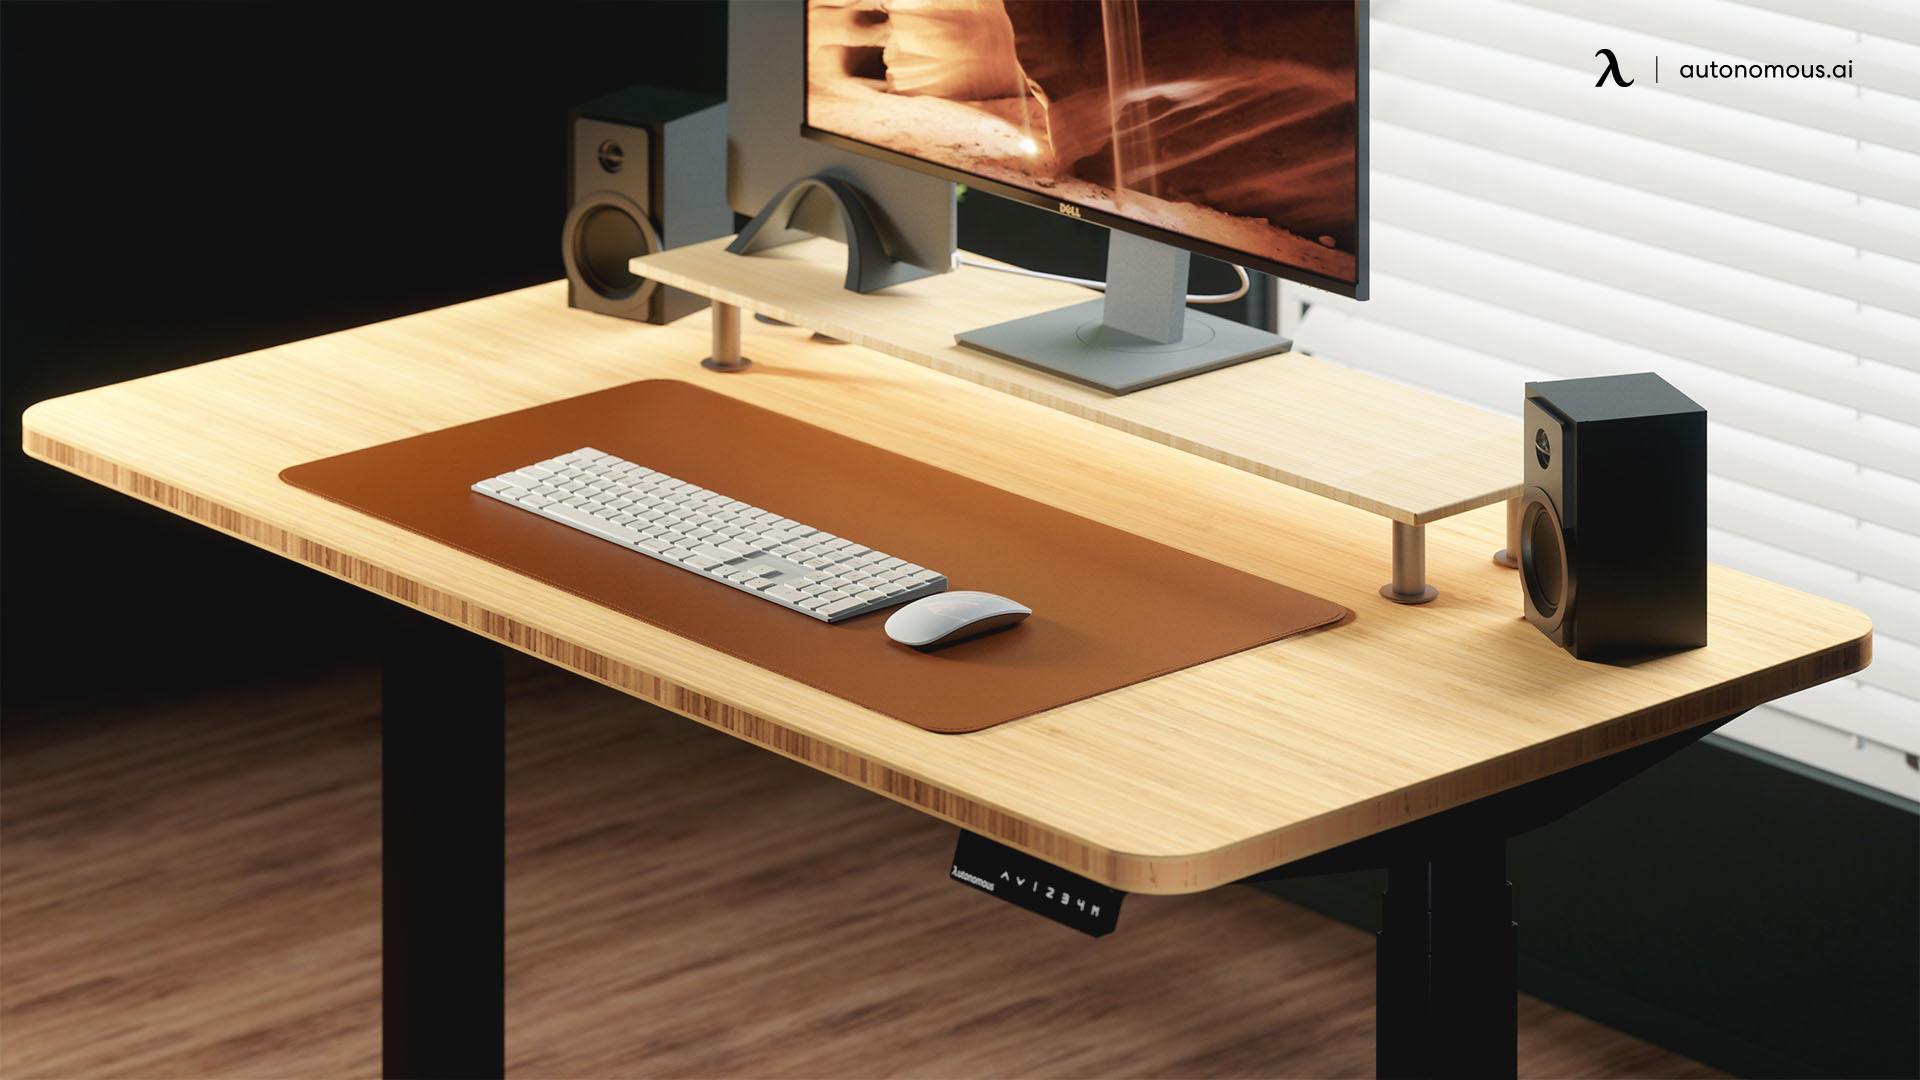
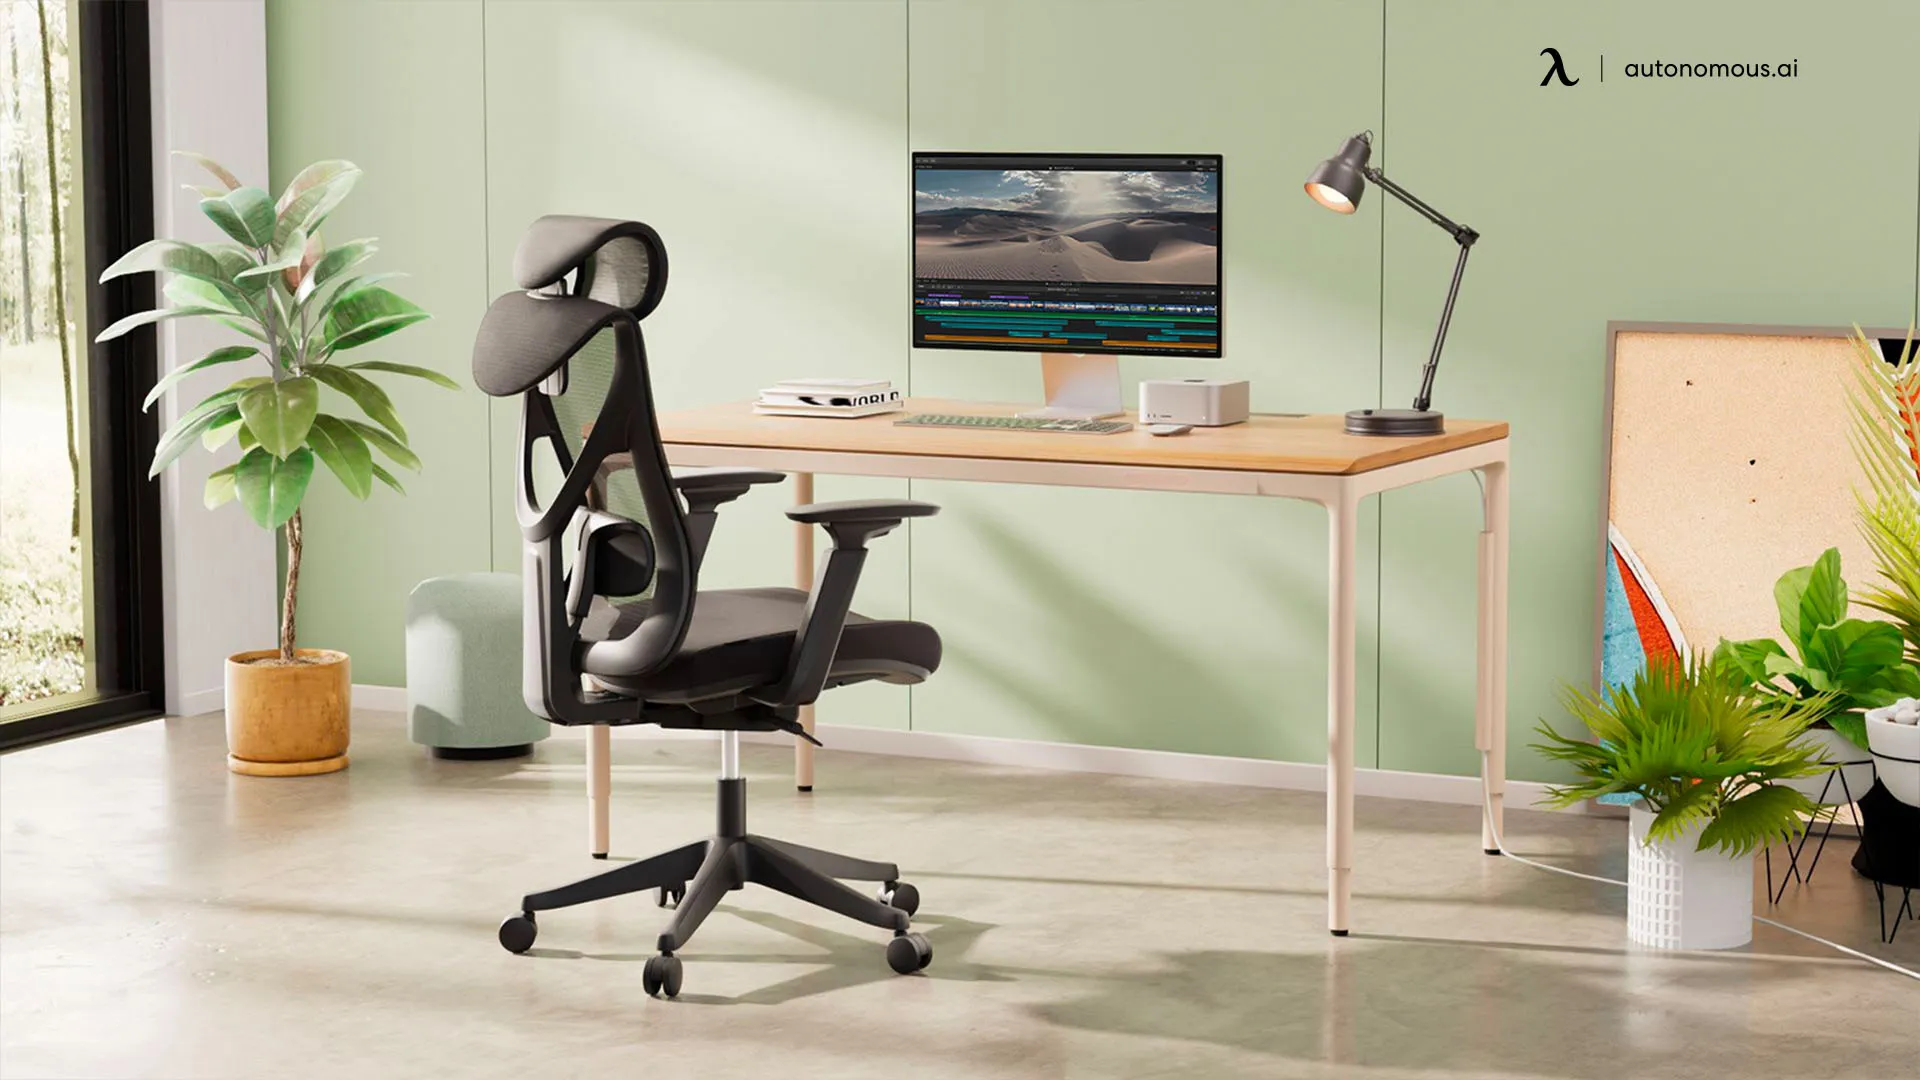
Step 3: Prioritize Ergonomics
Invest in an ergonomic chair to ensure comfort during long crafting sessions. Adjust the chair and desk height to promote good posture and reduce strain. An ergonomic desk setup is crucial for preventing discomfort and enhancing productivity. Consider adding a footrest and monitor stand to improve ergonomics further and keep your body aligned.
Step 4: Plan Storage Solutions
Organize your materials and tools with effective storage solutions. Use shelves, drawers, and bins to keep everything tidy. Pegboards and wall-mounted racks can also maximize vertical space. This will make your Cricut room setup more efficient and keep your workspace clutter-free. Clear storage bins can help you see your supplies at a glance, while labeled drawers and containers can keep everything organized.
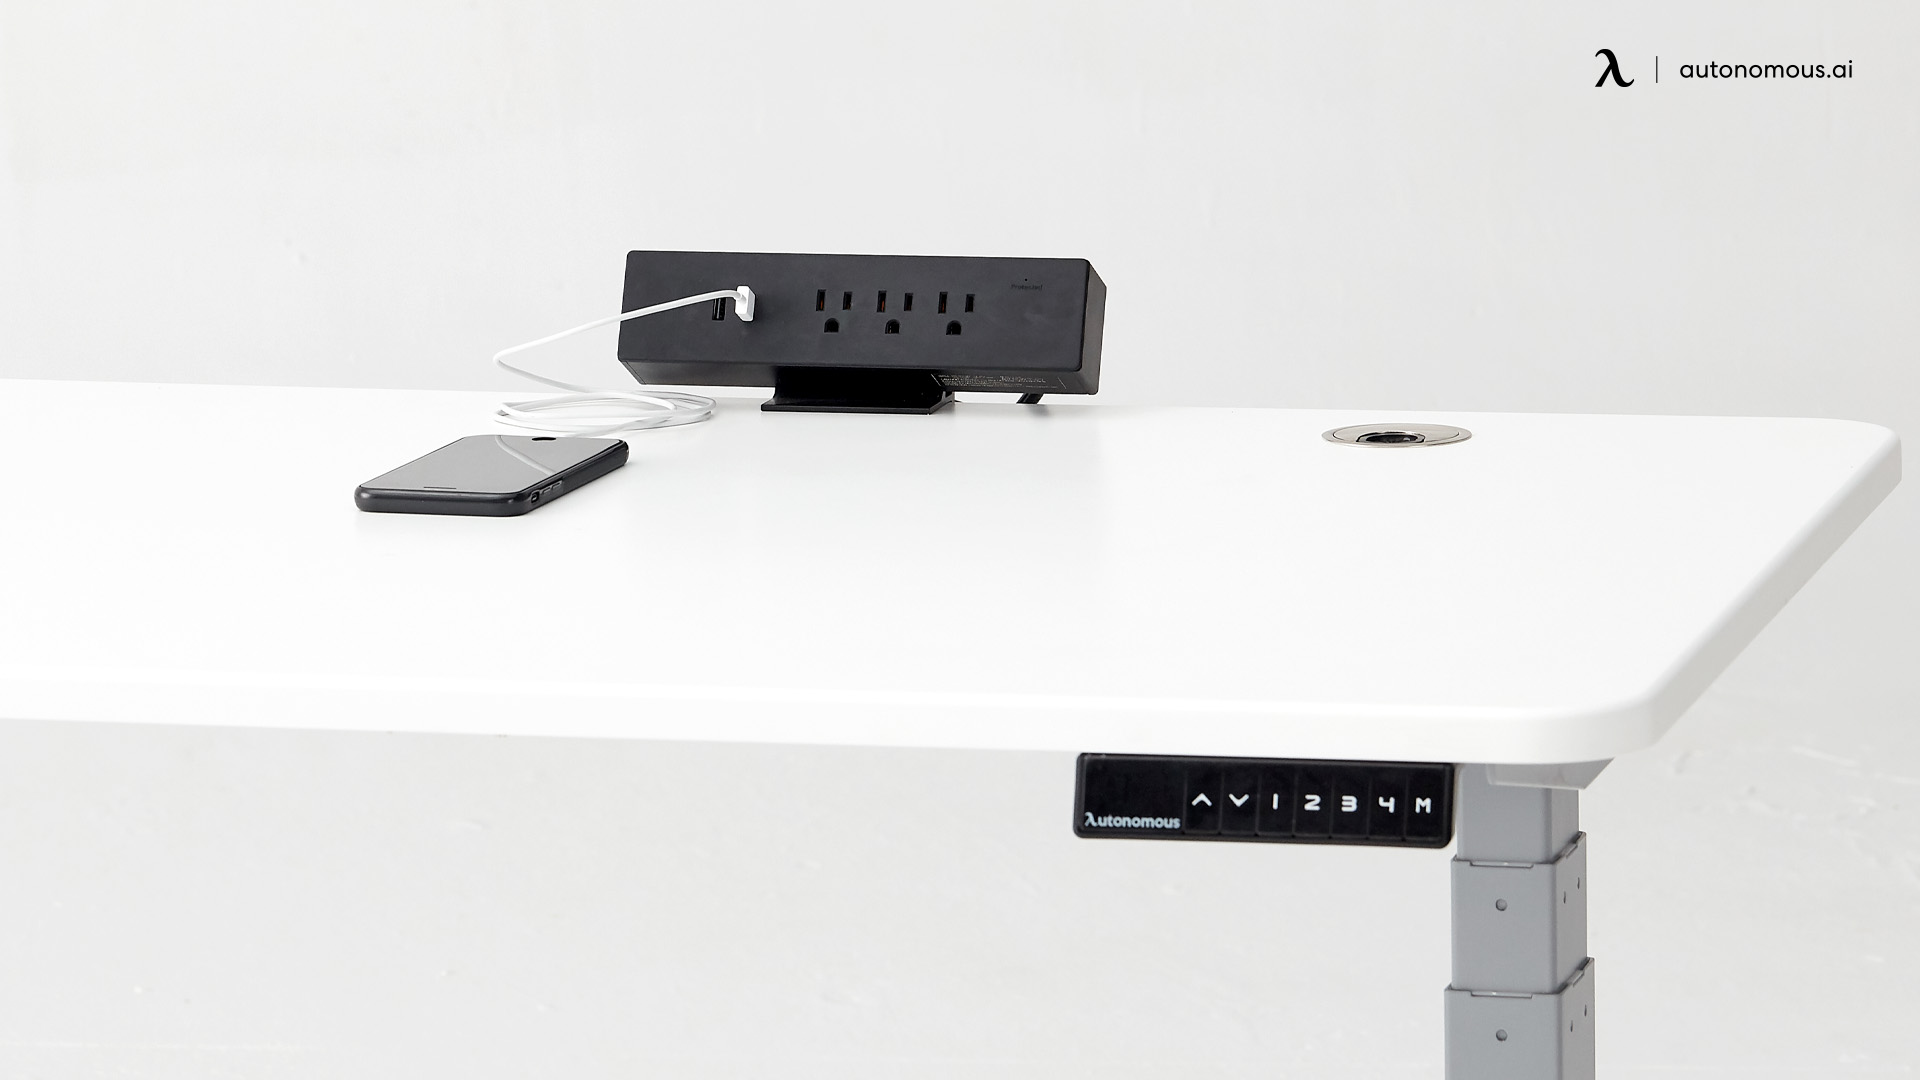
Step 5: Incorporate Power Management
Ensure you have enough power outlets for your Cricut machine, laptop, and other electronic devices. Use cable organizers to keep cords neat and prevent tangling. This step is essential for a seamless and safe crafting environment. You might want to install a power strip with surge protection and USB ports to accommodate all your devices.
Step 6: Create Zones
Divide your desk into specific zones for different tasks. Have a dedicated cutting area, a space for your computer, and an area for assembling projects. This zoning will help you stay organized and streamline your workflow. A well-thought-out work from home desk setup can significantly boost your efficiency and keep you focused.
Step 7: Personalize Your Space
Add personal touches to your Cricut desk setup to make it feel cozy and inspiring. Decorate with items that reflect your personality, such as photos, plants, or artwork. A cozy desk setup can boost your creativity and make crafting more enjoyable. Consider incorporating some DIY decor items that showcase your crafting skills.
Step 8: Ensure Proper Lighting
When working with fine details, proper illumination is key. Light up your work area with a mix of natural and artificial sources.
Adjustable desk lamps can provide focused light where you need it most, enhancing your aesthetic desk setup. Ensure that the lighting is bright enough to reduce eye strain but not so harsh that it causes glare.
Step 9: Maintain Cleanliness
Keep your workspace clean by regularly tidying up and removing any clutter. A clean desk promotes efficiency and reduces distractions. Make it a habit to clean up after each crafting session to maintain an organized environment. Consider using a small vacuum or lint roller to clean up scraps and debris quickly.
Step 10: Evaluate and Adjust
Periodically assess your Cricut desk setup and make adjustments as needed. Your needs may change over time, so be flexible and willing to modify your workspace. This ongoing evaluation ensures that your workspace remains functional and meets your evolving crafting requirements. Keep a journal or make notes of any changes you think would improve your setup.
Top 5 Cricut Desk Setup Ideas
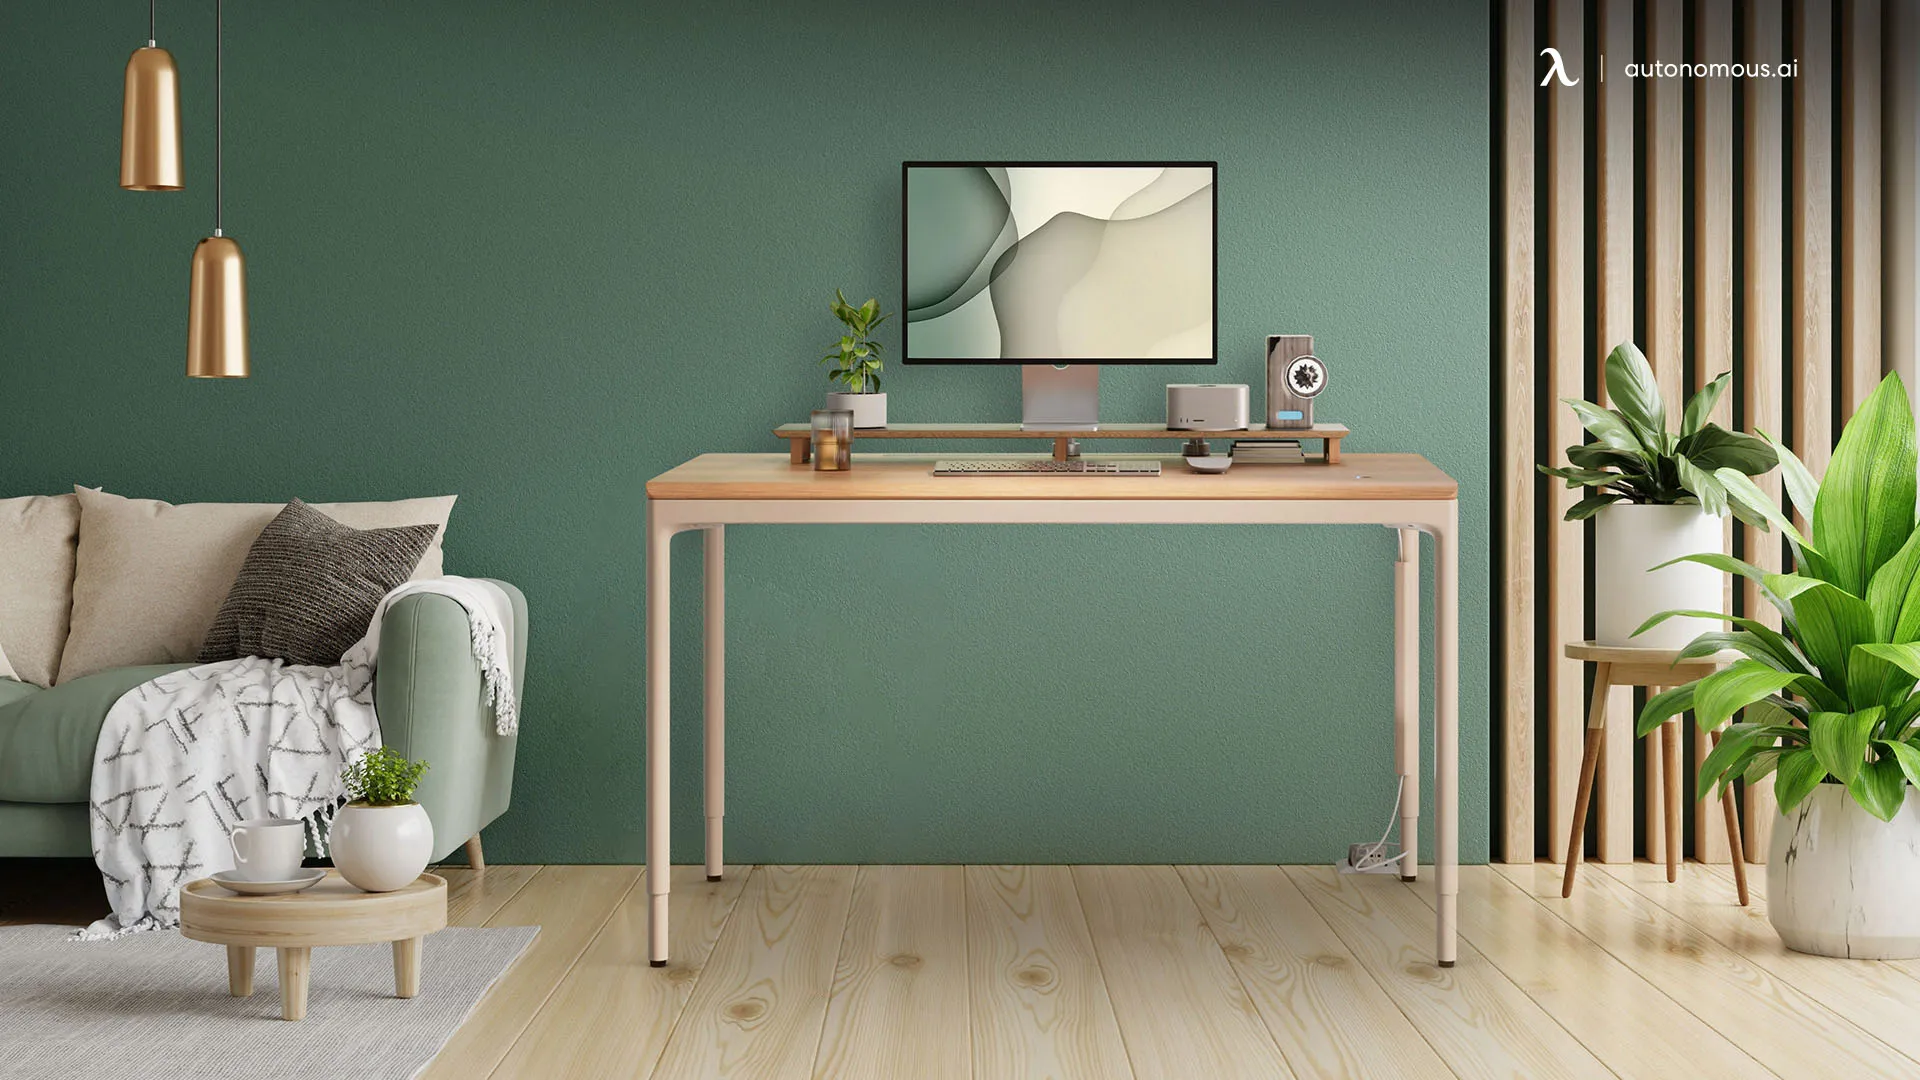
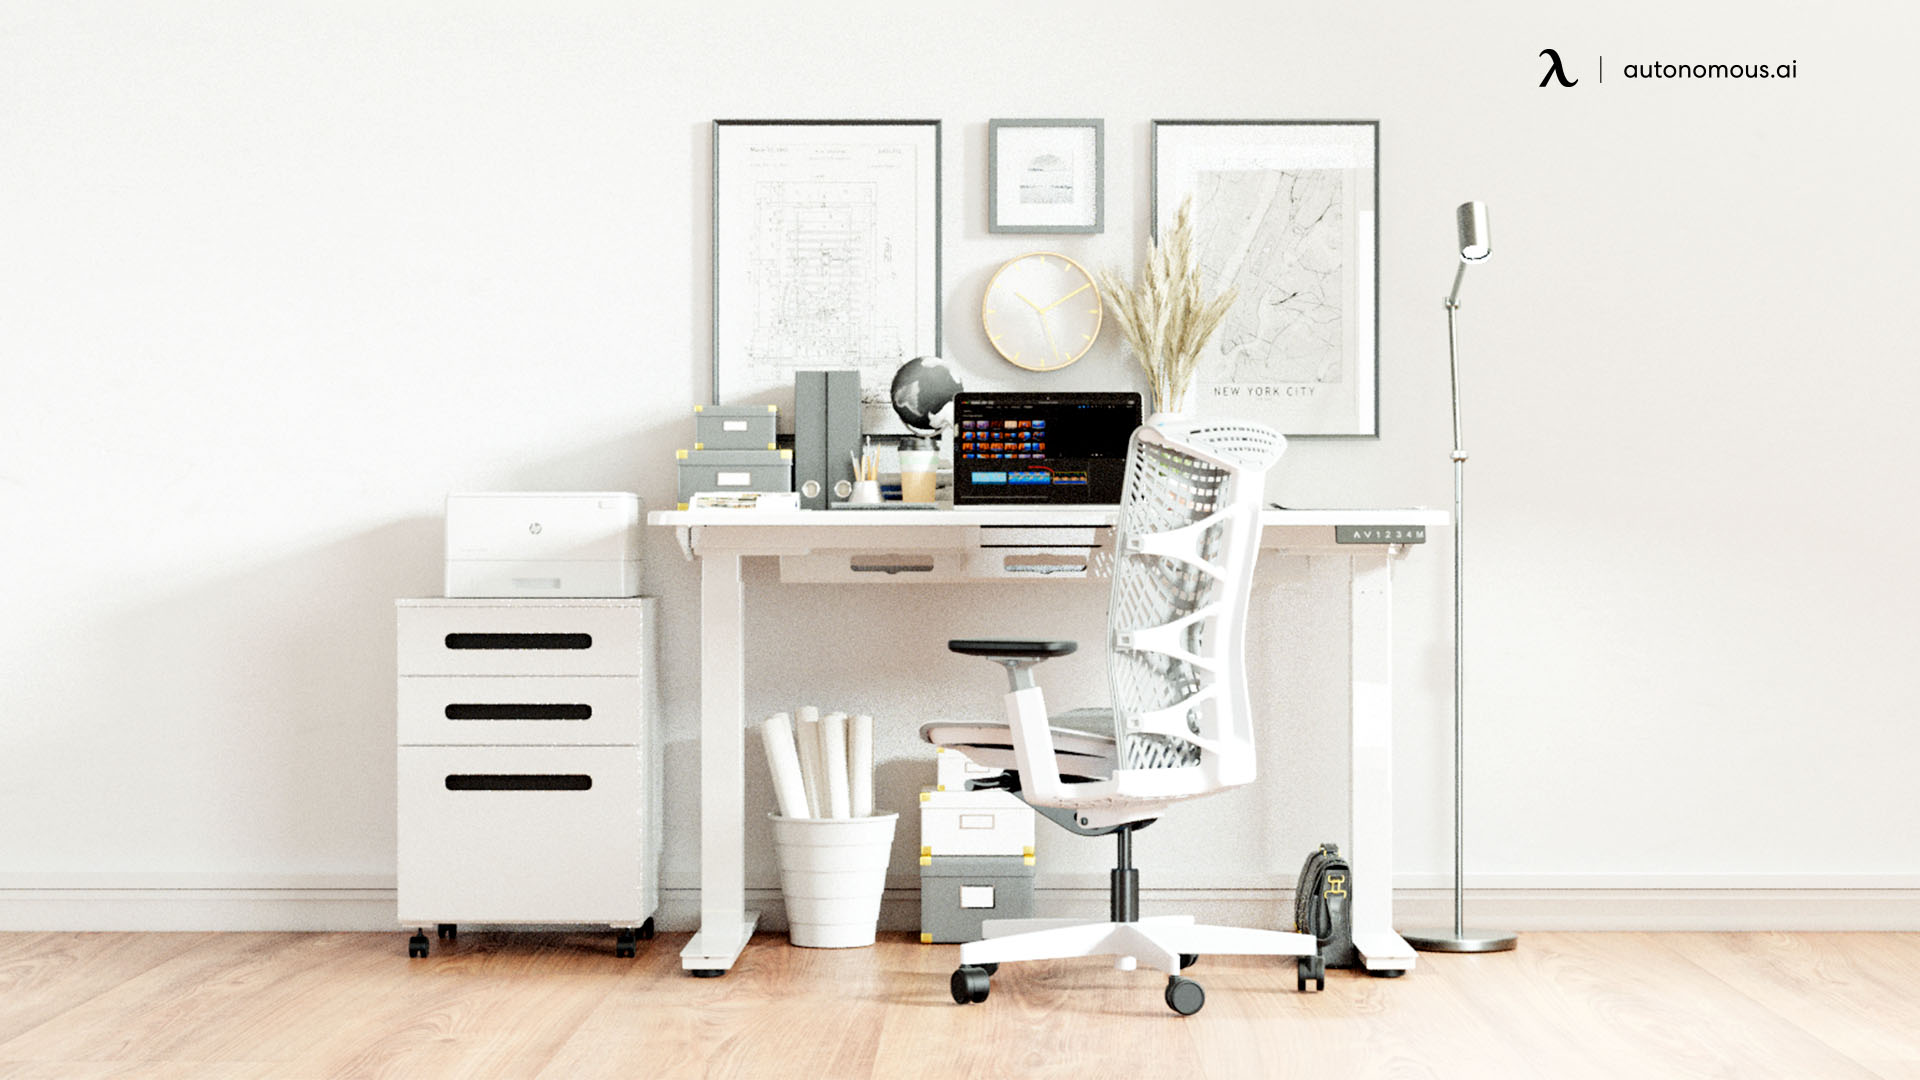
Idea 1: The Minimalist Haven
Embrace simplicity with a minimalist desk setup. Use a clean, white desk with minimal accessories. Store tools and materials in sleek, hidden compartments to maintain a clutter-free look. This setup is perfect for those who appreciate a tidy and focused environment. The minimalist approach not only looks stylish but also helps in keeping distractions at bay.
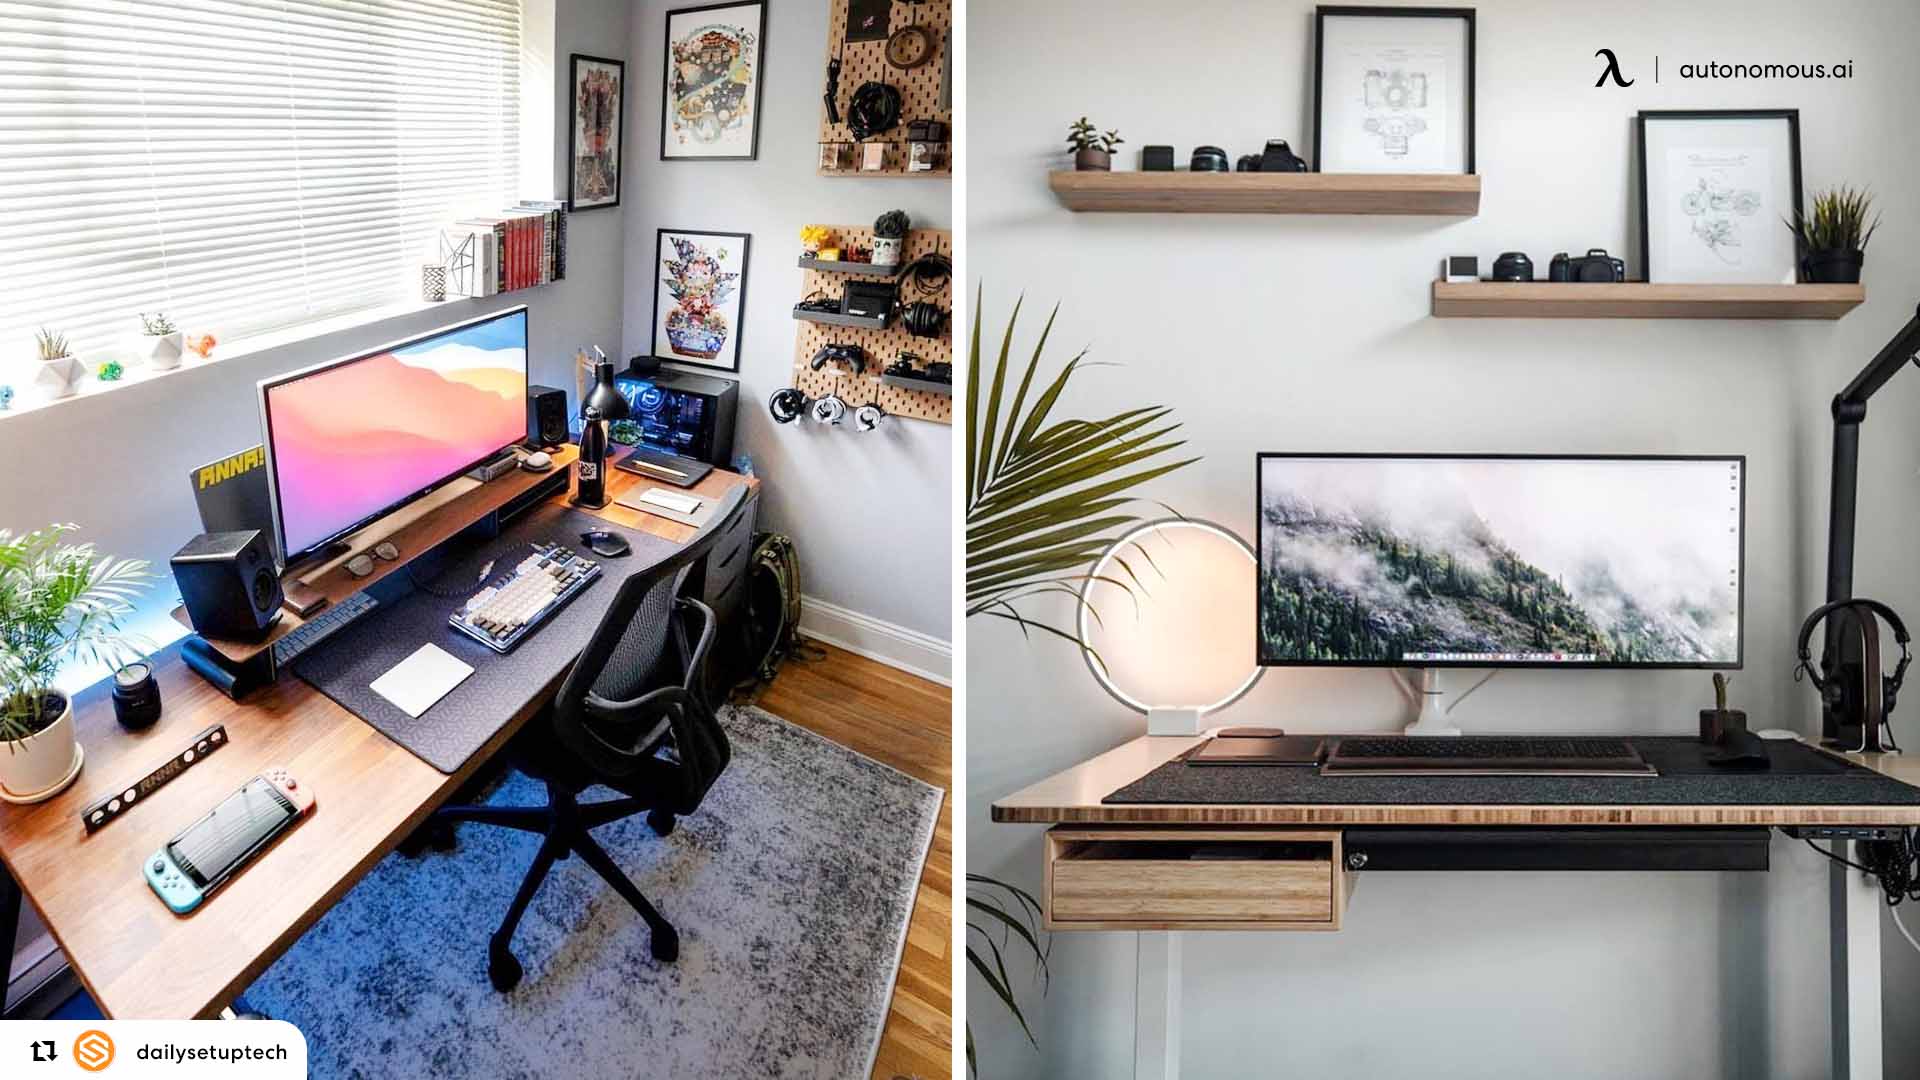
Idea 2: The Crafty Corner
Transform a small corner into a productive Cricut workstation. Use corner shelves and an L-shaped desk to maximize space. Decorate with vibrant colors and patterns to create an inspiring and energetic vibe. This setup makes the most of limited space while keeping everything within reach. Adding a bulletin board or inspiration wall can help keep your creative juices flowing.
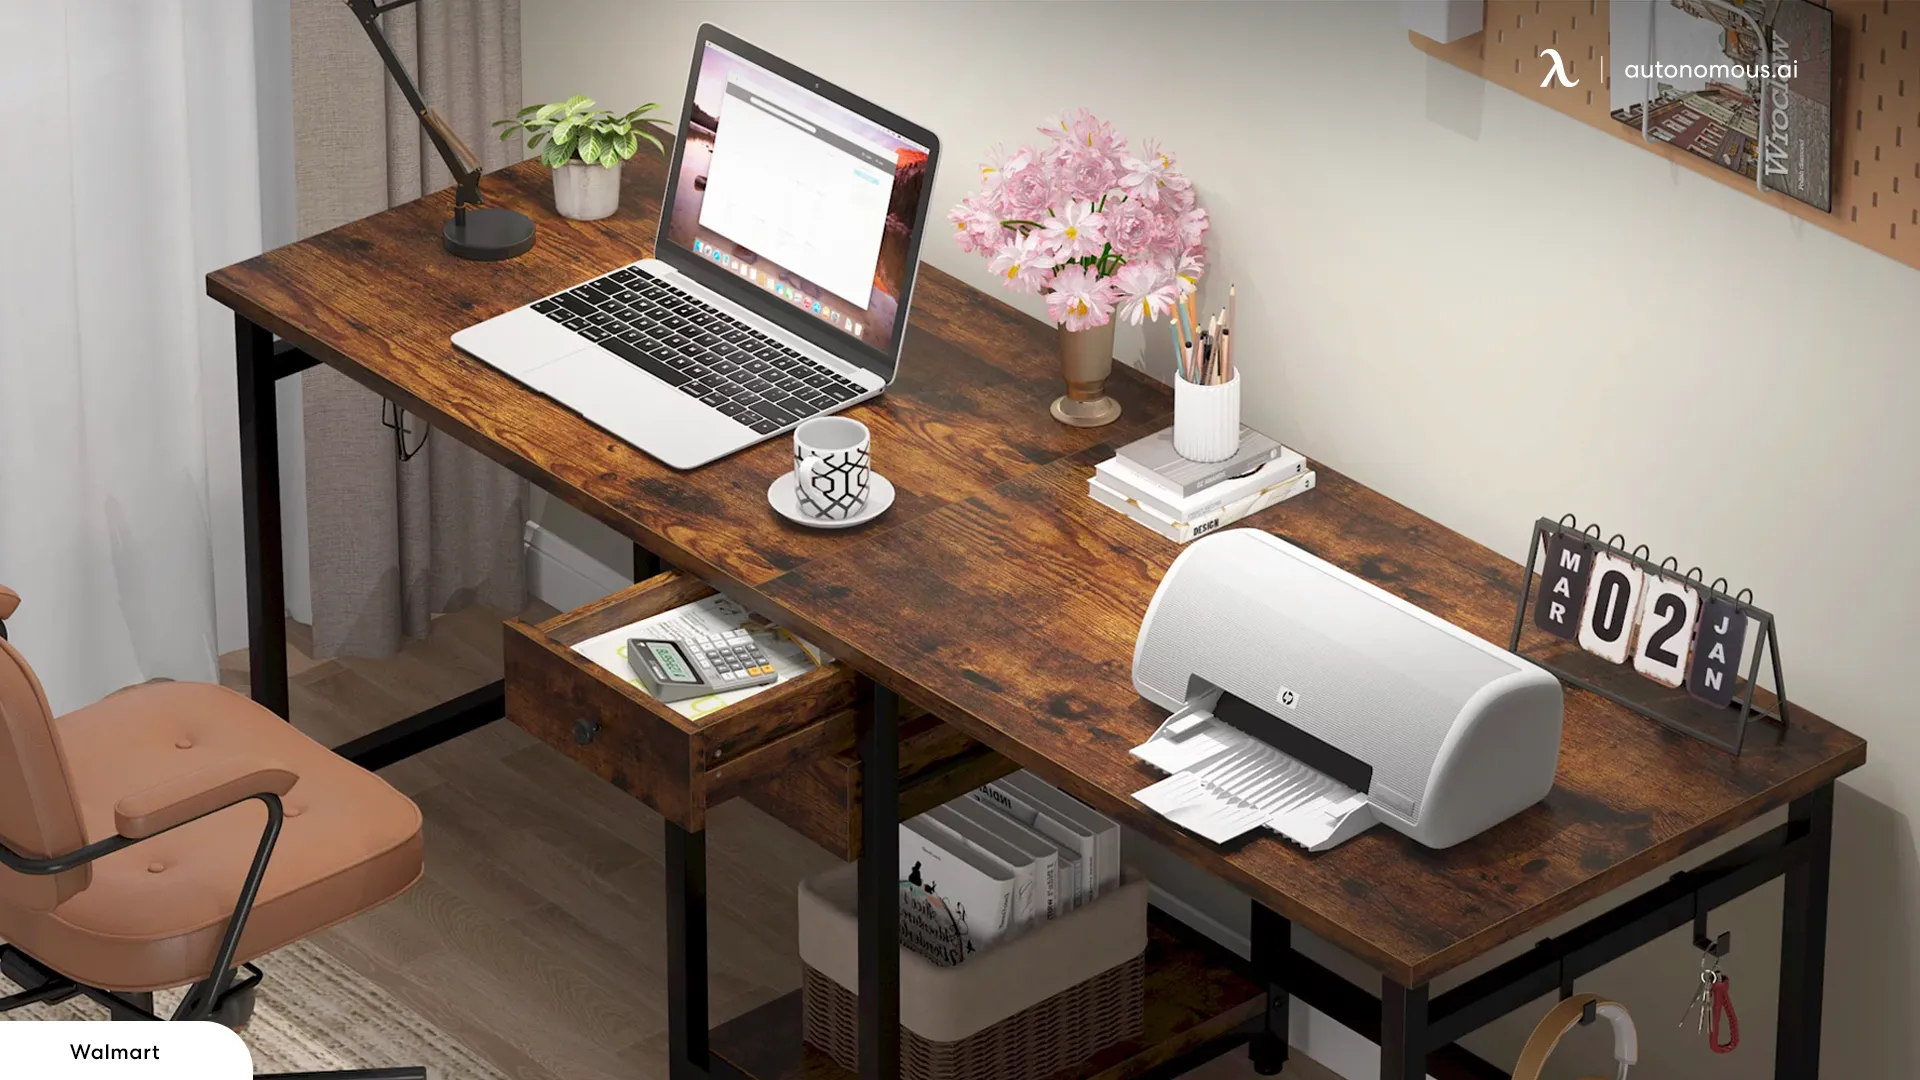
Idea 3: The Vintage Vibe
Combine function with nostalgic charm in a vintage-inspired workspace. Use a repurposed wooden desk and vintage storage solutions like old crates and mason jars. Add vintage decor pieces to enhance the theme. This setup brings a unique character and warmth to your crafting area. The vintage look can be both functional and aesthetically pleasing, providing a cozy atmosphere to work in.
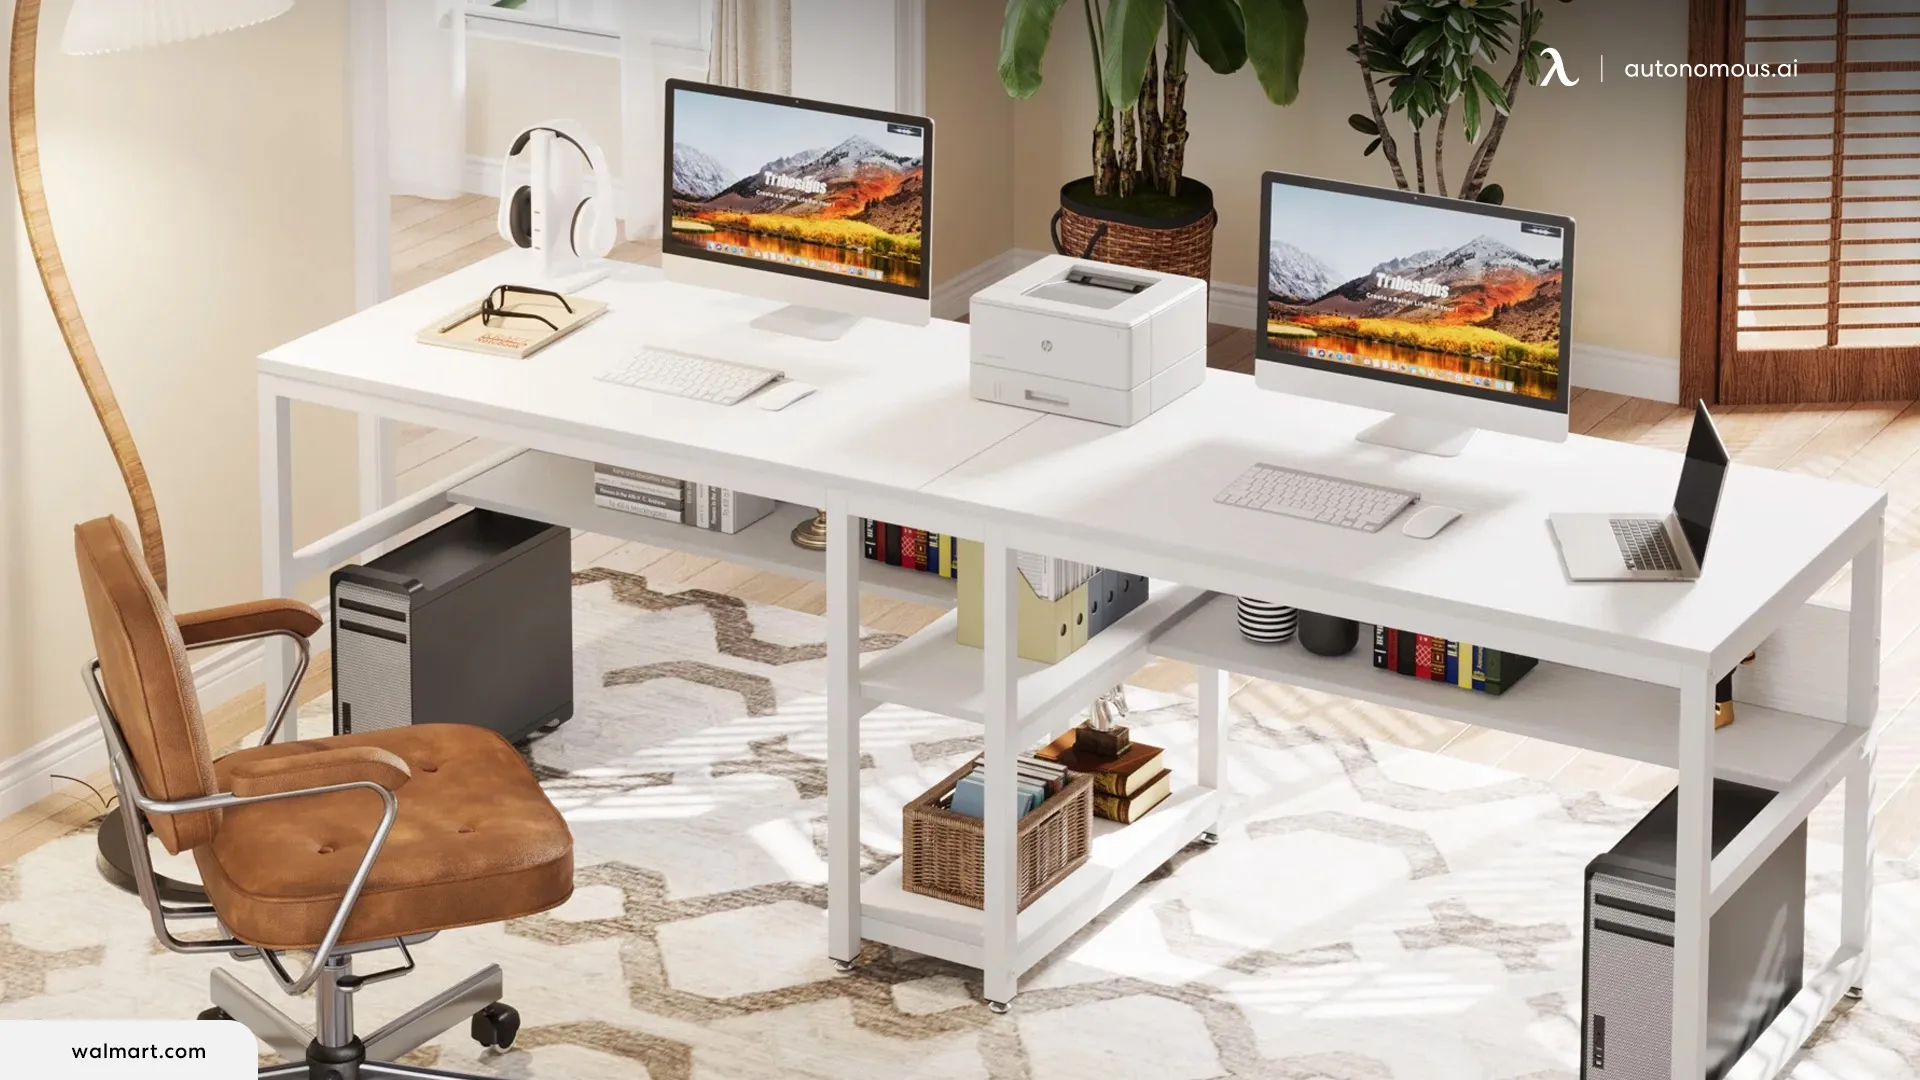
Idea 4: The Professional Studio
For those who take their crafting seriously, a professional studio setup is ideal. Use a large, sturdy desk with ample storage. Incorporate professional-grade tools and equipment. Keep the space organized and efficient, similar to an office desk, to support serious crafting projects. A professional studio setup can help you transition seamlessly from hobbyist to professional crafter.
Idea 5: The Cozy Nook
Create a comfortable and inviting workspace. Use soft lighting, comfortable seating, and warm colors. Add plush cushions and a cozy rug to enhance the comfort. This setup is perfect for those who want a relaxing and enjoyable crafting environment. Incorporating personal items and soft textures can make your workspace feel like a home away from home.

Conclusion
Creating the perfect Cricut desk setup is all about balancing functionality with personal style. Whether you prefer a minimalist approach or a cozy nook, the key is to make the space work for you. By following these steps and ideas, you'll be able to design a workspace that is not only efficient but also inspiring. Happy crafting!


Stay connected with us!
Subscribe to our weekly updates to stay in the loop about our latest innovations and community news!
Interested in a Link Placement?