Best Black Gaming PC Build & Components (2024 Updated)
Having a black gaming PC is fun since you can play your favorite games, and it's also immensely convenient if you want to decorate your aesthetic gaming setup with other items. In some cases, gamers prefer building it, and that's what this guide can teach you.
Guide to Build the Best Black Gaming PC
Many gamers prefer building their PCs because it's both a fun process and a very satisfactory one. Once you're done, you can feel proud of yourself! Follow the next steps to build a computer from scratch:
1. Get to Know the Basic Parts
Building a PC means you have to assemble all the parts to make it work. Thus, if you don't know the basics, the process might be much more challenging, and you may spend hours trying to figure out what you should buy. The following list includes the basic parts you need to build your computer:
Graphics Card
The graphics card is the heart of any black gaming computer. Unlike other PC parts, this one is in charge of rendering the images and sending them to your gaming monitor.
CPU or Processor
Your CPU is what makes your black gaming computer run. It transmits information from one part to another, which allows your PC to engage in different processes.
Motherboard
All the hardware of your black gaming computer lives in your motherboard. Thus, it must be compatible with the rest of the parts you choose. However, some motherboards have integrated graphic cards, Wi-Fi systems, etc.
RAM or Memory
RAM stands for ‘random access memory,’ and it refers to the part of your computer that determines how much data it can process at any given moment. Your RAM is helpful for productivity as it's responsible for how efficiently your computer can process information. Consequently, it's essential for gaming.
Storage or HDD/SSD
There are two storage options for PCs: SSDs (solid-state drives) and HDDs (hard disk drives). When you're not using your files, you store them in SSDs or HDDs, so more space means more room for games.
Power Supply
Even though it's the least interesting part, it's what allows your PC to function. As its name indicates, the power supply gets electricity from a power outlet and transports it to your computer.
Case
Getting a black computer case is definitely one of the most important stages in the process if you're building a black gaming PC. Your case protects all the parts of your computer, and the model you choose always depends on the style you're looking for.
2. Prepare the Motherboard
Although some people assemble the motherboard inside the case, doing it outside of it can make the process much more manageable.
Overall, you want to install as many parts as you can outside your black computer case before you put it together. Additionally, your motherboard might include clear instructions that you should follow since it probably has specific ways to install the components.
Additionally, you need to assemble your PC on a flat surface, but you should avoid carpets. Even though it's unlikely, combining static electricity with your PC parts could damage your components.
Instead, try to place your PC on hardwood or laminate floors. After taking the motherboard out of the box, put it on the flat surface and you're ready to go.
3. Install the CPU
Your CPU is an essential part of your gaming setup. The CPU socket of your motherboard probably has protective plastic over it, so you need to open the tray and remove it.
Remember to keep the plastic because if you have any issues with your motherboard, you have to send it back to the manufacturer with it. Once you do that, you need to install your CPU on your black gaming computer motherboard, which is very easy.
All CPUs have small indents in the board (shaped like half-circles), and the socket on your motherboard is designed to fill the indents. Gently place the CPU into the socket, close the tray, and make sure that the arm is in its original position.
4. Install the M.2 SSDs
Installing the M.2 SSDs (or HDDs) in your black gaming PC is also a straightforward stage in the process, but even so, check out the manual that comes with your components to determine the slots you need to use first.
On some occasions, motherboards come with thermal guards that you need to remove before placing your SSDs. Furthermore, keep in mind that you might need to apply a little force to put the SSDs in their slots, but it's not much, and they should slide in somewhat easily.
After that, take the screw (included in your motherboard), push the SSD down, and screw it in its respective slot. To finish this step and proceed to add the next black PC parts, screw the thermal guards back into place.
5. Add the RAM
Your motherboard's manual must also include instructions on how to properly place the RAM depending on the number of slots and RAM sticks you have. If you, for example, have four slots and two sticks, your manual might provide some advice on where you should place each stick (in most cases, you might have to slide them in the first and third slot or in the second and fourth to improve PC performance).
Flip down the plastic clips on both sides of the slot you plan on using, align the RAM with the slot, and start inserting it by gradually increasing the pressure you use. Hearing a click means that your RAM is in the right place, and the plastic clips should flip up to grip it tightly – when they don't, it might mean that your RAM is incorrectly placed.
6. Get Your Black Case Ready
Buying a black prebuilt gaming PC might be the quick solution many people are looking for but building your own one is both satisfying and fun. Once you reach this stage, it means it's almost time for you to add your motherboard to your black computer case, so your PC is around halfway done!
Getting your black case out and ready is very fun, and it's something you need to do before you put your motherboard inside since you have to screw in some standoff screws first.
The standoff screws come with your motherboard, and your case should have around 12 holes for them to fit into. If you can't find the right place for them, take another look at your motherboard's manual.
7. Put Your Motherboard Inside Your Black Case
Even though fitting your motherboard into your case is very easy once you assemble the standoffs, you shouldn't screw your motherboard in right away. Instead, check the back of the case and find the I/O ports (they look like rectangles), and make sure that your motherboard's placement fits with the slots.
Now that your motherboard is properly aligned with the black computer case, screw the standoffs into the appropriate screws. Remember: you should never screw anything too tightly – turn the screwdriver until everything is secure and proceed to the next step.
8. Install the PSU (Power Supply)
Your black computer case might include a manual on how to install the power supply for your PC, but it's often quite easy. Take a look at the mountain bracket of your case and screw it on your power supply's back.
Examining your power supply may make you notice that it includes a fan, and you might wonder where you're supposed to aim it to. The answer depends on where you're placing your PC – if it's on hardwood floors or a desk, aim it downward, and if it's on carpeted floors, then you should aim it upward.
After choosing the right orientation for your PSU fan, you can start screwing everything in place by sliding the power supply into the black computer case. Additionally, you might want to hold off on screwing your PSU if you don't have much space for the power cables (you can organize those first before screwing the parts together).
9. Connect the Hard Drives
You can start connecting your hard drives to your black gaming PC once you install the PSU. There's a specific bay area in your case, which is destined to hold drives. Locate it, and then find the metal clasps on the left and right sides of each bay.
Squeezing the clasps lets you pull the bay out, and once you do, you're able to put the hard drive inside the case and keep it steady. Reinsert the bay into its place after you're done and plug the cables into the hard drive.
Then, locate the other end of the cables and plug it in the respective slots (one in the motherboard, one in the power supply). Congratulations, you installed your hard drive!
10. Plug the Case into the Motherboard
Plugging the case into the motherboard is one of the trickiest steps in the process because there are a lot of cables you have to sort out, and many of them are tiny and difficult to connect. Thus, you want to refer to both your case's and your motherboard's manual to make sure you're putting everything in the right slot.
When you connect your cables correctly, you should be able to use all the ports on the front of your black theme PC and the power button itself.
11. Install the Cooling System
Even though installing a cooling system is an optional part of assembling a black gaming PC, you should do it if you want your computer to last a long time without having issues. Fans keep the dust out and your components clean and cool.
This stage of the process is probably the most nerve-wracking experience you might endure when building your black gaming computer, but it's easier than it sounds. Firstly, mount the cooling system's bracket into the motherboard.
Secondly, there are different types of cooling systems for PCs, but liquid-based ones come with a radiator and fans, which you need to screw into your case. However, you need to figure out where to install it – a lot of gamers add it to the top grill to allow more airflow, but if your case doesn't have one, you can install it on the back.
Then, you have to apply some thermal paste (if your cooler comes with the paste previously applied, you can skip this). Grab a pea-sized glob of thermal paste, apply it in the center of your CPU, and press the cooler into its position. Lastly, make sure all the cables are plugged in the right spots.
12. Clean Some Cables
You’re almost done building your black gaming computer, which means you can soon choose your favorite L-shaped gaming desk and gaming desk accessories. Nonetheless, before you do that, you can take a few minutes to organize all your cables.
In this stage, you can use zip ties or Velcro straps to orient the cables to the holes you need. The only thing you should remember is to never over-tighten your ties since they can damage your cables.
13. Install Your Graphics Cards
Finally, it's time to install your graphics card and to do this, you need to unscrew and remove expansion slot inserts from your case's back. Then, figure out the PCIe express slot that's perfect for your card, line it up, and push it into it.
Some graphics cards require you to plug them into the power supply, but if you bought a low-end one, you can skip this step.
14. Assemble Your Desk
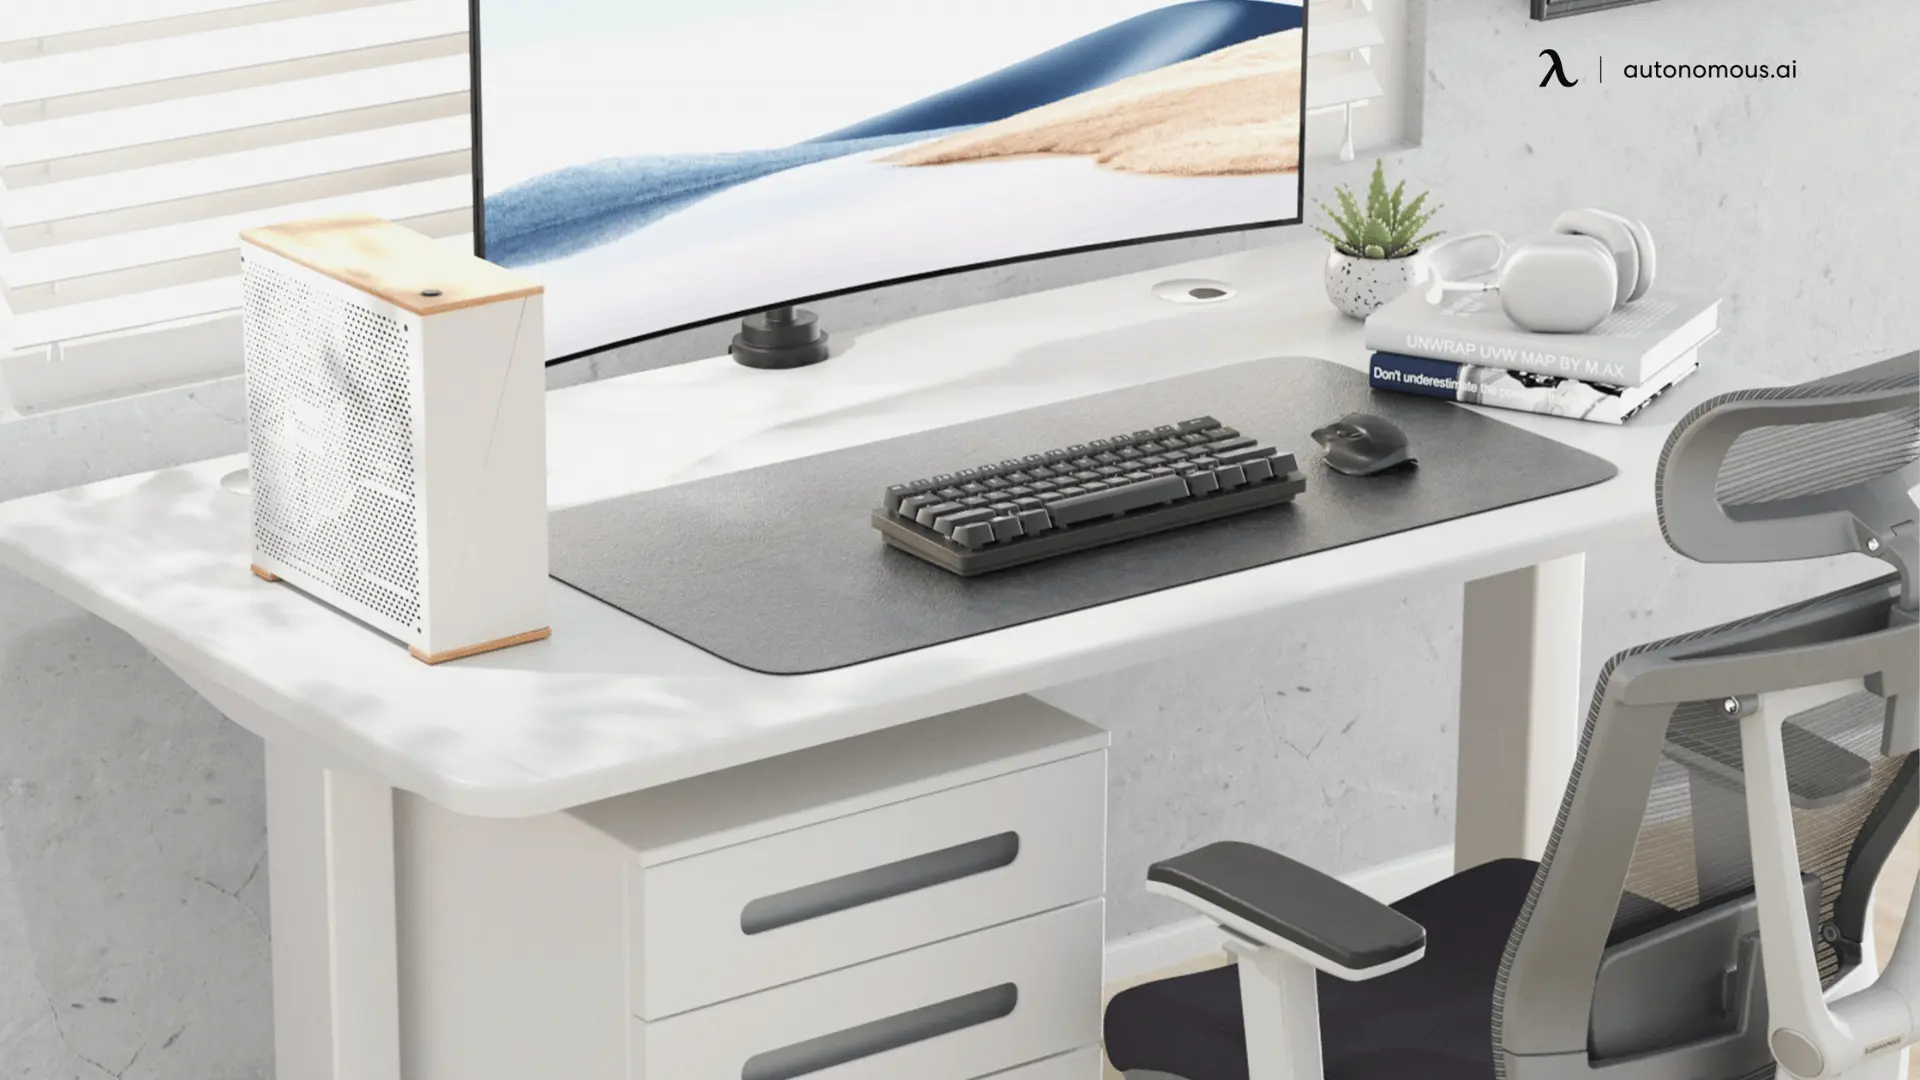
Your computer is done! Now, it's time for you to set up the rest of your gaming station. There are many options to choose from, and you can buy anything from a corner gaming desk to an RGB gaming desk or an electric standing desk – it's up to you!
Remember – building a gaming computer is a fun process, but it's not for everyone. If you don’t want to do it, you could get a black Artesian Builds customized gaming PC instead!
Keynote Takeaways
A black PC for gaming is aesthetically pleasant and very convenient, especially if you want to add LED desk lights or other decorations to your black gaming PC setup. You now understand what you must do to assemble yours, so start soon!
Stay connected with us!
Subscribe to our weekly updates to stay in the loop about our latest innovations and community news!
Spread the word