

.webp)


The Ultimate Fly Tying Desk Setup: Tools, Tips & Ideas
Table of Contents
Setting up the perfect fly tying desk is crucial for an enjoyable and efficient fly tying experience. Whether you’re building a fly tying work station from scratch or just starting out, having the right desk setup ensures that all your tools and materials are easily accessible, organized, and ready for use. Let’s dive into the essentials of creating an ideal fly tying desk setup for beginners and experienced tiers alike.
Why You Need a Fly Tying Station
A fly tying station is a dedicated workspace designed for creating fishing flies, typically equipped with tools and materials like vises, bobbin holders, feathers, and threads. It helps anglers stay organized while crafting flies for fly fishing. These stations often include storage compartments for materials and tools, along with proper lighting for detailed work. The goal is to have an efficient, comfortable space where the fly tying process can be done smoothly and with precision.
A fly tying station serves as the central hub for your creative process, offering an organized and dedicated space for crafting flies. While some anglers may begin by tying flies on the kitchen table or in a makeshift corner of the garage, the benefits of a well-organized fly tying station are numerous.
- Organization: A dedicated station helps keep all your tools and materials in one place. With countless feathers, threads, hooks, beads, and other tiny components involved in fly tying, having an organized space prevents frustrating searches for a missing tool or material mid-project.
- Efficiency: Having everything within reach improves your workflow, making it easier to focus on creating high-quality flies. This is especially helpful for anglers who frequently tie flies for specific fishing conditions or competitions.
- Customization: Fly tying stations are customizable, allowing you to tailor your workspace to suit your style. Whether you prefer traditional flies or modern patterns, a properly set-up station ensures you can work comfortably and efficiently.
- Portability: For anglers who enjoy tying flies on the go, a portable fly tying station allows you to bring your craft with you to fishing trips, fly-tying meetups, or anywhere inspiration strikes.
- Professionalism: If you tie flies commercially or give tying demonstrations, having a designated, polished station adds a professional edge to your setup.
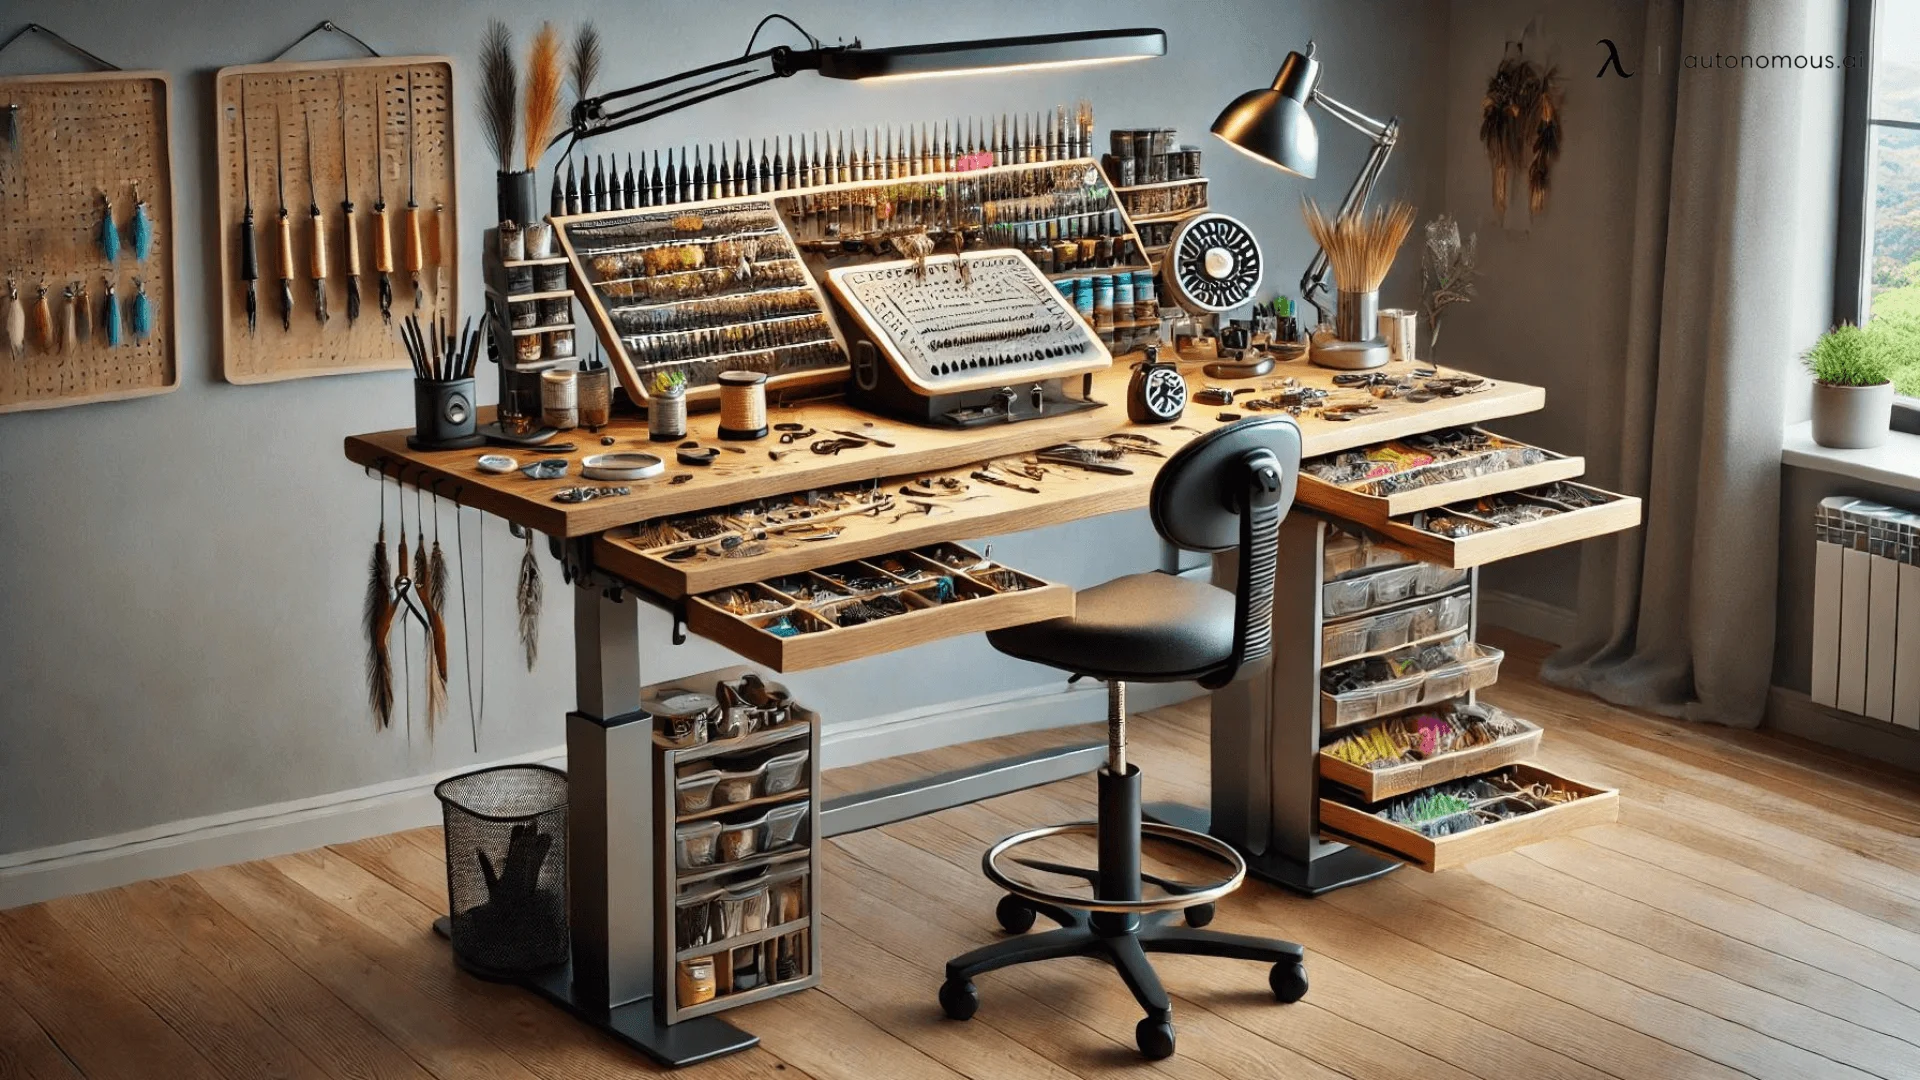
If you're just getting into fly tying, your desk setup doesn’t have to be overly complicated. Begin with a functional and comfortable space. Many opt for an adjustable desk because it allows you to sit or stand as needed, ensuring comfort throughout long fly tying sessions. A minimalist desk is also ideal if you want to maintain a clean and simple work surface while organizing your materials neatly.
Essential Tools for a Fly Tying Desk Setup
Whether you're purchasing a pre-made station or crafting your own, certain key features are essential to ensure functionality and ease of use.
1. Ample Work Surface
Select a space that is well-lit, quiet, and free of distractions. A fly tying station can be placed in a corner of a room, on a workbench, or even on a dedicated desk. Make sure the area is spacious enough to accommodate your tying station, tools, and materials without feeling cramped.
The work surface is the most important aspect of any fly tying station. It needs to be large enough to hold your tying vise while leaving space for tools, materials, and the fly itself. A flat, sturdy surface is ideal, but a slightly raised or tilted design can also improve comfort during long tying sessions.
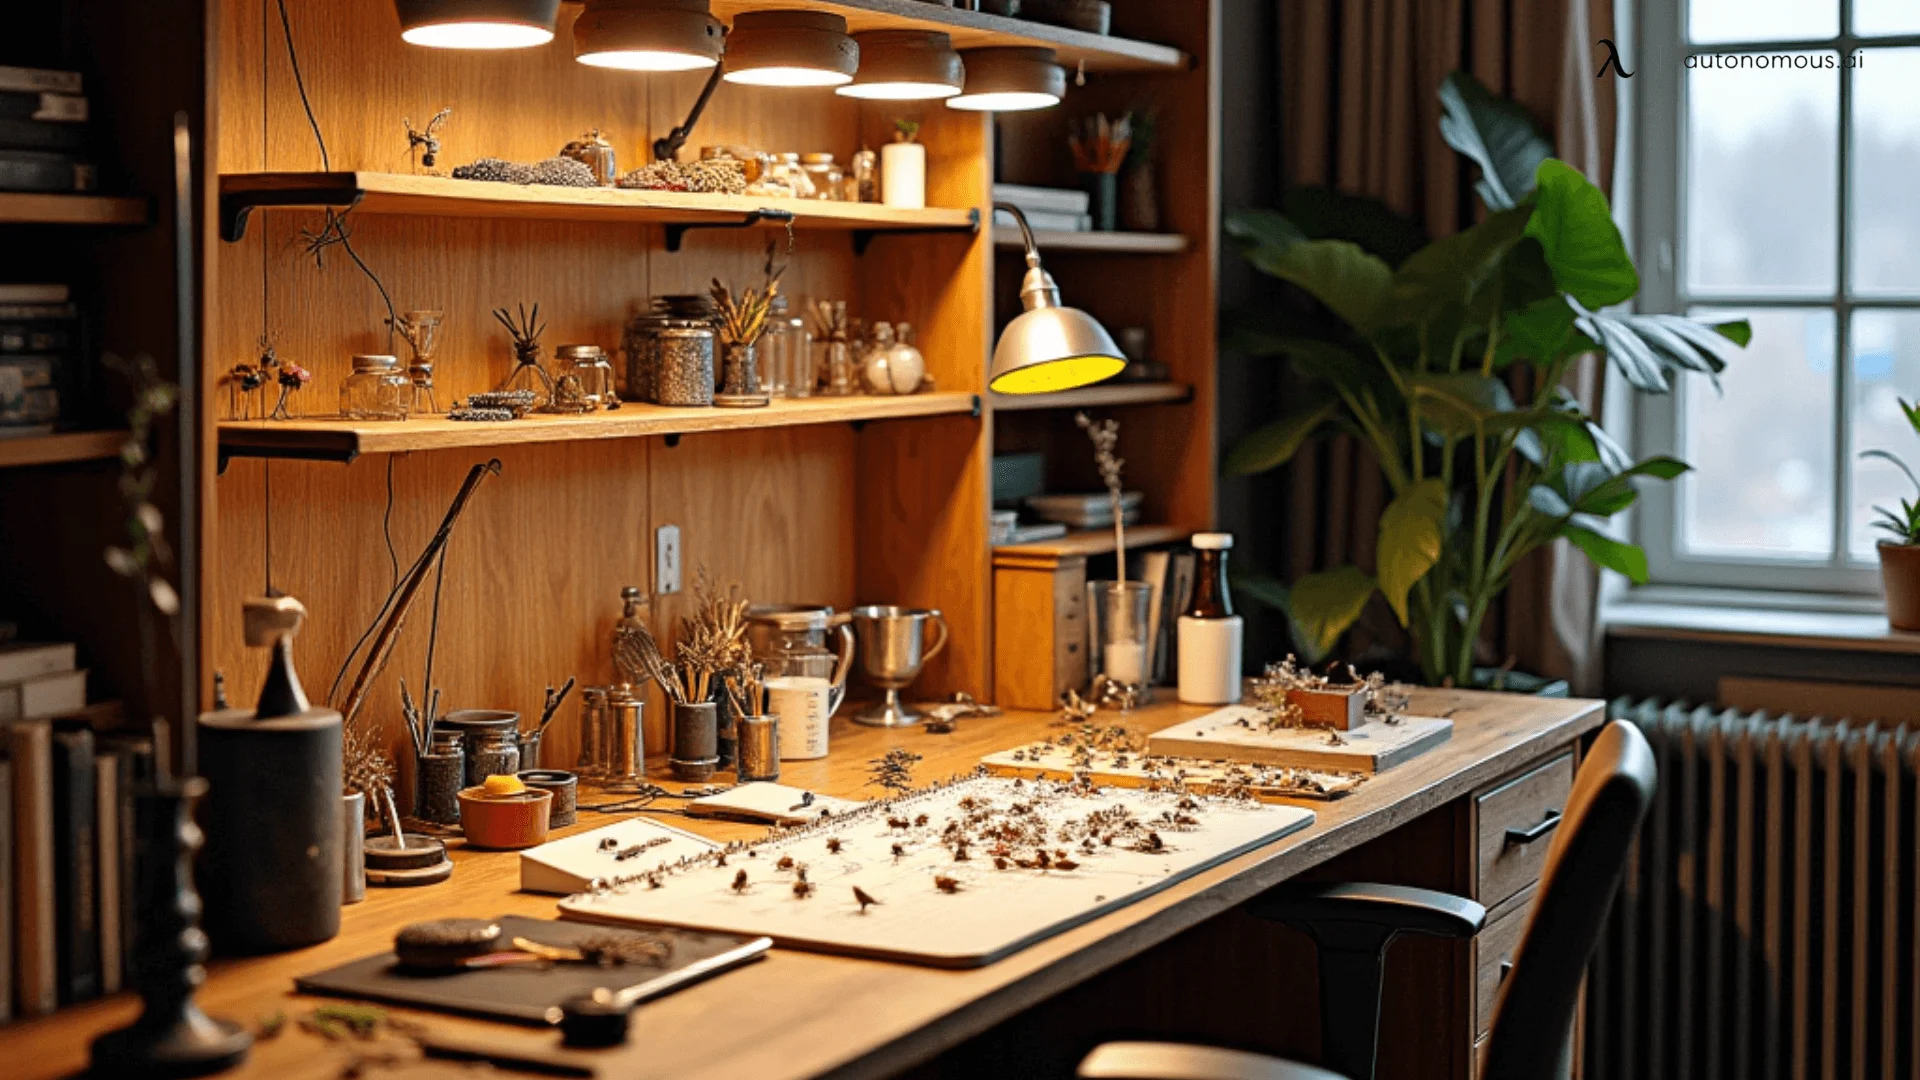
2. Tool Organization
Organization is key when working with multiple small materials like hooks, threads, feathers, and beads. Having a L-shaped desk setup offers ample surface space for spreading out your materials. You can also install aesthetic desk setup elements like storage boxes and jars for better organization. Pegboards or a home office desk with multiple compartments also help to keep things neat, allowing you to easily access tools and materials.
Don’t forget that having a filing cabinet to organize reference materials or patterns can improve efficiency and reduce clutter. You can also get creative with how you display and store your tools by exploring fly tying station ideas that add a personal touch to your setup.
Arrange your tools in a way that makes sense for your tying style. Some anglers prefer to have all their tools laid out on the table, while others like to keep them stored in drawers or on a pegboard. Regardless of your preference, ensure that your most frequently used tools are easily accessible.
3. Material Storage
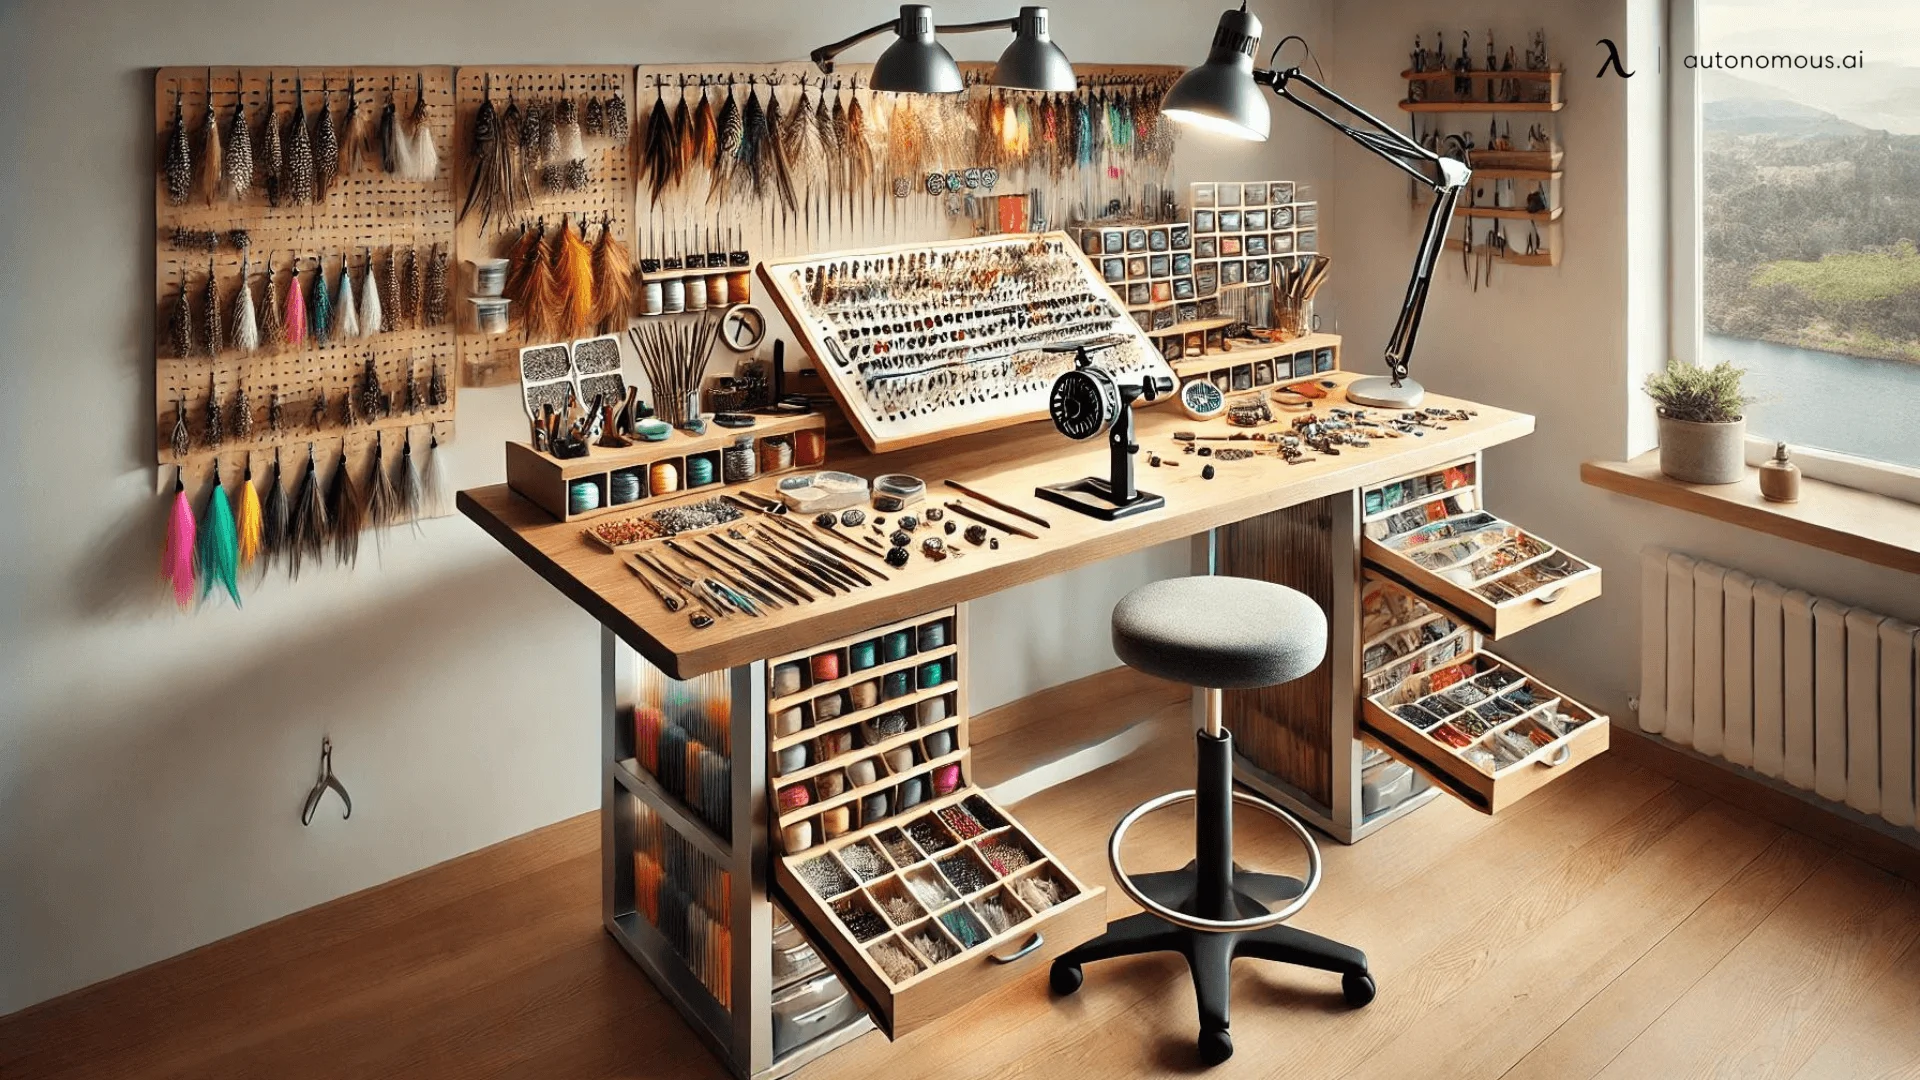
Fly tying requires a vast array of materials, including hooks, feathers, furs, synthetics, beads, and wires. To keep these organized, most fly tying stations are equipped with drawers, shelves, or small cubbies for storing materials by type, color, or size. Transparent or labeled storage containers are especially useful for quickly identifying the material you need.
Organizing your materials is key to maintaining an efficient workspace. Consider using clear plastic containers or labeled drawers to separate different types of feathers, threads, and hooks. You can also hang materials like hackles and furs on hooks or racks for easy access.
4. Vise Mounting Area
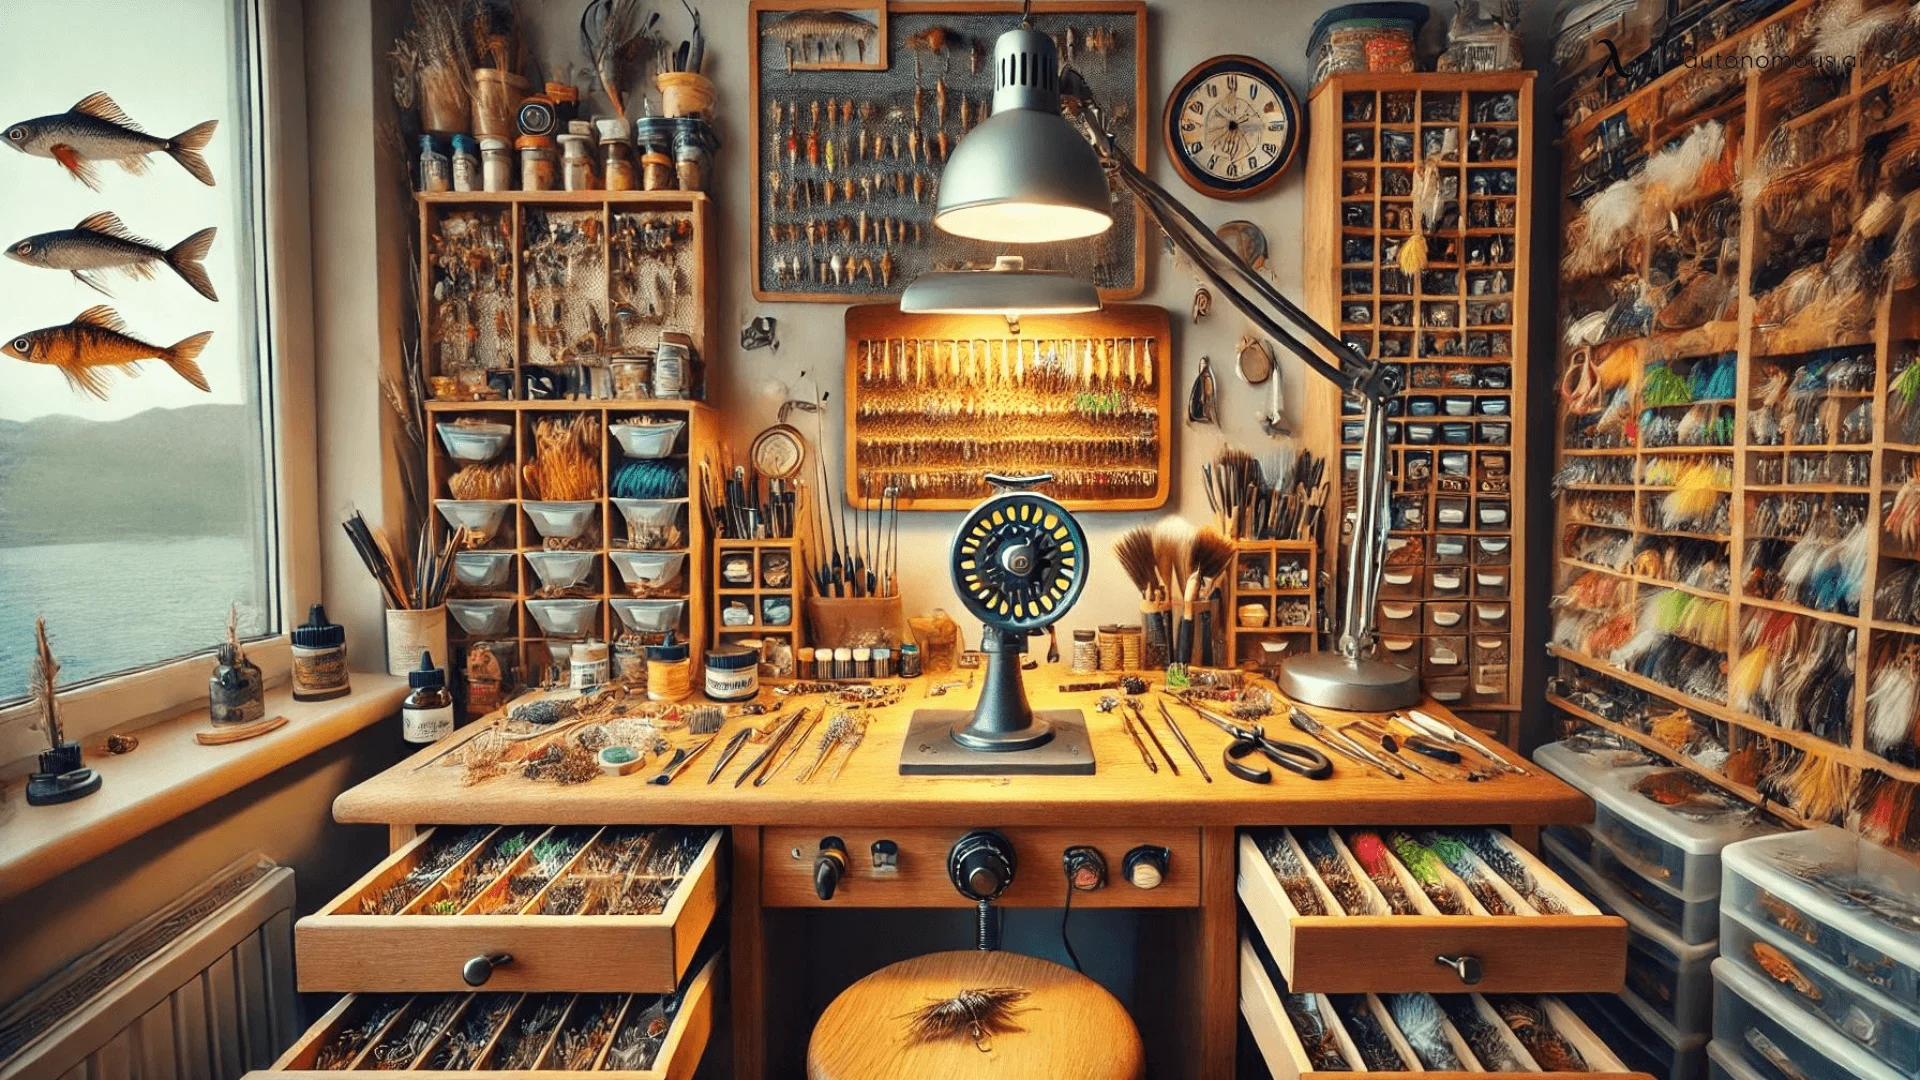
The fly tying vise is a central component of the tying process, holding the hook securely in place while you work on your fly. A proper fly tying station should have an area designed specifically for mounting the vise, ensuring it stays firmly attached and positioned at a comfortable height for you to work.
5. Lighting
Proper lighting is essential for fly tying, especially when dealing with small hooks and fine materials. Many stations come with built-in lighting or are designed to accommodate a clamp-on or adjustable lamp. LED lights are often preferred due to their brightness and energy efficiency.
6. Comfort and Ergonomics
Fly tying is a detailed and often time-consuming craft, so comfort is crucial. Ensure that your fly tying station is at a height that allows you to work comfortably, whether you’re sitting or standing. If necessary, invest in an ergonomic chair to reduce strain on your back and neck during long tying sessions.
It’s also vital to choose an ergonomic chair for back pain, especially when working for long hours. Alternatively, a standing desk chair offers ergonomic support while giving you the flexibility to switch between sitting and standing.
To maintain a healthy workspace, keep your posture in check with an office chair for long hours or even a drafting chair for more height flexibility.
7. Portability Options
For anglers who want to tie flies on the go, portable fly tying stations are a great option. These typically feature foldable or compact designs, allowing you to pack up your tools and materials neatly into a small, transportable case. Portable stations often sacrifice some storage space for portability, but they are ideal for travel. You might also consider a rolling standing desk, which can be easily moved around if you need to work in various spaces
Make your fly tying station your own by adding personal touches, such as a favorite fishing photo or a small collection of your best flies on display. Personalizing your space can make the process more enjoyable and inspiring. If you're working in a smaller space, a small desk with drawers can help keep things tidy while maximizing limited areas. Desk drawers to store spare hooks, feathers, and thread.
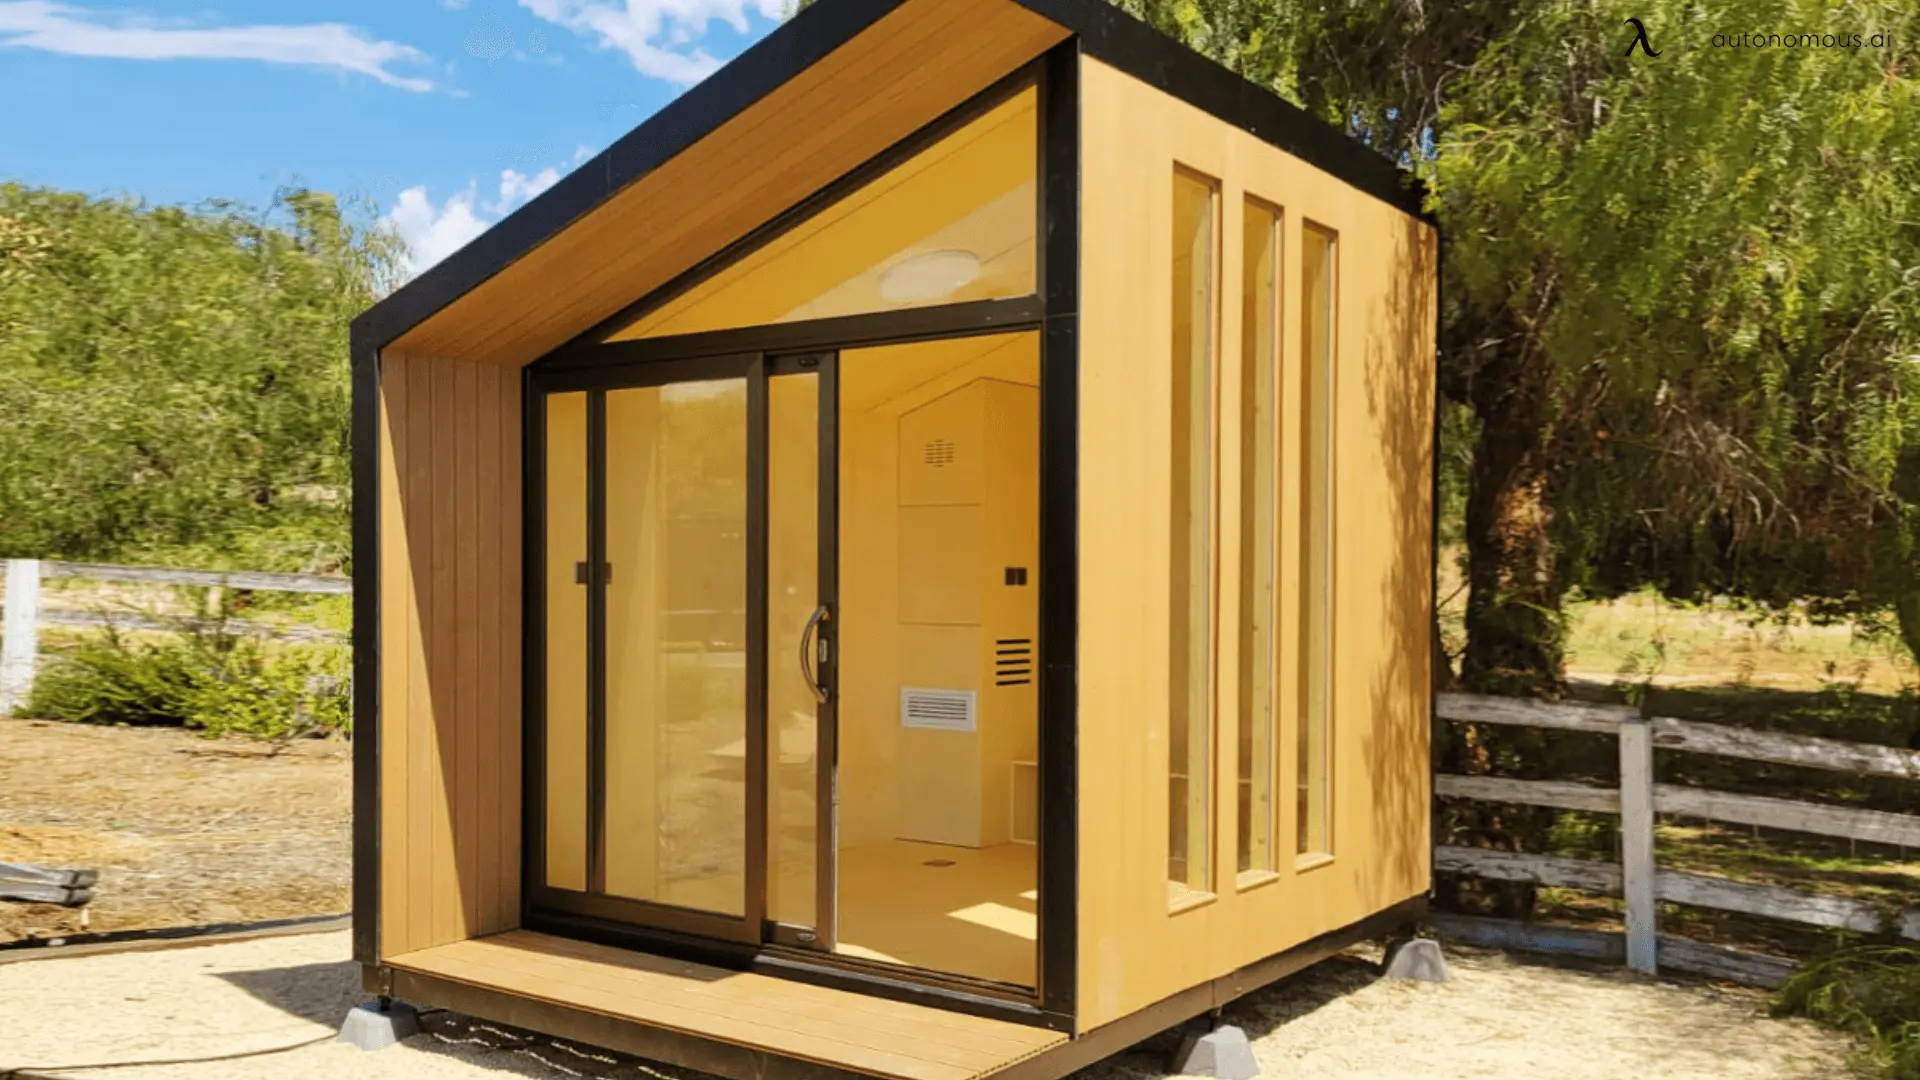
The Benefits of a Backyard Shed Workspace
1. A Peaceful Environment for Focus and Creativity
One of the greatest benefits of having an office shed for your fly tying workstation is the sense of peace and tranquility it offers. Unlike a noisy garage or a cluttered room inside the house, a shed tucked away in your backyard provides a secluded, quiet space that’s perfect for concentration.
Surrounded by nature, you can immerse yourself fully in the task of tying flies without distractions from daily household activities. The chirping of birds, rustling leaves, and the overall calming atmosphere can significantly improve focus. This peace of mind allows for better attention to detail, resulting in more intricate and accurate fly patterns.
When you’re free from the interruptions of daily life, you can enter a flow state, where time passes effortlessly, and your creativity can flourish.
2. Inspiration from Nature
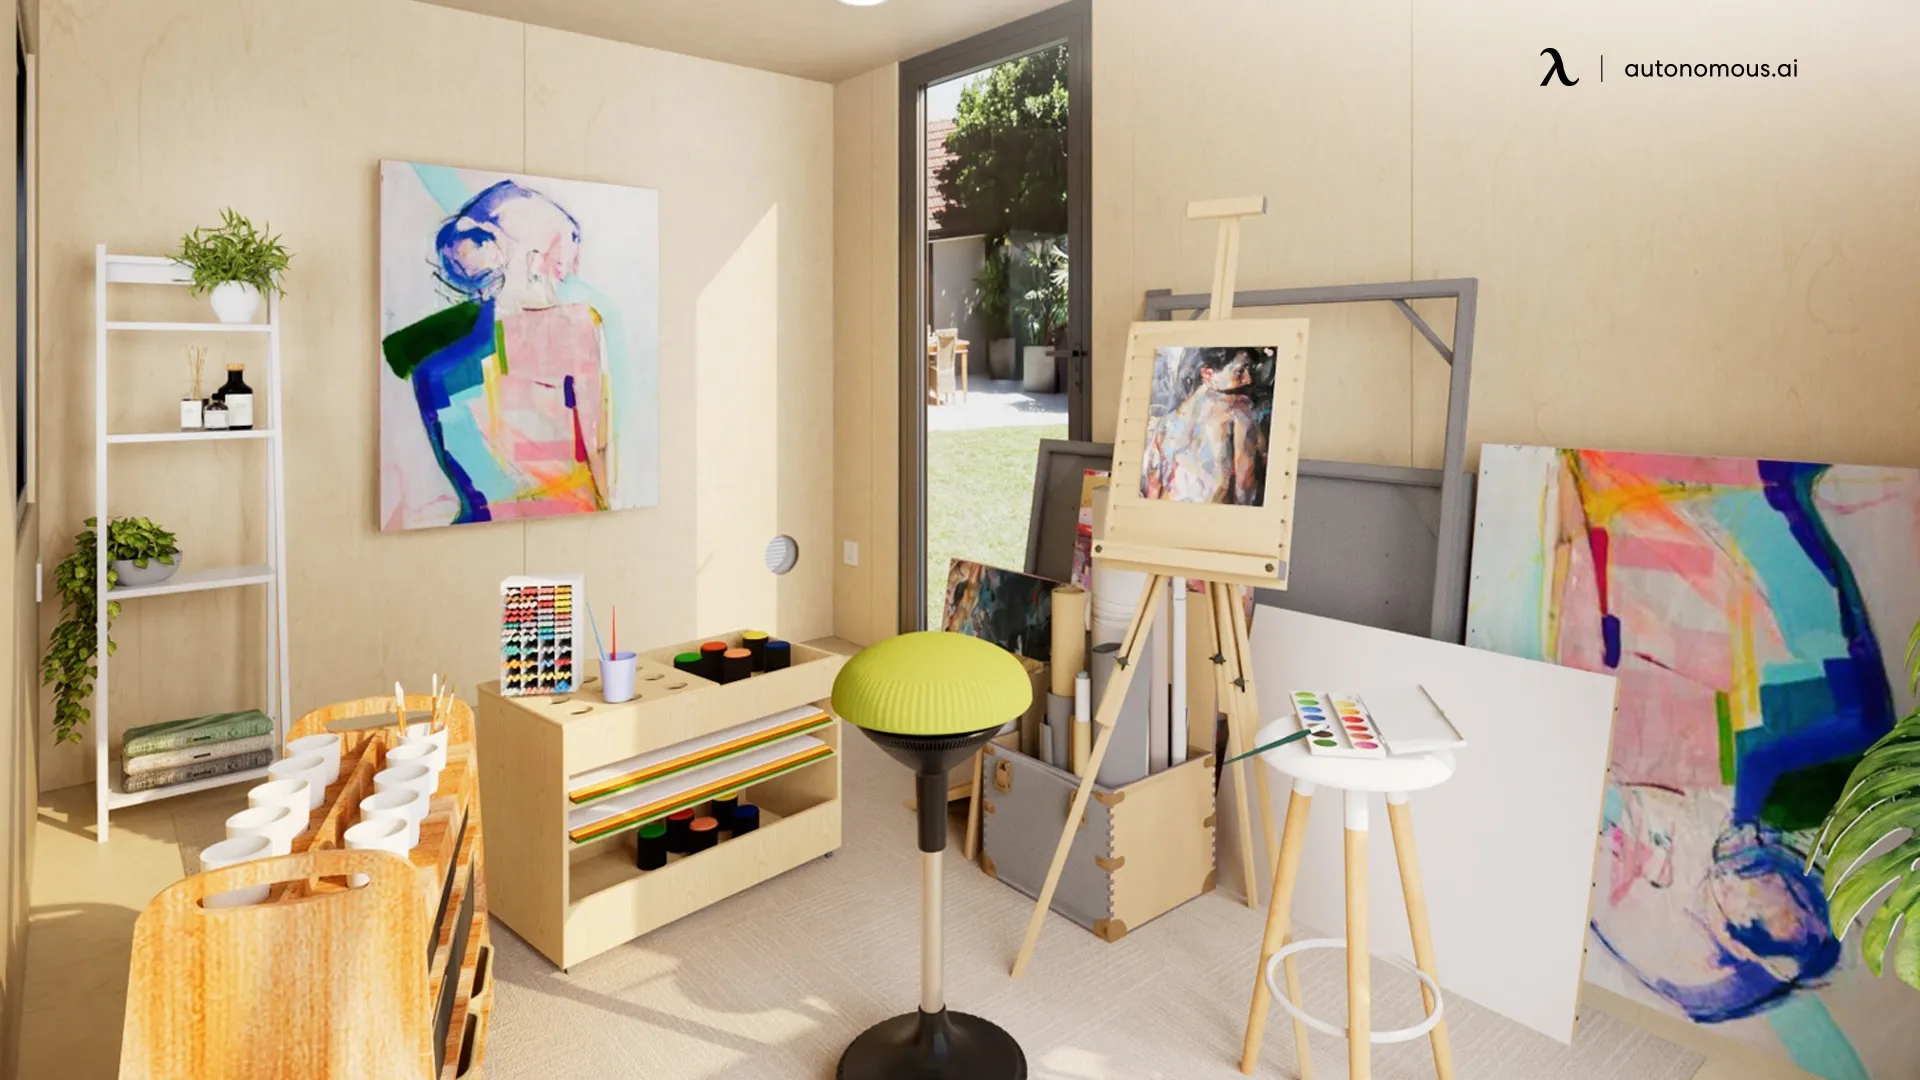
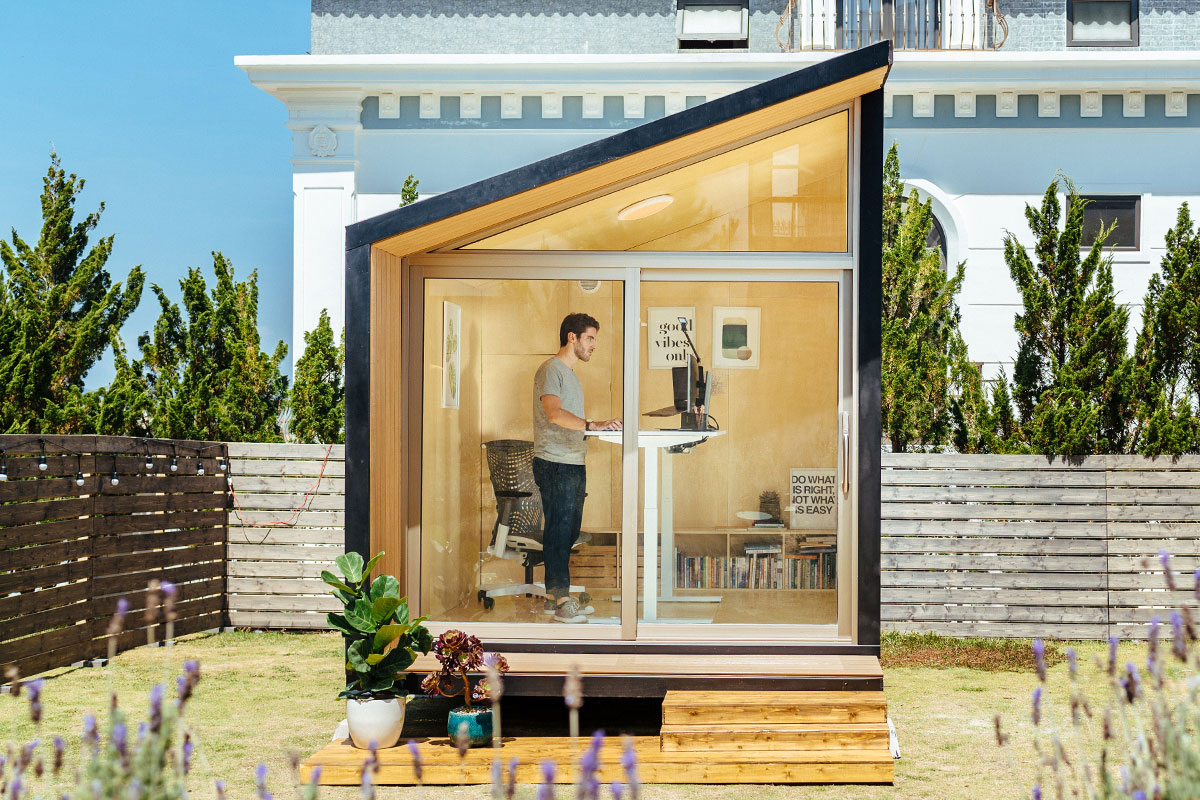
The beauty of setting up a fly tying workstation in your prefab backyard studio is that you are never far from your inspiration. Whether you’re replicating a mayfly, caddisfly, or stonefly, being in nature itself can provide a direct source of ideas for your patterns.
As you tie, you can look out the shed window and observe the environment—the changing seasons, the colors, the textures, and even the insects buzzing around. This close proximity to the natural world can offer fresh insights into how your flies should look, behave, and move in the water.
For anglers who live near rivers or streams, a small garden room becomes even more beneficial. After a day of fishing, you can immediately return to your shed, analyze what insects are hatching, and start tying patterns that match the local hatches you’ve observed. This real-time feedback from nature allows you to adjust your flies for the next day’s fishing.
3. A Personalized Retreat for Fly Tying
A backyard shed offers complete control over your workspace. Unlike an indoor fly tying station that may have to share space with other household activities, a backyard shed is entirely your own. You can design, decorate, and organize it to suit your specific needs.
Some anglers may opt for a rustic prefab log cabin-like feel, with wooden shelves and nature-inspired decor, while others may prefer a more modern, sleek setup with high-tech lighting and minimalist organization. Either way, the shed becomes a sanctuary—a place where you can retreat to tie flies without interference.
Adding personal touches to the shed inside, like photos of memorable fishing trips or a display of your favorite flies, can make the space even more inviting. Your shed will become more than just a place to tie flies—it will be a creative retreat where you can spend hours honing your craft.
4. Outdoor Workspace with Comfort and Convenience
One of the great benefits of a fly tying station in a backyard shed is that it combines the best of both worlds: the outdoors and indoor comfort. While you have the calming influence of nature all around you, your shed provides protection from the elements, giving you a controlled environment to work in no matter the weather.
In colder months, you can insulate your shed and add a small heater to ensure a cozy space. In warmer months, windows and natural ventilation can keep the space airy and pleasant. Having the convenience of electricity allows you to install proper lighting and use any tools or equipment you need without sacrificing comfort.
Additionally, the shed can serve as more than just a fly tying space—it can become a multi-functional area where you store your fishing gear, prep for upcoming trips, or even take a break and relax between tying sessions.
5. Improved Organization and Efficiency
One of the common challenges anglers face when tying flies is staying organized. With hundreds of small materials—feathers, hooks, threads, and beads—keeping everything in order can become difficult. By building a fly tying workstation in your backyard shed, you have the opportunity to create a workspace specifically designed for optimal organization.
You can add pegboards, shelving, drawers, and labeled containers to keep all your fly tying tools and materials in one place. Unlike indoor spaces that may need to serve multiple purposes, the shed can be dedicated solely to fly tying, allowing you to leave your setup intact and return to it whenever you want.
Having everything neatly arranged and easy to access improves your efficiency, making the fly tying process smoother and more enjoyable. This level of organization also encourages you to tie more often since your materials are always ready to go when inspiration strikes.
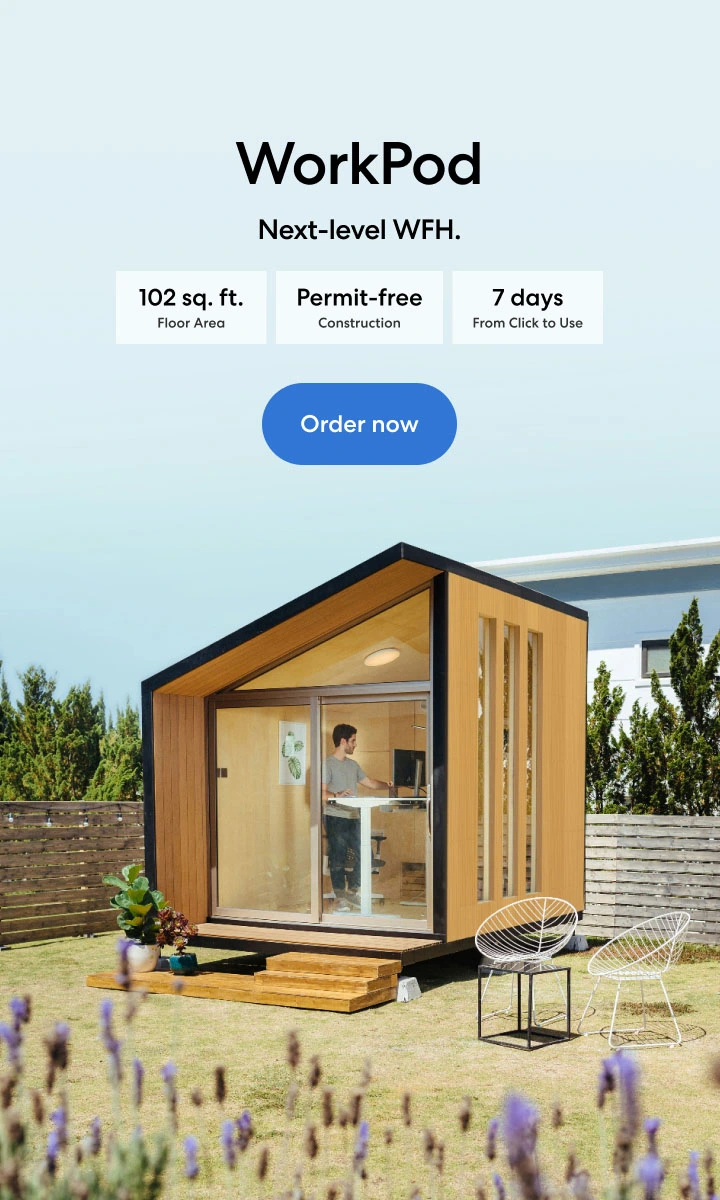
WorkPod
 97 reviews
| Overall size | 8.5’W x 12’L x 11’H |
| Floorspace | 102 square feet |
| Ceiling height | 6.8’ to 9.3’ |
| Weight capacity | 2.9 tons |
| Door & Window dimensions, material (include glass) | Main door: 7.5’W x 6.8'H 3 windows: 1.1’W x 7.9’H Window material: Wooden frame, 5/16” tempered glass, composite wood cover Door material: Anodized aluminum frame, 5/16” tempered glass |
| Siding, roof, floor & balcony material | Siding: Plywood 1/2”, wooden frame, honeycomb paper, plywood 3/8”, bitume, housewrap, vinyl siding Roof: Roof shingles Floor: Plywood Balcony: Composite wood |
| Electrical devices | 1 RCB (Residual current breaker) 3 Wall outlet (Universal wall sockets) 1 Ceiling light switch 1 Ceiling light 1 Ventilator switch 1 Ventilator 66ft power cable with 2 connectors |
| Power input | Maximum voltage: 110V AC (US standard) Maximum current: 25A Maximum power dissipation: 2750W |
| Interior furniture | Unfurnished option: 1 Bookshelf, 1 Electrical Cabinet Furnished option: 1 SmartDesk Connect, 1 ErgoChair Ultra, 1 Monitor Arm, 1 Cable Tray, 1 Filing Cabinet, 1 Anti-Fatigue Mat, 1 Bookshelf, 1 Electrical Cabinet |
| Compatible with | Portable air conditioner: A/C units with dimensions smaller than 22” L x 20” W x 88” H and a 5.9” vent hole diameter will fit well. Heater: A small personal heater is more than sufficient. |
- Handy homeowners
- Professionals who need a quiet, dedicated space to work from home
- Freelancers who require a focused environment away from household distractions
- Permit-free
- Zero foundation preparation
- Built with weatherproof and soundproof materials
- Pre-wired with ambient lighting and outlets
- Ready in 3 days
- Requires sufficient outdoor space which may not be available to everyone
- May require additional setup for internet and other connectivity
FAQs
What is the best desk size for a fly tying workstation?
A desk around 40-50 inches wide provides enough space for your fly tying materials, tools, and adequate working space.
Can I use a standing desk for fly tying?
Yes, a rolling standing desk is great for flexibility, allowing you to alternate between sitting and standing while tying flies.
Conclusion
Building the perfect fly tying desk setup requires thought and planning, but the effort pays off in both comfort and productivity. Whether you’re just getting started or upgrading your current setup, having the right tools, space, and organization will elevate your fly tying experience. Explore ideas like a pegboard desk setup, and small office chair to create a workspace that suits your needs. Ready to get started? Check out our detailed guides and explore innovative desk setups to find inspiration for your fly tying bench plans.


.webp)
Bleiben Sie mit uns in Verbindung!
Abonnieren Sie unsere wöchentlichen Updates, um über unsere neuesten Innovationen und Community-Neuigkeiten auf dem Laufenden zu bleiben!
Interesse an einer Linkplatzierung?
Sag es weiter
