What's the Ideal Ergonomic Position for Your Elbows at a Desk?
Much has been said about the ergonomics of sitting at a desk, including lumbar support, the presence or absence of head and neck support, and the position of your feet flat on the ground. What is less frequently considered, but just as important, is the position of your arms. The position of your elbows, forearms, wrists, and hands all goes into proper ergonomics.
Improper arm position can lead to a variety of aches, pains, and injuries. You can put stress on your shoulders and neck, which can lead to back and neck pain. Neck pain and tension can also lead to headaches, as well as a general loss of focus and attention. Meanwhile, poorly positioned arms during long hours of typing and mouse usage can lead to repetitive stress injuries, in both the forearms and wrists. RSIs such as Carpal Tunnel Syndrome can make working painful and even debilitating over time.
How can you properly position your arms and elbows at your desk for the best and most comfortable ergonomics? There’s a lot to consider.
Wrists in Line with Forearms
First and foremost with ergonomic posture is the angle of your wrists compared to your forearms.
In general, you want your forearms to be either flat or slightly angled downwards toward your desk. This allows your wrists to remain at a neutral angle with regards to your forearms. Your goal is to be able to draw a straight line between your elbow, along your forearm, through your wrist, and to the middle of your hands.
If you bend your wrists downwards to type, chances are that you’re hunching your shoulders and pulling your elbows inwards to support them. This puts a strain on your shoulders and back. Conversely, if you bend your wrists up, it’s called a wrist hyperextension. This puts excess strain on the muscles and tendons in your wrist and can lead to extreme pain over time. Find the middle ground that keeps your wrists at a neutral angle.
Elbows Slightly Above or Level with Desk Surface
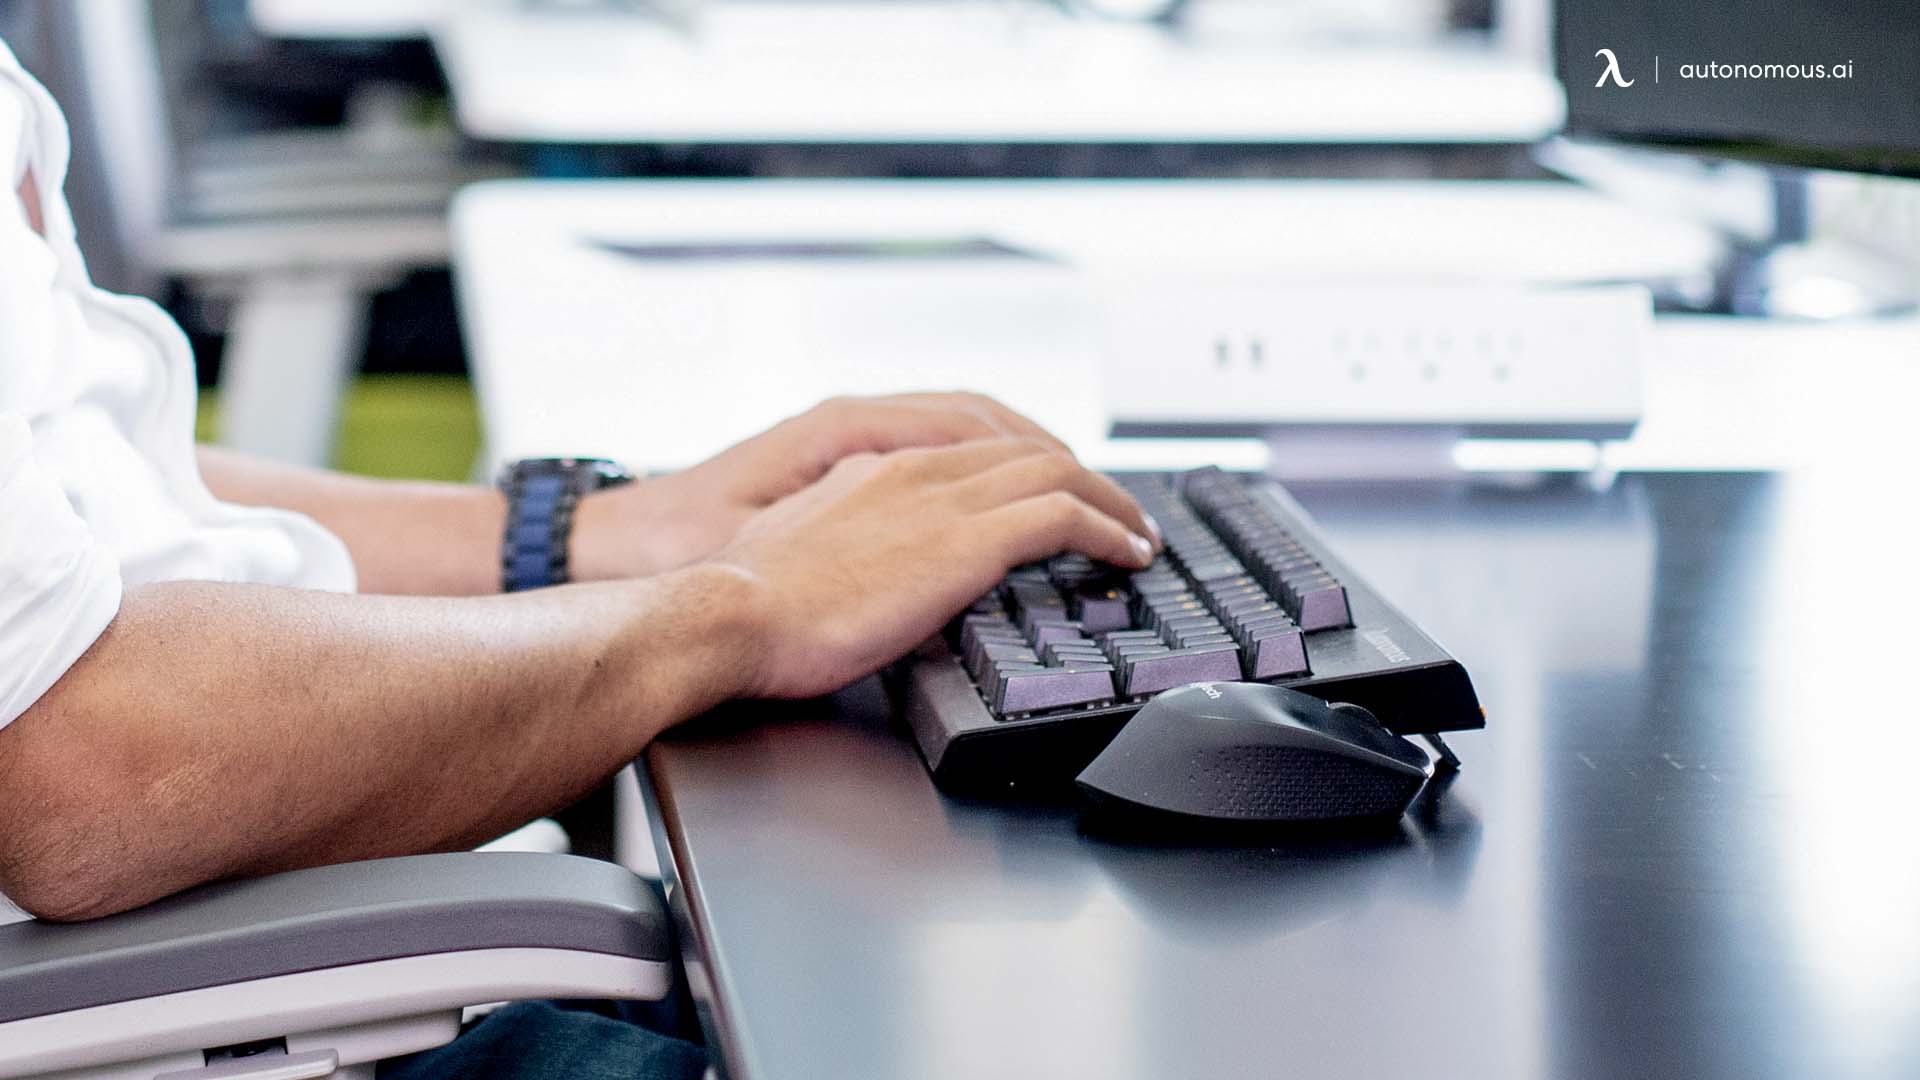
Your elbows should be either level with your desk surface or slightly above it. This facilitates your ability to keep your wrists straight. Often, this means positioning your chair higher than you’re used to. If you need your chair higher, because you can’t lower your desk surface, you will need a footrest to raise the height of your feet so your legs remain flat in an ergonomic sitting posture.
In some cases, you will be able to use a keyboard tray or lower shelf to lower the height of your keyboard and mouse. Try to make sure everything you use regularly is on the same level, so you don’t have to reach as much or as often to access your tools.
Use a Flat or Negative Tilted Keyboard
Most keyboards have legs at the back to raise the rear part of the keyboard, creating a positive tilt. This makes it easier to access the keys in the back but also puts stress on your wrists by extending them. This is the leading cause of wrist pain after a long day of work.
Propping up the front of the keyboard, rather than the back, gives you a negative tilt to your keyboard. This allows you to keep your wrists at a neutral angle more easily and helps minimize repetitive stress and pain.
You have three options for using a keyboard with a negative tilt. First and most easily, you can simply prop up the front of your keyboard by half an inch or so, using something that prevents the keyboard from slipping around. A thin wrist rest can do the job, but there are also products available to help with this positioning.
The second option is to buy a shelf extension that tilts slightly to provide a negative tilt. These work best when attached to a keyboard shelf, but may also work on a desk surface.
The third option is to purchase a keyboard with a built-in negative tilt. These may have legs similar to other keyboards, just on the front instead of the back. Regardless of which option you choose, find a negative tilt that keeps your wrists straight and allows you to sit with proper posture.
Use Wrist Pads Under Palms, Not Wrists
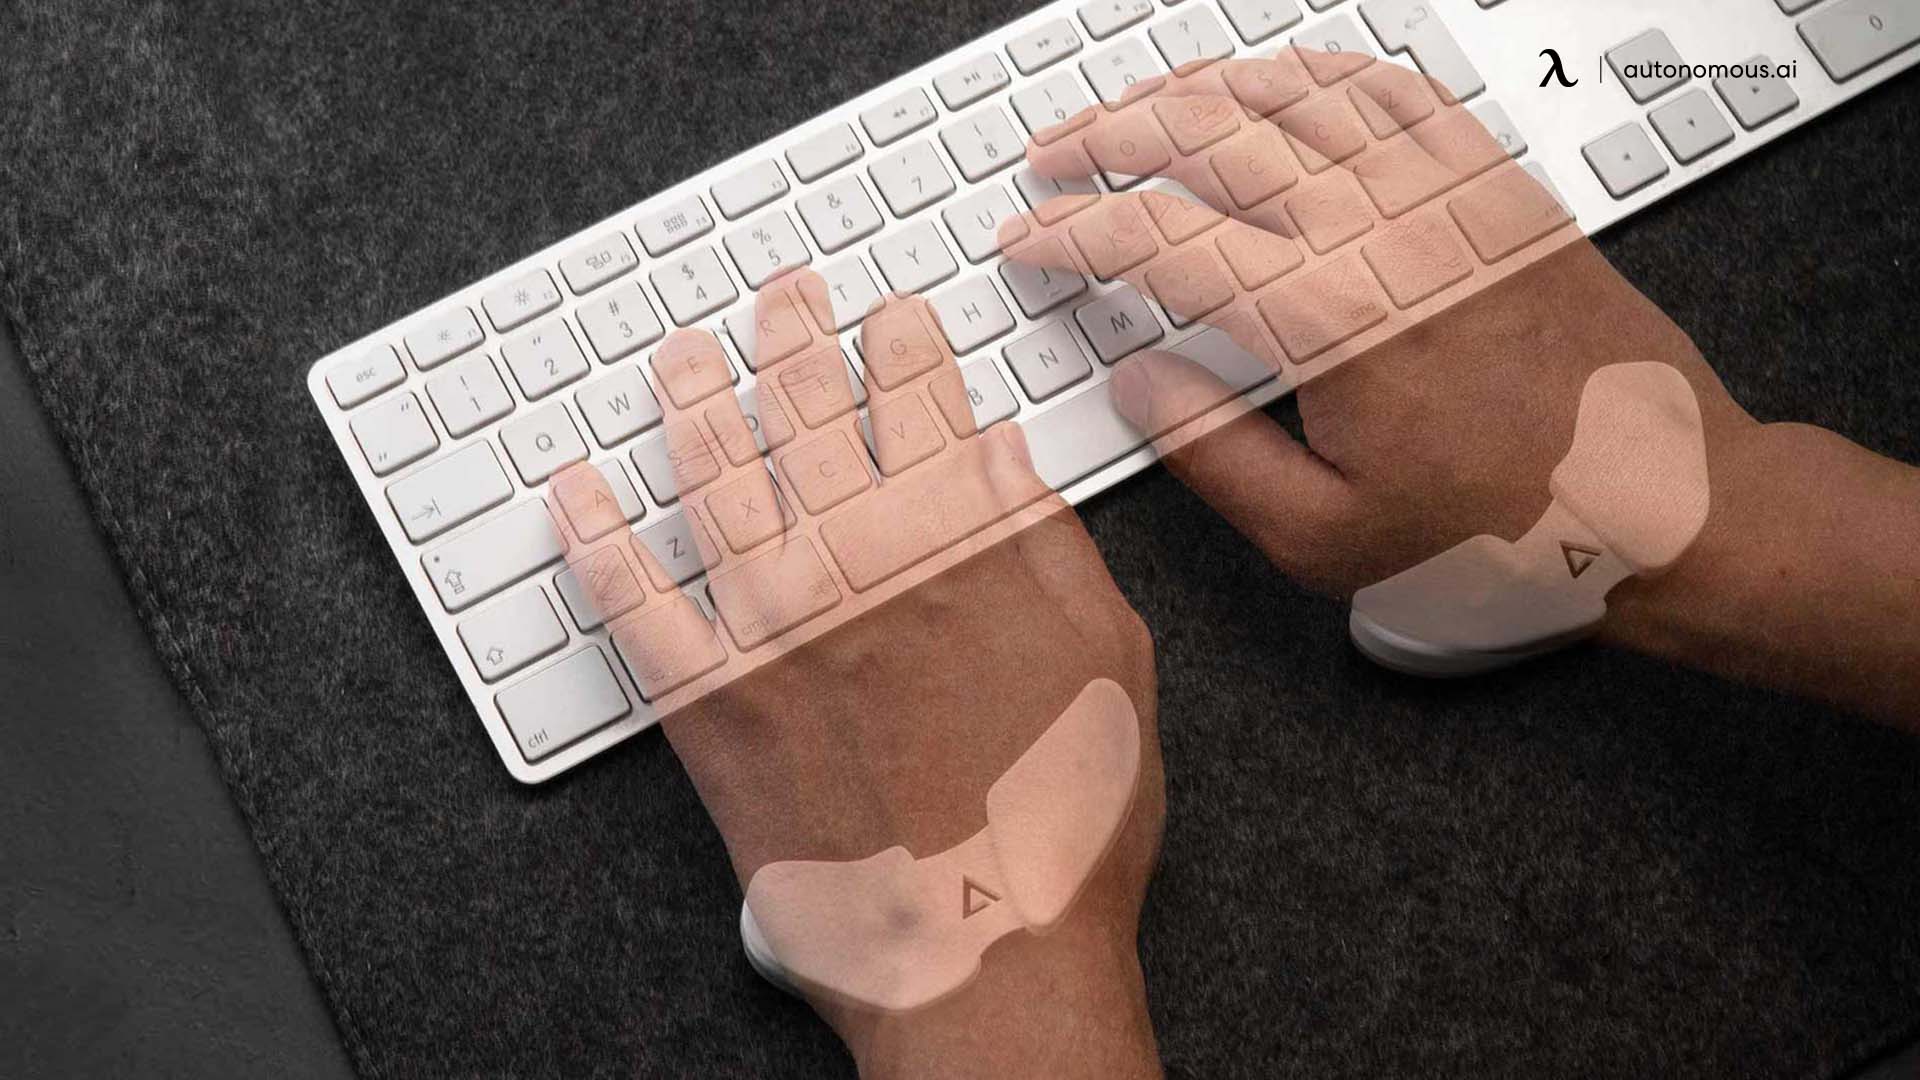
Many typists swear by wrist rests as an aid for their typing. These padded strips sit in front of your keyboard and provide you with additional support to keep your wrists at a neutral angle while using the computer. Similarly, mousepads with a wrist rest built-in can help keep your wrists at that neutral angle while using the mouse.
If using a wrist pad, push it forward far enough to touch the front of the keyboard, such that it supports your palms rather than your wrists. When resting your wrists on such a pad, you can put pressure on the carpal tunnel, which tightens the space and puts stress on the tendons in the wrist. It can also cut off blood flow, which may lead to numb or tingling fingers or other long-term damage. Keeping the pad under the flesh of your palm helps alleviate these issues.
Hover Hands When Typing
Proper touch-typing posture is tricky to learn and is often ignored, even by experienced typists. The best posture is to hover your hands over your keyboard, moving them as little as possible while typing. Ideally, your fingers should move, and little else. When you need to use the mouse or move your hands from side to side to use function keys, move the whole of your arm rather than twisting your wrists. This minimizes the amount of stress you put on your wrists and hands.
Minimize Mouse Use with Keyboard Shortcuts
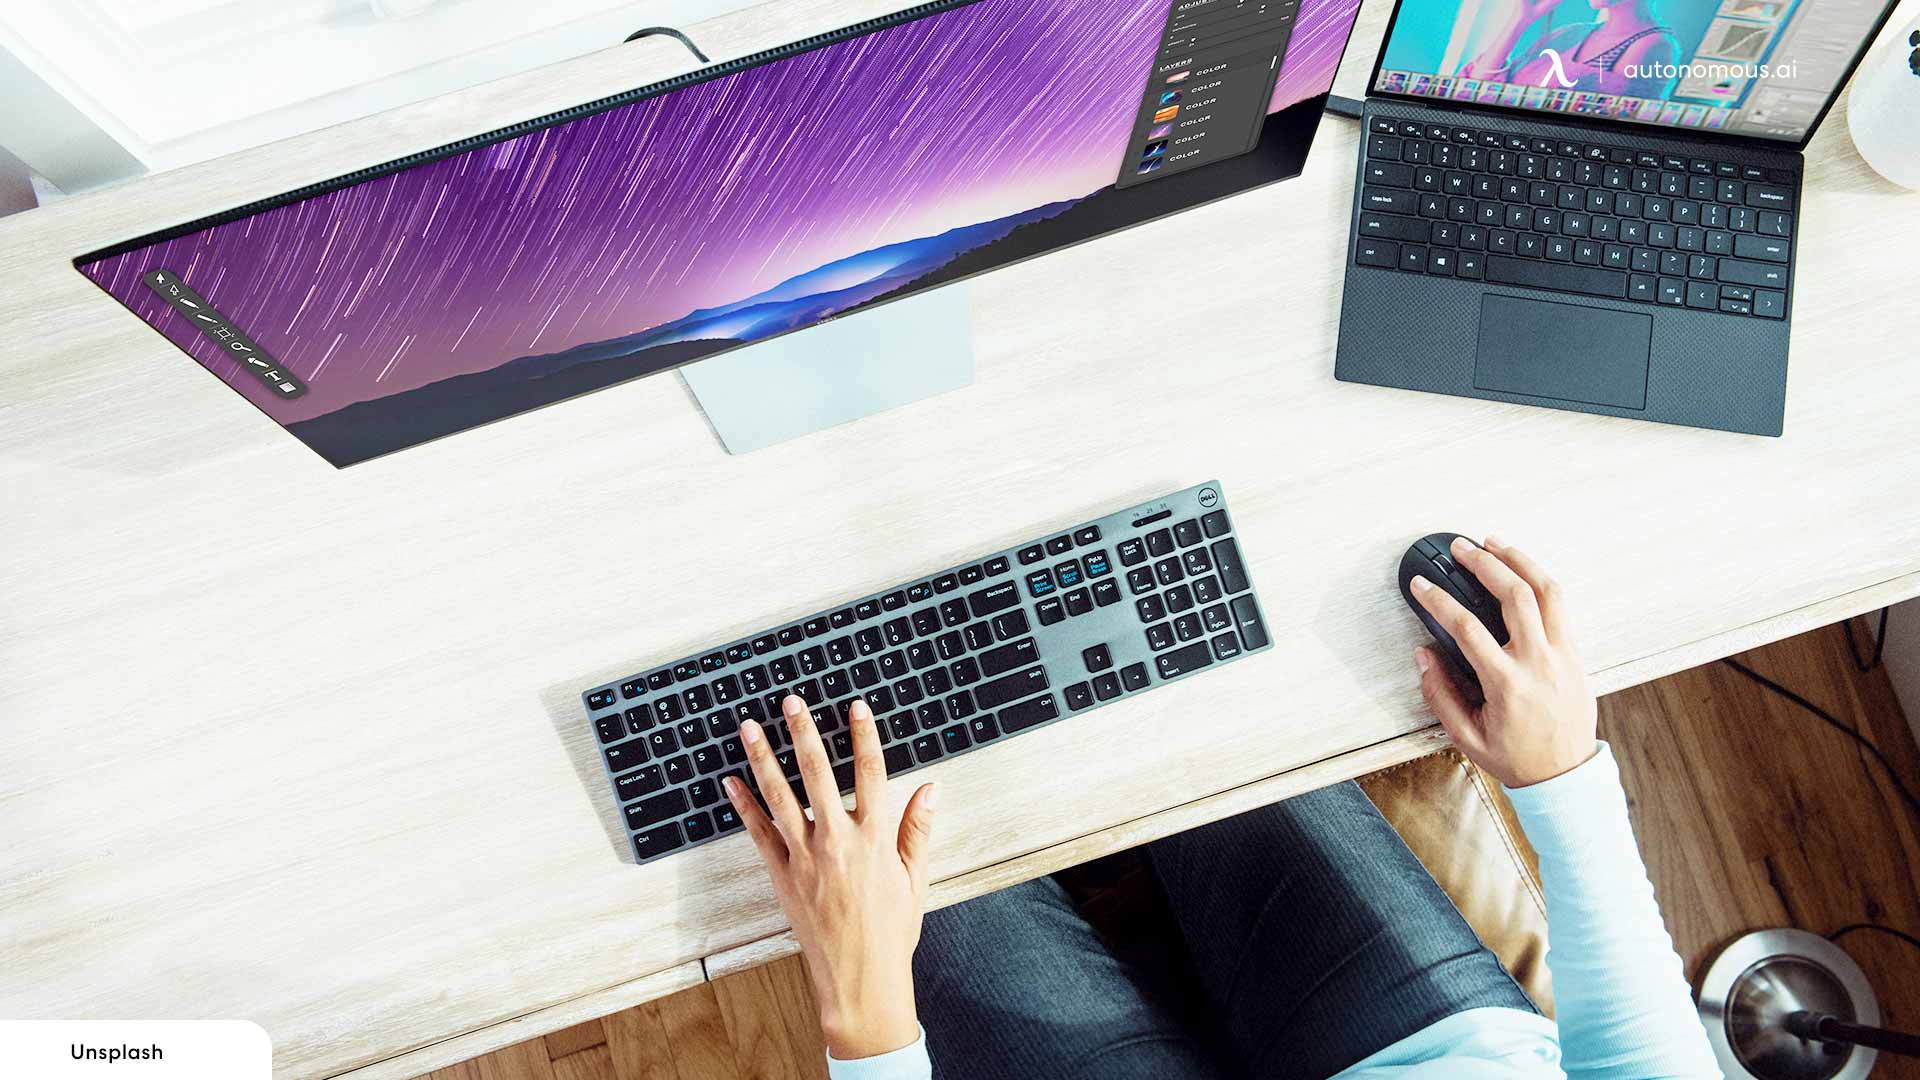
Moving your arms adds stress to your wrists, elbows, shoulders, and neck. The less motion you can do while you work, the better off you’ll be. One of the best things you can learn to minimize repetitive stress is to learn some common keyboard shortcuts to accomplish your tasks. Using ctrl + other keys as shortcuts to these common tasks is the first step. Ctrl plus various keys perform tasks such as:
- Z: undo
- C: copy
- V: paste
- X: cut
- W: close tab or window
- T: open new tab
- I, B, U: text formatting for italic, bold, and underline
The alt function key allows for navigation. Pressing or holding alt will pop up or highlight letters, which can be pressed to navigate menus. Alt-F opens the File menu, for example.
There are hundreds of keyboard shortcuts you can use for navigation and tasks, and while many of them are near-universal, some are specific to certain programs. Learn the shortcuts for the tasks you complete regularly and expand your knowledge from there. They can reduce hundreds or even thousands of keystrokes per day, saving you time and unnecessary strain on your body.
Consider a Mouse Alternative Device
Using a mouse is one of the most damaging tasks related to using a computer. Rapid and repeated wrist motions, plus the stress of clicking repeatedly, can lead to repetitive stress injuries that make using a computer incredibly painful.
There are several kinds of mouse alternative devices you might consider to make life a little easier and less painful.
Vertical Mice – These devices are still mice, with a laser on the bottom and buttons to click. The difference is, they are meant to be held sideways, with your wrists at a more neutral position. The slight rotation of your wrists is more comfortable, and the design encourages you to move the mouse with your forearm rather than just with your wrist.
Trackball Mice – These devices use balls to control the position of your cursor. They stay stationary on your desk and allow you to control your interface by rotating the ball in place. They take some adjustment to get used to, but they can be very comfortable and accurate after you’ve adjusted.
Alternative Interfaces – Stand-alone devices can use alternative means of control, though they are often designed for people who are missing hands or who do not have fine motor control. These devices include touchpads similar to laptop touchpads, head motion tracking devices using cameras or sensors, and eye-tracking software that measures eye position.
In general, you should prefer to use keyboard shortcuts over alternative mice. However, if your job entails a lot of mouse usages such as AutoCAD or 3D modeling, using an alternative mouse may be a better idea.
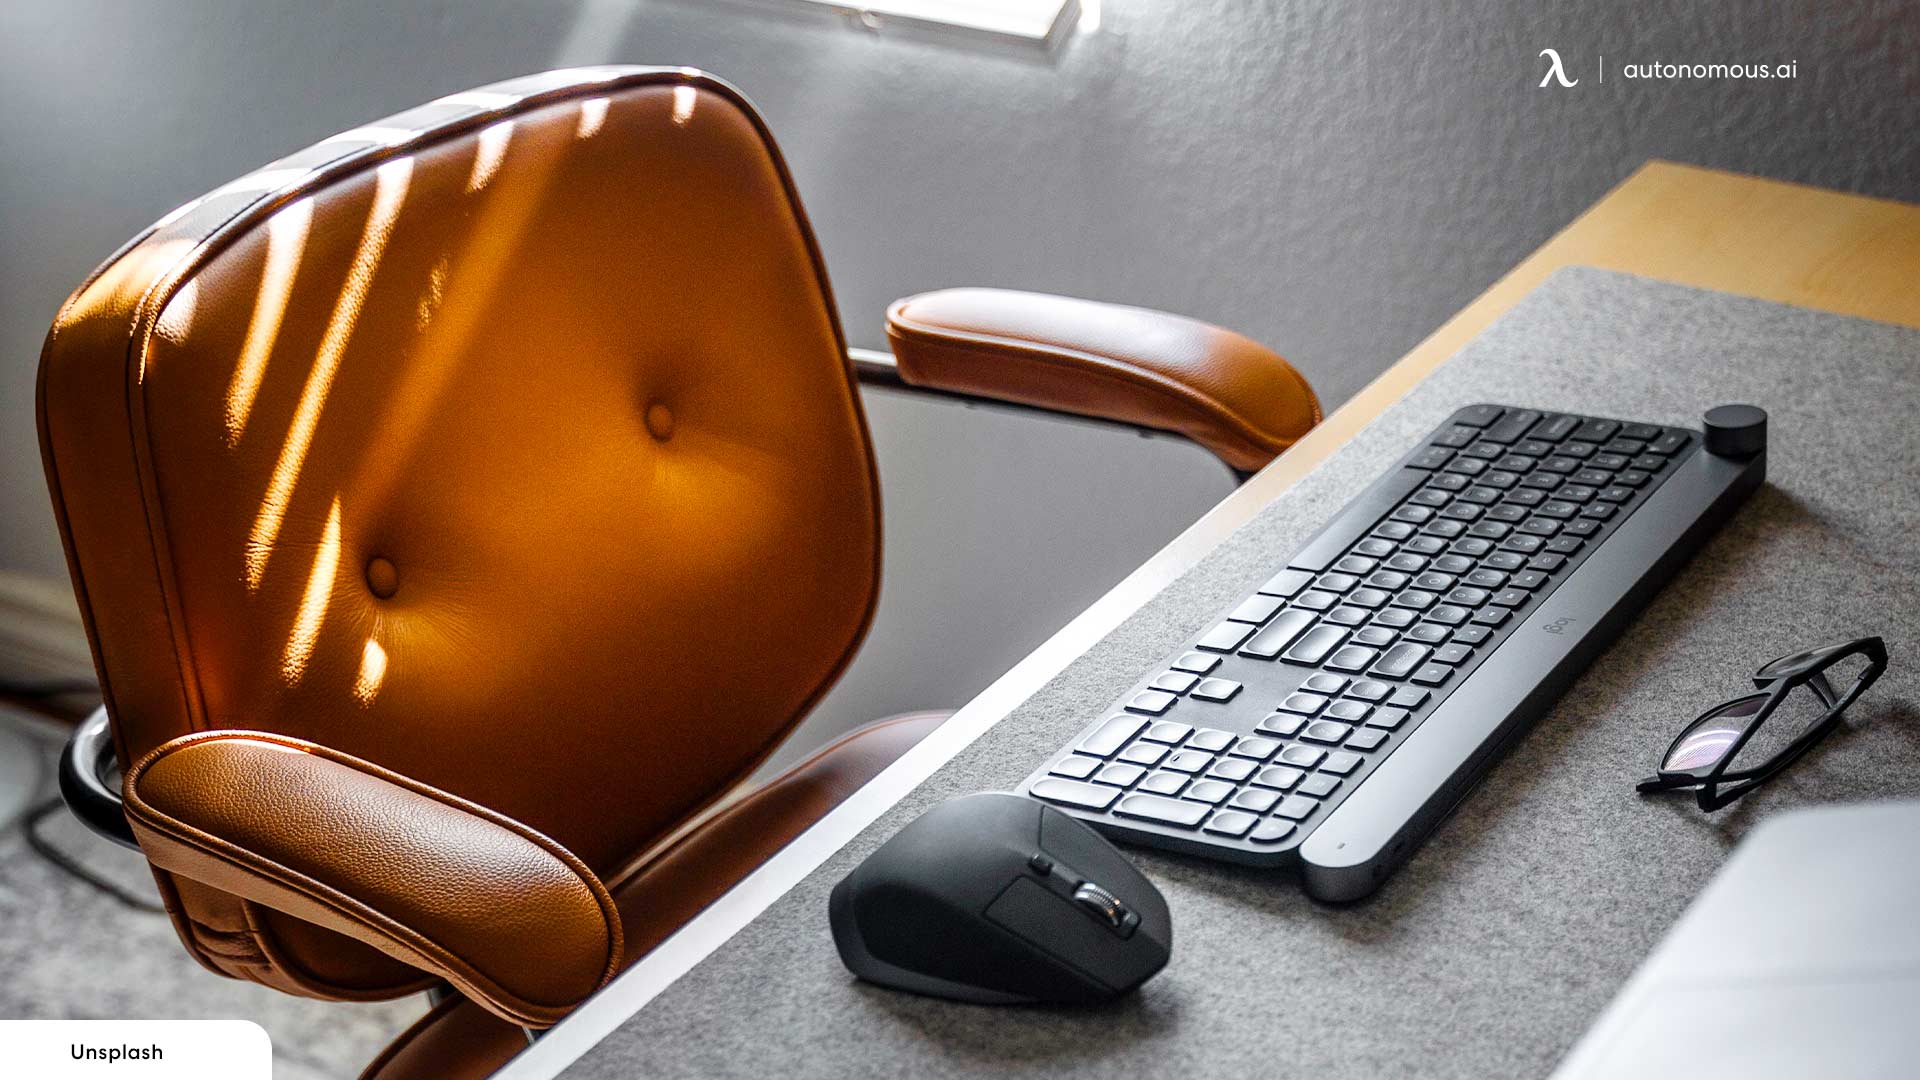
Key Objects Kept Nearby
When laying out your desk, keep the most commonly used items close at hand. The less you need to bend over, reach, stretch, or twist to use different items, the better off you’ll be. This includes things like staplers, phones, and printed reference materials. Position your work items in a convenient space on your desk that gives you easy access to them when you need them. Less frequently used items can be placed further away or stored in drawers or on shelves.
Use a Headset Instead of a Phone
Another source of workplace pain is the phone. You’re often unable to make calls on the speaker to avoid disrupting other coworkers with your conversations. Often, phones come with shoulder rests, but these promote twisting your head to press your phone between neck and shoulder. This, as you might expect, can lead to high levels of neck pain, shoulder pain, and back pain.
The best solution is to use a headset instead. A headset paired with your phone allows you more freedom of motion, a better ergonomic sitting position, and additional comfort. Try to find a lightweight, partial headset if all you need is simple phone conversations. If you need more detailed audio, a noise-canceling headset with a strap that spreads out the weight of the device is ideal. Be sure to replace the strap as necessary when it stretches out and cannot support the full headset any longer.
Stand and Stretch Regularly
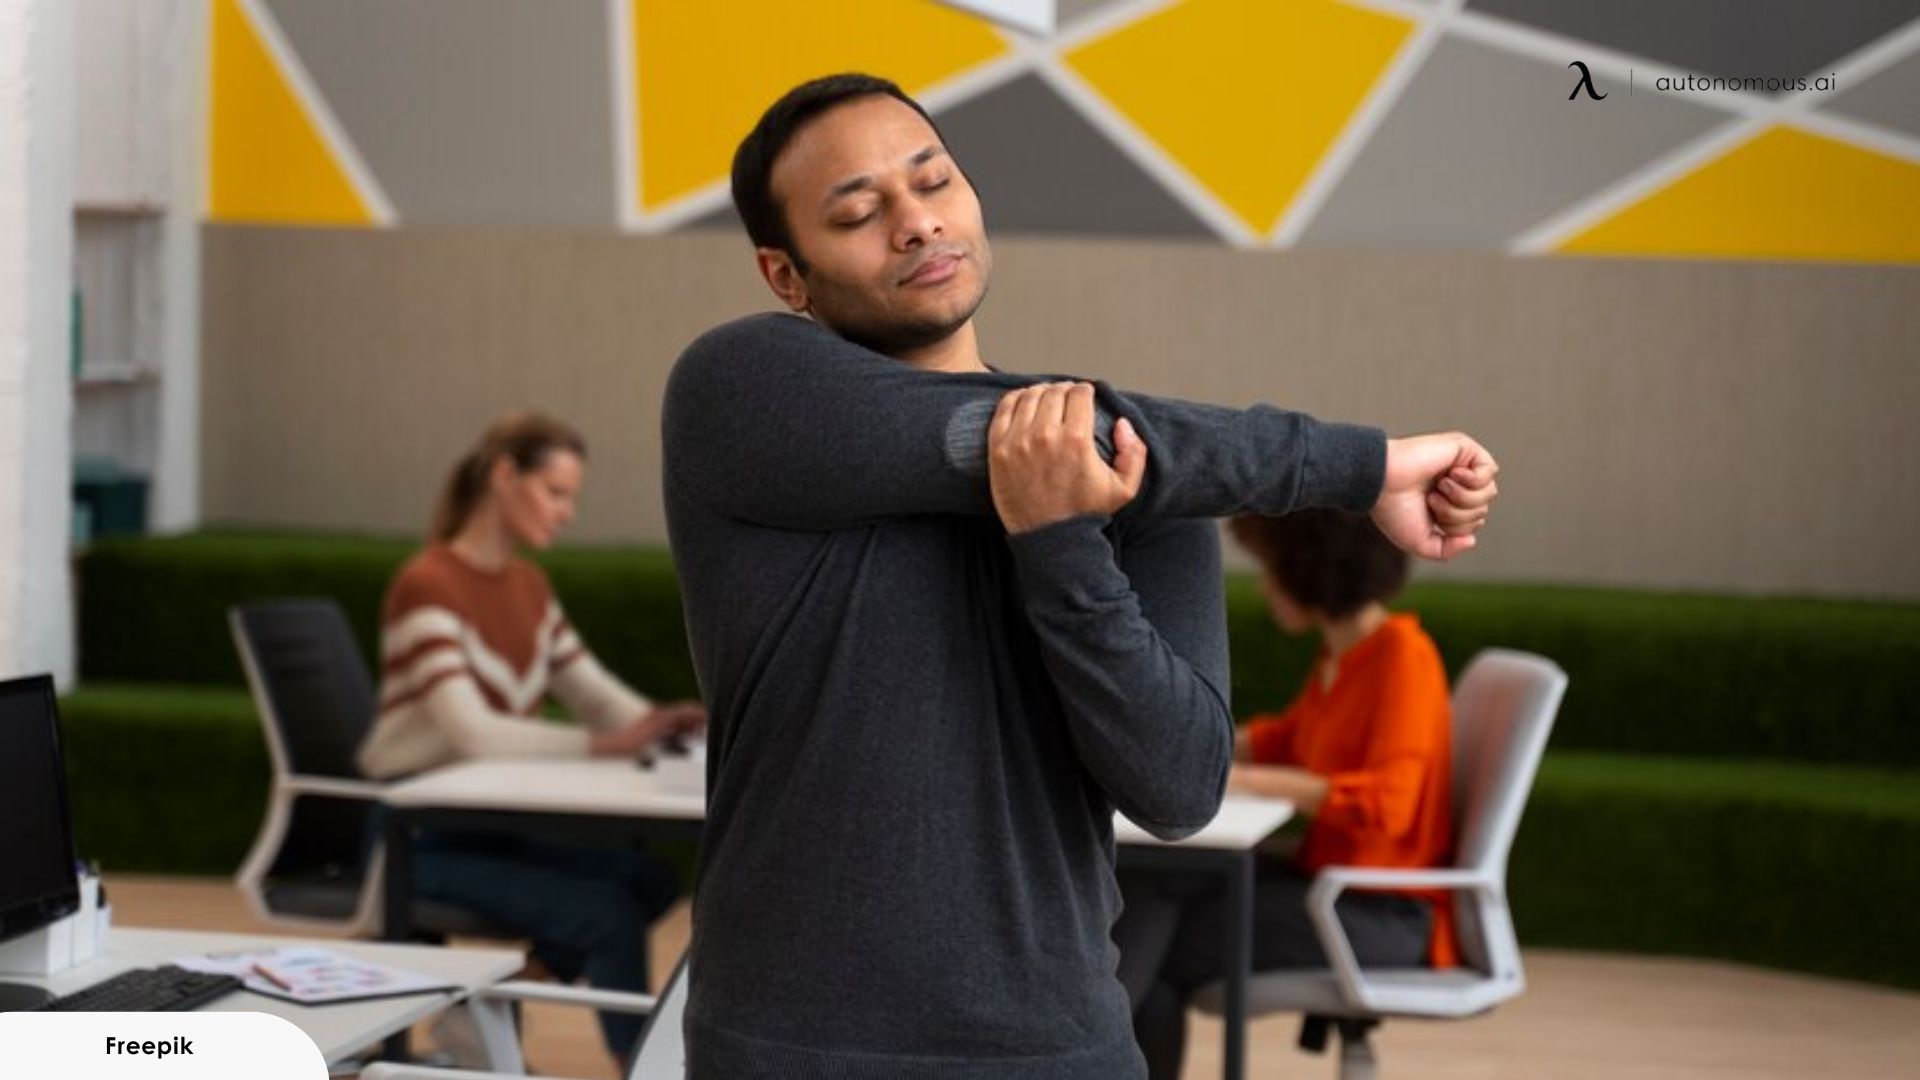
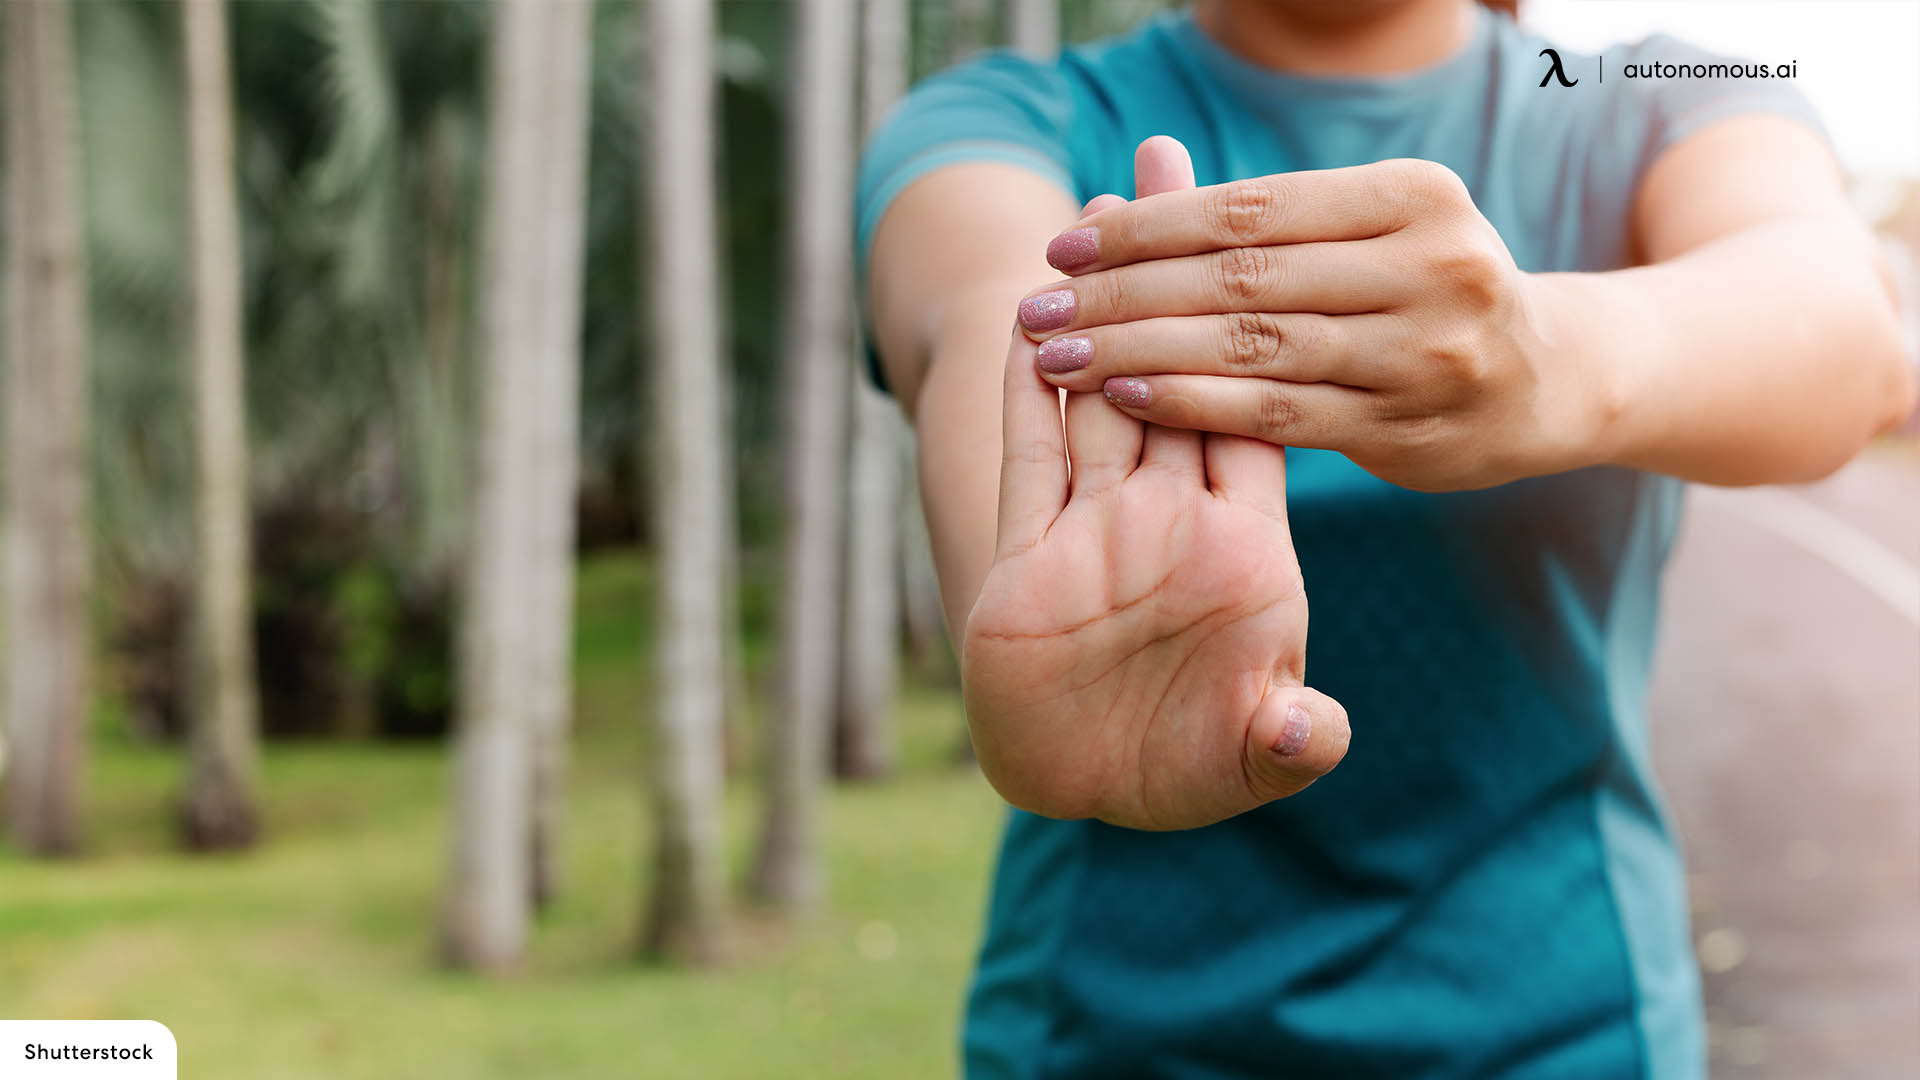
Stretching out your back, neck, arms, and wrists regularly throughout the day helps prevent repetitive stress injuries, muscle knots, pinched nerves, and other sources of stress and pain. There are several stretches you should do regularly, including:
- Chest stretches. Clasp your hands behind your back and lift them upwards while exhaling.
- Forearm stretches. Reach your arm straight out, fingers pointed down. Using your other hand, grab your fingers and pull them inwards. You should feel the stretch in the back of your forearm. Hold for 30 seconds each arm, and repeat once an hour.
- Wrist stretches. Reach your arm straight out, palm facing up. Using your other hand, grab your fingers and pull them back. You should feel it in the base of your wrist. Hold for 30 seconds each, and repeat once an hour.
There are many other simple stretches you can learn to perform throughout the day, but these are most important for your arms.
Transition Between Sitting and Standing Throughout the Day
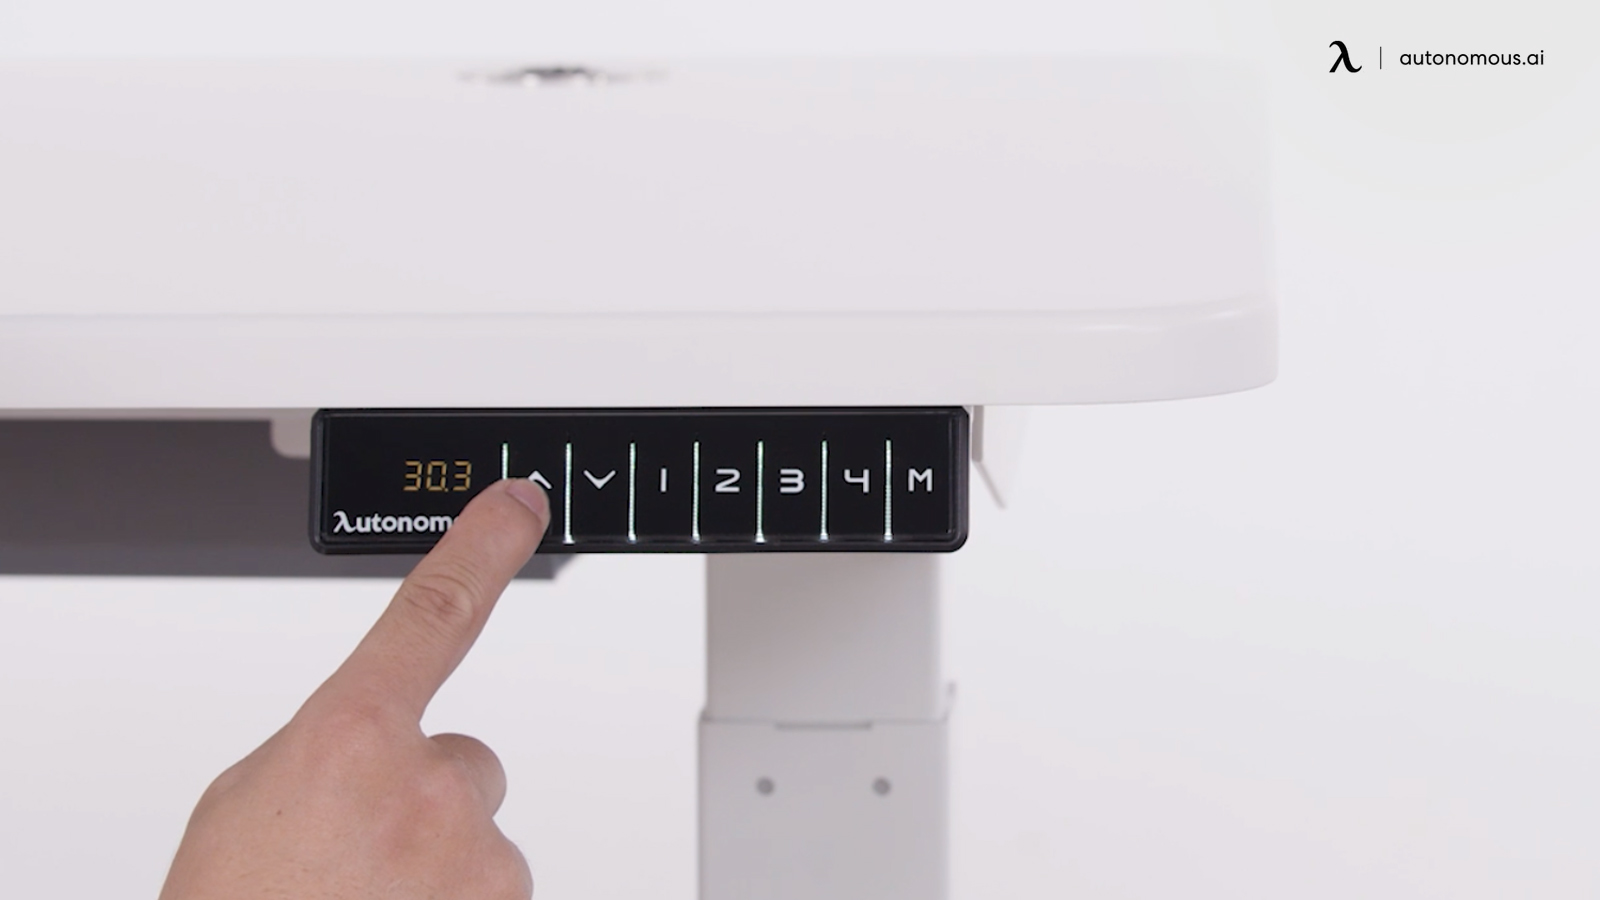
Sitting poorly is dangerous, but sitting well can still be harmful if you sit for long periods of time every day. One common solution is to use a standing desk or a sit-stand conversion desk. Every few hours, change between sitting and standing. A good converting desk can be set to adjust to fixed, specific heights for both sitting and standing, allowing you to maintain an ergonomic posture in each position.
Positioning the Height of a Standing Desk
When standing, you want to meet the same arm positions as when sitting, but you don’t have the benefit of armrests to help you. Align your keyboard roughly at hip level, so your arms can rest at a 90-110 degree angle at the elbow. Again, your forearms should be level with or slightly angled down towards your keyboard. Using a negative tilt keyboard is even more important in this position, so you avoid wrist extension. Additionally, try to keep your shoulders pulled back, so you don’t hunch while you stand.
Adjusting Ergonomics
Every aspect of your posture can be adjusted, either by using tools and assistive devices such as a posture-correcting elastic strap, a negative tilt keyboard adjustment, or a standing desk. Any time you change the way you use your computer, think about the ergonomics of your devices. Proper posture is critical to ensure a pain-free career.
Stay connected with us!
Subscribe to our weekly updates to stay in the loop about our latest innovations and community news!
Interested in a Link Placement?
Spread the word
.svg)
.svg)


/https://storage.googleapis.com/s3-autonomous-upgrade-3/production/ecm/230914/bulk-order-sep-2023-720x1200-CTA-min.jpg)

/https://storage.googleapis.com/s3-autonomous-upgrade-3/static/upload/images/new_post_author/admin-1.png)