Table of Contents
A good quality office chair is an important investment and plays a leading role in our comfort in the workplace. The expense is more than worth it when you factor in the health benefits for your mind and body, but no amount of money guarantees the infallible.
Possibly the most common cause for cries of vehement frustration directed at a piece of office furniture is that aimed at a constantly sinking office chair.
No matter how much you pay for your desk chair, the chances are that sooner or later you are going to face this problem, and if it comes far before it is time to retire the whole thing and get a new one, you need to know how to stop the problem. Knowing how to fix a sinking office chair lets you keep yours for longer and make the most of the money you invested in it.
Check out our guide for the signs to look for to know when to replace a new office chair.
Why Does the Seat of Your Office Chair Start Sinking?
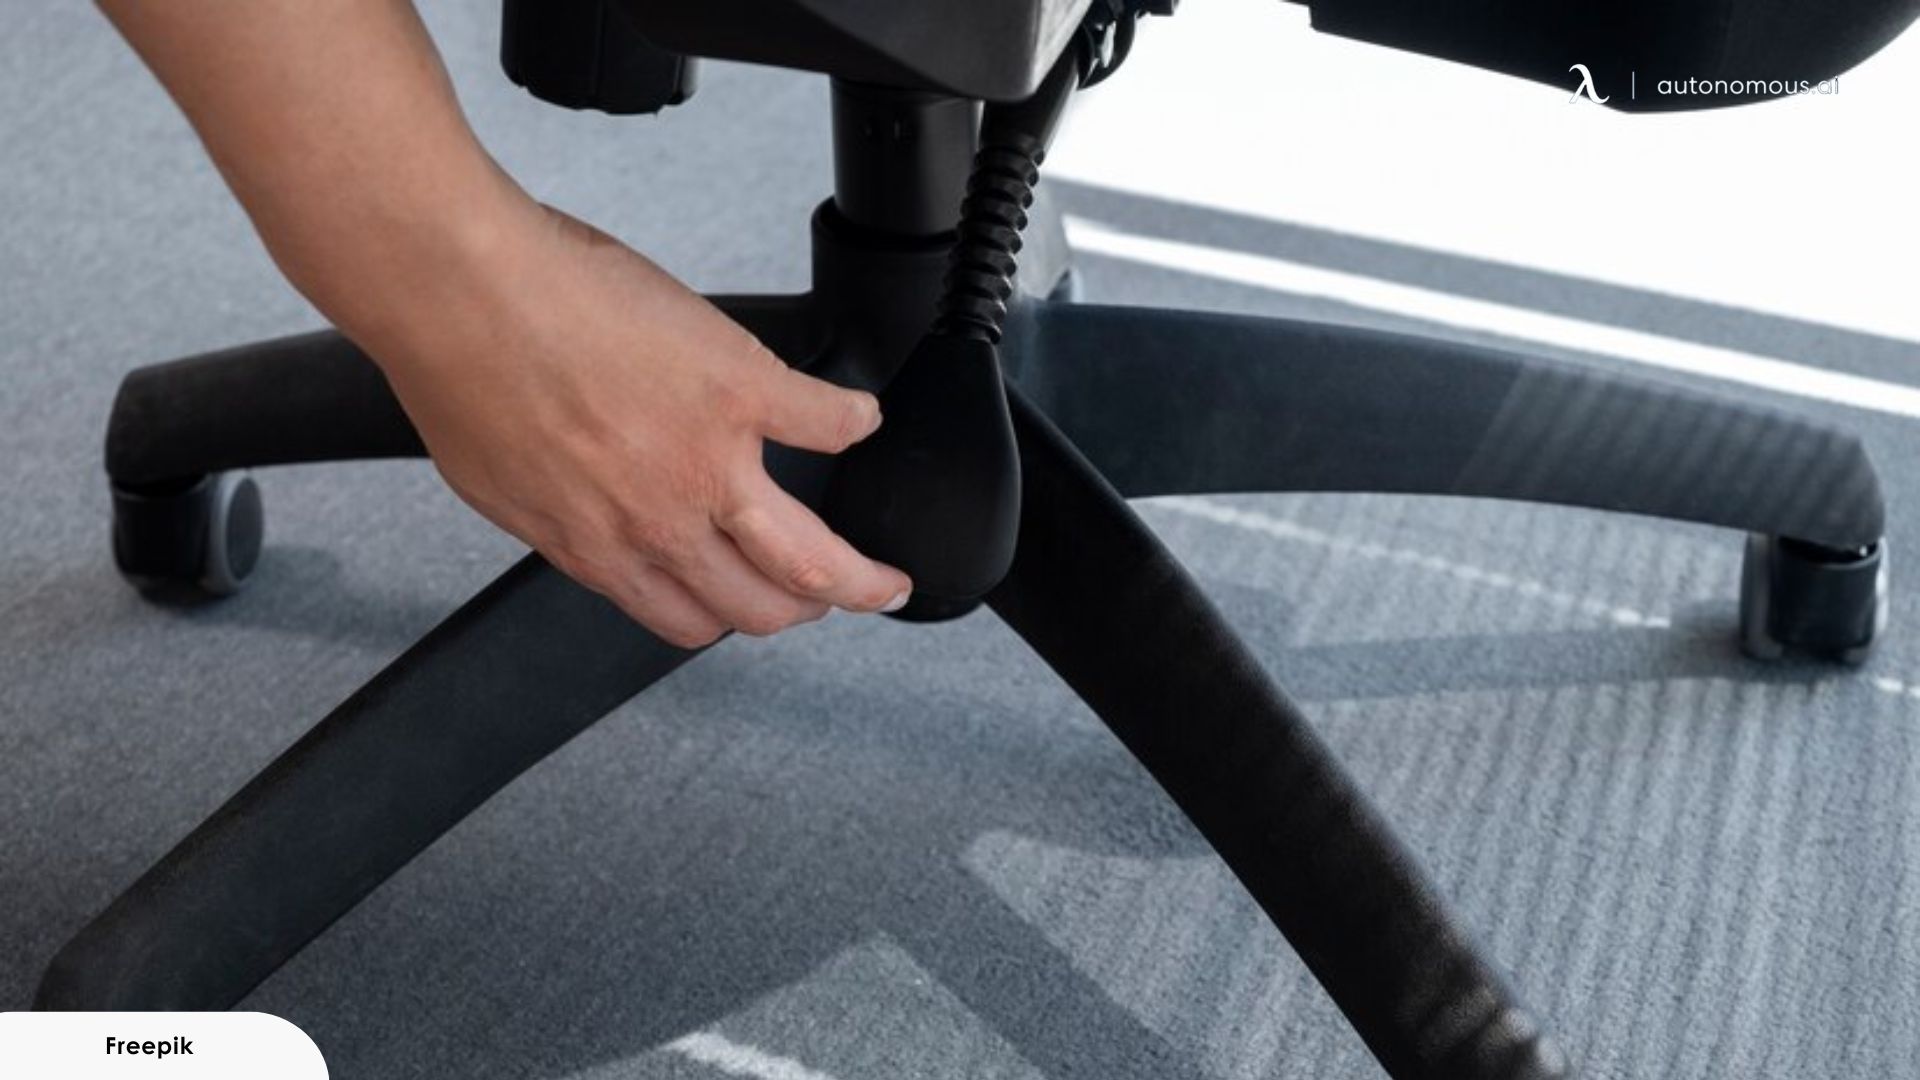
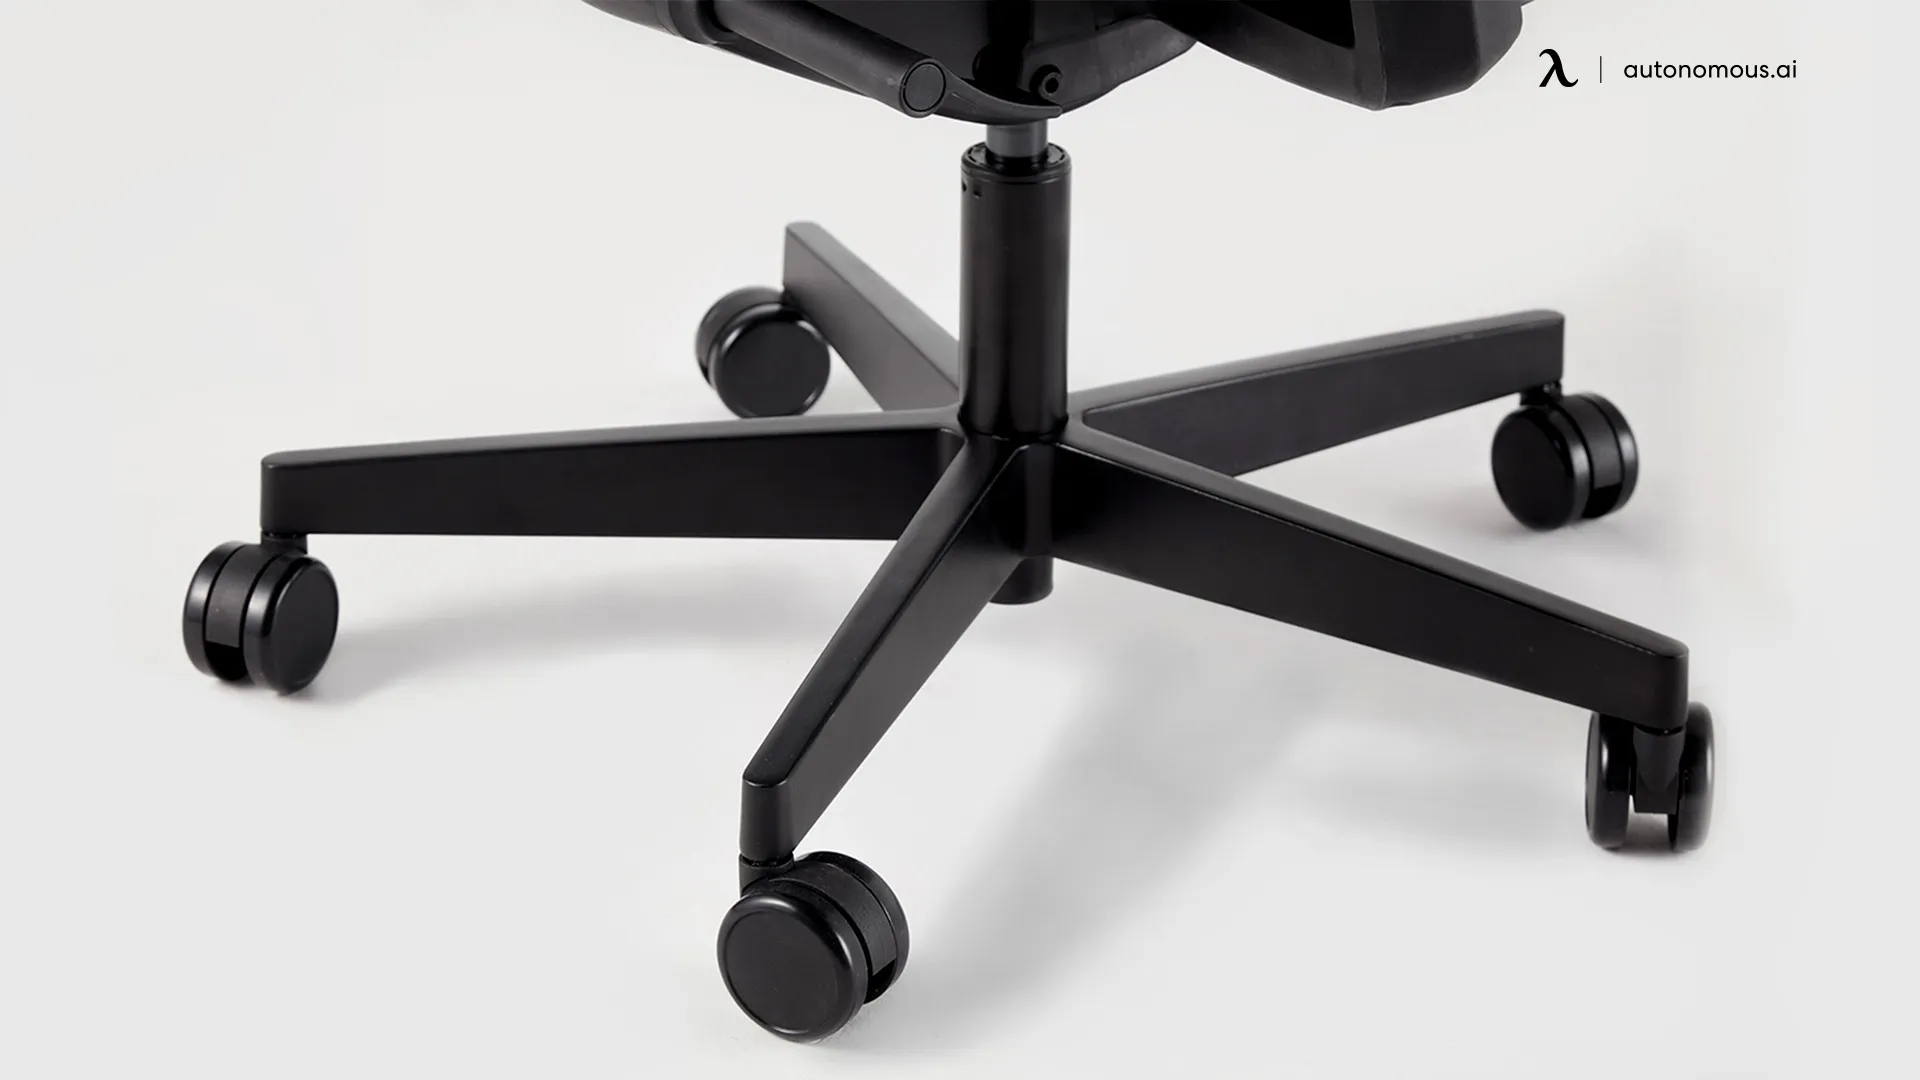
Part of the mechanism of an adjustable office chair is the cylinder. The pneumatic cylinder, or air cylinder, is what controls the height of your seat using pressure. If the seal gets worn and eventually breaks, it can no longer control that pressure, which is why your office chair keeps sinking.
What Can You Do to Fix This Problem?
If your office chair keeps sinking, then it’s time for some DIY. In this guide, there are two methods described. Each has only five simple steps to fix an office chair that sinks. These are not highly technical solutions and by no means require a master’s degree in engineering, so follow the steps closely and you can be back to working away happily in no time.
Method One: A Hose Clamp and Some Duct Tape.
Step One: Uncover the Cylinder
The metal cylinder is often covered by a plastic tube of some kind, so slide this out the way until the cylinder is visible. You can also remove the tube completely for ease later in the process, but to do this you need to remove the wheels. After removing the plastic cover or ‘skirt’ as it is also known, remember to re-attach them before you continue.
Step Two: Set the Height You Want and Clamp It in Place
It is important to set the height exactly as you want it now as you cannot change it once the process is finished. The recommended height is in line with your knees if you are standing. When you have it where you want it, take your hose clamp to keep it in place. Don’t fully tighten the clamp now, it is only to help hold the height.
Step Three: Bring on the Duct Tape
The purpose of the tape is to create an easier surface for the clamp to grip. The metal pole against the metal clamp may not provide a strong enough hold for the clamp to keep the seat up, so wrap duct tape around the area as neatly as possible.
If you don’t want to have duct tape visible on your office chair, you can try taking heavy-duty sandpaper to the metal surface and making it rougher. The most important thing is that the surface is clean of any grease or oil.
Step Four: Test the Clamp
Now, you should tighten the clamp as much as you can and see if it holds to the surface. If it is still sliding, try roughing up the surface more or tightening it more (if nothing works you should try method two).
Step Five: Try Out the Chair
If the clamp is tight enough and gripping the surface properly, your chair should not fall below the height you set earlier. The lever or other mechanism the chair uses to adjust the height can’t be used anymore, but at least you no longer have to slowly sink below the desk and into despair.
Method Two: PVC Pipe
Step 1: Measure the Cylinder
Uncover the metal cylinder (same way as method one) and measure the length of the exposed cylinder when the chair is at the ideal height for you and estimate the diameter.
Step 2: Buy and Cut Some PVC Pipe
Find a pipe that is compatible with the diameter (slightly wider than the cylinder) and cut it using a standard saw to the correct length.
Step 3: Open the Pipe Down One Side
Once the pipe is the length you want it to be, take your saw and cut lengthwise down one side of it.
Step 4: Clip the Pipe in Place over the Cylinder
Press the open side around the metal cylinder. It might take some force, and if it doesn’t want to go, try cutting it into two smaller sections.
Step 5: Check the Height and Adjust if Necessary
Sit on the chair to check that the height is right for you. You can make it higher by adding more pipe or lower by removing some.
Can the Cylinder Just Be Replaced Rather than Trying to Fix It?
The pneumatic cylinder can be replaced, yes, but sometimes this can cost more than it is worth. Most standard office chair cylinders cost between $30-$40 to buy, but unless you are a confident DIYer, you need to factor in the cost of paying someone to swap it out for you.
Unless you have a high quality office ergonomic chair that is designed to last for a lot more time, it is possible the cylinder breaking is a sign of the end approaching, so you don't want to pay to replace the cylinder only to buy a new chair shortly afterward.
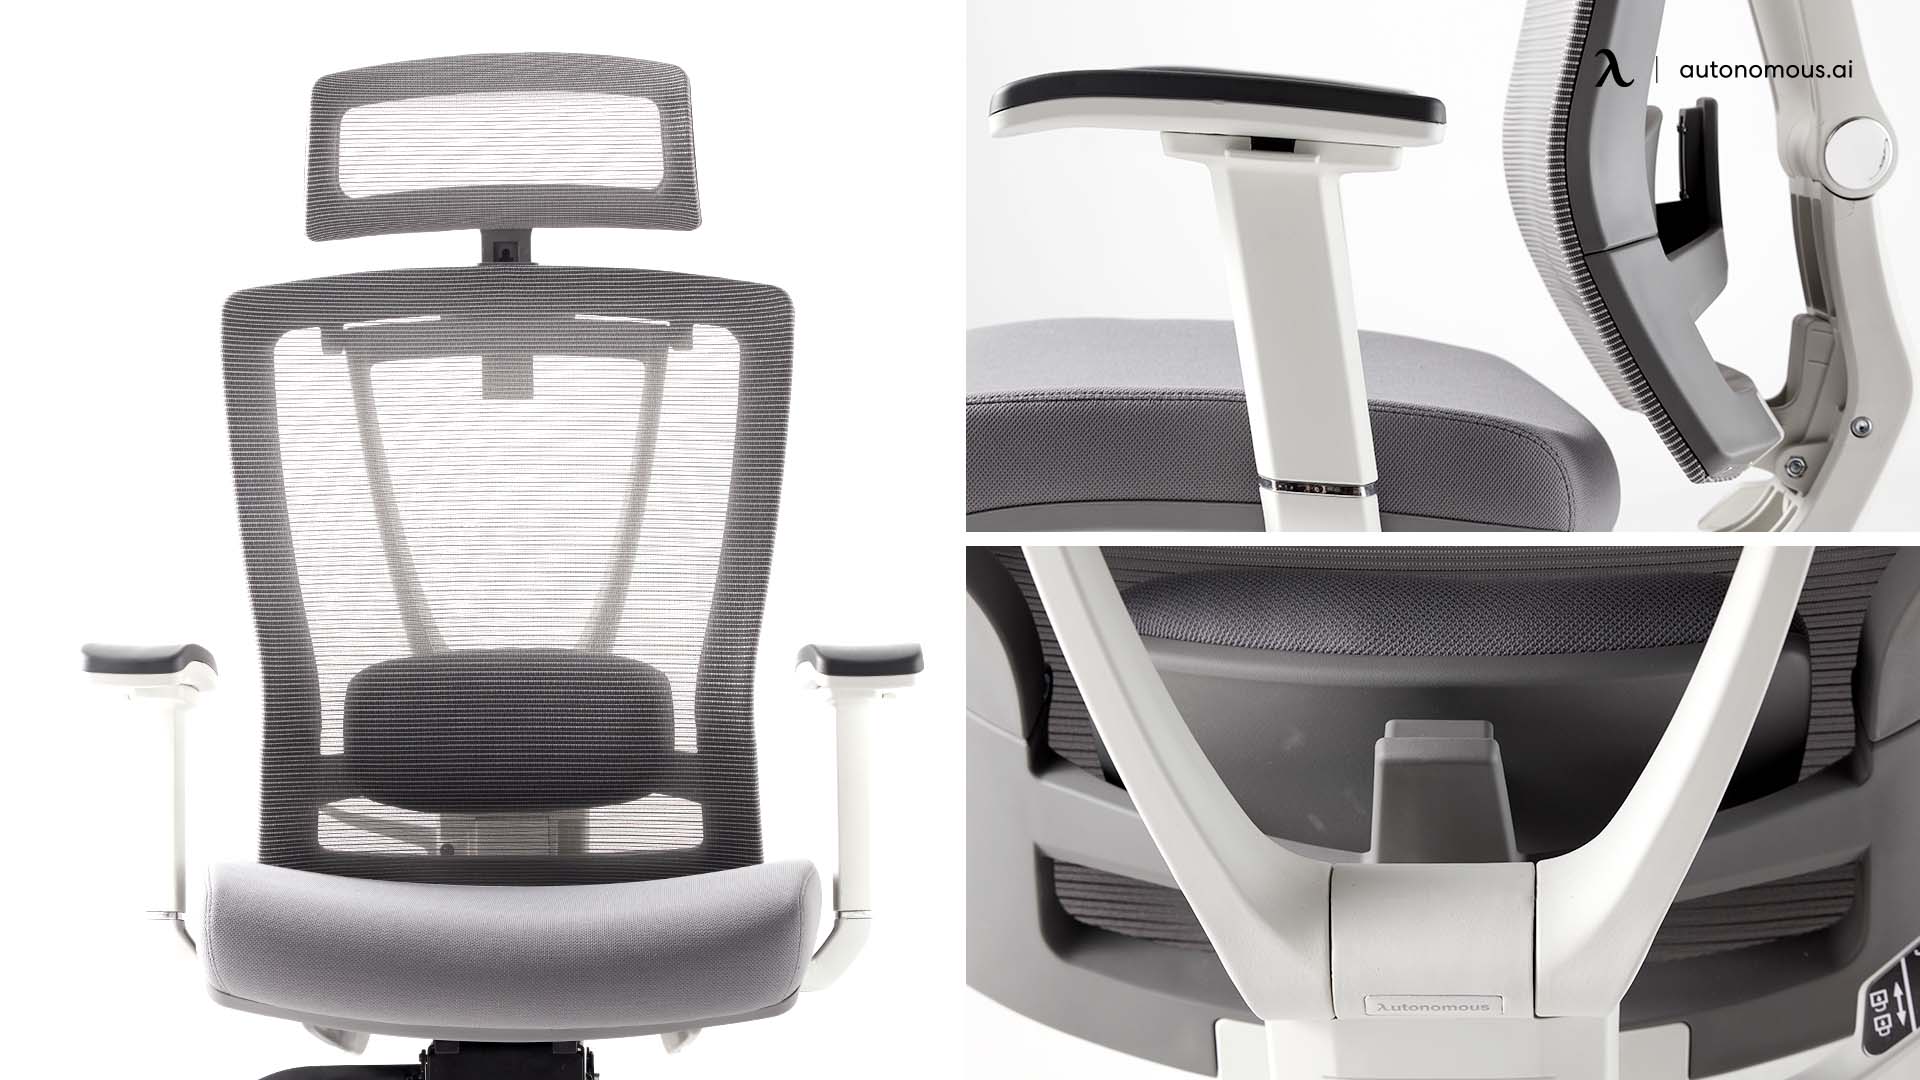
Some high-end chairs such as the ErgoChair Ultra 2 have been designed to resist the general wear and other office chair problems, so if you want to avoid this issue altogether for as long as possible, consider investing in one of these incredible designs. Now that you know how to fix a chair from sinking, let’s look at the pros and cons:
Pros:
- Cheaper than buying a new part
- A quick fix if you need it sorted immediately
- A better choice if you are planning to replace the chair soon
- Not very complicated but can be very useful
Cons:
- Looks messy if not done with care
- Not a professional look for a client-facing office
- Not a permanent solution
- Could need to be re-fixed several times
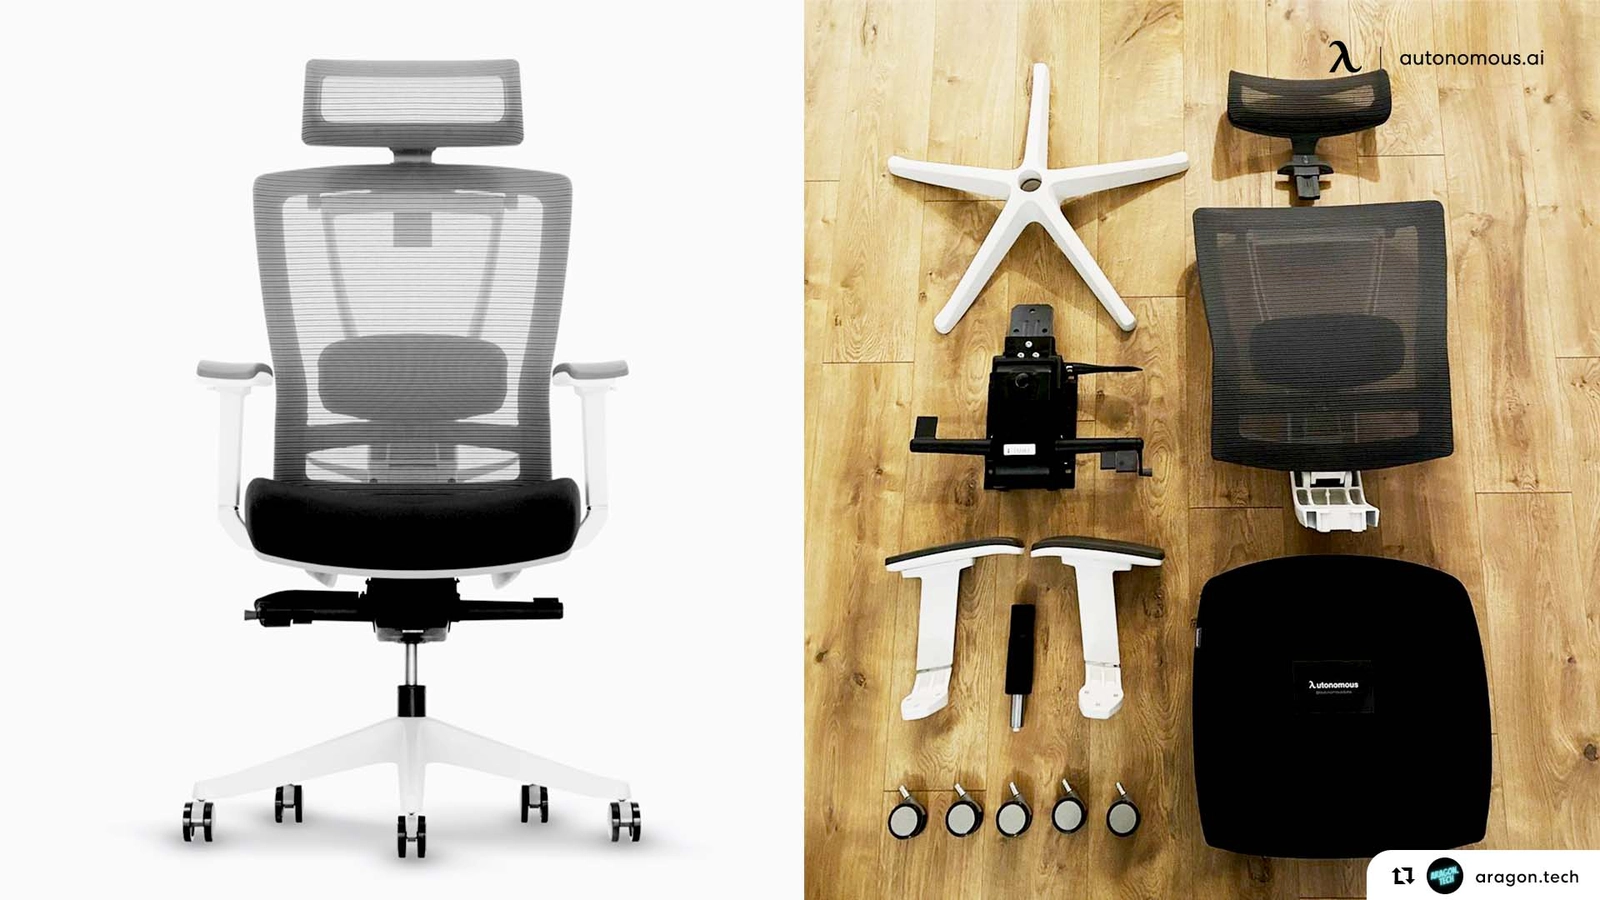
To find out more about how ergonomic chairs are built, check out this detailed guide to office chair parts and names.
Preventing Future Cylinder Problems
To avoid your office chair from sinking again, taking a few preventative measures can go a long way in prolonging the life of the cylinder and keeping your chair in good working order. Here's how:
Proper Chair Usage and Weight Distribution
One of the main reasons for a sinking office chair is uneven or excessive pressure on the chair's hydraulic cylinder. It’s essential to distribute your weight evenly and avoid placing too much pressure on the chair, especially if you tend to lean heavily on one side or adjust the chair to its maximum height. By ensuring your weight is balanced, the internal components of the chair’s gas lift won’t wear out as quickly, reducing the chances of it sinking over time.
Regular Cleaning and Maintenance to Extend Cylinder Life
Regular maintenance can help prevent issues like sinking, ensuring your chair works for years. Clean the chair’s cylinder and base regularly to prevent dust, dirt, and grime from accumulating. A clean chair not only looks good but also helps maintain the functionality of the hydraulic components. Lubricating the cylinder from time to time can also help prevent rust and keep the internal mechanisms working smoothly.
Avoiding Extreme Temperature Changes
Extreme temperature fluctuations can weaken the integrity of the hydraulic cylinder and lead to a quicker breakdown. To protect the gas lift, avoid leaving your office chair in areas where it can experience extreme temperatures—whether too hot or too cold. Keeping your chair at a stable room temperature will help maintain the cylinder's effectiveness and prevent it from malfunctioning.
By following these steps and incorporating proper usage habits, you can keep your office chair functioning properly and avoid sinking problems in the future.
Stay connected with us!
Subscribe to our weekly updates to stay in the loop about our latest innovations and community news!
Interested in a Link Placement?
Spread the word
.svg)
.svg)



/https://storage.googleapis.com/s3-autonomous-upgrade-3/production/ecm/230914/bulk-order-sep-2023-720x1200-CTA-min.jpg)

/https://storage.googleapis.com/s3-autonomous-upgrade-3/static/upload/images/new_post_author/admin-1.png)