How Much Does It Cost to Build a Gaming PC? Best Setups from $500 to $2,000
Table of Contents
Having a fully decked-out PC setup is a dream for many avid gamers. The big question most people have is how much it will cost to make that dream come true. While there is no magic number, I can tell you that it is possible for less than you may think - it all depends on the pieces you choose.
How much does it cost to build a gaming PC? That said, a PC gaming setup does cost - on average - more than a standard PC setup cost for work or general use. Why? Put simply, there are certain requirements and specifications for PC gaming that cost more money. Luckily, you can build a great setup and enhance your gaming experience without completely busting the bank account.
In this guide, I have covered the important must-knows about what goes into building a great gaming PC, the associated costs, and the best setups for a range of budgets - starting at just $500. This guide is for anyone dreaming of a PC gaming setup to be proud of but doesn’t know where to begin with planning and budgeting.
1. What Parts Are Required to Assemble a Gaming PC?
Before we get into costs and possible purchases, I want to talk about the components that make up a gaming PC. There are eight key parts required to build a gaming PC - not including the cool PC accessories you can add to complete your setup. I also left out the cost of an operating system - since you can get one for next to nothing - or literally nothing.
The eight components are as follows.
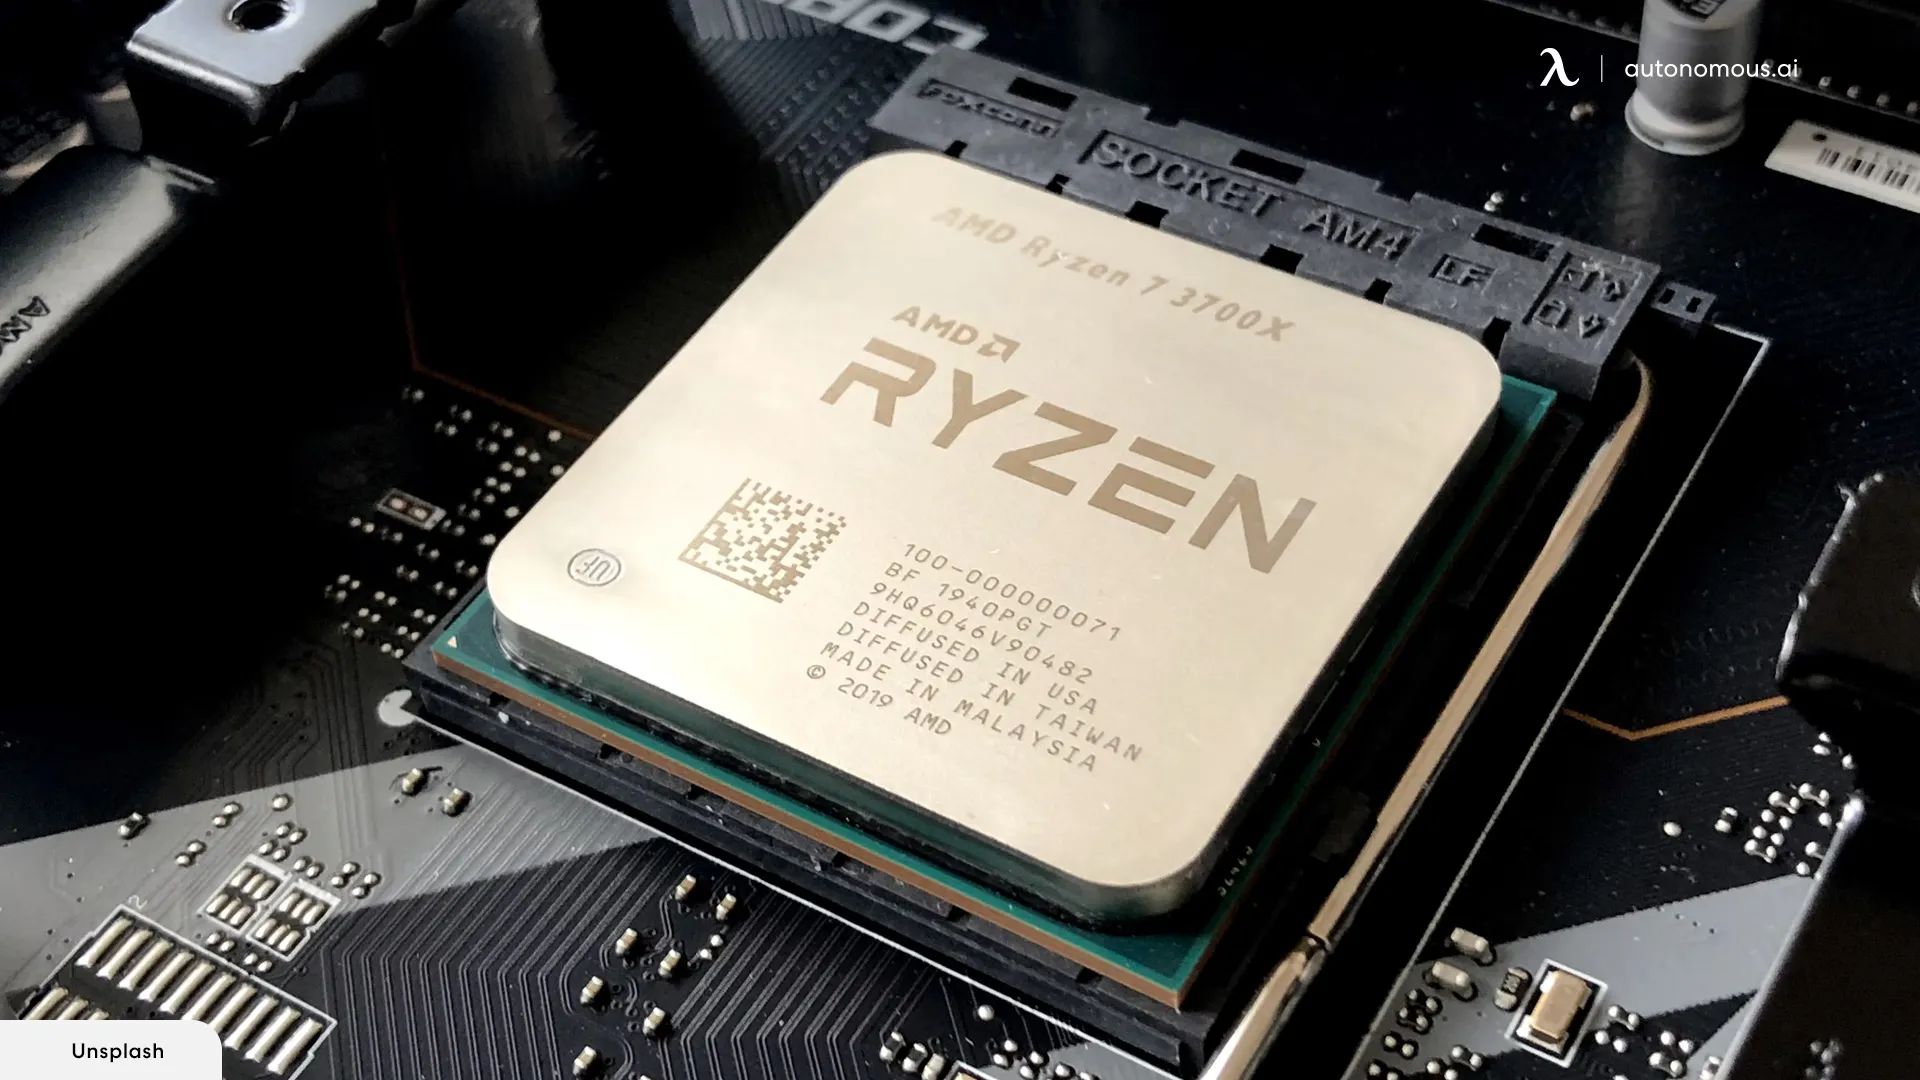
- CPU: The central processing unit is the part of the computer that interprets and executes commands from the hardware and software. In other words, it is essentially your computer’s brain.
- Motherboard: Your computer’s motherboard is the main printed circuit board that makes it possible for commands to be communicated between the CPU, RAM, and other components.
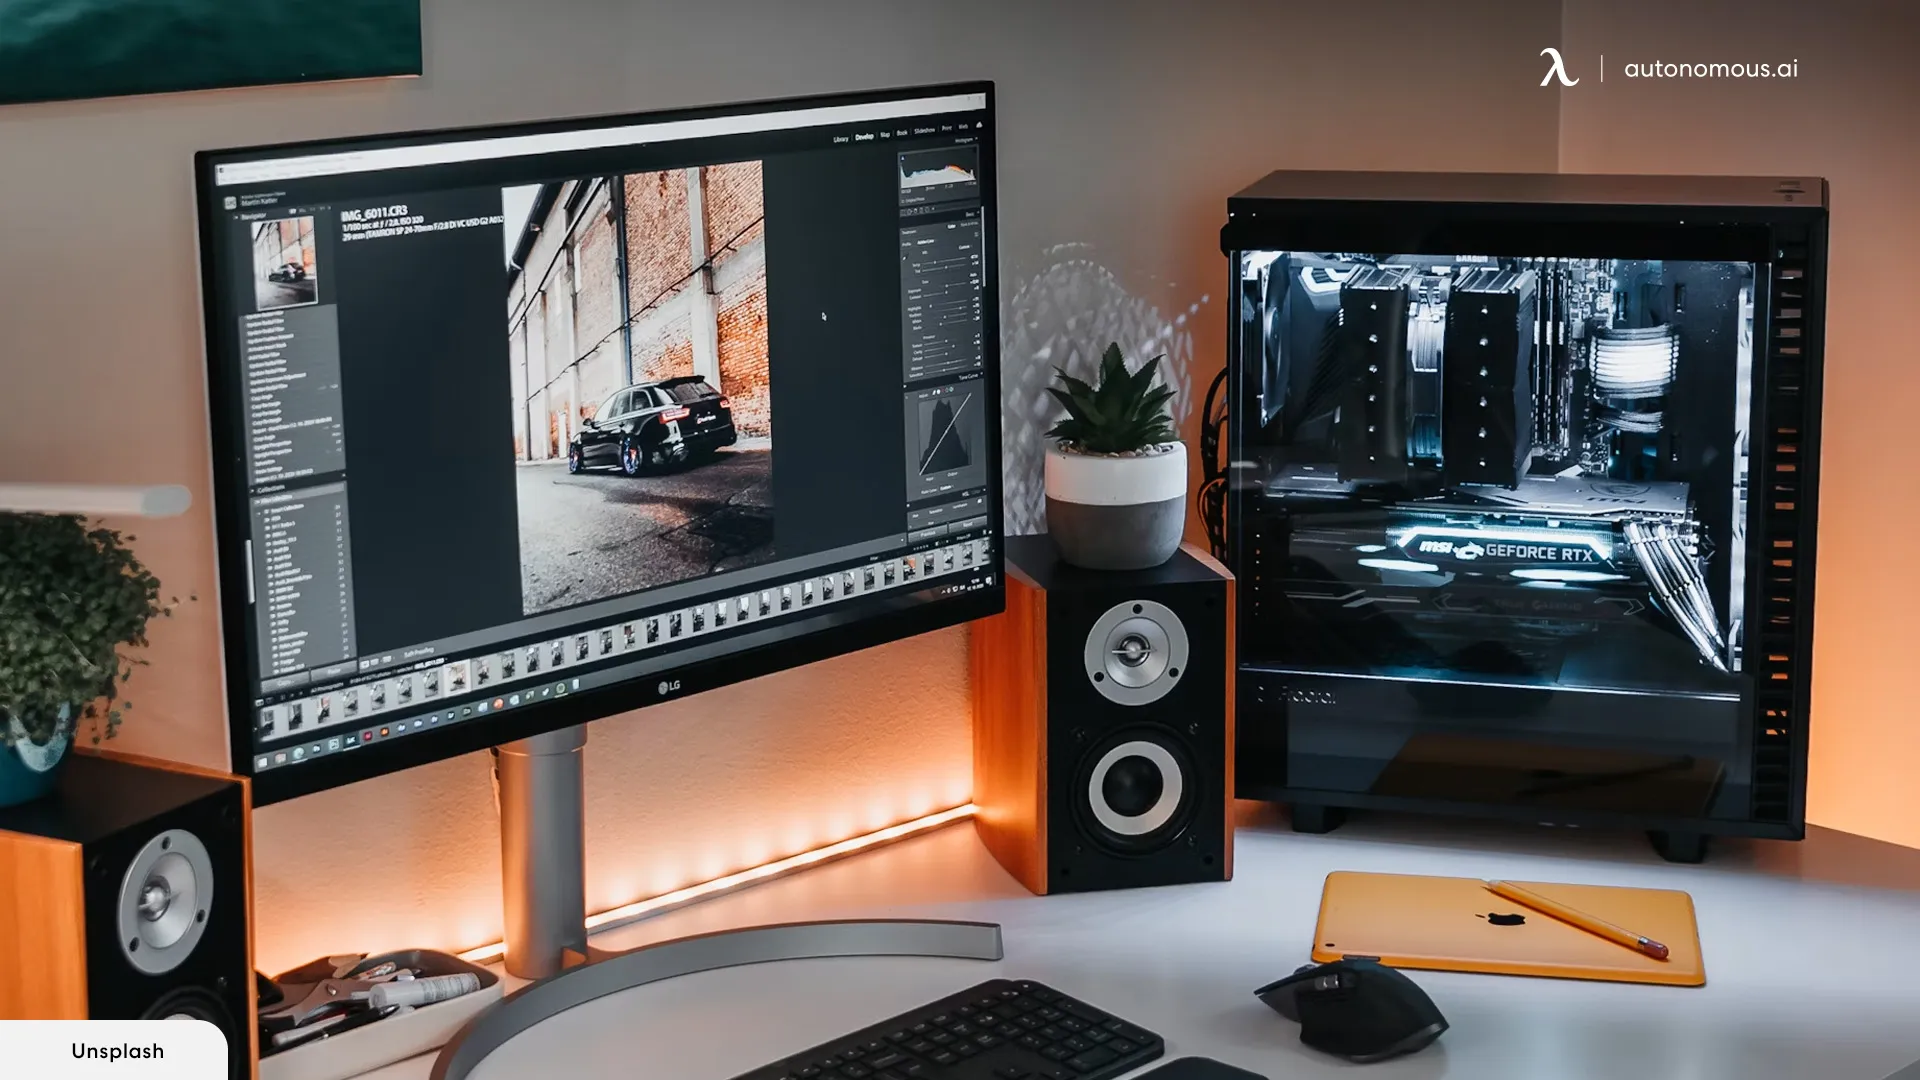
- GPU: A graphics programming unit is responsible for the visuals. It helps with the rendering of all kinds of graphics, including 3D models, video, and image s- all super important in video gaming.
- RAM: The RAM drive is where your computer’s short-term memory is stored. It stands for Random Access Memory - and it only holds temporary memory data.
- Storage: You need more than just RAM for storage. There are different kinds of storage solutions for gaming PC setups with a range of capacities and prices.
- Case: A PC case is also known as the chassis. Although it is not part of the inner workings of the PC, it is an essential component for keeping everything together and protected.
- PSU: PSU stands for power supply unit. It converts AC power to DC power, which is really just a fancy way of saying it makes it possible for your computer to power up and run smoothly.
- Cooler: Coolers, as you might have guessed, stop your PC setup from overheating. There are two main types of coolers - air and liquid - and some CPUs have them already built-in.
2. Cost Considerations for a Gaming PC
It is possible to build a gaming PC for as little as $500, but it can cost thousands of dollars. A lot of it depends on what specifications you want and the quality of the components you buy - not to mention brand names and choice of manufacturers.
Something worth noting is that you don’t need to spend a fortune to achieve a great setup, but spending more on some things may improve the gaming experience. The CPU and GPU are the two most expensive components, generally speaking - but the variation in price is substantial.
It is worth looking into what you get for your money before you decide where to apply your budget. The GPU is probably going to be your big-ticket item - followed by the CPU. Both of these things are worth spending a little more on, if you can, because you do get more for your money with the mid to high-end models.
Certain components, such as the case and PSU, have more or less the same functionality no matter how much you spend, so you can put them lower on the list when planning the budget.
If you want to keep costs down without sacrificing quality, it might be worth considering buying used gaming PC components. There are many places to buy second-hand gaming PC equipment in good condition from reliable sellers. It is worth looking into this as an option if you have something in mind that is a little out of your budget if you buy it brand new.
With all this in mind, I have put together example PC setups for gamers working with budgets from $500 to $2,000. I have included suggestions for all the key components and reviews that can help you understand what you are getting for your money.
2.1. Best Gaming PC Build for $500
Let’s start with the most budget-friendly option. The thing stopping a lot of people from chasing their gaming PC dream is the cost, but you don’t need to spend thousands to get a decent thing going. You may not get the fastest GPU or the sharpest graphics, but you will get a much better gaming experience than you would on a standard PC.
Here are the components I have selected for this budget and the cost of each one (at the time of writing). I will go into more details afterward.
- CPU: Intel Core i3-14100F ($119.99)
- Motherboard: ASRock B760M-HDV ($89.99)
- GPU: Inter Arc A380 ($109.99)
- RAM: Silicon Power Value Gaming DDR RAM 16GB ($35)
- Storage: Crucial P3 Plus 1TB ($69.99)
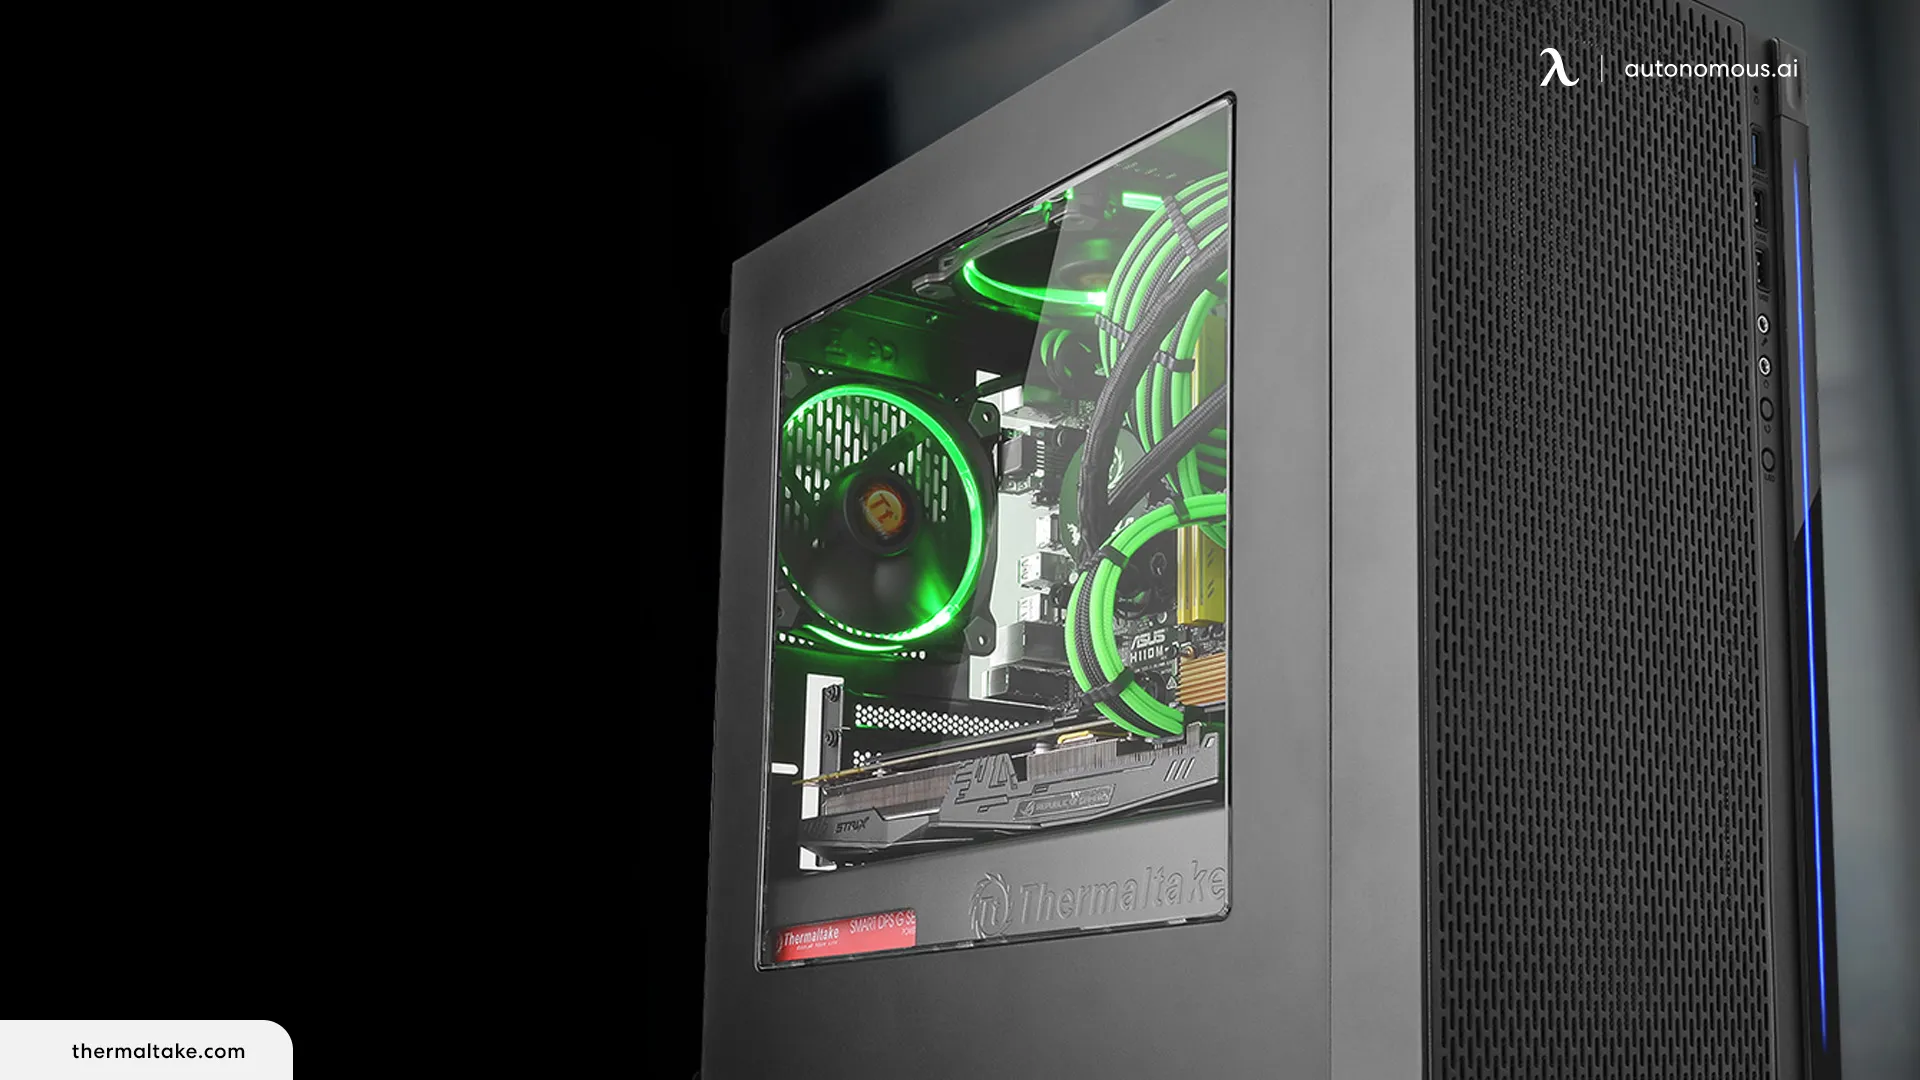
- Case: Thermaltake Versa H18 ($51.99)
- PSU: Thermaltake Toughpower GX2 600W ($60.99)
- Cooler: No need - the CPU has a built-in cooler.
Okay, let’s talk more about these components and what to expect at this price point.
I spent a lot of the budget on the Intel Core i3-14100F core processing unit, but it was worth it. It offers impressive performance considering the low cost - especially considering it comes with a cooler. There are four performance cores, with a decent boost clock (graphic clock speed) of 4.7 GHz. It performs more or less on par with models with a slightly higher price tag.
Because I chose this CPU, I was limited to choosing an Intel 700 motherboard for compatibility. My winner (purely based on cost) was the ASRock model. It also saves you money because it uses a DDR4 RAM instead of a DDR5, which costs less. I opted for the Silicon Power 16GB RAM (the lowest GB I would ever use for a gaming PC) because I like the brand, and it gets the job done - despite having no bells or whistles to speak of.
The other big spend in this setup is the Intel Arc GPU, which is certainly not the best model out there by any means - but it is faster than top competitors in this price range and has fully accelerated video encoding and decoding capabilities.
Moving on to the case, I looked at many models for around $50, and the Thermaltake Versa H18 was by far the best. It looks cool - with the tempered glass side and offers great extra cooling. I stuck with Thermaltake for the PSU, which - although not the cheapest option - offers great value for money. Cutting too many corners on the power supply is not something I am comfortable with, which is why I decided to choose this model.
Finally, I chose the Crucial P3 Plus for the SSD. It has a full terabyte but has no DRAM cache (a separate high-speed memory card), but you would need to spend a bit more if you want that included with this amount of storage.
In total, this setup costs just under $538. If you are really limited to a $500 maximum, you could save money by choosing a cheaper power unit (PSU) or a lower-memory SSD (storage).
>>> How to Build a Gaming PC for Under $500?
2.2. Best Gaming PC Build for $800
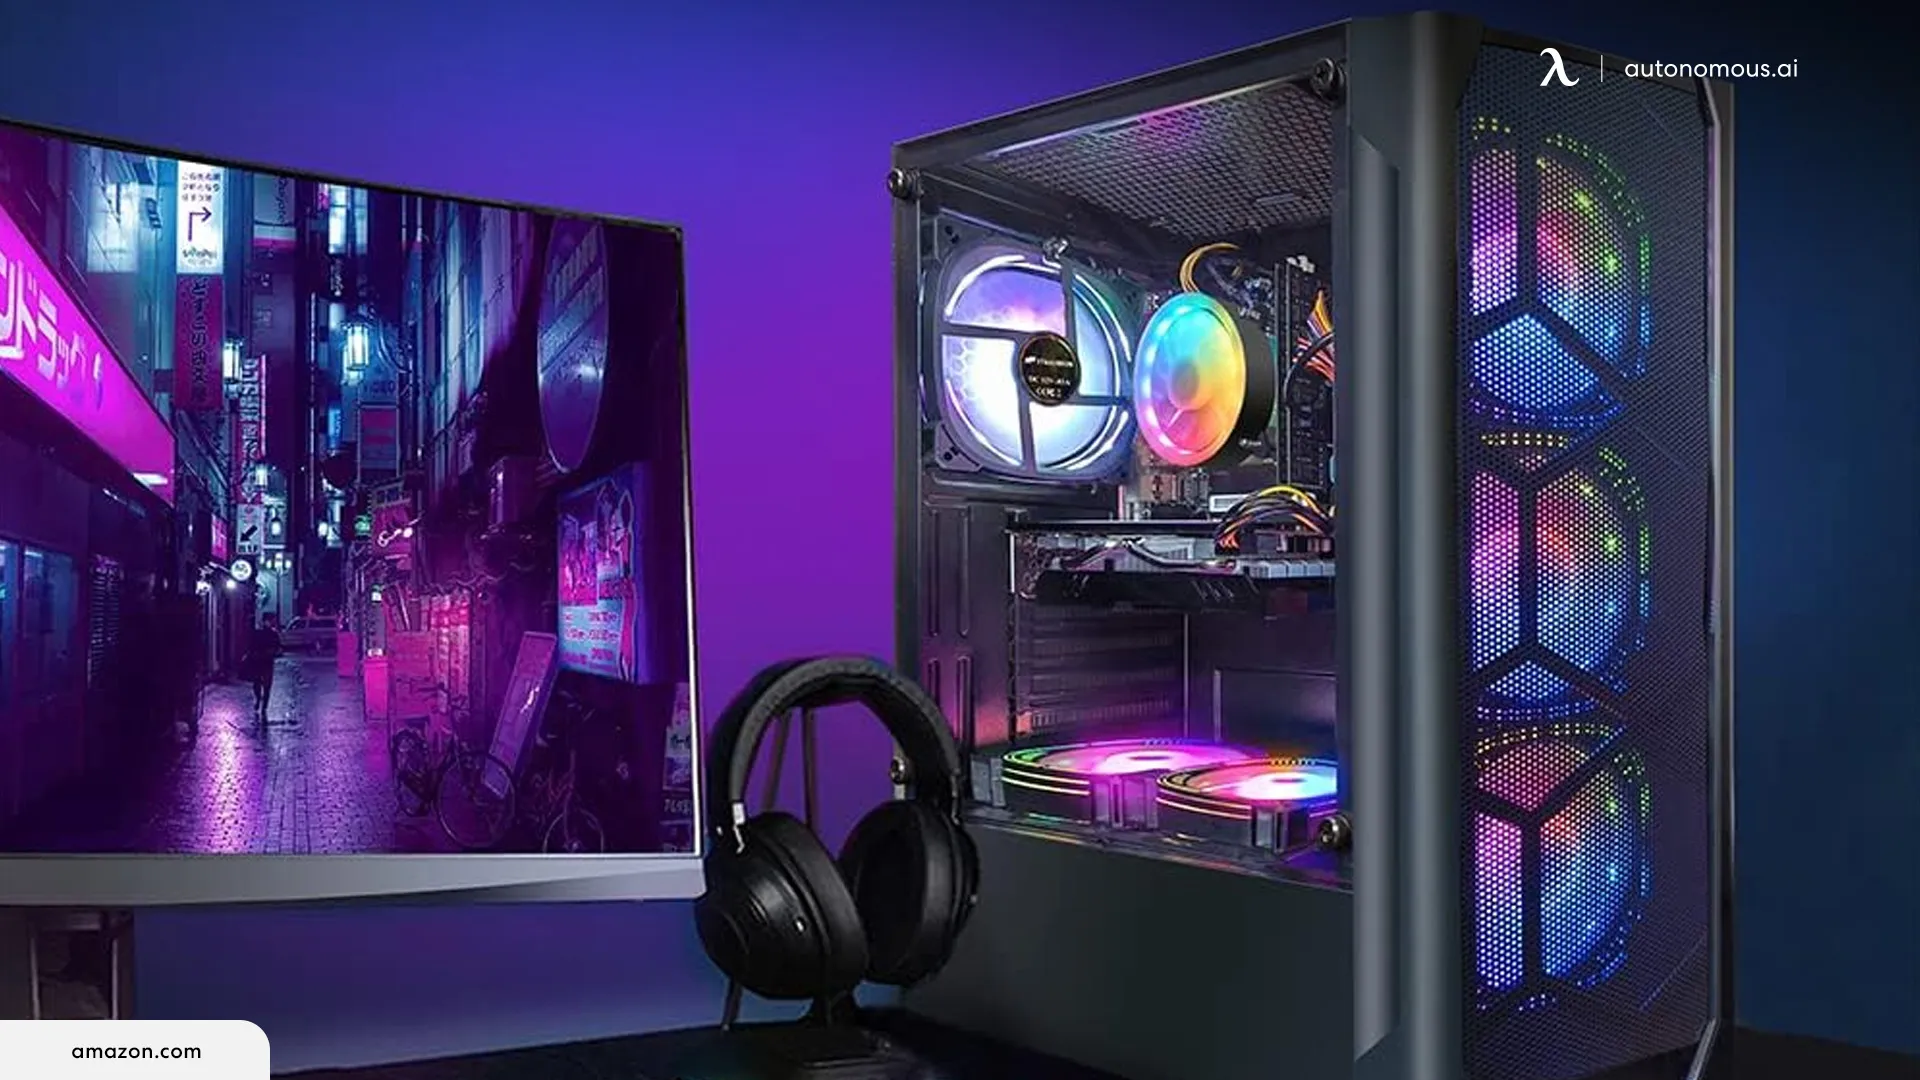
Here is another gaming PC build under $1,000. A few hundred dollars makes a huge difference to a gaming experience. The $500 setup is fine for entry-level gaming, but upping the budget to $800 lets you enter a whole new world of technology - and take part in some serious gaming.
You can upgrade several crucial elements with an $800 budget - most notably, your CPU. The extra dollars let you buy a newer, more advanced model - and a better graphics card for enhanced visuals.
Here is my recommended example gaming PC for $800, based on the current prices at the time of writing. Again, you can find my explanations and reviews below.
- CPU: Intel Core i5-14400F ($209.99)
- Motherboard: ASRock B760M-HDV ($89.99)
- GPU: Nvidia RTX 4060 ($299.99)
- RAM: TeamGroup T-Force Zeus DDR4 32GB ($55.99)
- Storage: Silicon Power UD90 1TB ($78.99)
- Case: DeepCool Matrexx 40 3FS ($37.99)
- PSU: Thermaltake Smart 700W ($52.99)
- Cooler: No need - the CPU has a built-in cooler.
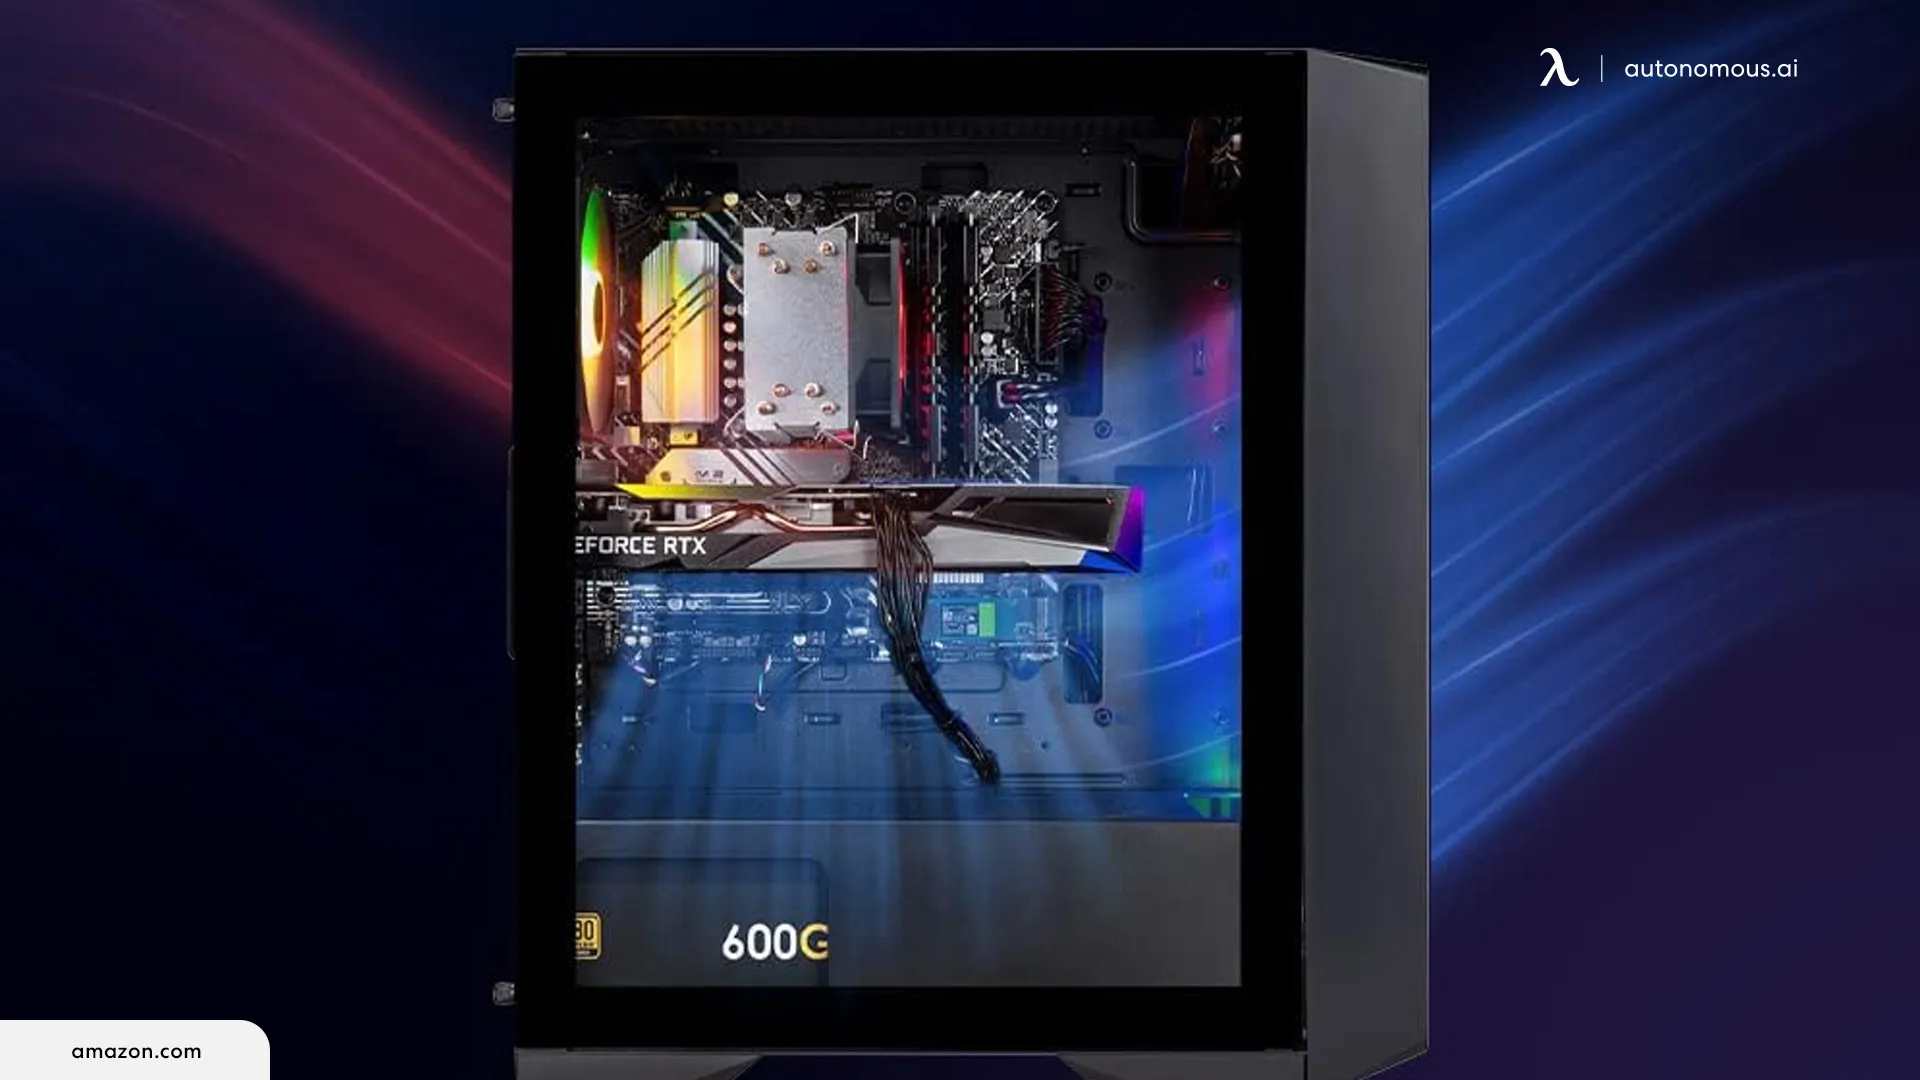
The GPU is the big spend here, at almost twice the price of my choice for the previous setup. For the extra money, you get a whole lot more in terms of speed, graphics quality, and customizable settings. It is also capable of some ray tracing, but not if you are playing in 2K.
I also spent an extra $90 to upgrade from the Intel Core i3 to the Intel Core i5. It is the same model, but a new version - with an extra two performance cores - plus four more efficiency cores. The boost clock is the same - but it comes with integrated graphics and better overall performance. It also has the same built-in cooler as the i3, so you don’t need to buy a third-party device.
You may have noticed that the motherboard is the same. I stuck with it because it really is the best option at this low price point. Going for a cheap motherboard leaves you more room in the budget to spring for better models with more differentiating components. As I mentioned in the previous setup example, the ASRock motherboard works with the lower-cost DDR4 RAM. I went for a slightly more expensive one here with more memory, since I had space in the budget.
Another upgrade I made here is moving from a 600W to a 700W PSU. At the time of writing, the Thermaltake Smart 700W was actually on a special offer, making it cheaper than the one I picked for the first model. The extra power works better with these upgraded components with higher performance levels.
I chose a sleek and cool low-budget case (not much else to say about the DeepCool Matrexx - it looks good and doesn’t cost a lot) and a high-performance SSD. The Silicon Power UD90 isn’t a high-end storage card - and it doesn’t come close to the top models, but it is probably the best you will find in this price range.
All-in, this setup costs just short of $826 - probably the lowest price at which you can build a serious gaming PC. Stretching the budget that little bit further takes you from a fun and functional gaming computer for beginners to a sophisticated setup for more serious gaming.
2.3. Best Gaming PC Built for $1,000
Let’s push the budget up a little and look at what you can do with $1,000. With your extra $200, you can begin to peak into the world of high-performance gaming experience, but we are not quite at peak competitive level just yet.
Here is an overview of my choices for a $1,000 PC gaming setup.
- CPU: Intel Core i5-14400F ($209.99)
- Motherboard: ASRock B760M-HDV ($89.99)
- GPU: RTX 4060 Ti ($399.99)
- RAM: Crucial RAM 32GB Kit DDR4 3200 ($69.95)
- Storage: WD Black SN770 ($139.99)
- Case: Fractal Design Pop Air (from $79.97 to $109.21)
- PSU: Corsair CX750M ($89)
- Cooler: No need - the CPU has a built-in cooler.
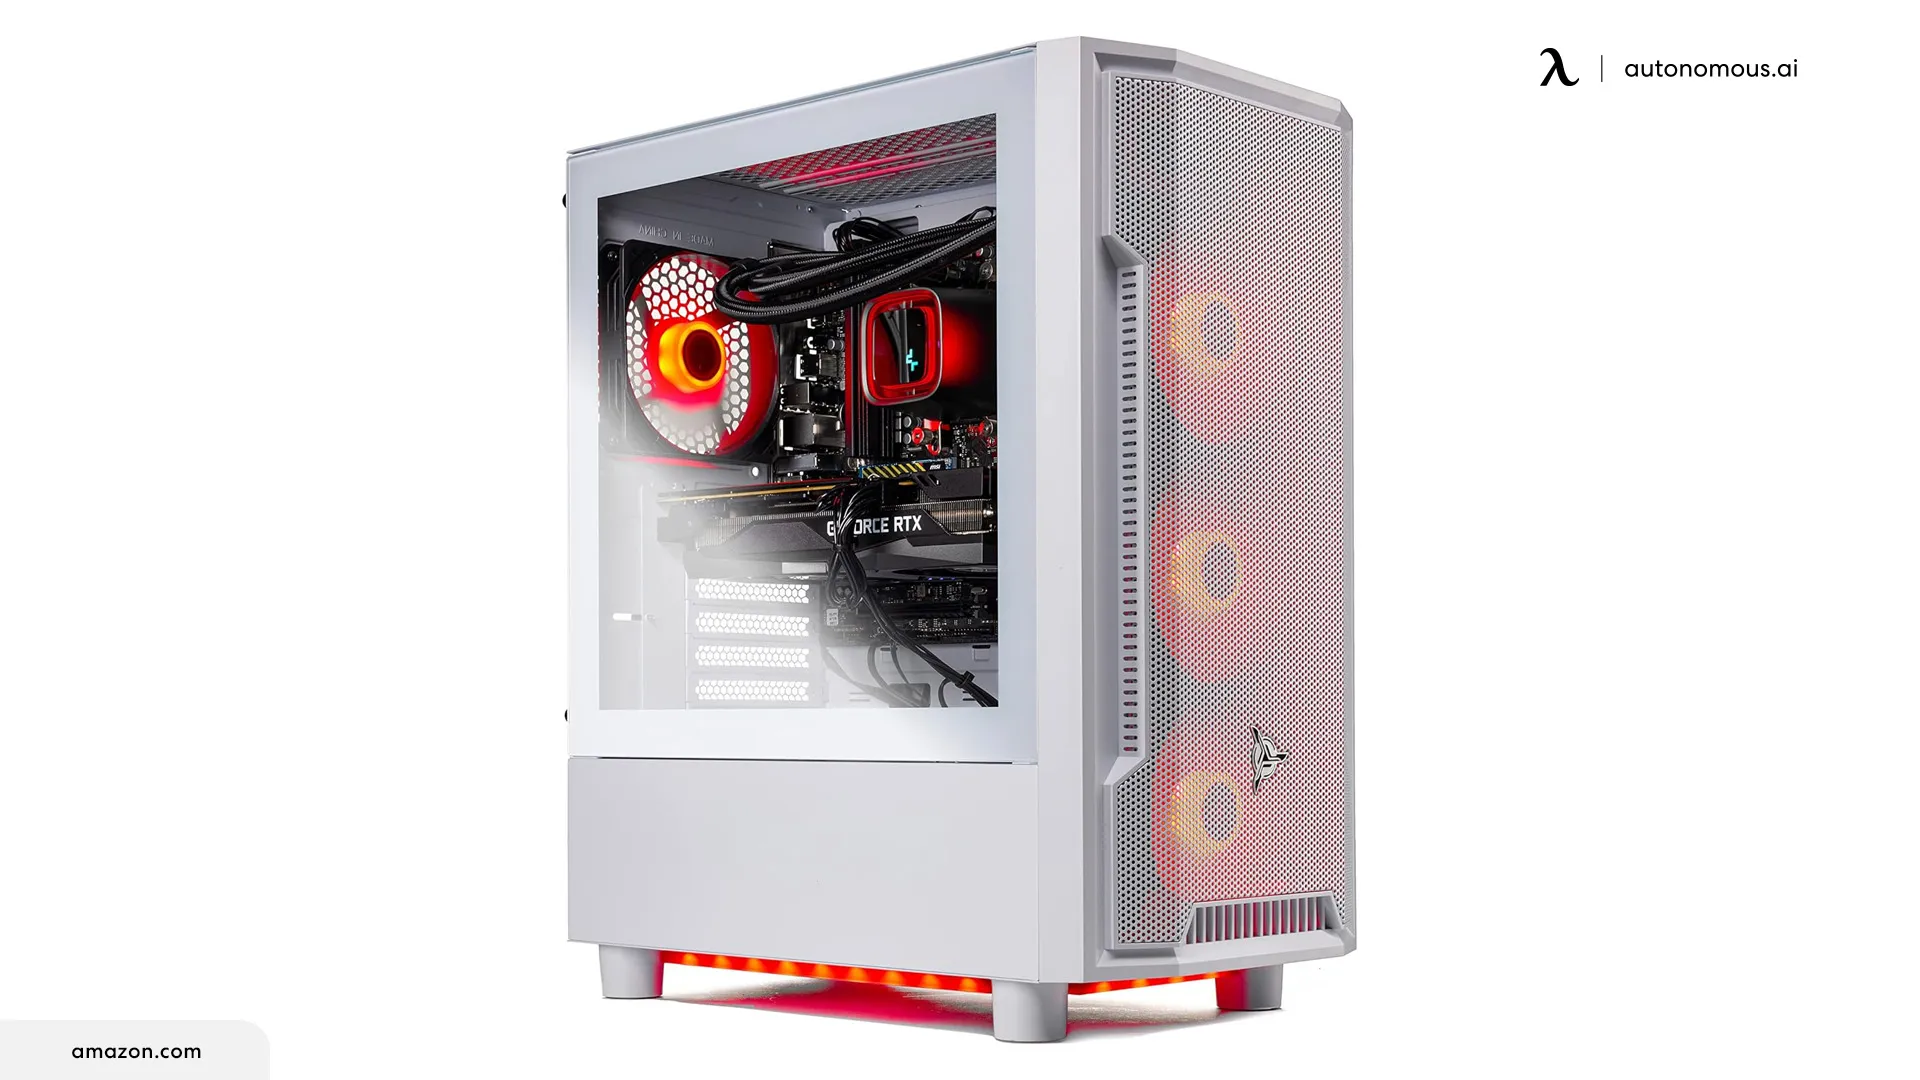
First, I want to highlight the things I am sticking with. I am keeping the Intel Core i5 core processing unit because it works very well, doesn’t cost too much, and has a built-in cooler - leaving room elsewhere to splash out. The ASRock motherboard makes its third appearance because I am not yet convinced it is worth paying more at this point when the B760M-HDV does a perfectly good job and lets us stick with the cheaper DDR4 RAM.
I have switched to a slightly more upmarket RAM from Crucial, which still has 32GB but is, overall, a bit more powerful. Another small upgrade comes with the PSU - which is now at 750W instead of 700W. The Corsair CX750M not only has a higher wattage - but is also 80+ Bronze certified, which is about as good as it gets at this price point.
Now, let’s talk about the areas we have spent quite a bit more. First, I recommend a much more powerful choice of SSD to support the extra wattage. I have chosen the WD Black SN700. It is faster, has double the storage space, and competes on all fronts with the coveted Samsung 980 Pro (the top choice amongst pro gamers - but it comes with a premium price tag).
The GPU in this setup is a step up from the previous two options and costs a little bit more. It has an impressive frame rate, much better graphics and ultra settings, and a little bit of ray tracing. Overall, the RTX 4060 Ti is a worthwhile upgrade if you want to enhance the visual element of your gaming experience.
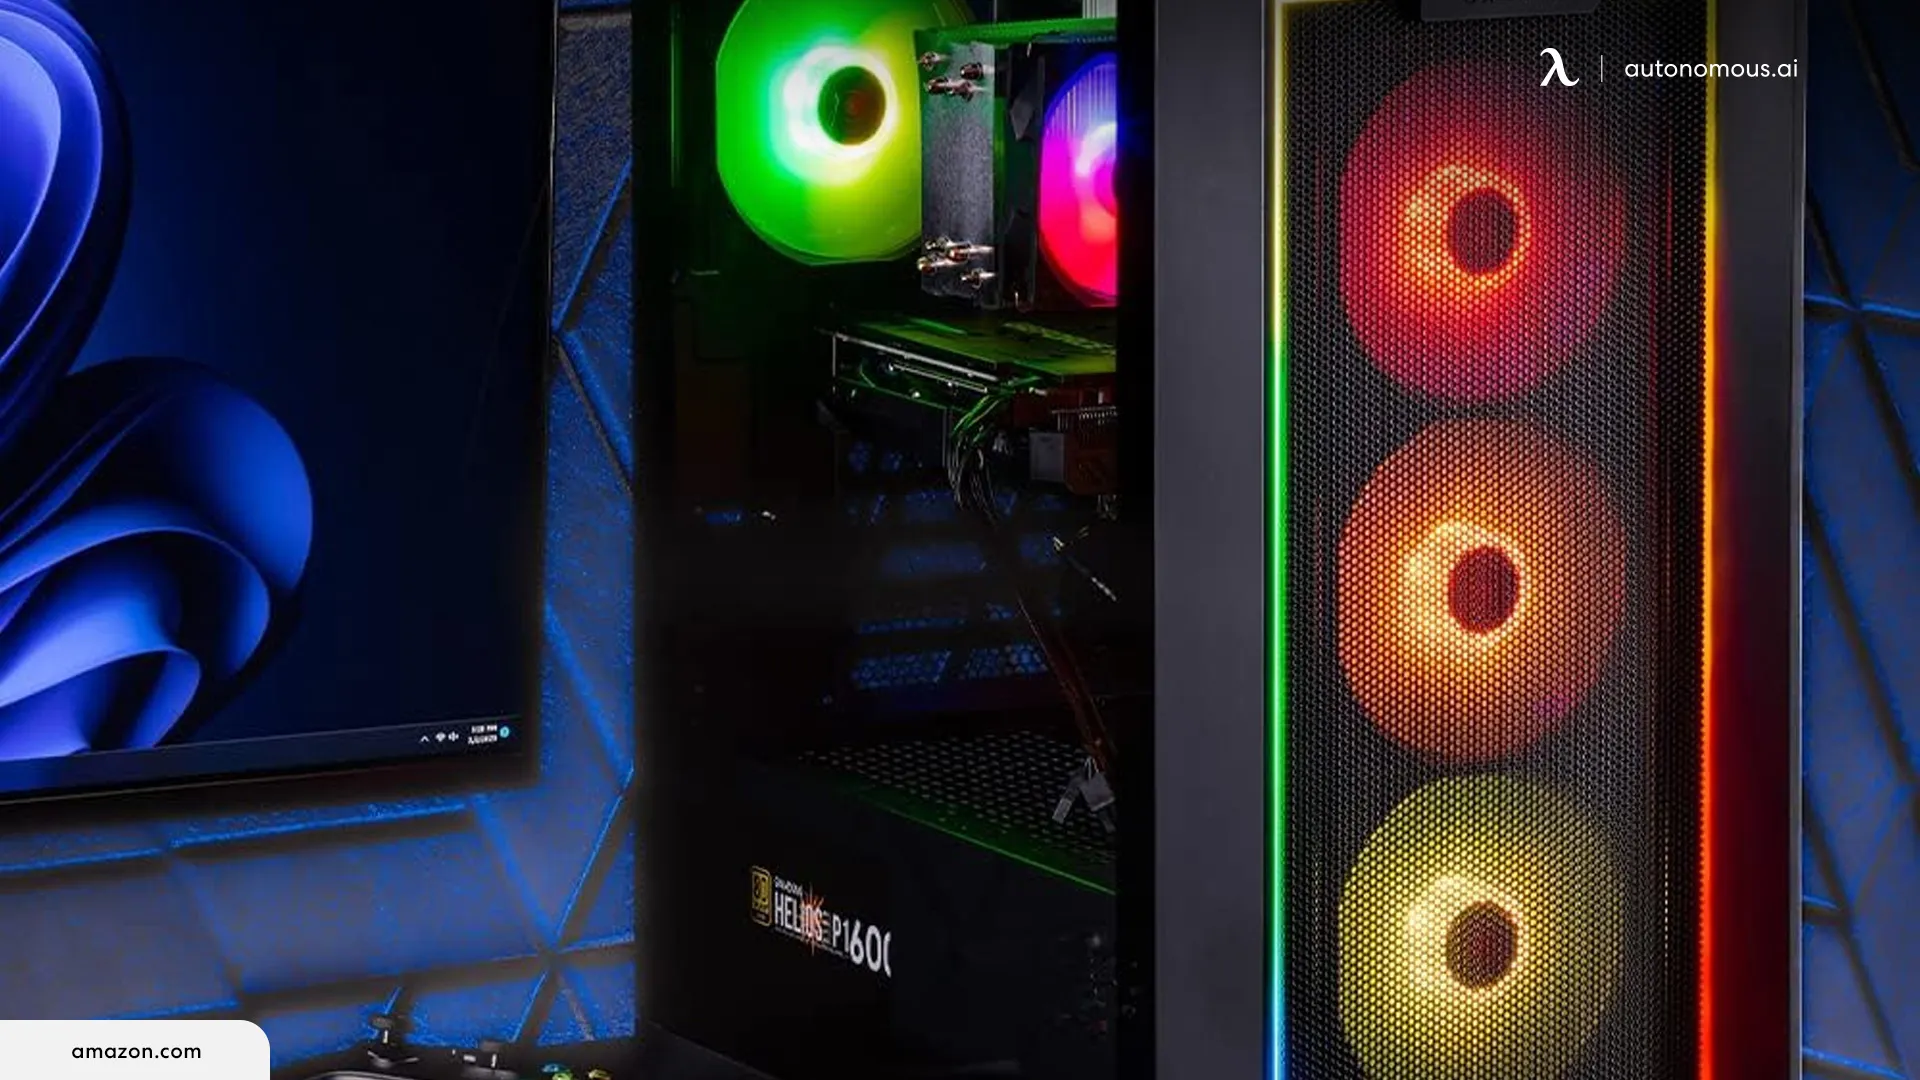
I have also changed my choice of case, given our roomier budget this time around. The Fractal Design Pop Air is a three-case chassis with space for two additional fans or a radiator (280mm) on top. If you are trying to be as frugal as possible, the plain black version is the cheapest. You can spend a bit more to add RGB, change the core color, or have the whole thing in white.
Depending on what style you choose for your Pop Air chassis, this gaming PC setup costs between $1,079 and $1,108. It is creeping over the $1,000 mark slightly - and you could reduce it by opting for a simpler case - but make sure it has plenty of ventilation to keep all that extra power cool.
>>> The Best Gaming PC Build for 1,000 Dollars
2.4. Best Gaming PC Build for $1,500
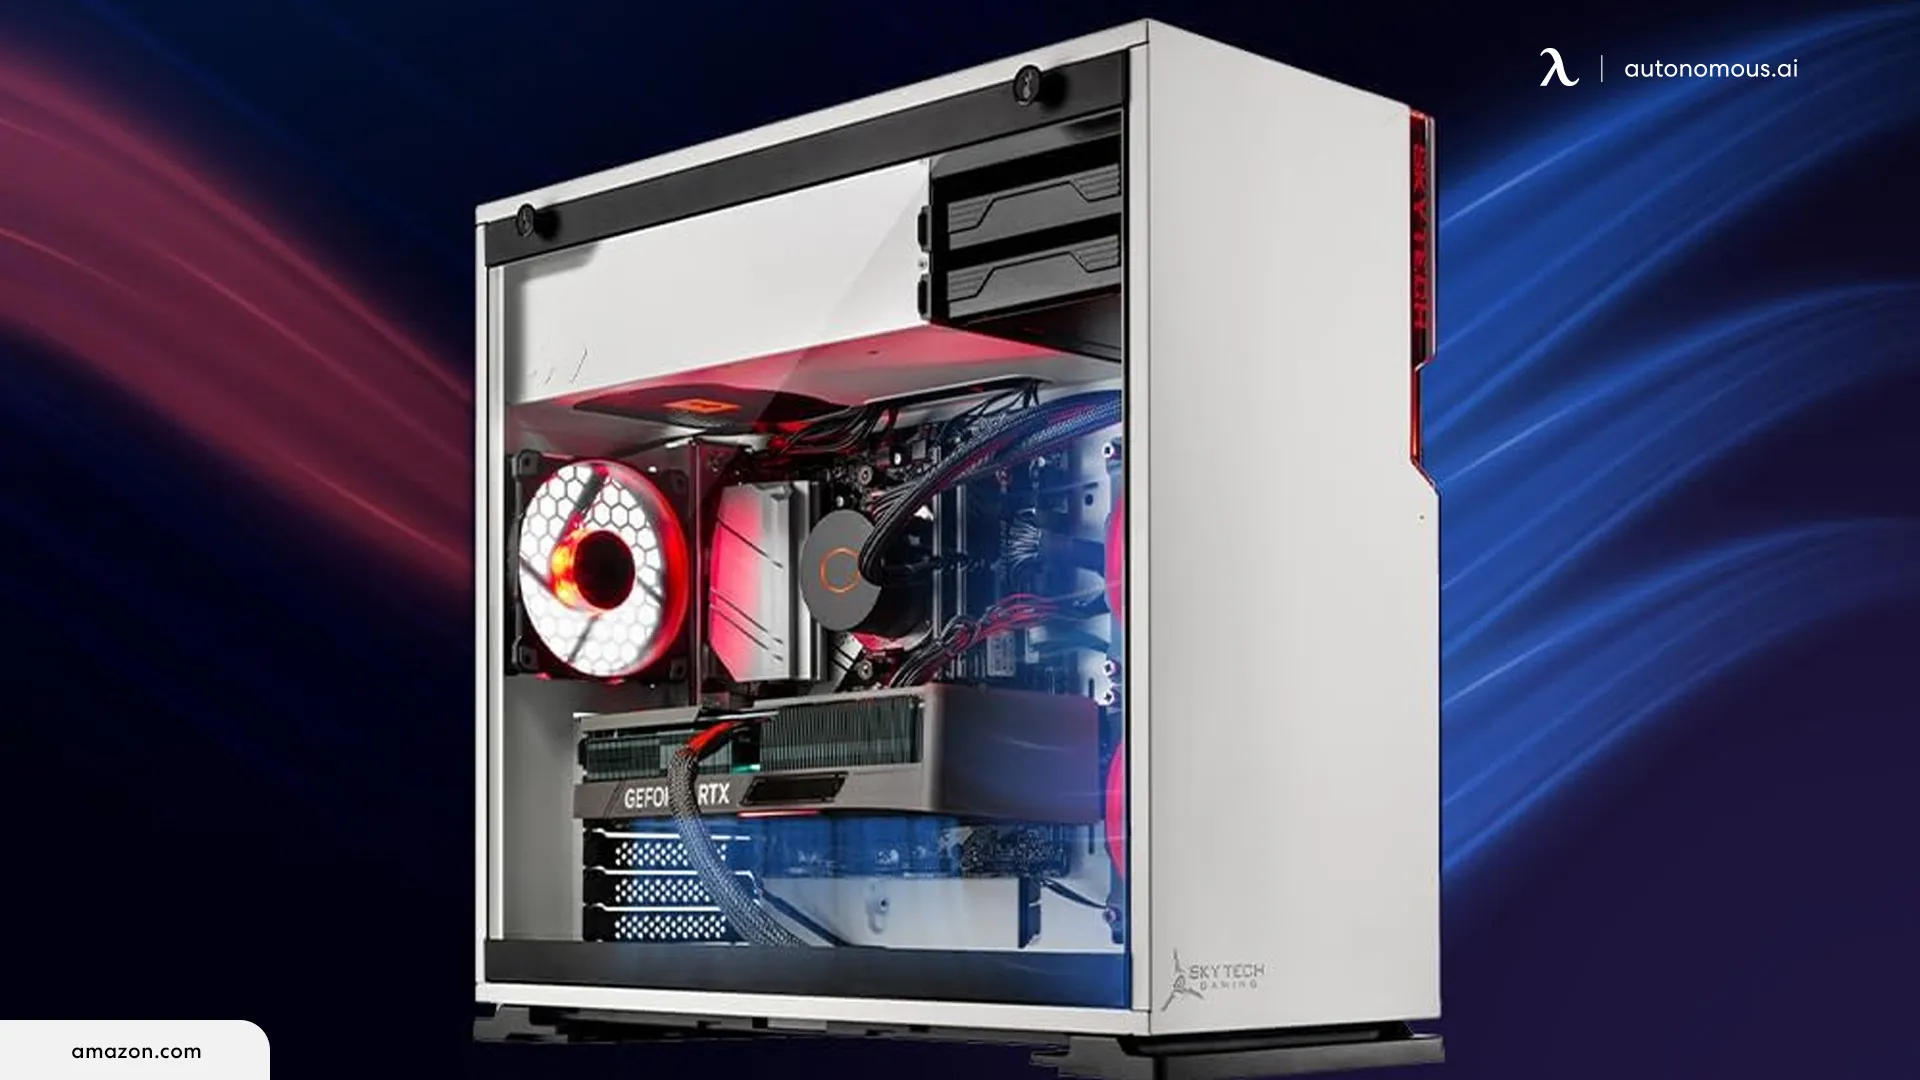
While you can easily assemble a great gaming PC built under $1,000, it is worth considering the difference you get by spending a little extra. My next gaming PC has been designed for a budget of around $1,500 - with the bulk of the extra budget going toward the GPU.
When you get to this price point, we are talking about strong, powerful, and competitive gaming. You can build an impressive setup with excellent performance with this budget, and here is how you do it.
- CPU: Intel Core i5-14600KF ($279.99)
- Motherboard: Gigabyte Z790 UD AX ($209.99)
- GPU: Nvidia RTX 4070 ($549)
- RAM: Crucial Pro RAM 32GB DDR5 ($104.99)
- Storage: WD Black SN850X 2TB ($154.99)
- Case: Lian Li Lancool 216 ($99.99)
- PSU: Corsair CX750M ($89)
- Cooler: ID-Cooling FrostFlow 280 MM ($56.99)
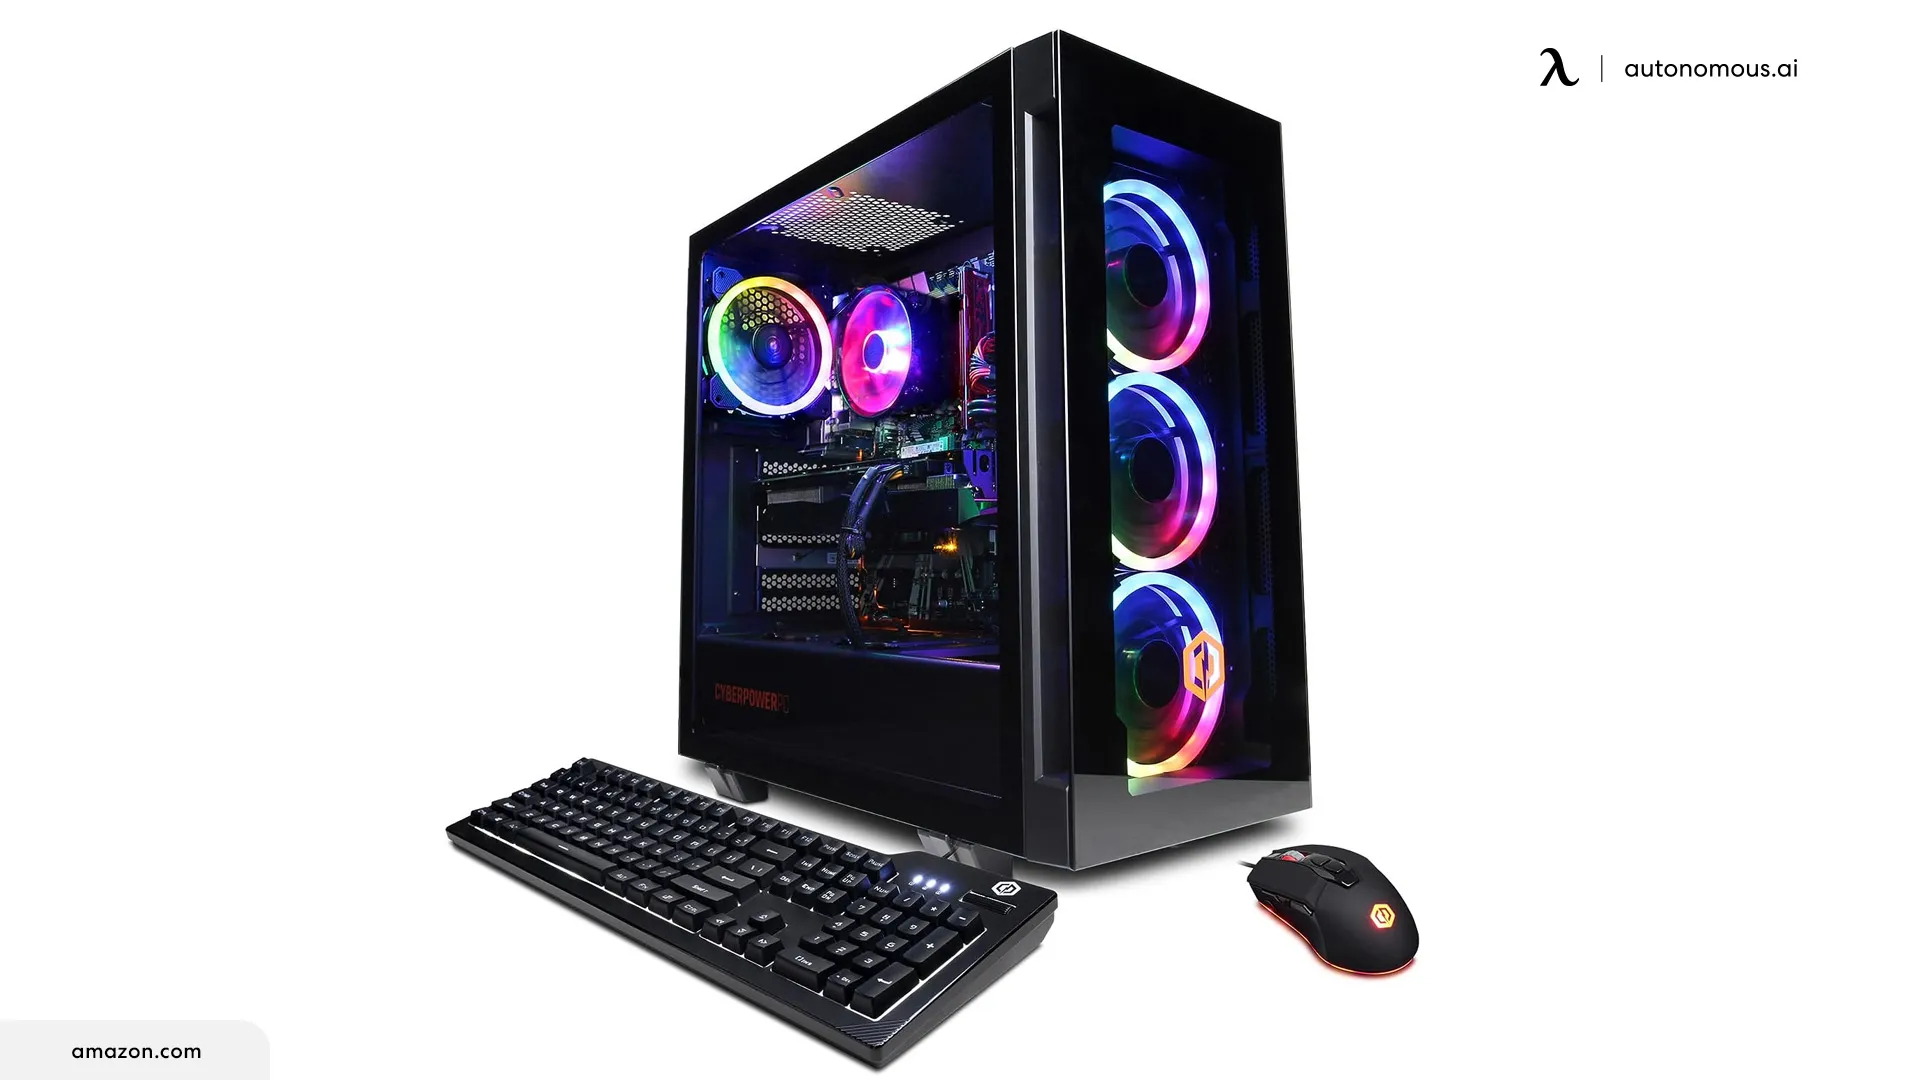
The only thing carrying over from previous models here is the Corsair PSU. Despite not being fully modular, it still performs incredibly well considering the relatively low price. It is powerful enough to support the other upgraded features in this setup, so I am sticking with it for now.
Everything else has had a bit of a re-think, and I have put the extra $500 to good use. I haven’t spent much more on the storage aspect - just opted for a slightly better model from WD Black. It is right up there with the very best options in this category, but it costs much less than the big names.
I stuck with Crucial for the RAM, but now we are looking at DDR5 over DDR4. That is because the motherboard I picked doesn’t support DDR4, so I went with the best price option. The reason I have finally deviated from the motherboard from the previous three setups is because of the extra capabilities this one offers - including overclocking, hybrid phases digital power, and built-in Wi-Fi.
Another notable upgrade is switching from the i5 14400F core processing unit to the i5 14600KF. It has even more threads and additional efficiency cores - as well as a higher boost clock of 5.3 GHz. Unlike its predecessors, this model does not come with a cooler. The ID-Cooling FrostFlow is a good match, and it is pretty budget-friendly.
More than a third of my budget here goes to the GPU - but for good reason. It is one of the highest-performing non-ray tracing graphics processing units on the market today - supporting high-quality gameplay 1080p, 1440p, and even 4K resolution. Even with ray tracing, you can still get away with it at 1080p resolution.
The final piece of the puzzle is the Lian Li Lancool 216 PC gaming case. It looks great, has dual RGB exhaust fans, and comes with built-in smart cable management - all for under $100.
Combined, these components cost just under $1,545 - a great price for a gaming PC setup of this caliber.
2.5. Best Gaming PC Build for $2,000
A high-end gaming PC build starts at around $2,000 - but can go much higher if you really want to splash out on the best of the best. I have stuck to the $2,000 budget to show how you can create an excellent gaming PC and the bottom end of the high-end budget.
Some of the components included here are the options I would choose no matter what my budget was, but others still have room for improvement if you want to be competitive with your gaming.
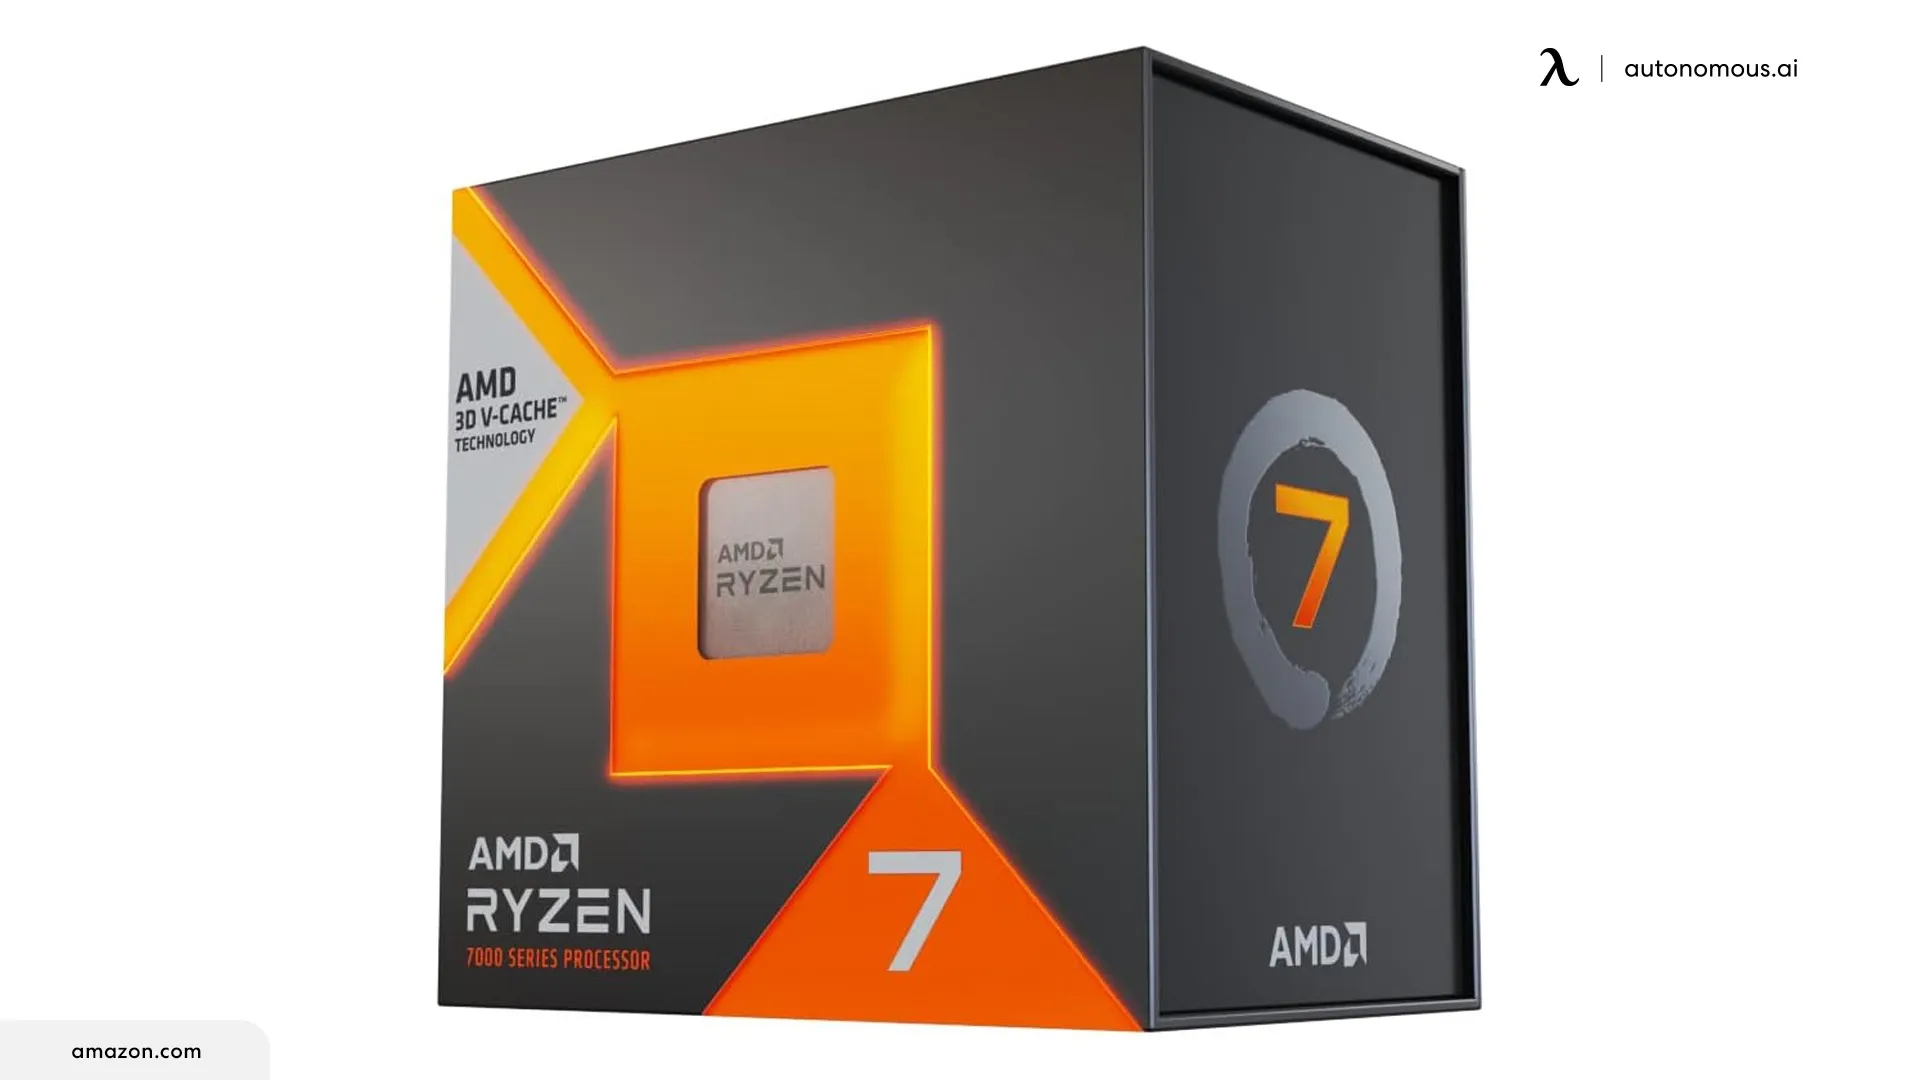
- CPU: AMD Ryzen 7 7800X3d (list price $449, on sale for $369 at the time of writing)
- Motherboard: Gigabyte B650M Aorus Elite AX ($189.99)
- GPU: Nvidia RTX 4070 Super ($599)
- RAM: G.Skill Trident Z5 RGB Series 32GB DDR5 6000 ($117.99)
- Storage: WD Black SN850X 2TB ($154.99)
- Case: Hyte Y40 ($149.99)
- PSU: Corsair RM750e ($79)
- Cooler: ARCTIC Liquid Freezer LI 360mm AIO ($114.95)
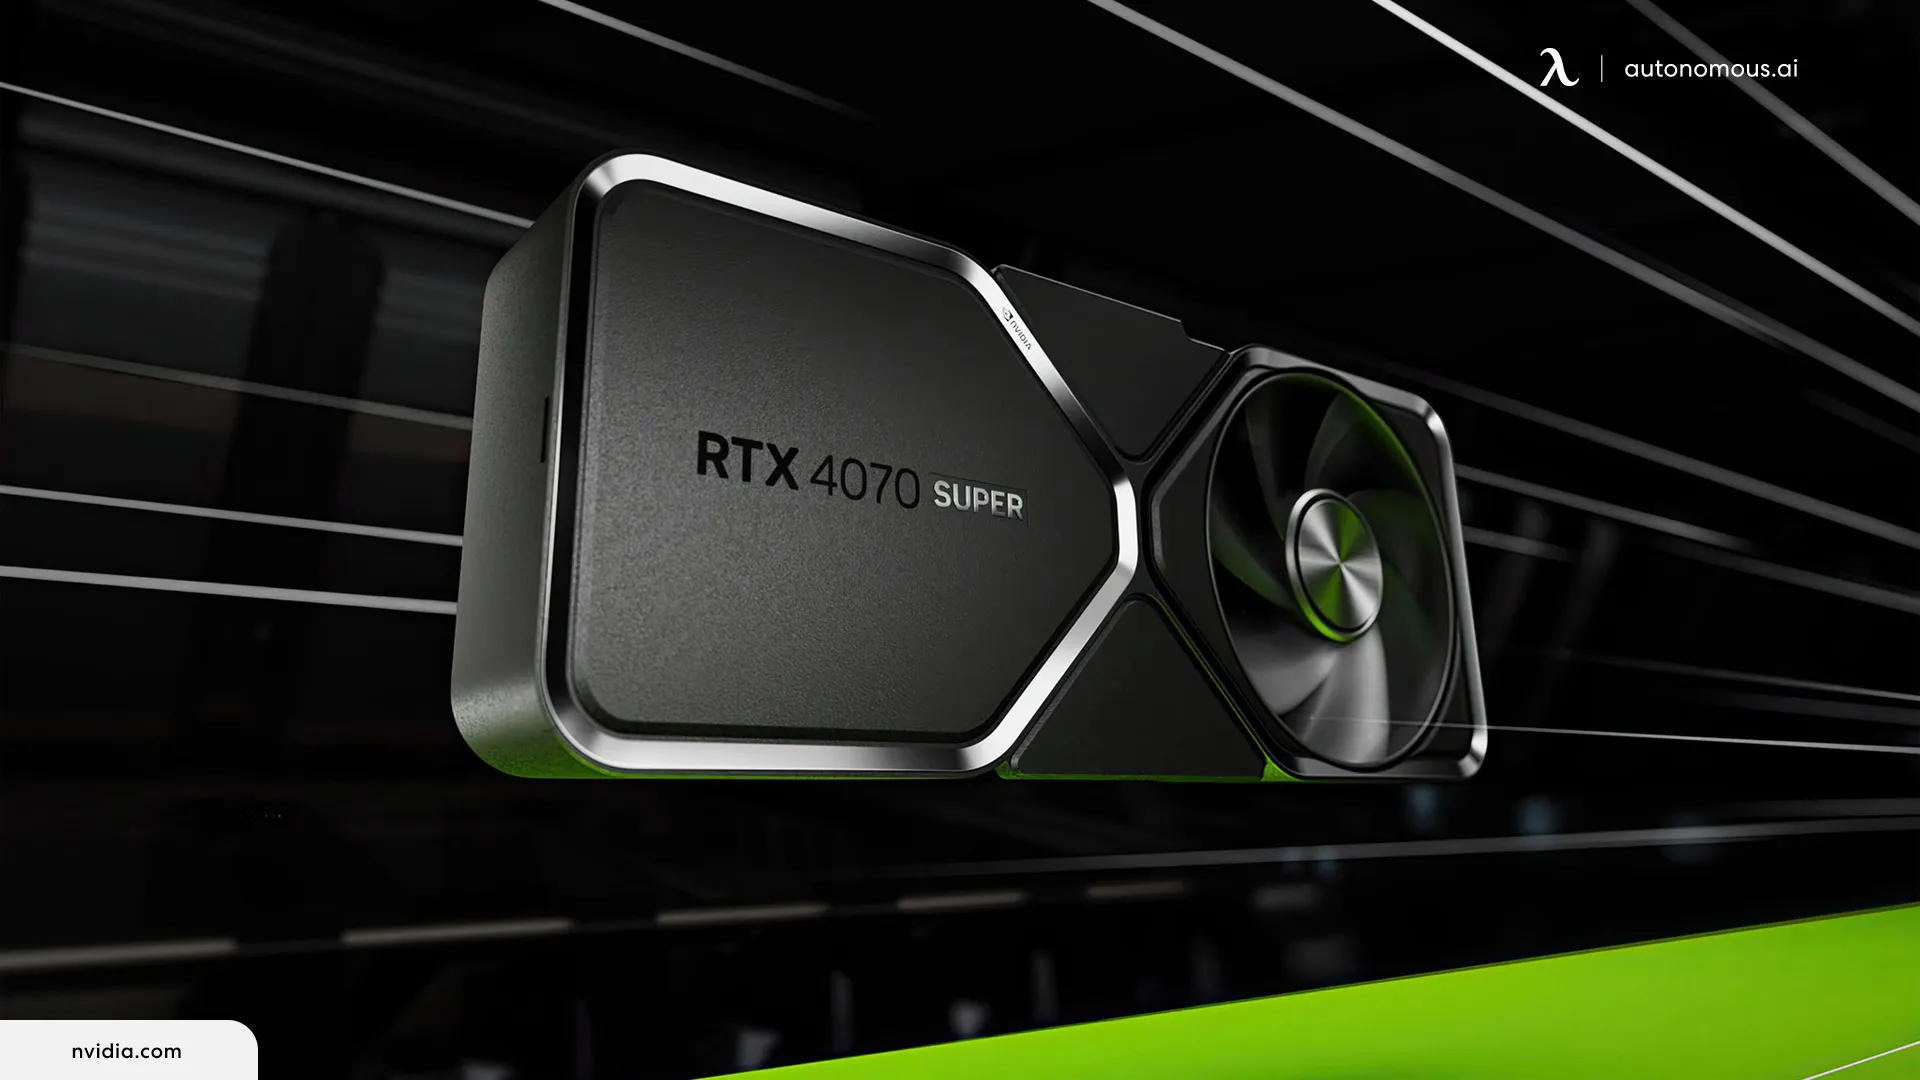
The big-ticket item here is still the GPU - another Nvidia entry that truly is the muscle behind this entire setup. With or without ray tracing, you can expect great performance from this card - flying on 2K resolution and remaining playable at 4K. When you turn on ray tracing, you can sustain decent gaming on 2K, but it is better without it.
What really makes this card shine is its pairing with the AMD Ryzen 7 7800X3d CPU. No matter how much money I had to spend, this is the core processing unit I would choose for gaming every time - I haven’t come across a better one yet. It has a 104MB 3D cache and an impressive boost clock of 5 GHz. There is an even faster AMD Ryzen CPU available, but it costs more and doesn’t match or outrank this one on anything else.
It doesn't have a cooler, so I chose the ARCTIC Liquid Freezer LI to keep things fresh. This model has more than enough cooling power to handle the heat from the CPU, and it runs much quieter than similar designs.
Another component in this setup that I consider unbeatable is the Trident Z5 RAM. It beats all competition in timing, speed, overclocking, and memory - making it well worth the money. The WD Black SN850X 2TB keeps its place as we move up in budget. To be honest, unless you want to fork out well over $200 for the Samsung 980 Pro, you won’t find a better RAM option for your gaming PC. It holds its own in every way against the leading models but is more affordable.
The motherboard in this equation is Aorus Elite AX by Gigabyte - one of the more affordable Wi-Fi-enabled models available today. I recommend the Corsair RM750e to help power all these high-performance components. It is 80+ gold certified, and it doesn’t get better than that.
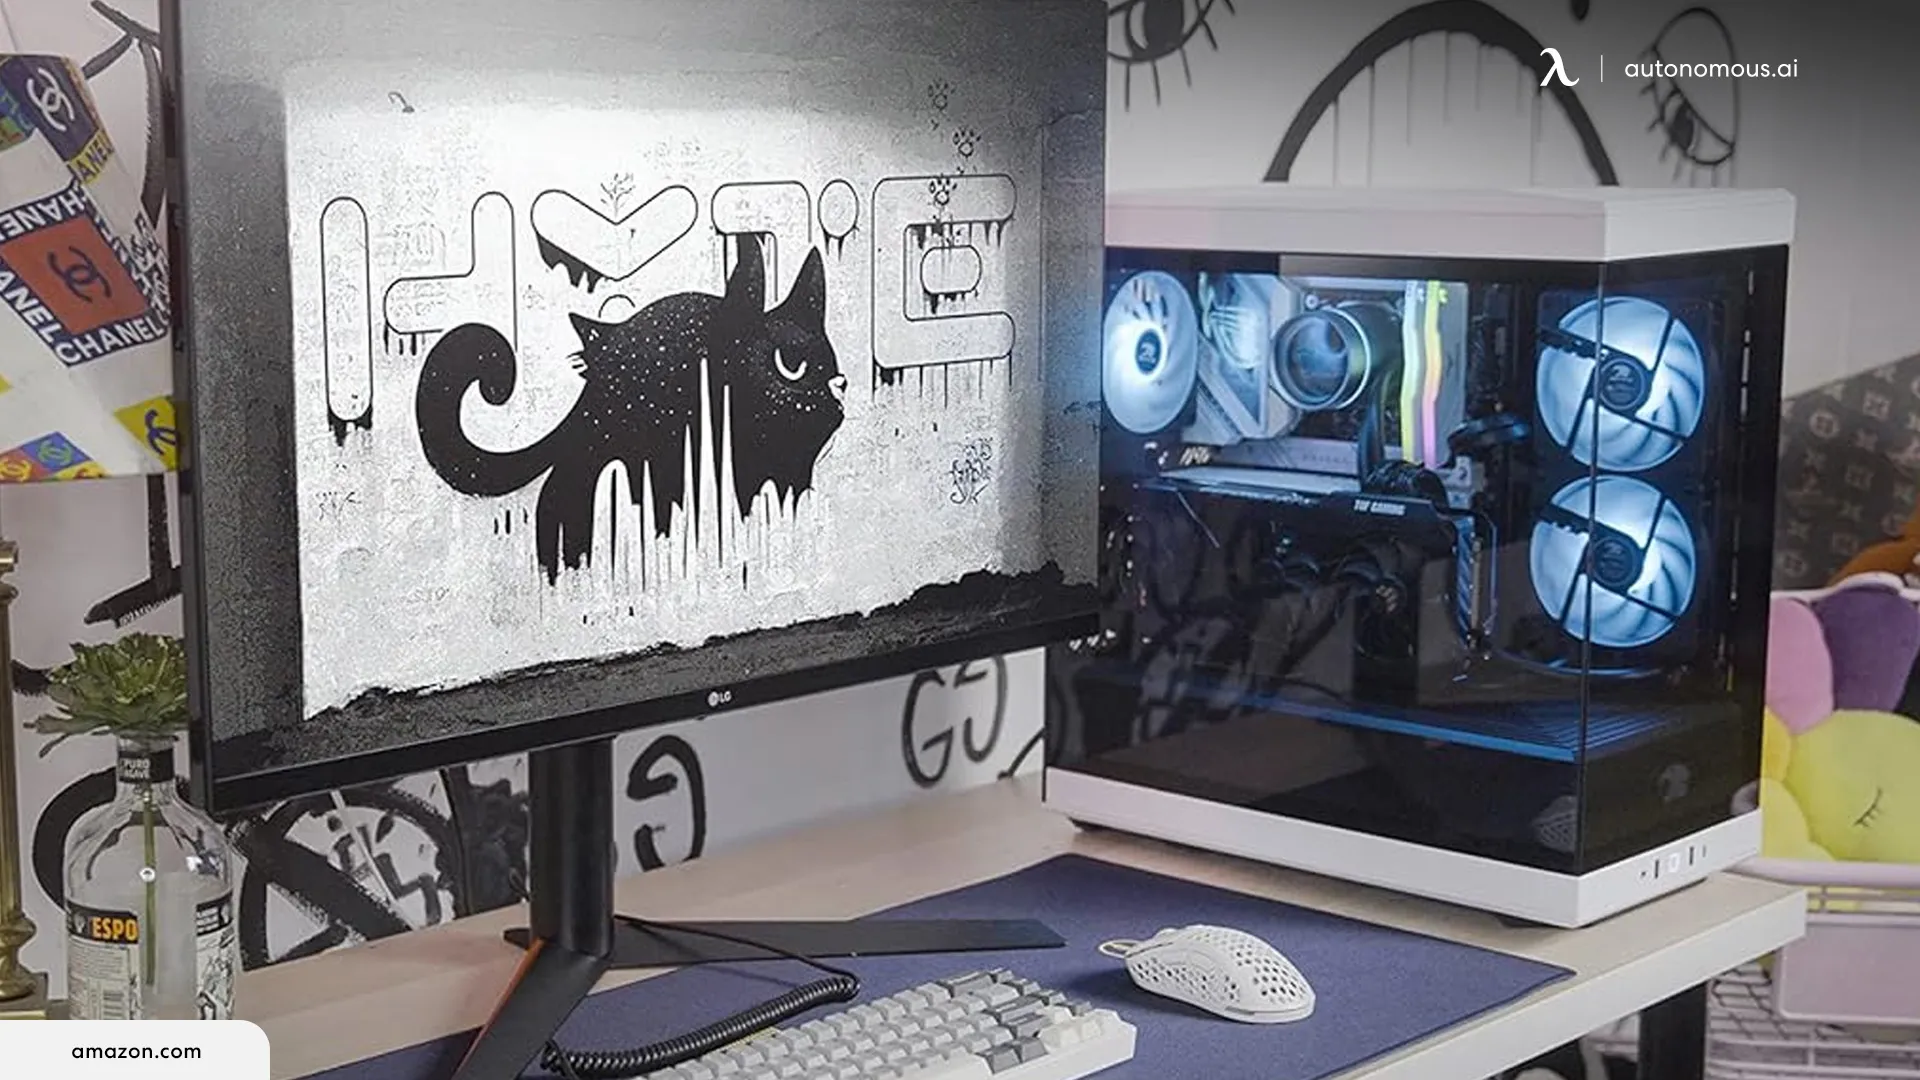
Last but not least, I selected the Hyte Y40 - a super modern panoramic tempered glass gaming case that protects and showcases your PC setup simultaneously.
Put all of this together, and you have a final price tag of just below $1,860. This is an excellent price for this much PC gaming power.
3. How Much Does an SSD Storage Cost?
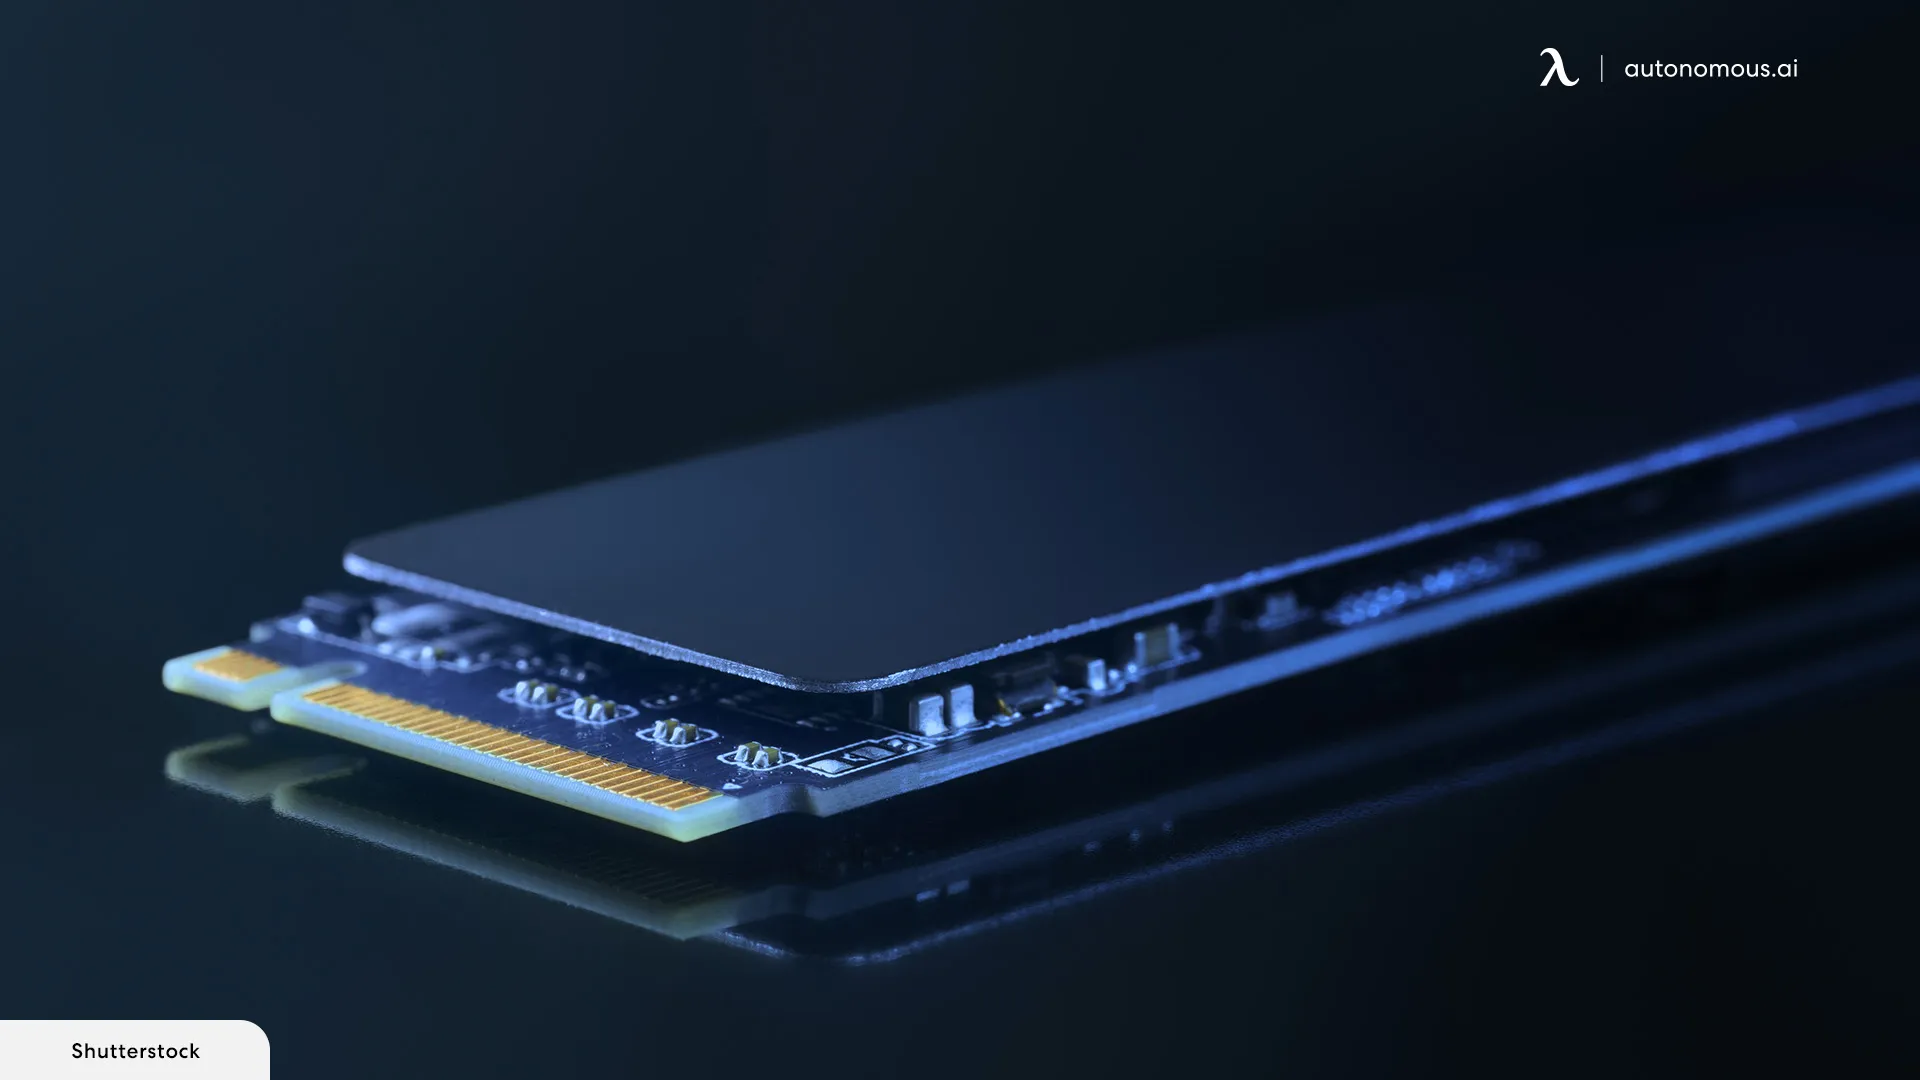
Before moving on, I wanted to talk a little more about SSD storage, what it does, what you need for your setup, and how much it costs.
The main deciding factor cost-wise is the storage capacity they offer. SSD capacity generally starts at just 250 GB. At the top end, most manufacturers go up to 2 TB, but a few offer a bit more.
As a general rule, the absolute minimum GB required for a gaming PC is a little over 500 GB, but the average machine operates best with at least 1 TB. The more storage you have, the more games you can have installed and the more data you can save.
- Low-End (250 GB Capacity)
As you may expect, these SSDs are the cheapest, ranging from around $25 to $45. They are not recommended for use in a gaming PC setup.
- Mid-Range (500 GB Capacity)
You can buy a 500 GB capacity SSD for between $40 and $70. They may work for some very simple gaming PCs- as long as you don’t plan on installing many games. As mentioned above, the minimum recommended storage amount is higher than 500 GB - but only just.
- High-End (1 TB+ Capacity)
1 TB capacity SSDs start at around $70 but can cost over $100. The price for 2TB is higher, starting around $130 for basic options and going up to around $220 to $230 for the high-end models.
4. Frequently Asked Questions
4.1. How much does it cost to build a gaming PC?
You can build a gaming PC for as little as a few hundred dollars, but it is worth saving a bit longer if you want a high-performance PC setup that supports competitive, serious gaming. The lowest price bracket for this type of gaming PC is between $1,500 and $2,000 - but some people spend more to have top-of-the-line models for all key components.
Remember, these budgets don’t include other office accessories needed to complete your setup. These may include a desk, ergonomic gaming chair, monitor arm, the monitor itself, and a keyboard tray. I am focusing purely on the gaming PC build in these budget outlines.
4.2. What is the most expensive component of a gaming PC?
The most expensive part of your gaming PC will probably be the graphics processing unit - especially if you are working with one of the higher budgets. CPUs are also quite expensive compared to the other key components, so it makes sense to pick them out first and work from there.
4.3. What monitor setup is best for PC gaming?
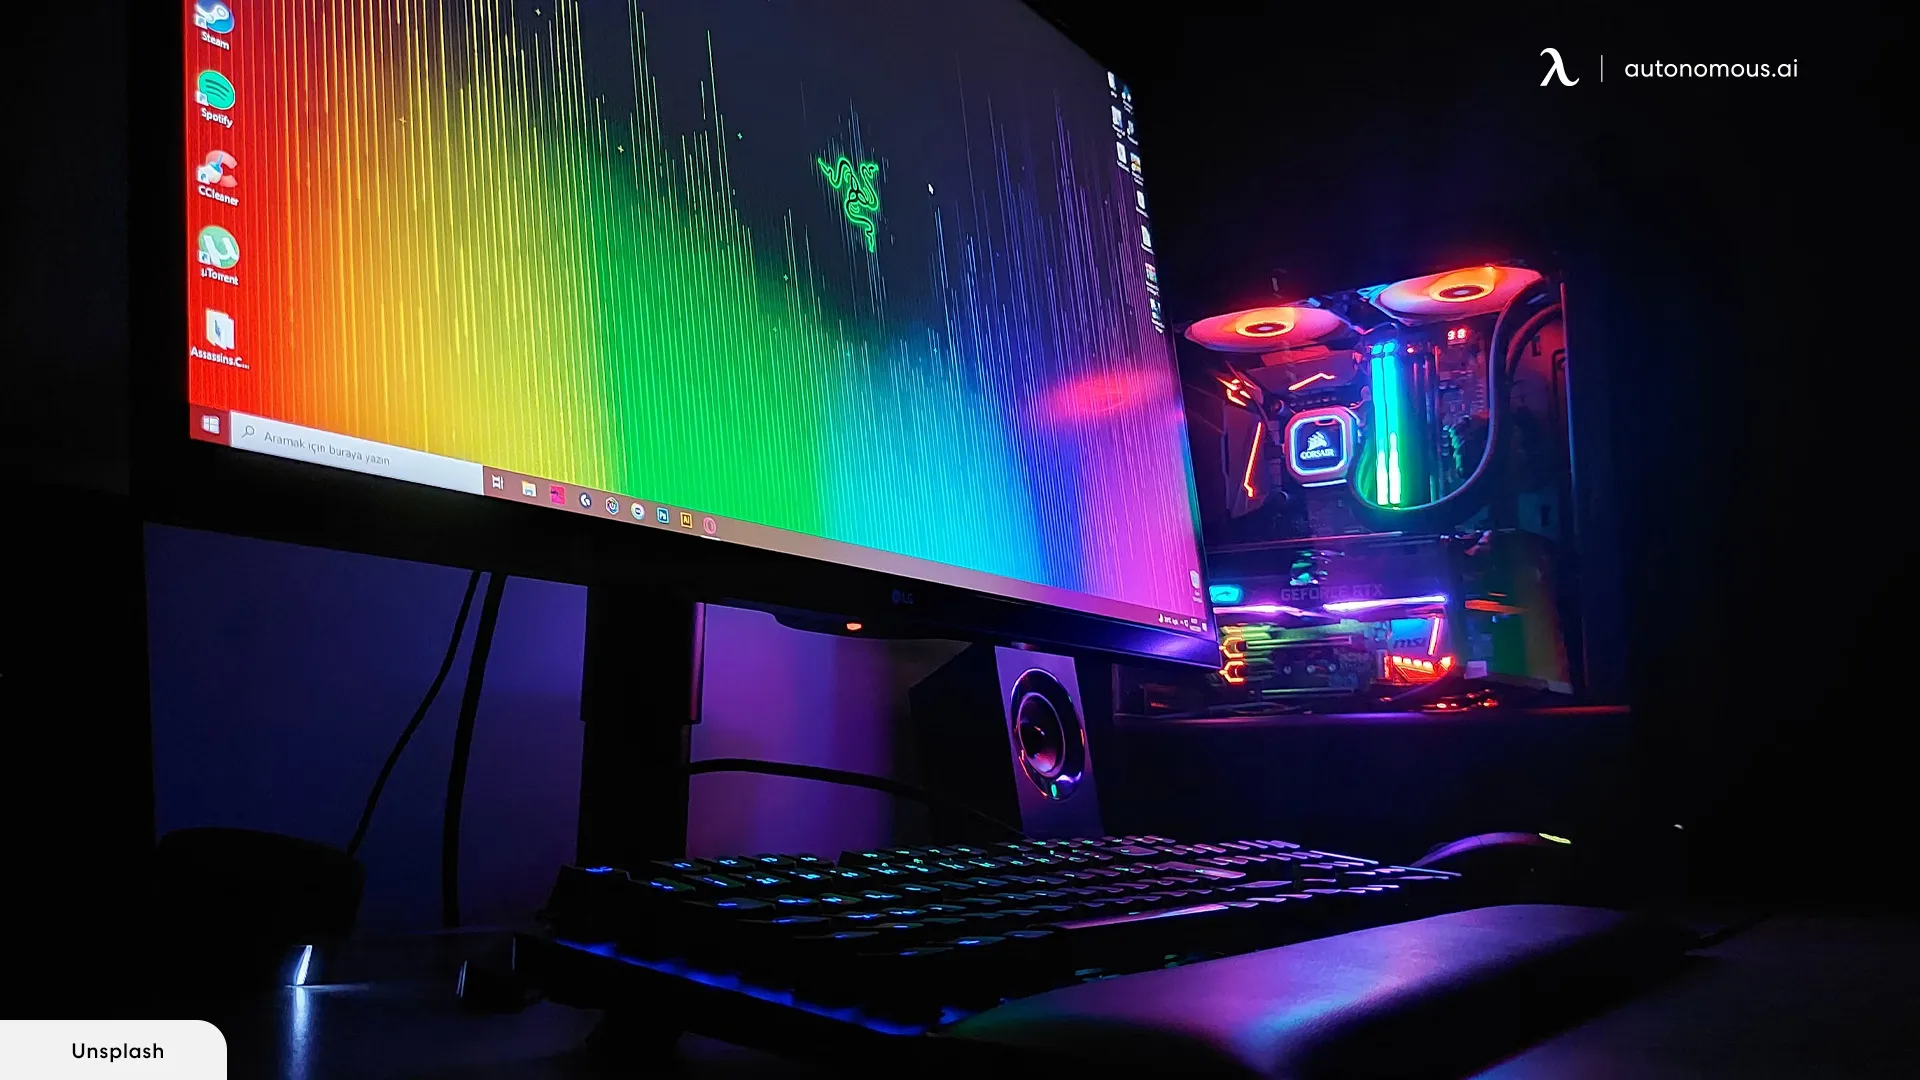
It is important to find an ergonomic dual monitor setup that feels comfortable over long hours. You need to avoid muscle strain, poor posture, and repetitive stress - all of which can lead to physical pain and lasting health problems.
You can use a dual monitor setup diagram to help you map out your complete setup - and it is worth comparing a few options to find one that works for you.
Some possible options include:
4.4. What mistakes to avoid when building a gaming PC?
The biggest mistake a lot of new gamers make when building their first gaming PC is buying incompatible parts. You need to check everything works together to avoid spending money on something that won’t be usable.
Summary
A gaming PC can cost anywhere from around $500 to over $2,000. It all depends on the level of performance you want and need - and whether or not you want to stick to the best-known brands in the industry.
My example setups show just how varied the price points can be and the rough performance levels you can expect at each stage.
Stay connected with us!
Subscribe to our weekly updates to stay in the loop about our latest innovations and community news!
Interested in a Link Placement?
Spread the word
.svg)
.svg)


/https://storage.googleapis.com/s3-autonomous-upgrade-3/production/ecm/230914/bulk-order-sep-2023-720x1200-CTA-min.jpg)
/https://storage.googleapis.com/s3-autonomous-upgrade-3/production/ecm/230824/image_tcfK9hWW_1692158394864_raw-31787d98-e74a-4d1d-80db-76b940960ab0.jpg)