
How to Organize Wires behind the Desk to Hide Cords & Clutters?
Table of Contents
- Step-by-Step Guide for Organizing Cords
- How to Organize Charging Cables on Your Desk
- How to Organize Cords Behind Your Desk
- How to Organize Cords Under Your Desk
- How to Organize Cables for a Standing Desk
- Cable Management Mistakes to Avoid with a Standing Desk Setup
- DIY Cord And Cable Organizers Ideas for Uncluttered Office
- Frequently Asked Questions
- Conclusion
Managing cords can be one of the most frustrating challenges when setting up or maintaining a clean and efficient desk. With the ever-growing number of devices we use daily, it’s important to have a system in place to keep your workspace tidy. In this blog, we’ll cover essential tips on how to organize charging cables on your desk, manage cords behind and under the desk, and special considerations for standing desks. Follow this step-by-step guide for an organized, efficient, and professional workspace.
Step-by-Step Guide for Organizing Cords
Here’s a general step-by-step guide to organizing cords in any workspace:
- Unplug Everything: Start by unplugging all your devices and laying out all the cords so you can evaluate what you have.
- Sort and Declutter: Remove any cables that are unnecessary, outdated, or damaged. This will reduce clutter before you begin organizing.
- Group Similar Cords Together: Group cords by type (power cables, USB cables, monitor cords) to keep the organization process smoother.
- Bundle Excess Cables: Use cable ties or Velcro straps to bundle excess cable length neatly. This keeps cords from tangling and frees up desk space.
- Use Cable Management Tools: Install cable trays, sleeves, or raceways to hide and bundle cables under or behind your desk.
- Secure Cords in Place: Attach command hooks, adhesive clips, or zip ties to secure cords to the desk frame, keeping them from dangling.
- Test the Setup: Plug everything back in and test your setup to make sure all the cables are working properly and no cords are pulled too tightly.
- Regular Maintenance: Periodically check your cable setup to ensure cords remain tidy, and adjust as needed when adding or removing devices.
How to Organize Charging Cables on Your Desk
Charging cables can quickly clutter your desk, especially with multiple devices in constant use. Here’s how to keep them organized:
Evaluate Your Needs: Start by identifying which charging cables are essential on your desk. Only keep the ones you use regularly and remove any unnecessary or old cables.
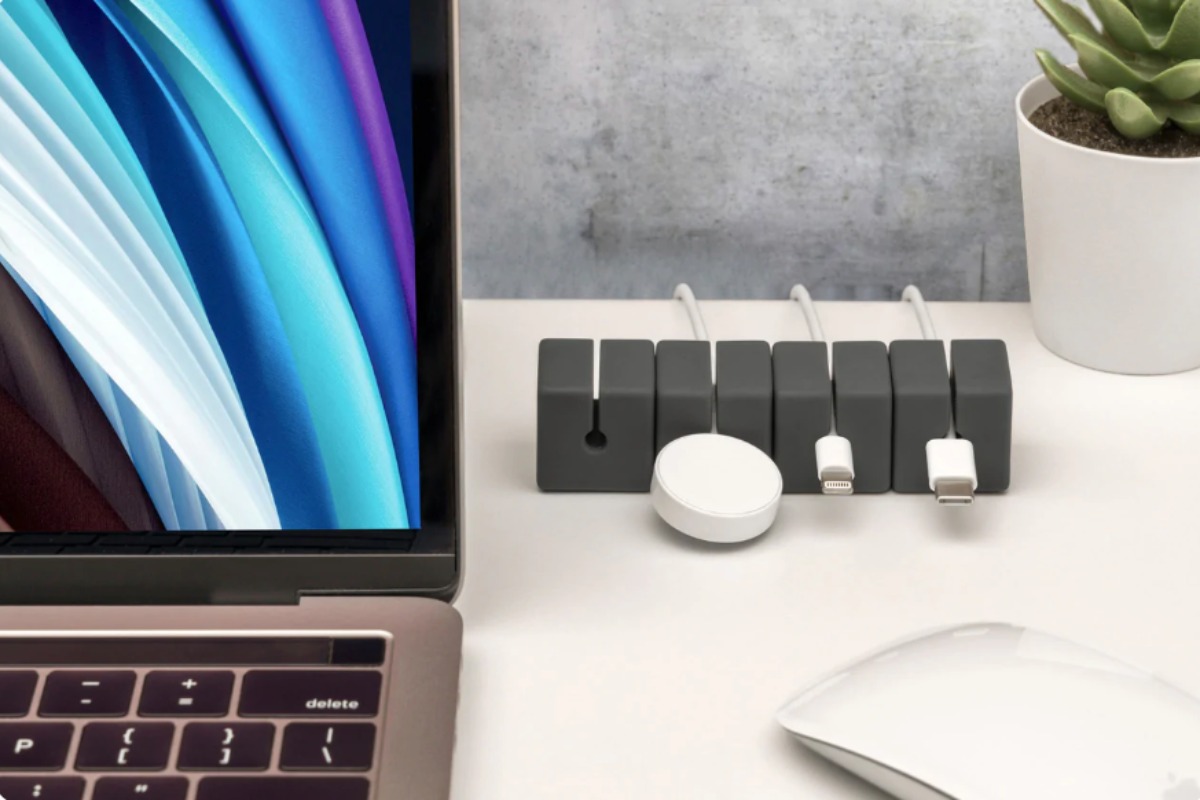
Use Cable Clips: Attach cable clips to the edge of your desk or underneath it. This helps keep your charging cables in place and prevents them from falling behind the desk. Choose clips that fit the size of your cables, and ensure they have a strong adhesive to hold firmly to the desk surface.
- Tip: Choose color-coded cable clips to easily identify different devices.
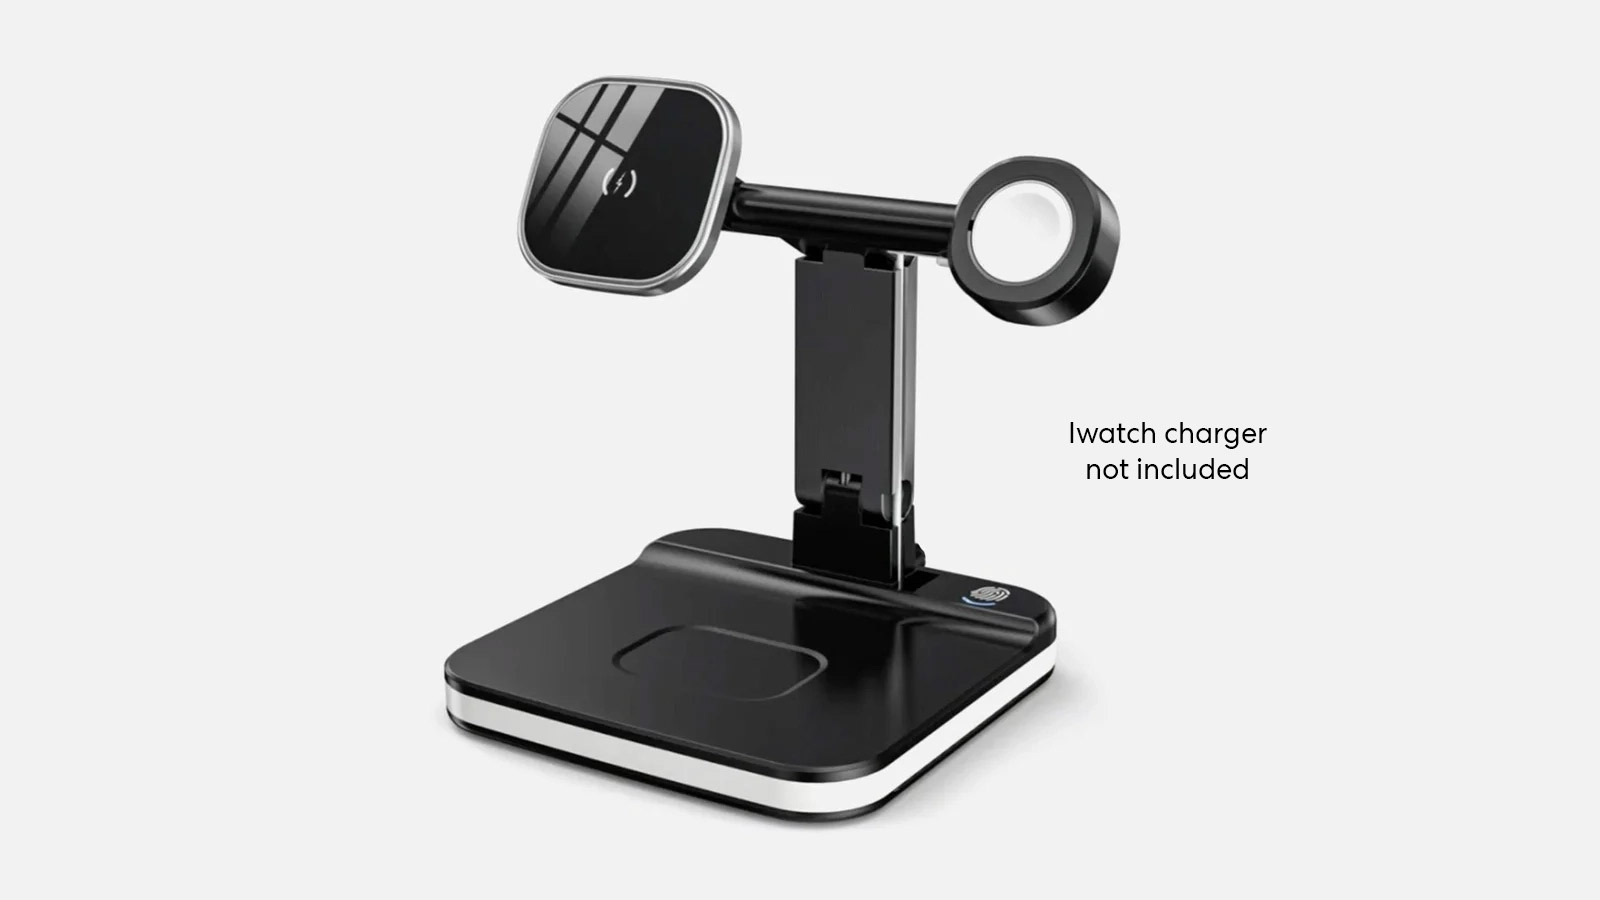
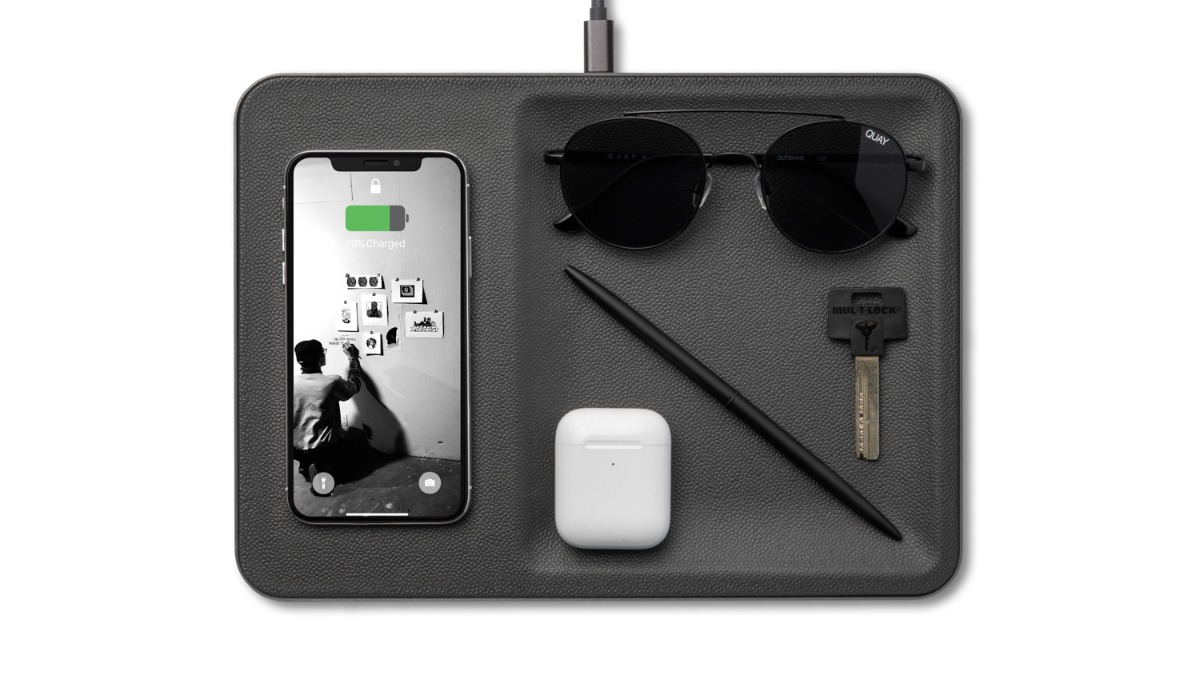
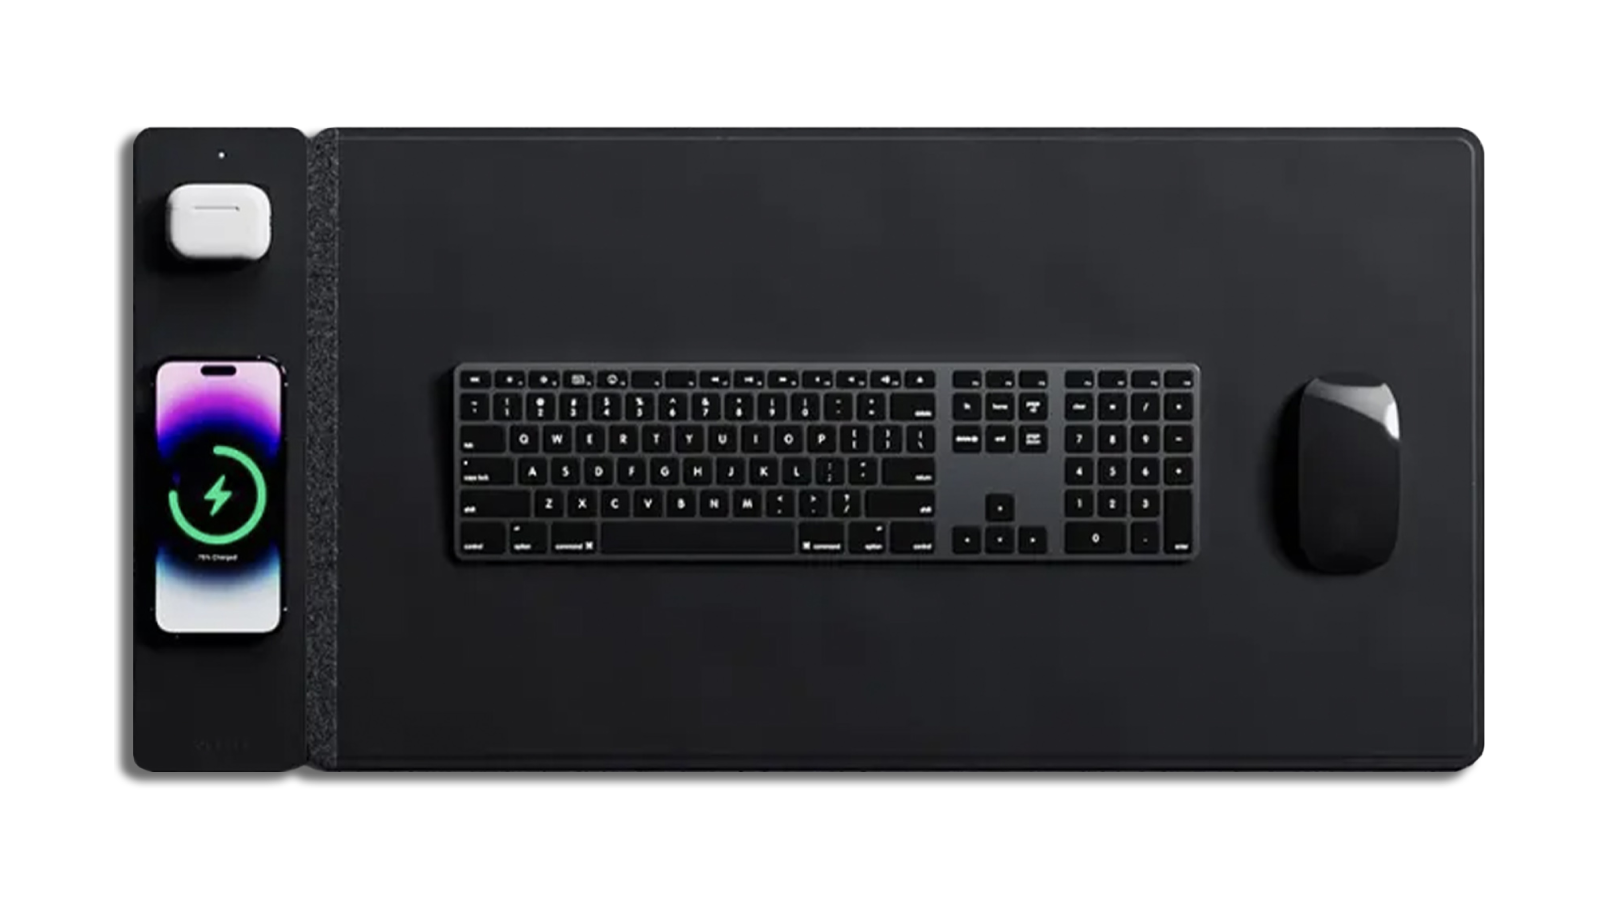
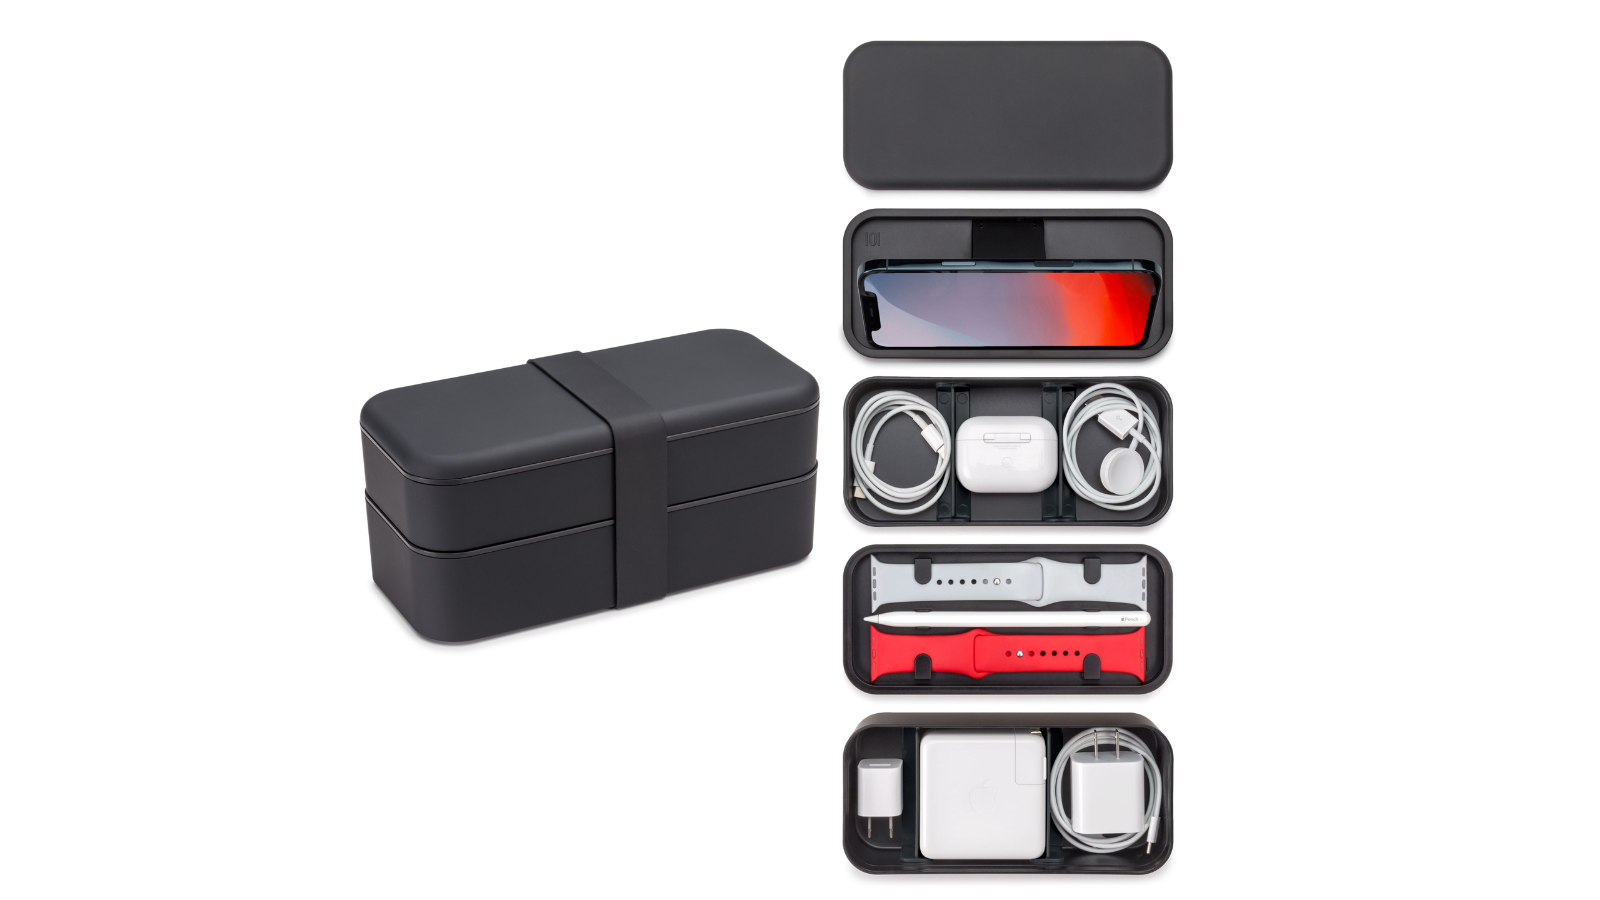
Designate a Charging Station: For multiple devices, consider creating a dedicated charging station. A charging dock or station with built-in cable management can house all your devices and cables in one place, keeping your desk tidy and making it easier to charge multiple gadgets at once.
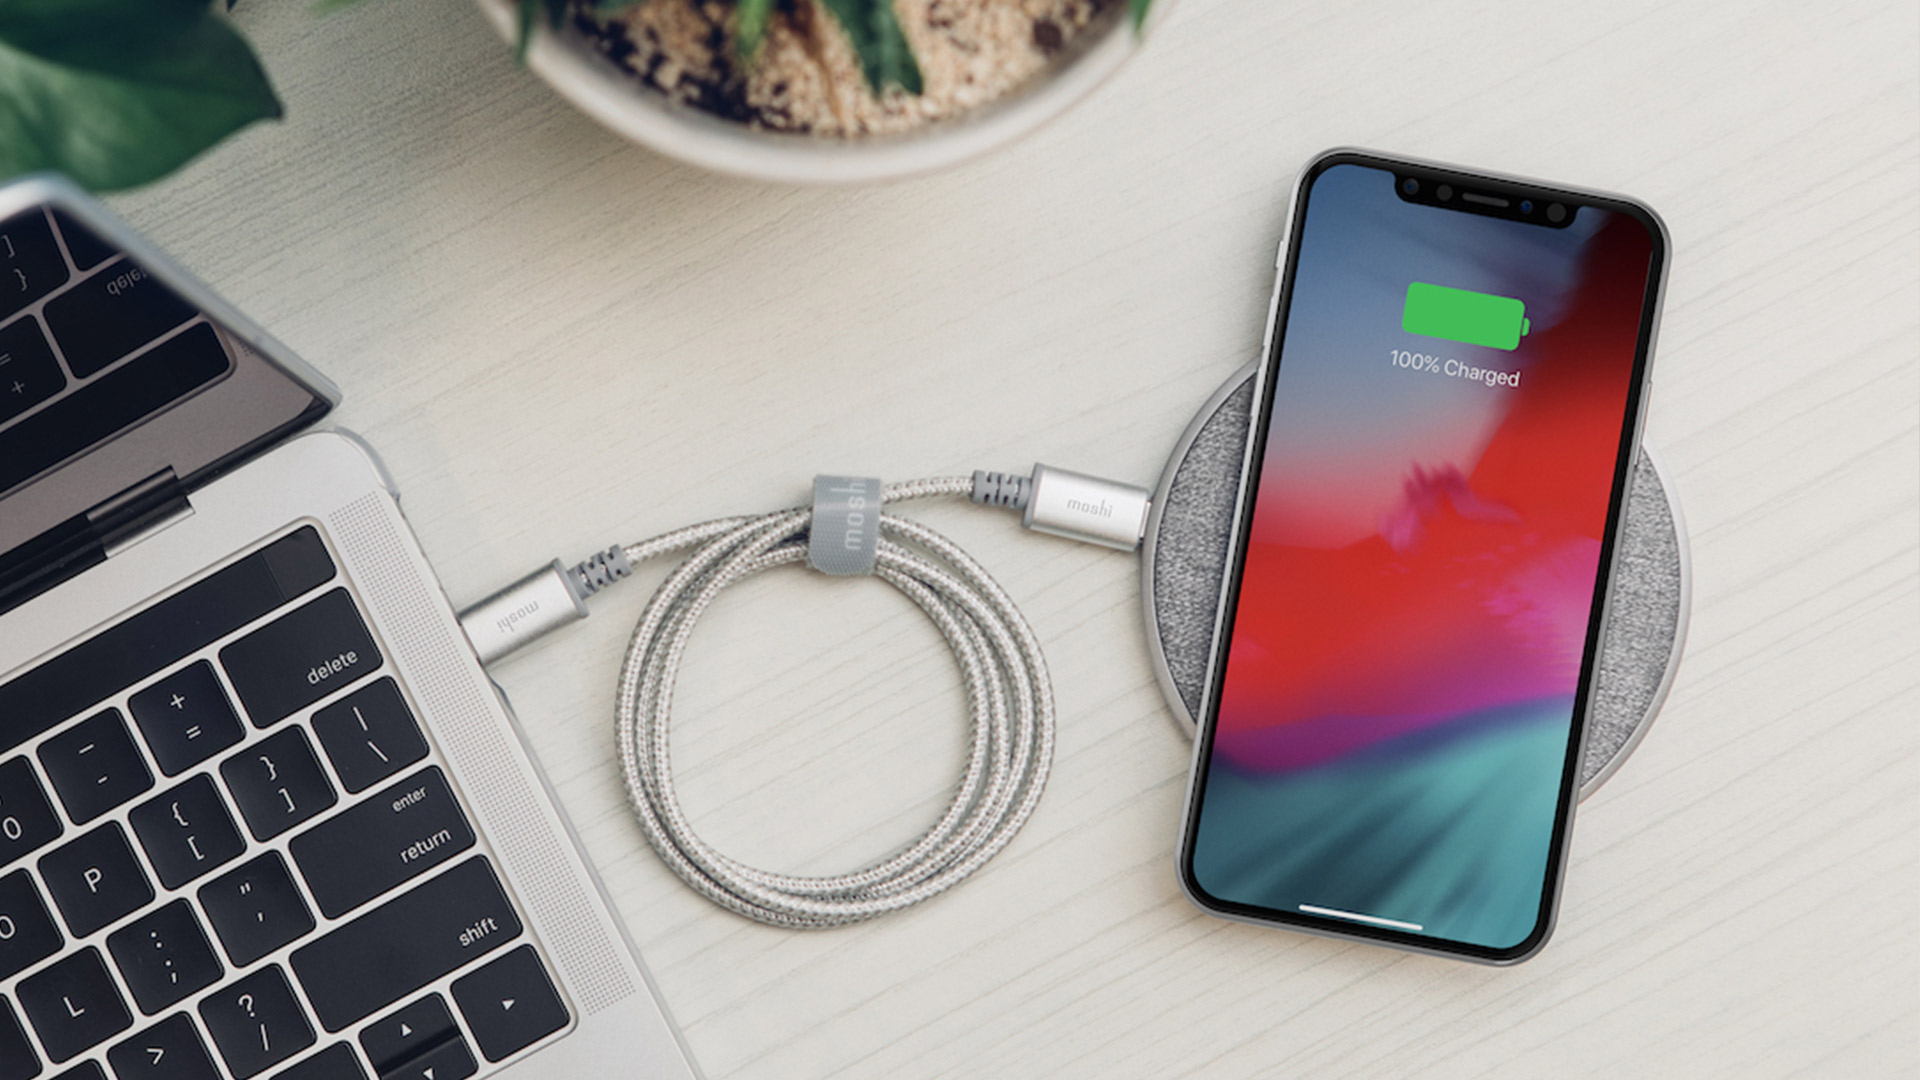
Wireless Charging Pads: If your devices support wireless charging, consider using a wireless charging pad. It reduces the need for multiple charging cables, streamlining your workspace and eliminating cable clutter altogether.
- Notice: Make sure your wireless charging pad is placed in a central and convenient spot on your desk to avoid frequent repositioning.
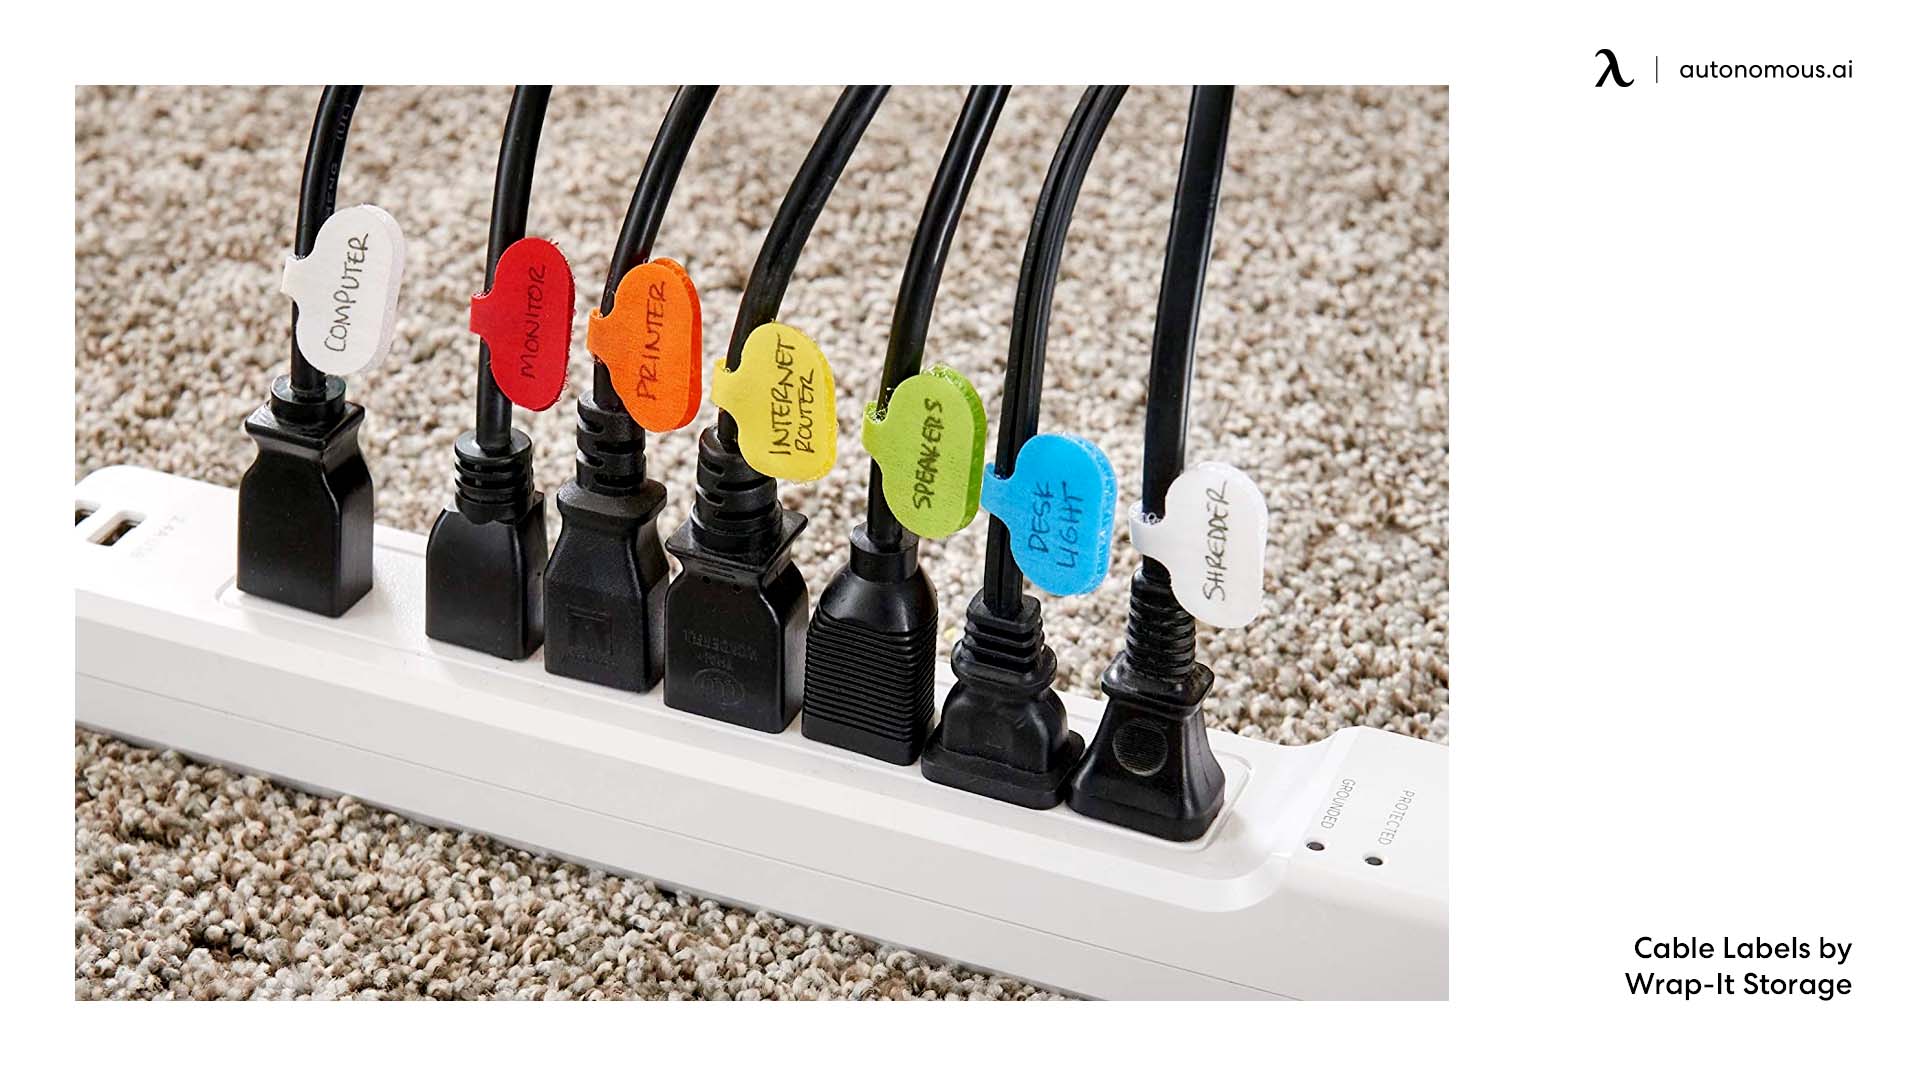
Label Your Cables: To avoid confusion, label each charging cable using small tags or color-coded tape. This is especially useful if you have similar-looking cables for different devices.
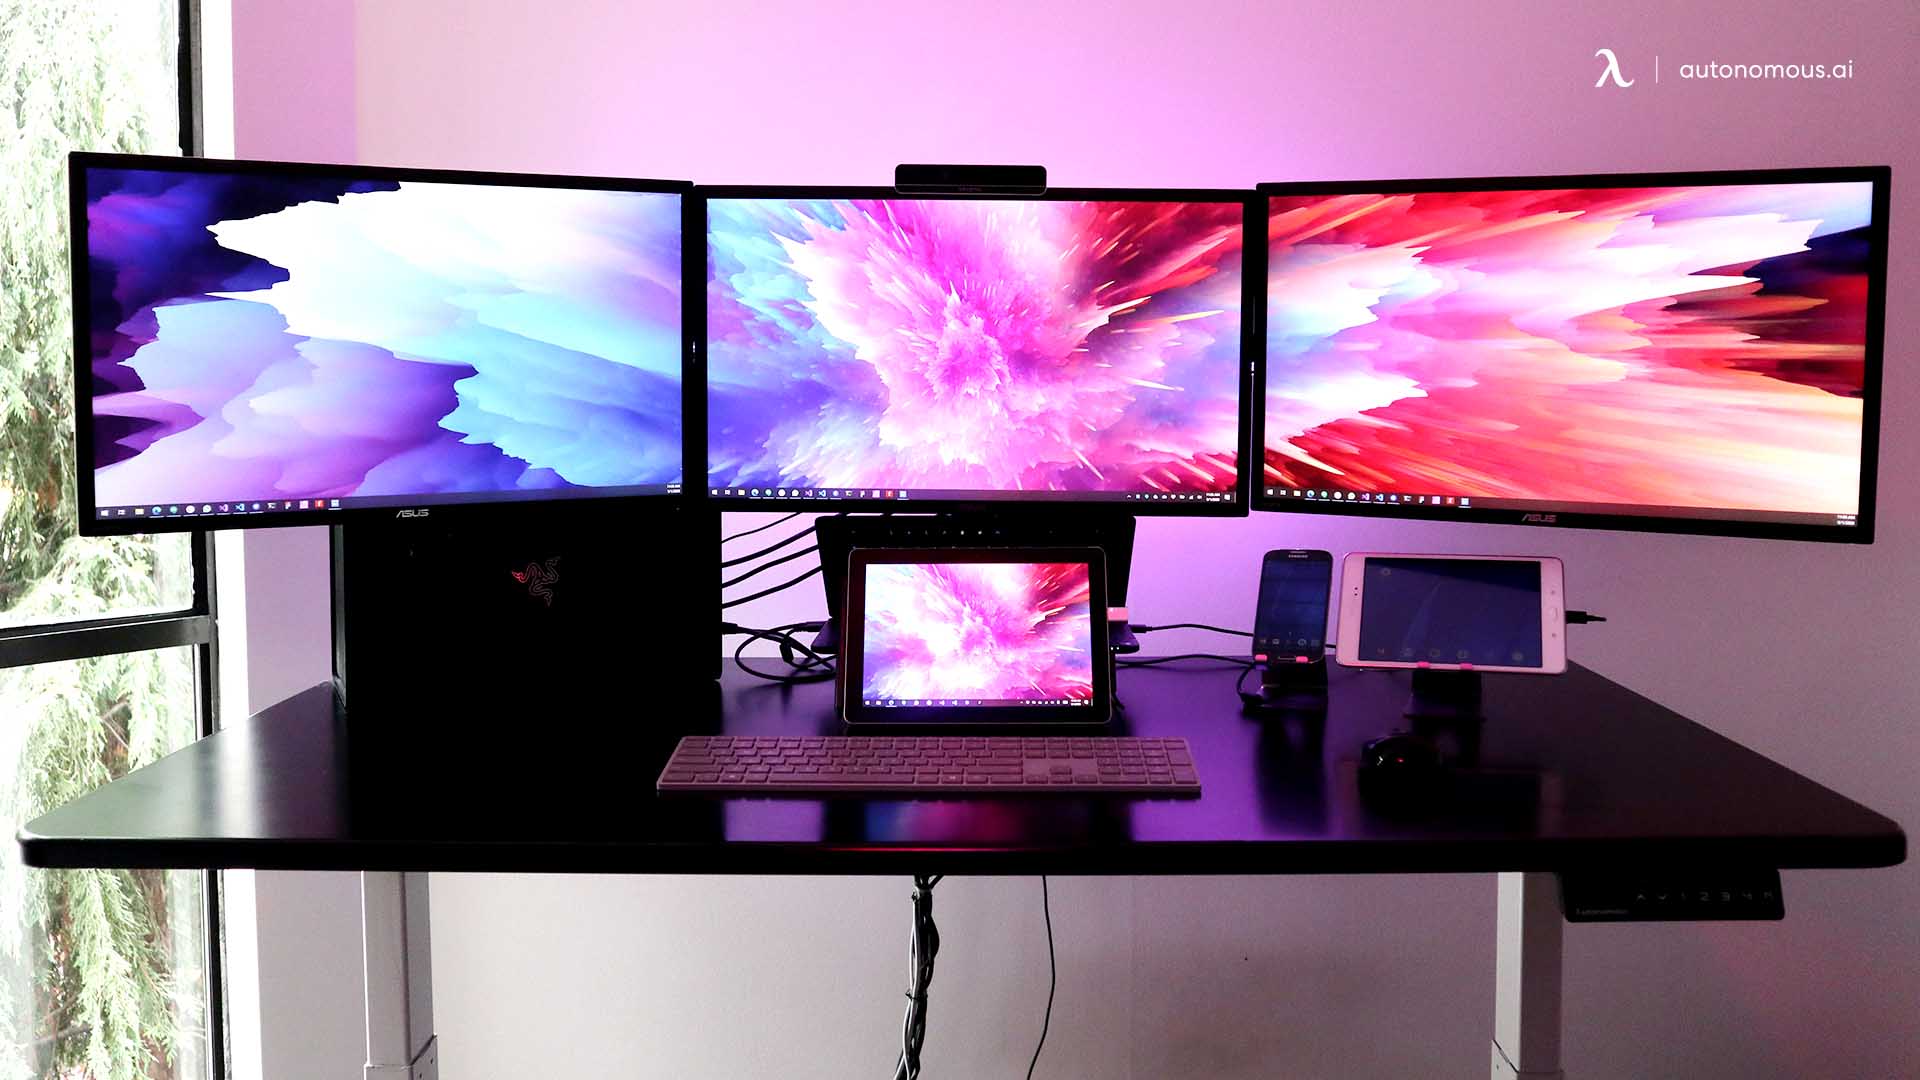
How to Organize Cords Behind Your Desk
Our surroundings have an impact on our moods and also influence the way we work. A messy place cannot give rise to neat ideas, and when it comes to cable management, there are several benefits of having an organized cable system. For starters, safety is the biggest reason why you should opt to organize computer cords behind a desk. Unmanaged cables are harmful in many ways. A torn cable covering could result in an electric shock or especially for homes with kids; there is no reason you should ignore cable management.
A clean workplace and an organized office desk wires give a great impression on the person passing by. Moreover, in a workplace, things like cable management, sanitized desk, and a comfortable ergonomic chair all give a sense of security and comfort to the employees. Employees love working in places where their safety and health are taken care of. With the help of a cable management system that conceals most of the wires and keeps them organized, the durability of your appliances increases greatly. Since the wires are not subject to clutter, there is no wear and tear. The plastic covering doesn't come off easily, and your products are safe from various electrical disasters.
Cable management saves your time in the future. We've all wanted to rip our hair out in anger when attempting to untangle and distinguish between computer wires at some point. When it comes time to repair or maintain network equipment, the last thing you want to do is have to sift through a tangle of similar wires to locate the one you need!
Cords running behind your desk can quickly become tangled, causing an unsightly mess. To keep them under control, follow these steps:
Declutter Unused Cables: Start by unplugging everything and sorting through the cords. Remove or replace any unnecessary or outdated cables.
Measure Cord Length: Before reattaching your cords, measure the length you actually need. Long cables that are too loose can create clutter, while cables that are too tight can cause strain on your devices.
- Tip: Use retractable cables or buy shorter cables that fit your setup better. This eliminates the excess length that often leads to tangling.
Use Cable Sleeves: Bundle multiple cables together with a cable sleeve or cable tubing. This not only keeps cords organized but also helps hide them, making your setup look neat and professional.
Attach Command Hooks: Use small, adhesive-backed command hooks to route cords along the back of your desk. Attach the hooks in strategic places and run your cables through them to keep them elevated and secure.
Mount a Power Strip: Secure a power strip to the back of your desk using adhesive strips or brackets. This allows you to keep all power cords together and avoid the messy appearance of loose cables hanging down to the floor.
- Notice: Make sure the power strip is within easy reach for quick access, but not too visible to keep the setup clean.
How to Organize Cords Under Your Desk
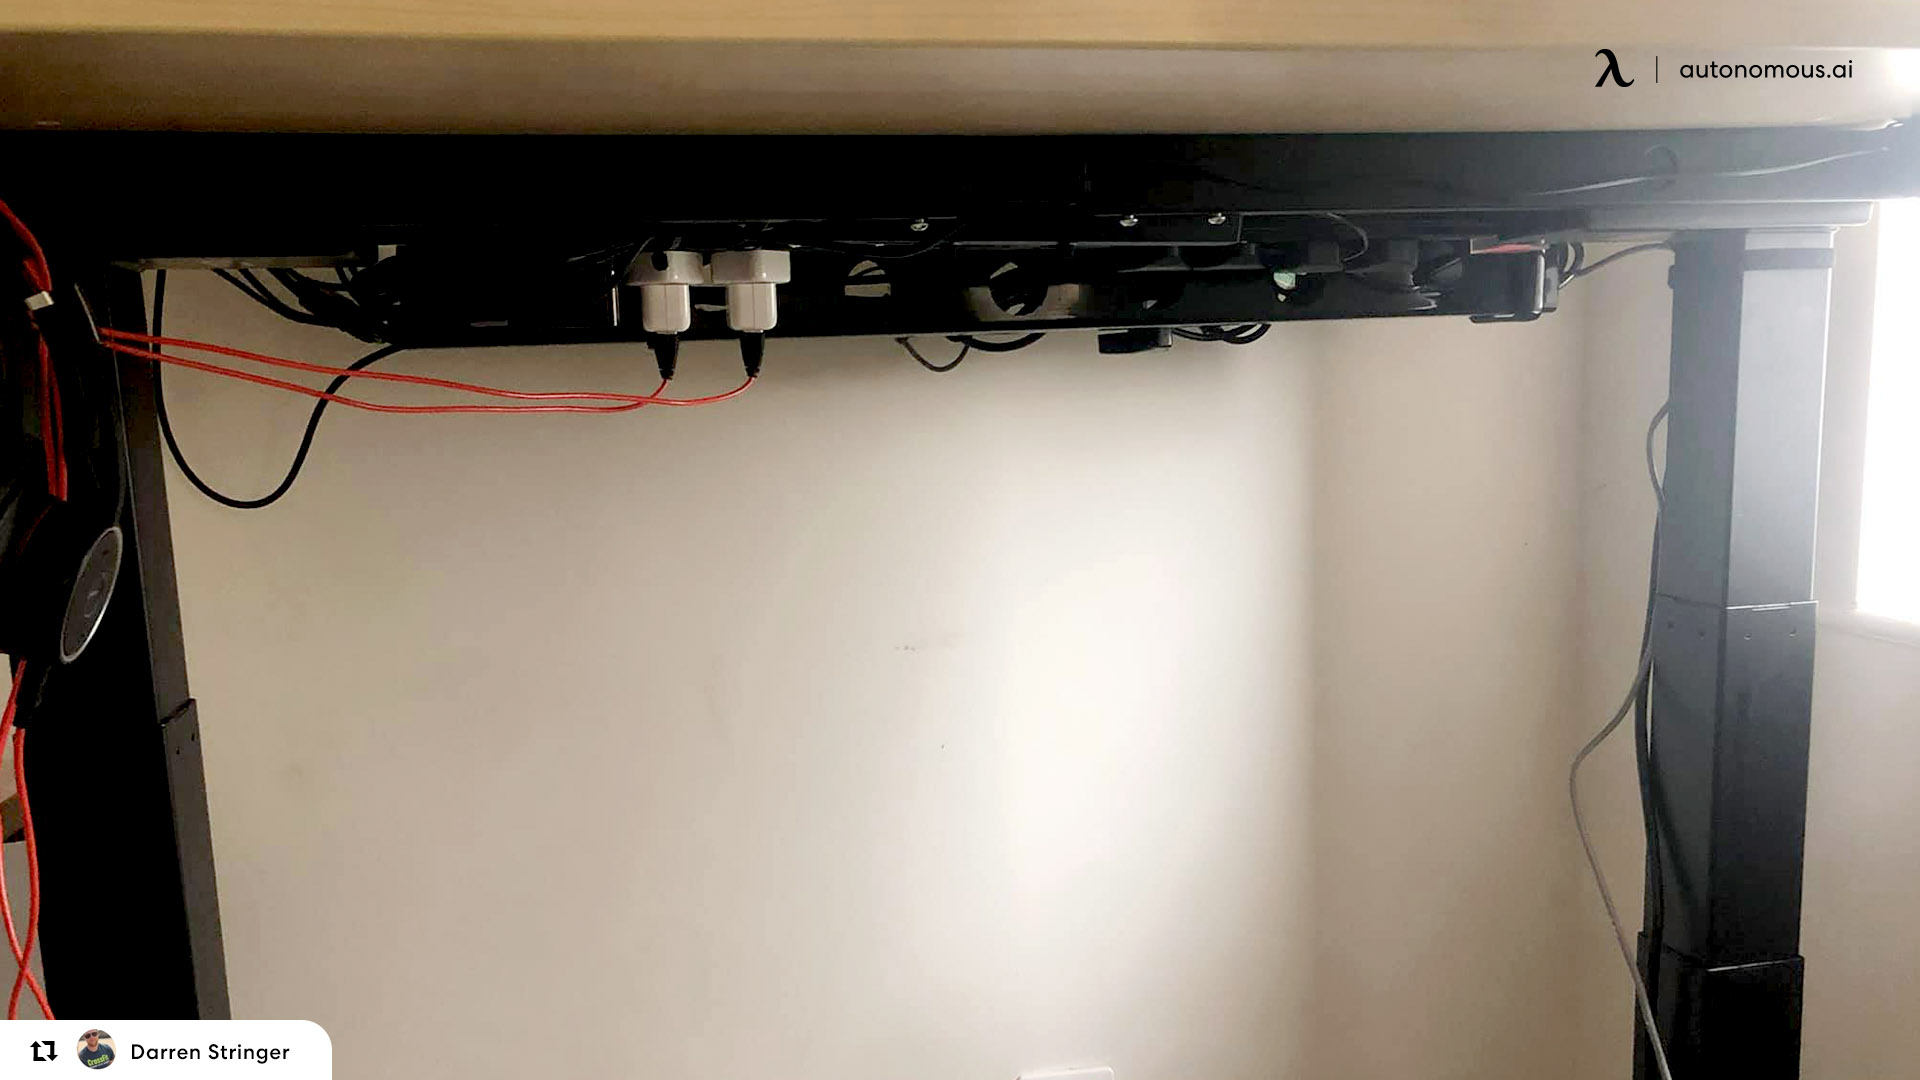
Cords hanging underneath your desk are not only unsightly but can also get tangled, creating a potential tripping hazard. Here’s how to efficiently organize computer cords under your desk:
Plan the Layout: Before attaching any cords, plan out where each one will go. Group similar cords together, such as power cords, USB cables, and monitor cords, to make organization easier.
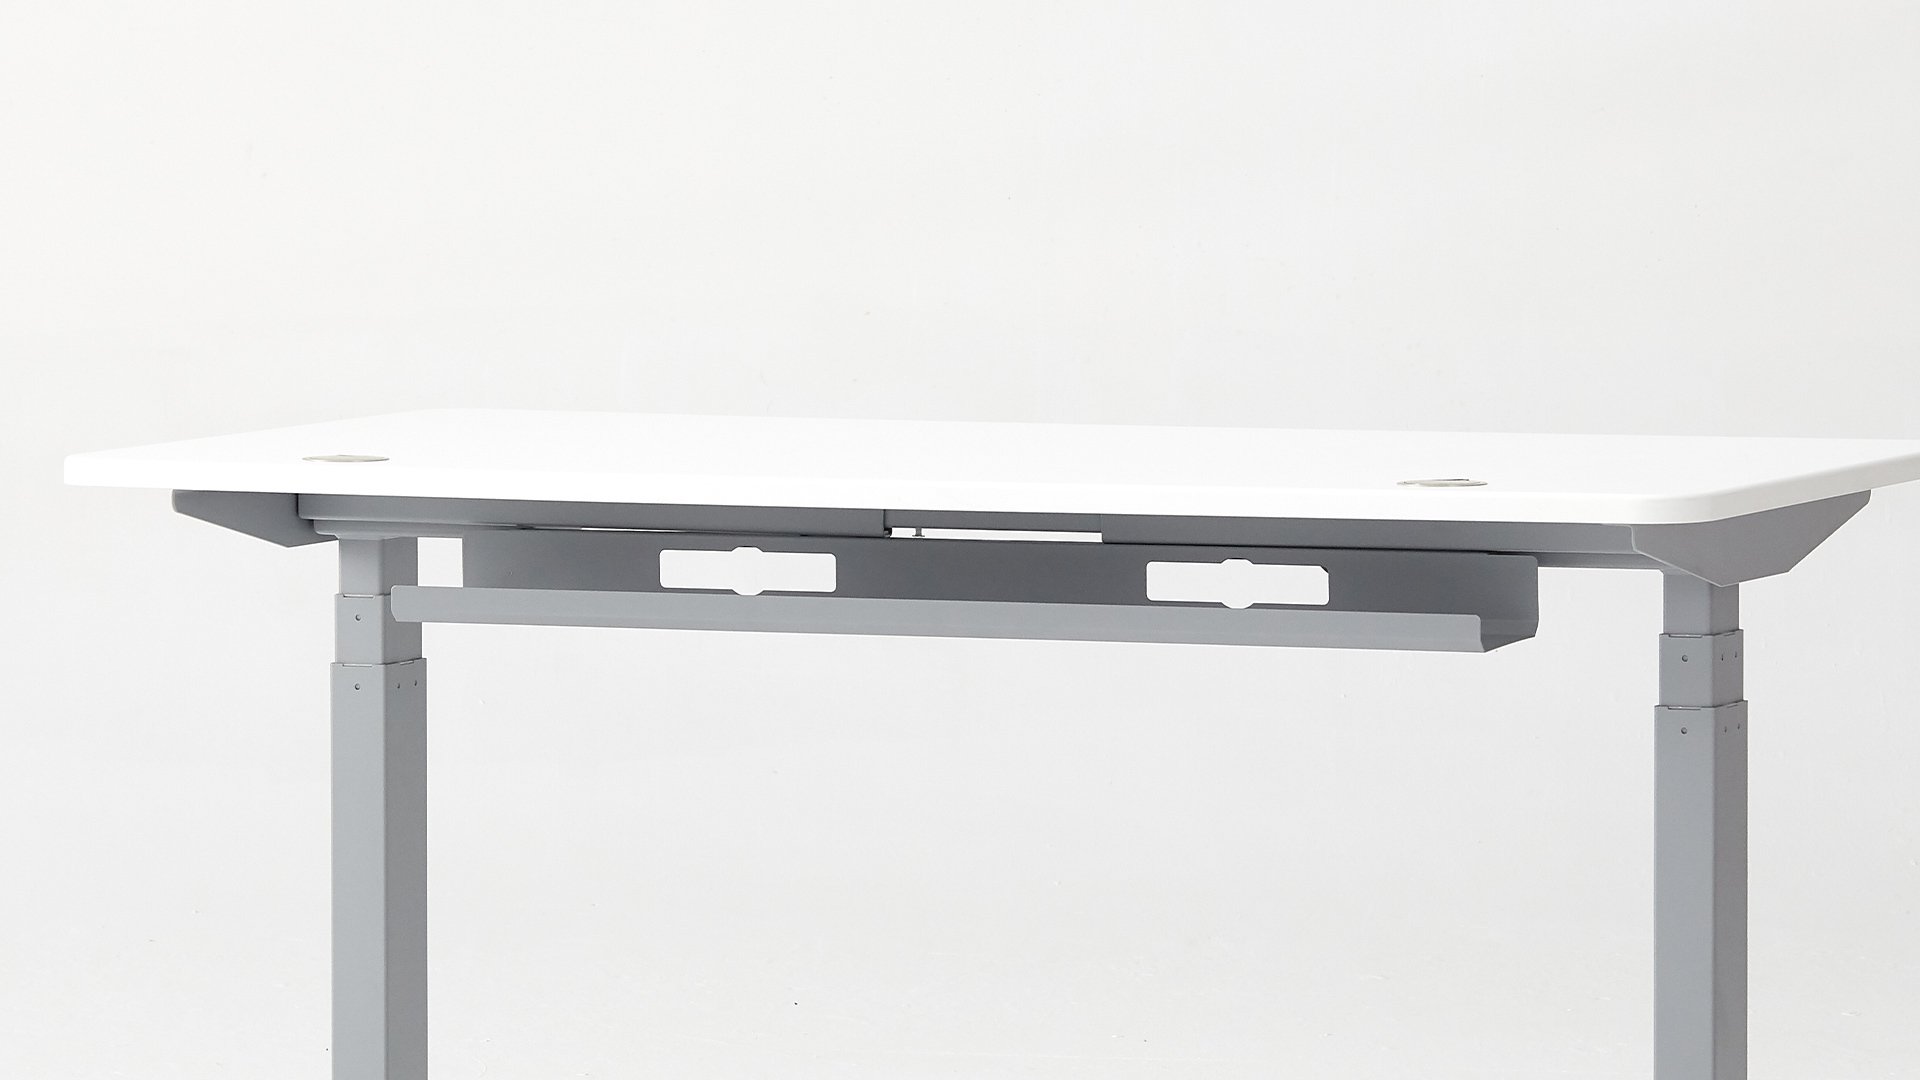
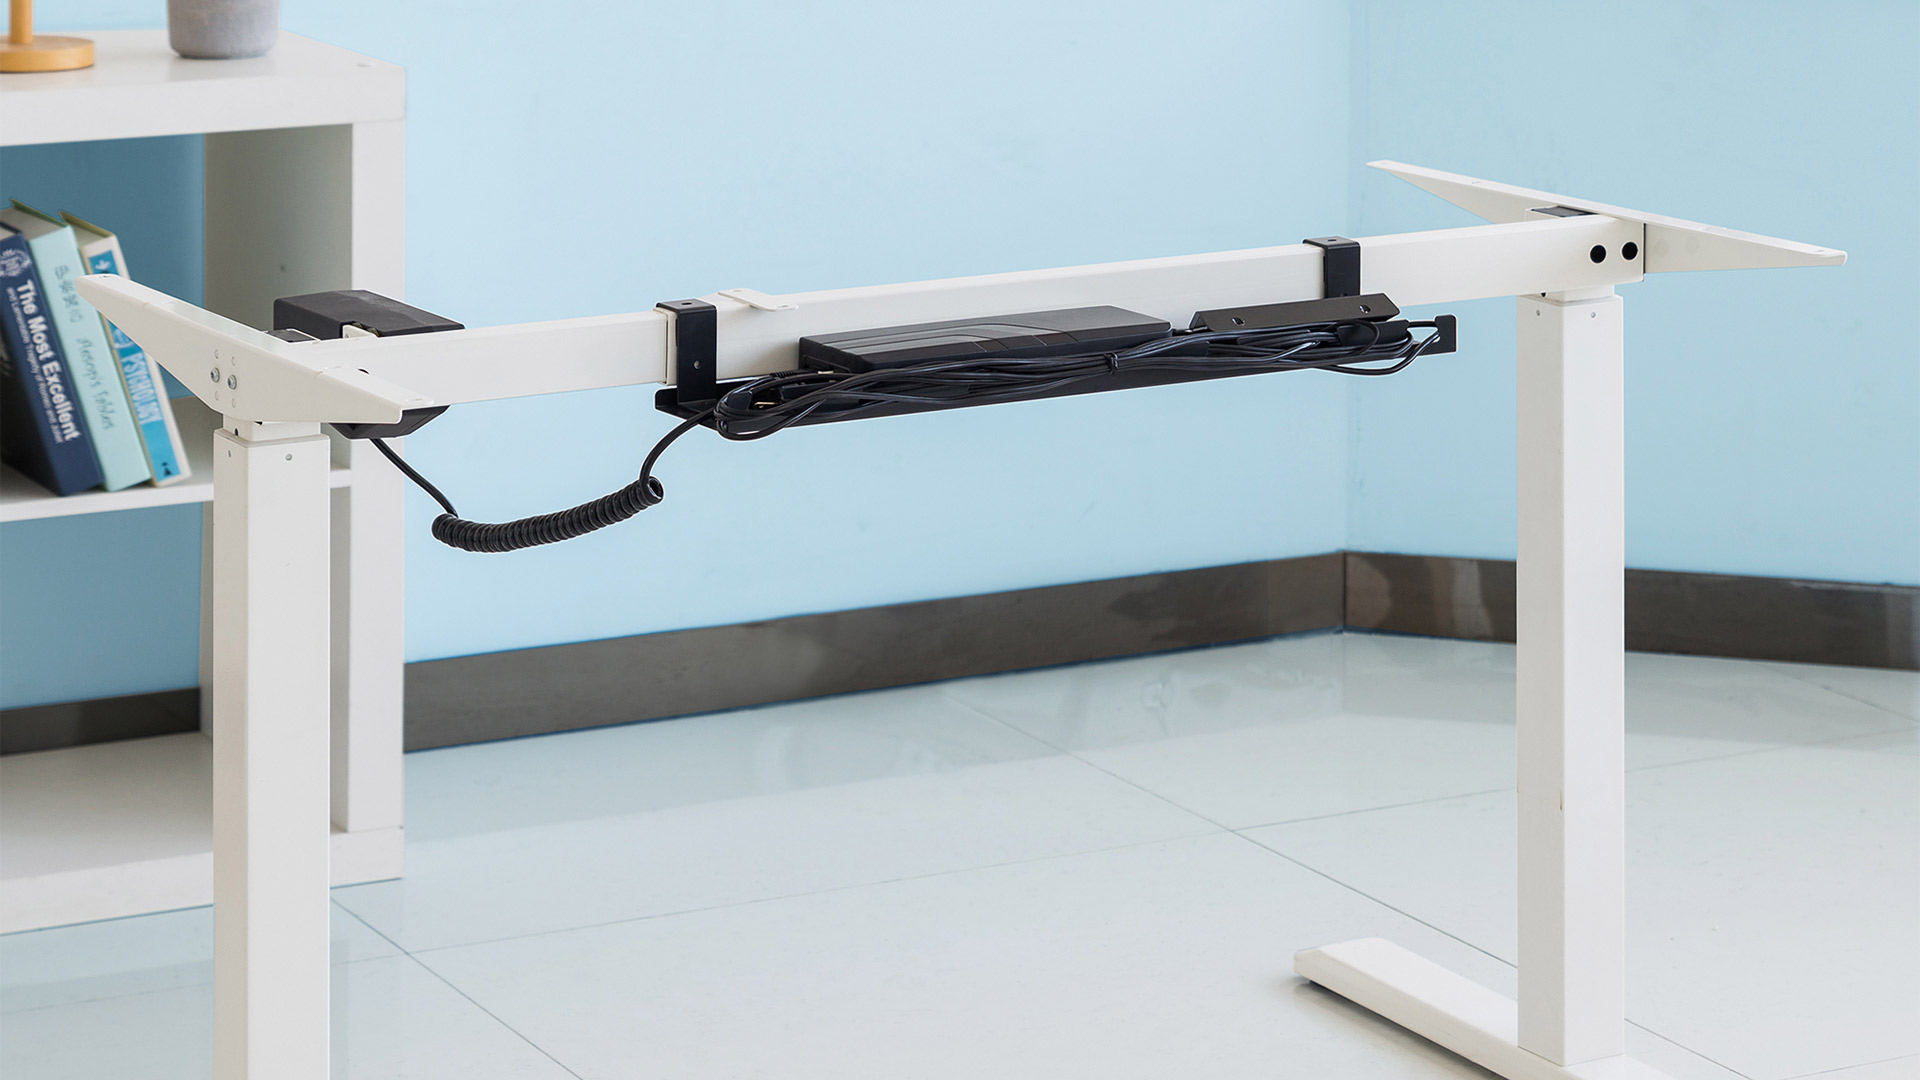
Install a Cable Tray: A cable management tray or basket is the best solution for organizing cords under your desk. Install it on the underside of your desk and place power strips, adapters, and excess cable length inside the tray. This keeps everything off the floor and out of sight.
- Tip: For a cleaner look, use a cable tray that matches the color of your desk. If you're unable to install a tray, adhesive cable holders can be an alternative for smaller setups.
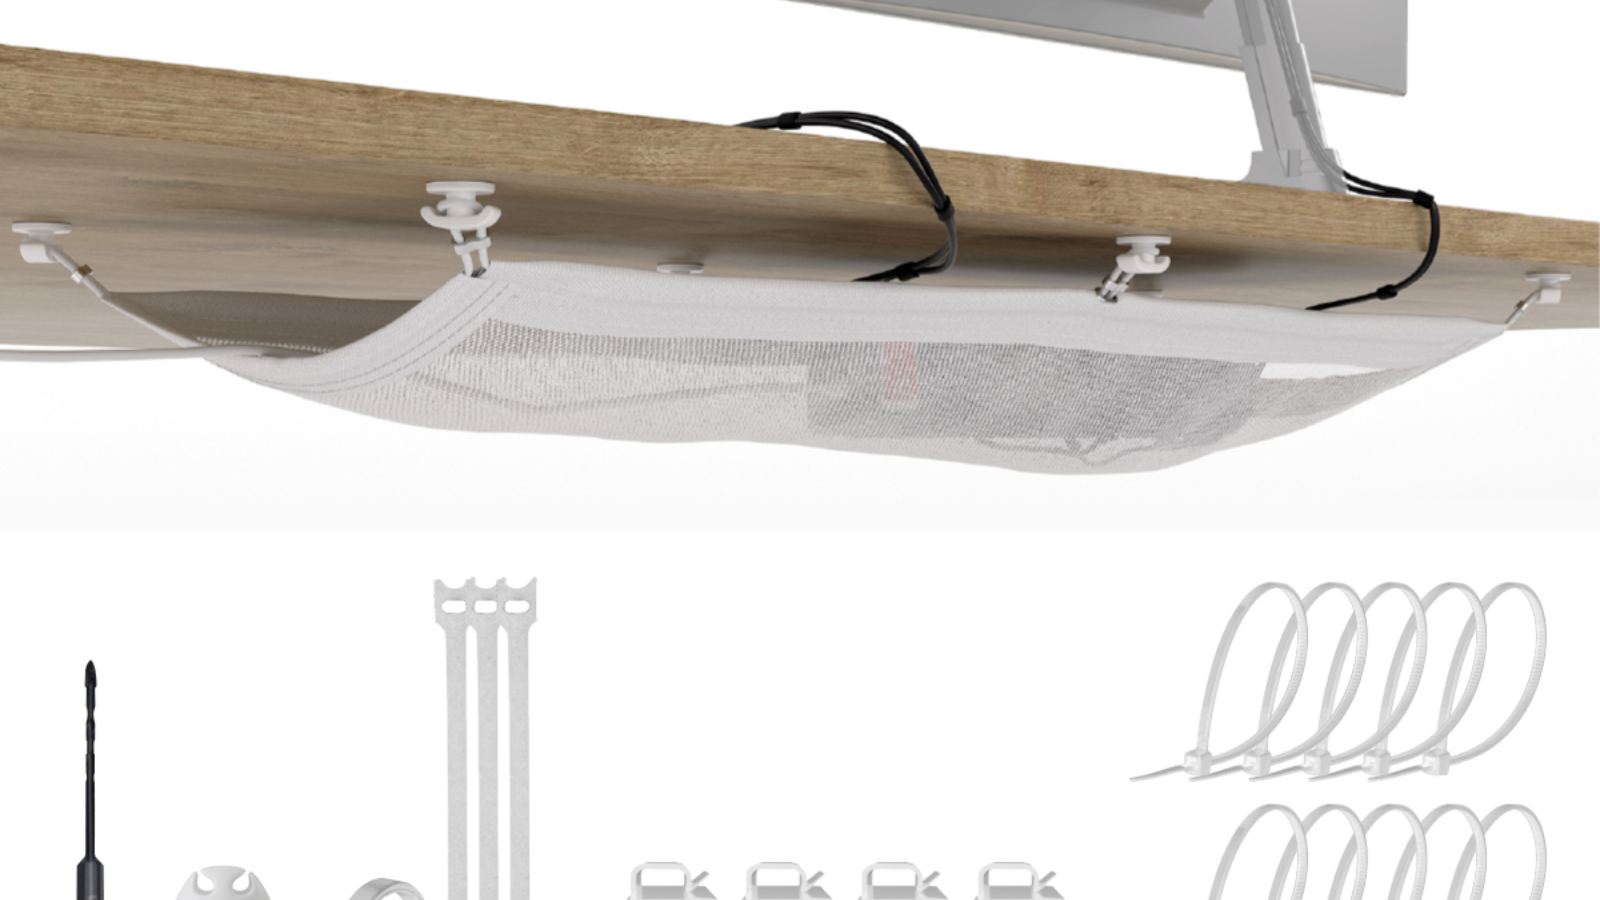
Use Cable Ties or Velcro Straps: Bundle cables that run in the same direction using cable ties or Velcro straps. Make sure to leave some slack for flexibility, but keep the bundles tight enough to avoid dangling cords.
Mount Power Strips: Mount the power strip directly under your desk. This way, the cords connected to the power strip are off the ground, and the cables can be easily routed into the tray or bundled together.
Zip Tie Loose Cords: Any loose or dangling cords should be zip-tied and secured to the desk frame or cable tray. This prevents cords from hanging down and keeps them securely in place.
- Notice: Be sure to avoid over-tightening zip ties, as this can damage the cables or make adjustments difficult in the future.
How to Organize Cables for a Standing Desk
Standing desks pose unique challenges when it comes to cable management, as the desk height constantly changes. Here’s how to organize cables for a standing desk:
Use Flexible Cable Sleeves: Flexible cable sleeves allow your cables to move freely as the desk raises and lowers. These sleeves keep multiple cords bundled together while providing enough flexibility for the desk to adjust without strain.
Install Cable Management Arms: A cable management arm attaches to the desk frame and extends and retracts as the desk moves. This ensures that your cables are always neatly organized, regardless of the desk height.
Leave Enough Slack: Make sure to leave enough slack in your cables to accommodate the full range of movement. Without proper slack, the cables could be pulled too tight or disconnect when the desk rises.
- Tip: Use Velcro straps to bundle cords and attach them to the back or underside of the desk. This keeps the cables neatly together while still allowing for movement.
Mount Power Strips to the Desk: Attach a power strip directly to your standing desk frame. This way, all your cables move with the desk as it adjusts, preventing cords from being stretched or tangled.
- Notice: Always test the desk’s movement after setting up the cables to ensure that none of the cords are too tight or tangled when adjusting from sitting to standing.
Cable Management Mistakes to Avoid with a Standing Desk Setup
1. Not Allowing Enough Slack for Cable Movement
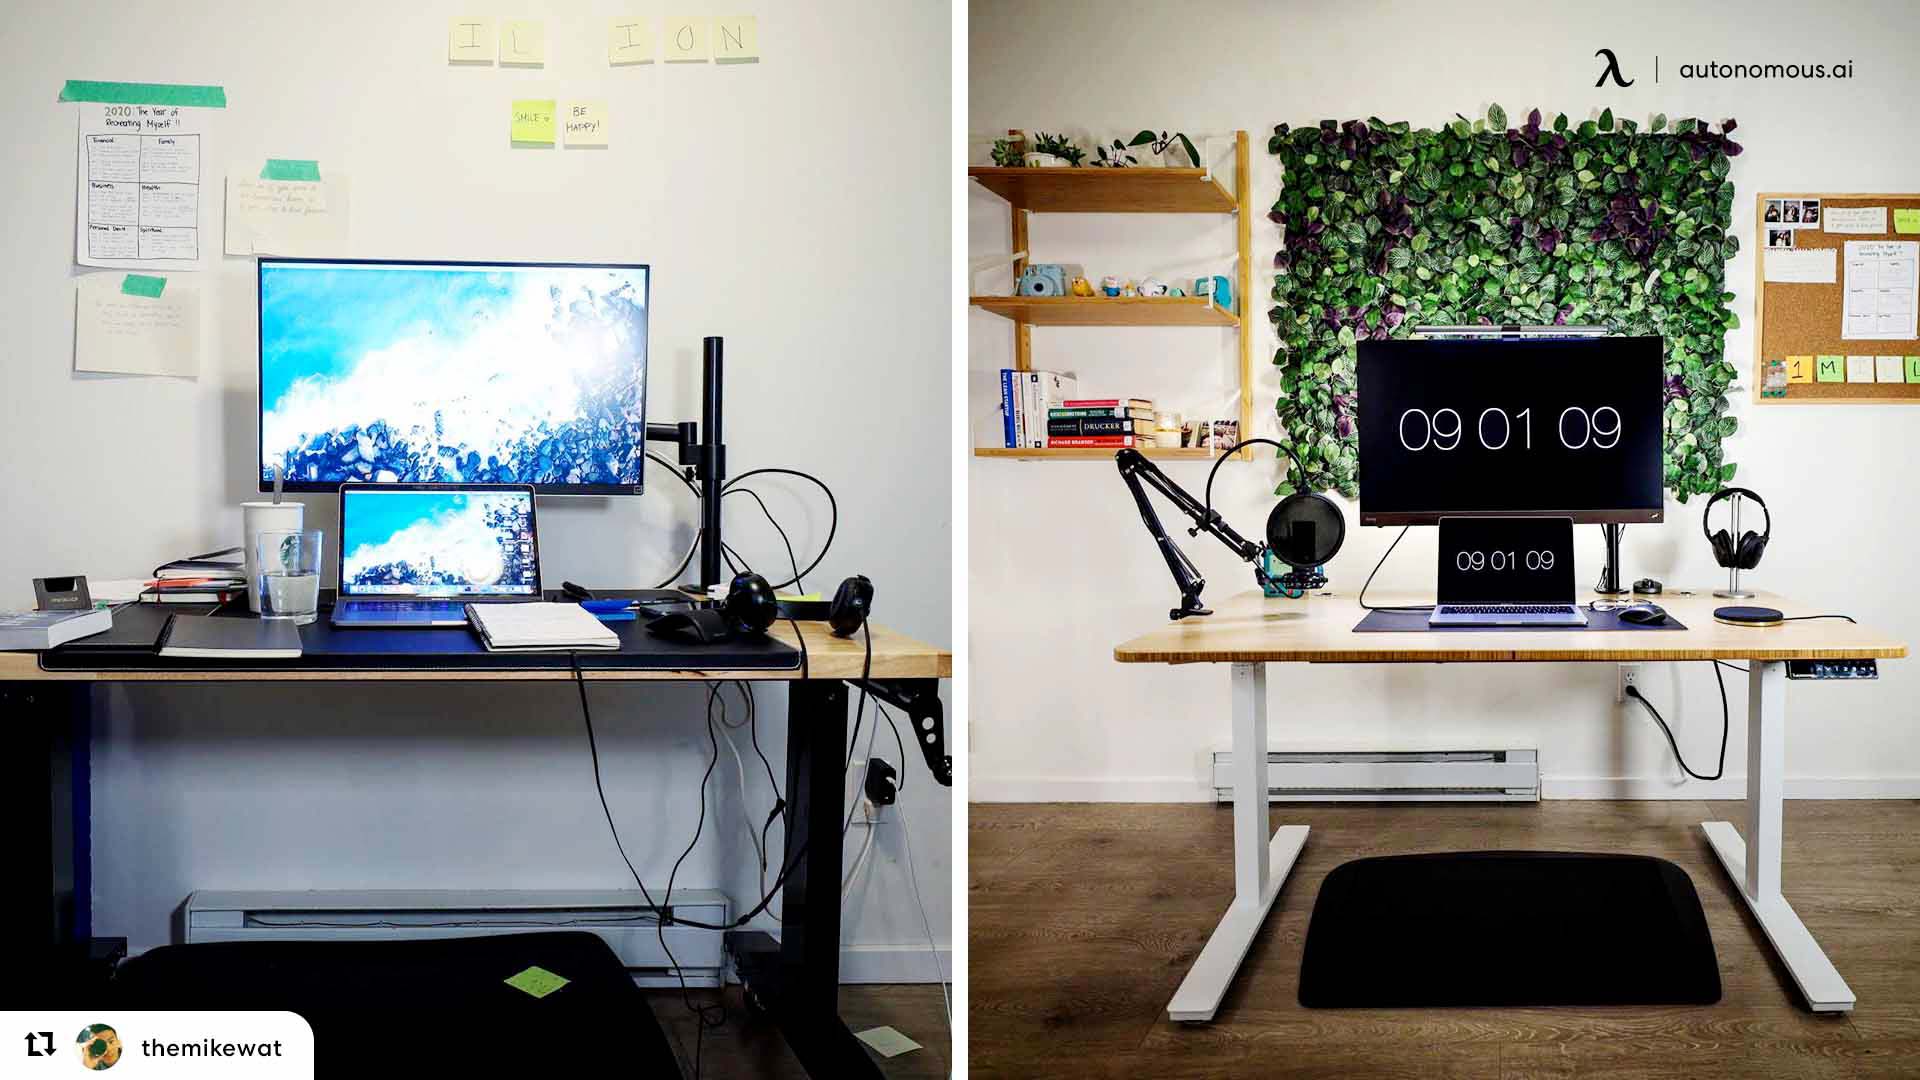
One of the biggest mistakes people make when organizing cables for a standing desk is not leaving enough slack in the cords. Since a standing desk moves up and down throughout the day, tightly stretched cables can get damaged, disconnect, or even cause your devices to fall if the cables are too short.
- Solution: Leave extra slack in all cables to accommodate the full range of motion of your desk. Use Velcro straps or cable ties to bundle the cables while ensuring they can move freely as the desk transitions from sitting to standing.
2. Failing to Use Flexible Cable Sleeves or Management Arms
Standing desks require flexibility in cable organization. Many people overlook the importance of using flexible cable sleeves or cable management arms that can move with the desk as it adjusts. Without these tools, your cables may become tangled or strained, leading to potential wear and tear.
- Solution: Invest in flexible cable sleeves or cable management arms designed to extend and retract with your desk. These tools keep cables organized, prevent tangling, and ensure smooth movement.
3. Leaving Cables Dangling Without Support
Another common mistake is leaving cables to dangle loosely beneath the desk. Dangling cables not only look messy, but they can also pose a safety risk, become tangled, or even damage your equipment if they catch on something when the desk moves.
- Solution: Use cable trays or mounts to securely attach power strips and excess cables underneath the desk. Keeping everything off the floor and out of sight will make your workspace look cleaner and reduce the risk of accidents.
4. Using Too Many Long Cables
While it’s important to leave slack, using cables that are unnecessarily long can create clutter and increase the chance of tangling. Excess cable length also tends to collect dust and dirt, making it harder to maintain a tidy workspace.
- Solution: Choose cables that are appropriately sized for your setup. If your devices are close to your desk, opt for shorter cables. For longer runs, you can neatly bundle the extra length using zip ties or Velcro straps and store it in a cable tray.
5. Neglecting to Organize Power Cords Properly
Power cords and chargers are often the bulkiest and hardest to manage, leading to a cluttered mess of wires under your desk. Failing to manage your power cords properly can make it difficult to move your desk freely and result in tangled or disconnected cords.
- Solution: Mount your power strip directly to the underside of the desk. This reduces the need for long power cords running across the floor and keeps everything neatly organized in one spot. Use cable ties or cable clips to bundle power cords and route them through the cable tray.
6. Not Testing Cable Movement Before Finalizing Setup
Many people organize their cables and call it done without testing how the cables move as the desk transitions from sitting to standing. This can lead to issues like cables pulling too tight or getting caught, which might only become apparent later on.
- Solution: After organizing your cables, raise and lower your desk fully to test the movement. Make sure that none of the cables are pulled too tightly and that everything moves smoothly. Adjust the cable lengths or placement if needed to ensure optimal flexibility.
7. Overcomplicating Your Cable Management System
Sometimes people go overboard with cable management, adding too many clips, ties, and hooks. While it’s important to keep things tidy, overcomplicating the setup can make it hard to access or adjust your cables when you need to make changes.
- Solution: Keep your cable management system simple and functional. Use only the necessary tools—like Velcro straps, cable sleeves, and trays—while leaving room for easy adjustments. This way, you can modify your setup quickly if you add new devices or move your desk.
DIY Cord And Cable Organizers Ideas for Uncluttered Office
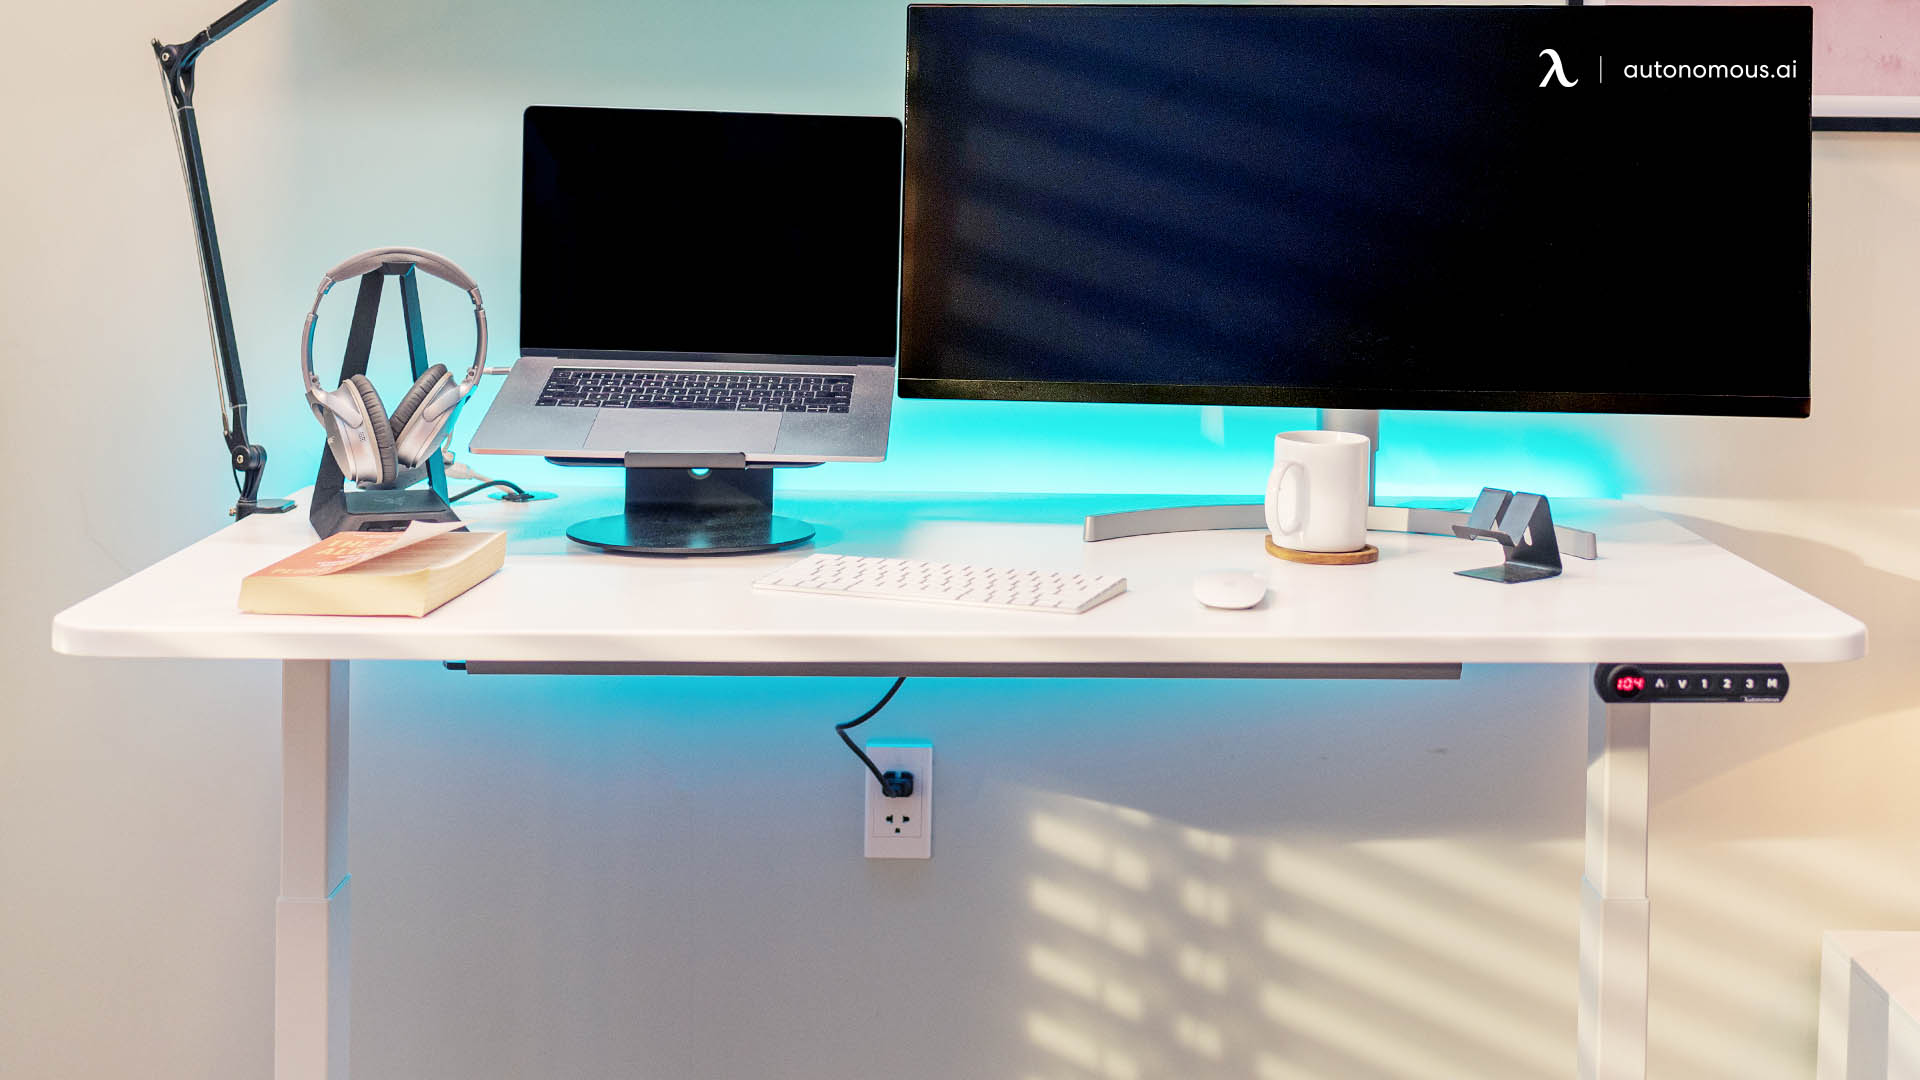
We all know the feeling we experience when the cord we need is messed in a sea of cords. This is even more painful when you are in a rush to get that mouse or keyboard from the system to use it anywhere. Cable clutter is a common problem with people who use large setups; thus, gamers are also susceptible to this pain. But don't worry, DIY cable management ideas for your organizing computer wires process will be your savior.
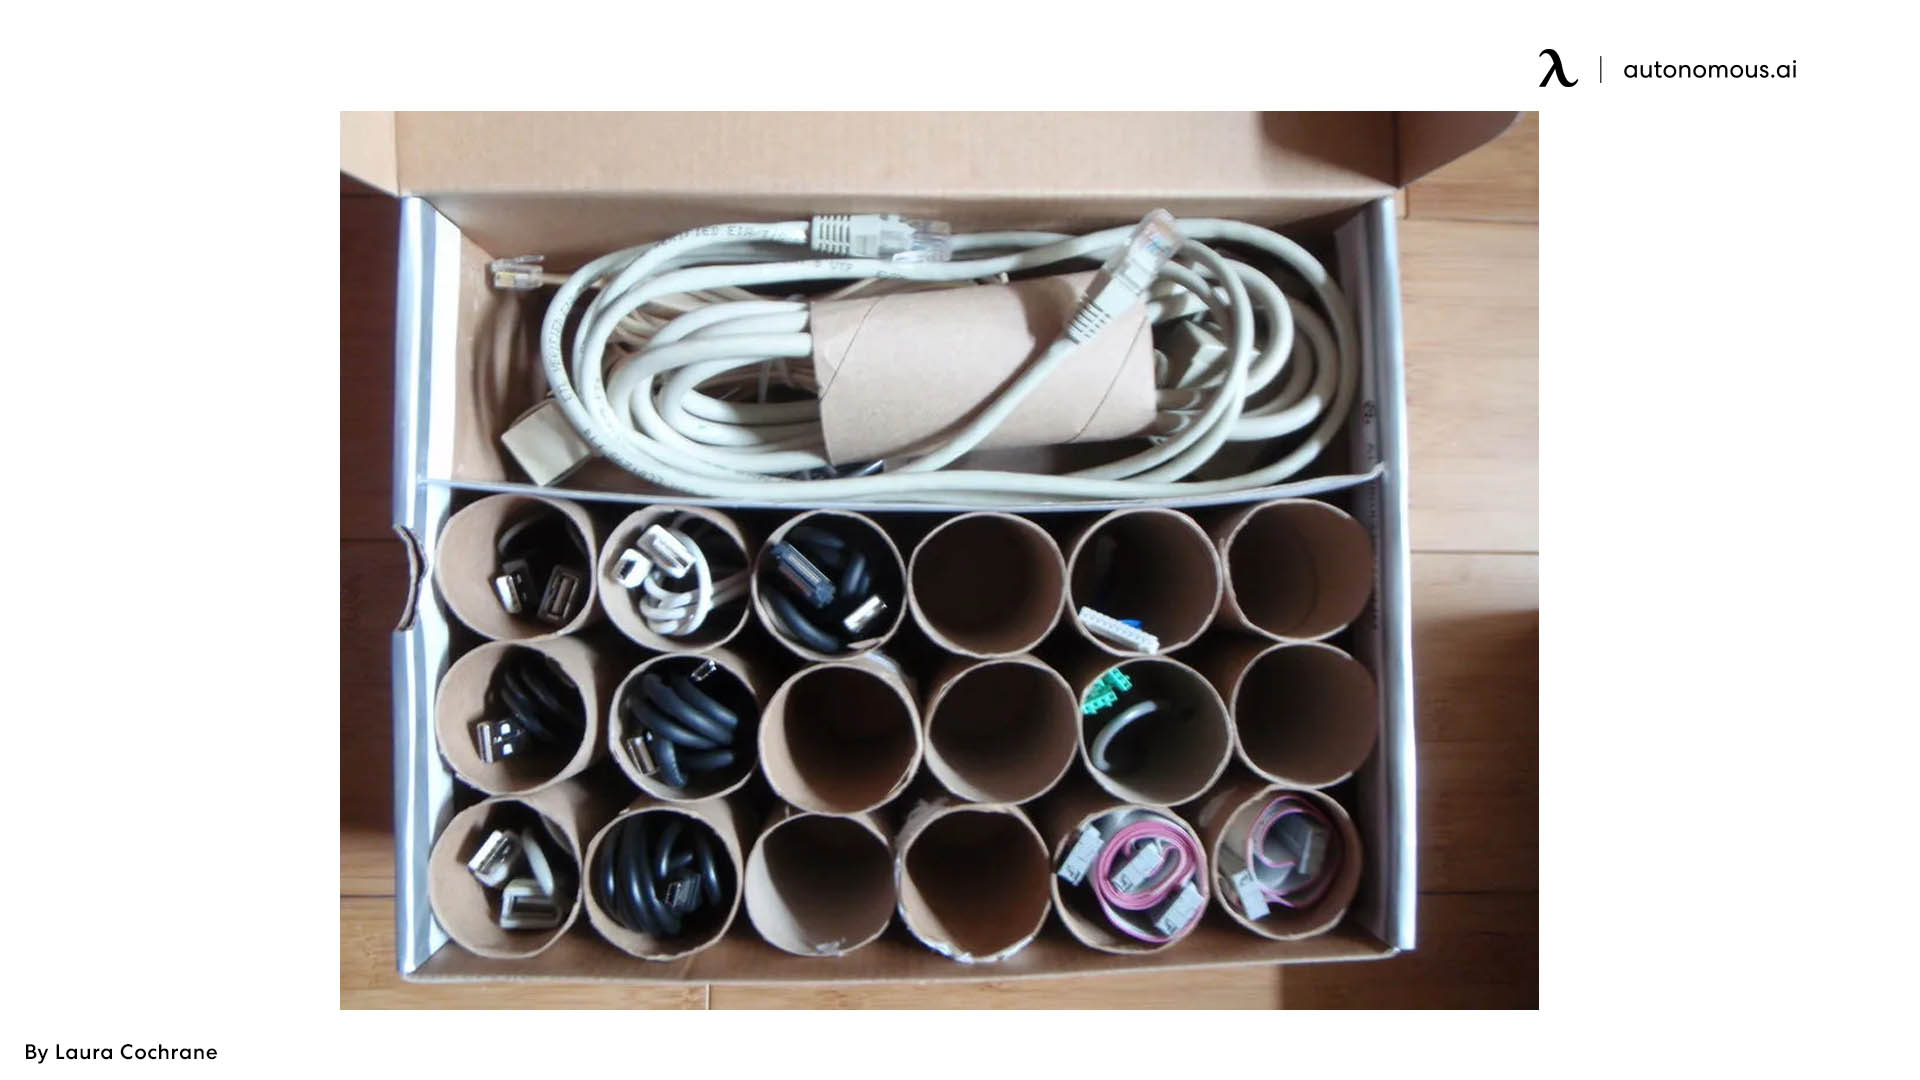
Toilet Paper Rolls
Keep your toilet paper rolls on hand! Put a cord through each one to keep it from mixing up with the others when you're storing them. Don't forget to mark them so you can quickly find the cord you're looking for—a fantastic answer for any cord management issue.
Label the Cords
Keep those bread ties or any rubber bands on hand for this fantastic Cord Organizer DIY project! It's that easy. So quickly. Using a variety of hues will help make things easier. You'll quickly know which color corresponds to which cord. Remember to identify the cords on both ends, so you know what you're freeing.
Label Maker
Something Monica would do. A label maker can be your greatest buddy when it comes to organization in the workplace. If you have access to a label maker, this is an excellent solution that results in a neat, professional appearance.
Having clear labels printed and attached to the relevant cord will make it so much easier when you dig beneath the desk to reset your computer! It's such a comfort to know you've found the one.
Glass Case
If your glasses are on your nose, then what is the case doing empty? Bring it here. Glass cases work like magic for exceptional cable management. You can also borrow some glass cases from a person who has been wearing glasses since birth. They are useful ones.
Washi Tape
Peek into the crafts box of your younger sibling, or we know how simple it is to find a washi tape. Washi tape is an inexpensive solution that looks pretty too. An added advantage of washi tape is that you can easily write on top of it and stick the cables separately to the bottom of the desk or even on the wall. This is one of the neatest ways to clean the cable mess.
Use Binder Clips
Binder clips are ideal for cord organization since they keep cords taut and folded while also allowing you to mark the clip. Label the tops of the clips and the wires with a matching label. Just what you needed to keep your cords tangle-free and easily accessible in your laptop bag or devices drawer.
Ribbons
Ribbon twist ties are both practical and attractive. Using non-fraying grosgrain ribbon, thin wire, and a little adhesive to maintain the ribbon smooth and taut, cut a slit and twist it. After you've glued the tiny wire between two layers of grosgrain ribbon and allowed it to dry, you may coil it around your cables. It's that easy.
Shorten the Cable Length
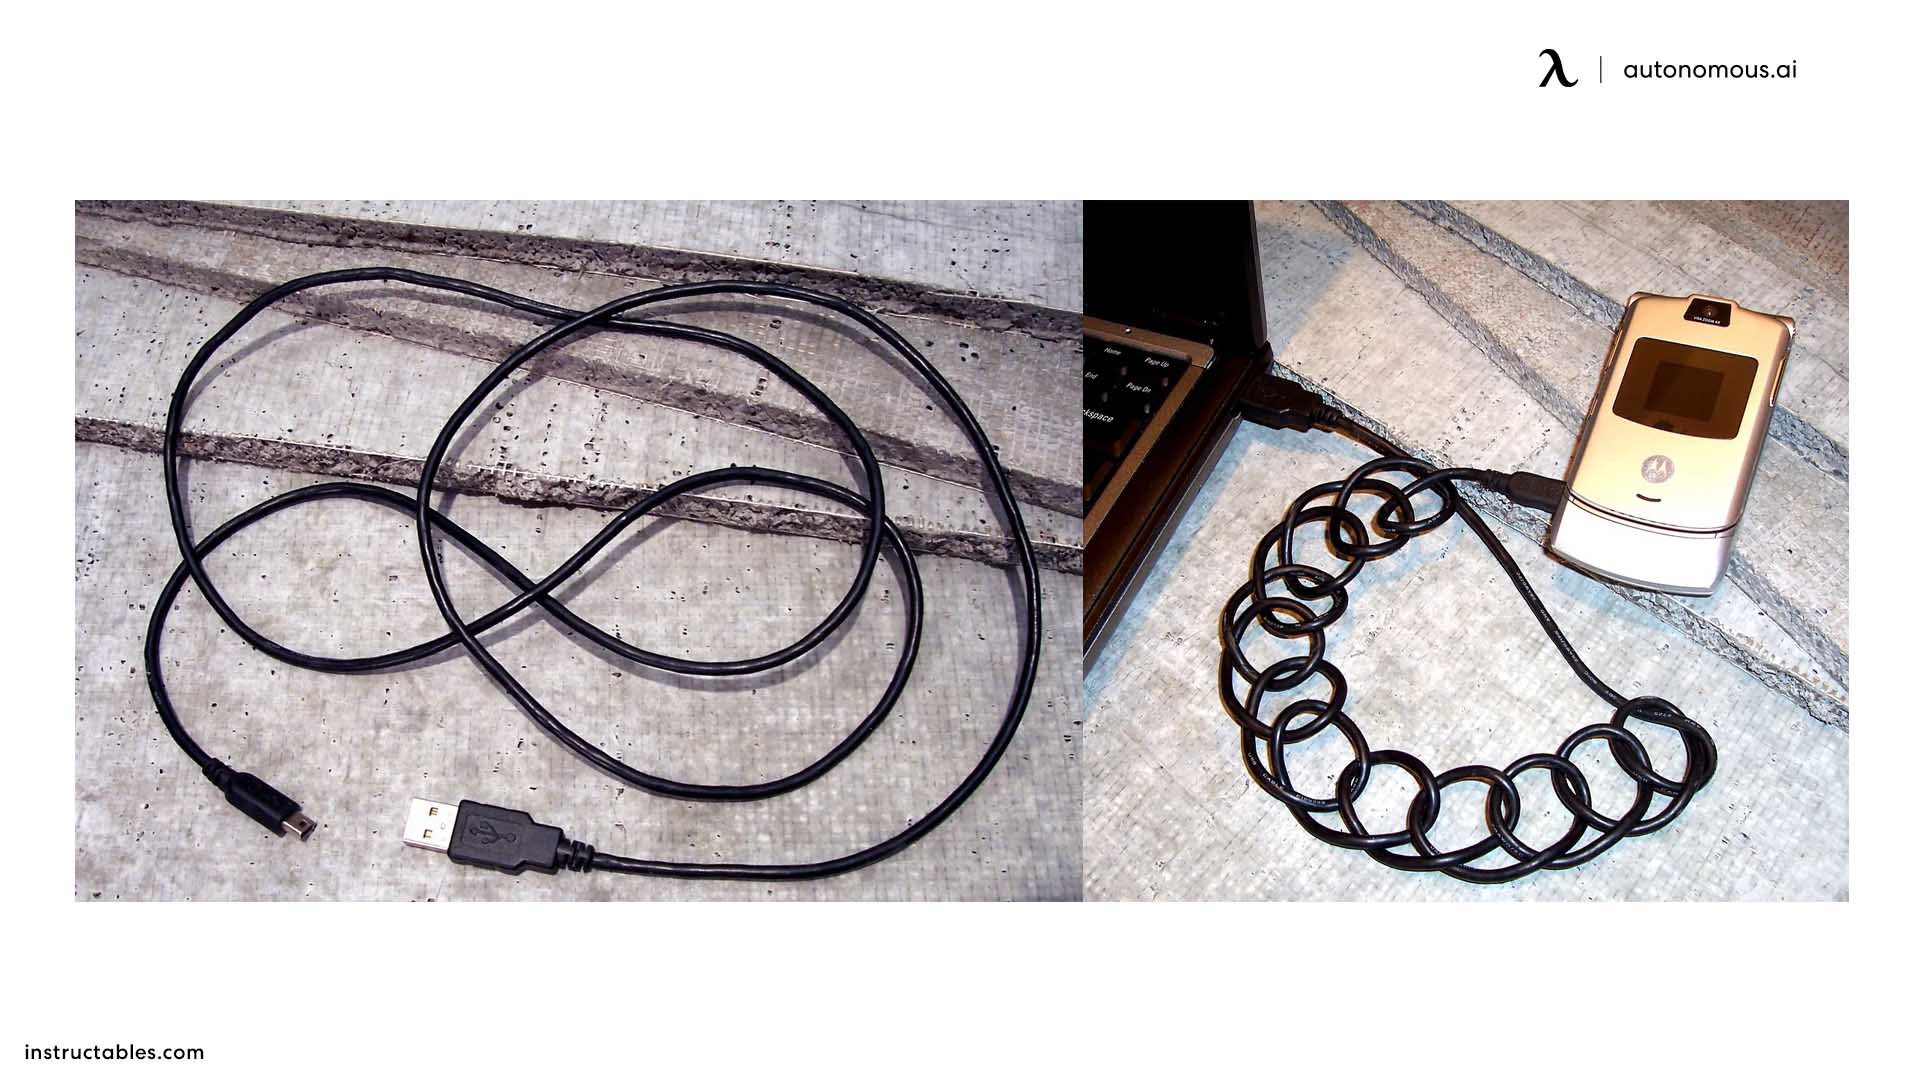
The longer the cable, the more clutter it is going to bring. But thankfully, you can do a DIY cable bone. A rubber mat, a marker pen, a cutter, glue, and a drill are required. On a rubber pad, draw small bone shapes, cut them out, and glue two together.
Drill a hole in the bone at both ends and trim it slightly to allow a cord to pass through. Then, wrap the cord around the bone from one end to the other to achieve the desired length.
Frequently Asked Questions
How do I manage external computer cables?
The external cable can be passed between a toilet roll to keep them organized and aligned. You can also use paper clips to clip external cables to the surface of the table.
How do you make wires look neat?
By keeping them separate and marking labels on them, you can avoid the clutter of wires.
How important is cable management with PCs?
Cable management is very important as intermingling cable can lead to accidents like a short circuit or even fire.
Do cables affect airflow?
A huge clutter of cable behind your monitor or CPU can be a hindrance to airflow. This, in turn, can cause the devices such as CPU and monitor to heat up.
How do I manage my gaming laptop setup cable?
To manage your gaming setup laptop cables, you can work with DIY Cable organizing ideas or even get a cable organizer that ensures all wires are set and aligned neatly.
How do you hide cables behind a monitor?
Doing a cardboard DIY box to keep all the cables inside or using tape to stick the cables to the desk keeps the cables organized behind the desk.
Conclusion
Whether you’re organizing charging cables on your desk, hiding cords behind your desk, or managing cables under or around a standing desk, there are effective solutions to keep your workspace tidy and organized. Implementing proper cable management not only improves the aesthetics of your workspace but also enhances productivity by reducing distractions and minimizing potential hazards. By following these tips, you can create a clutter-free environment that fosters focus and efficiency.
Stay connected with us!
Subscribe to our weekly updates to stay in the loop about our latest innovations and community news!
Interested in a Link Placement?
Spread the word
.svg)


(1).png)
.jpg)




/https://storage.googleapis.com/s3-autonomous-upgrade-3/production/ecm/230914/bulk-order-sep-2023-720x1200-CTA-min.jpg)

/https://storage.googleapis.com/s3-autonomous-upgrade-3/production/ecm/230824/image_qIN1zTxi_1692157652807_raw-c3a7f648-6021-42f1-a20f-0874805faad0.jpg)