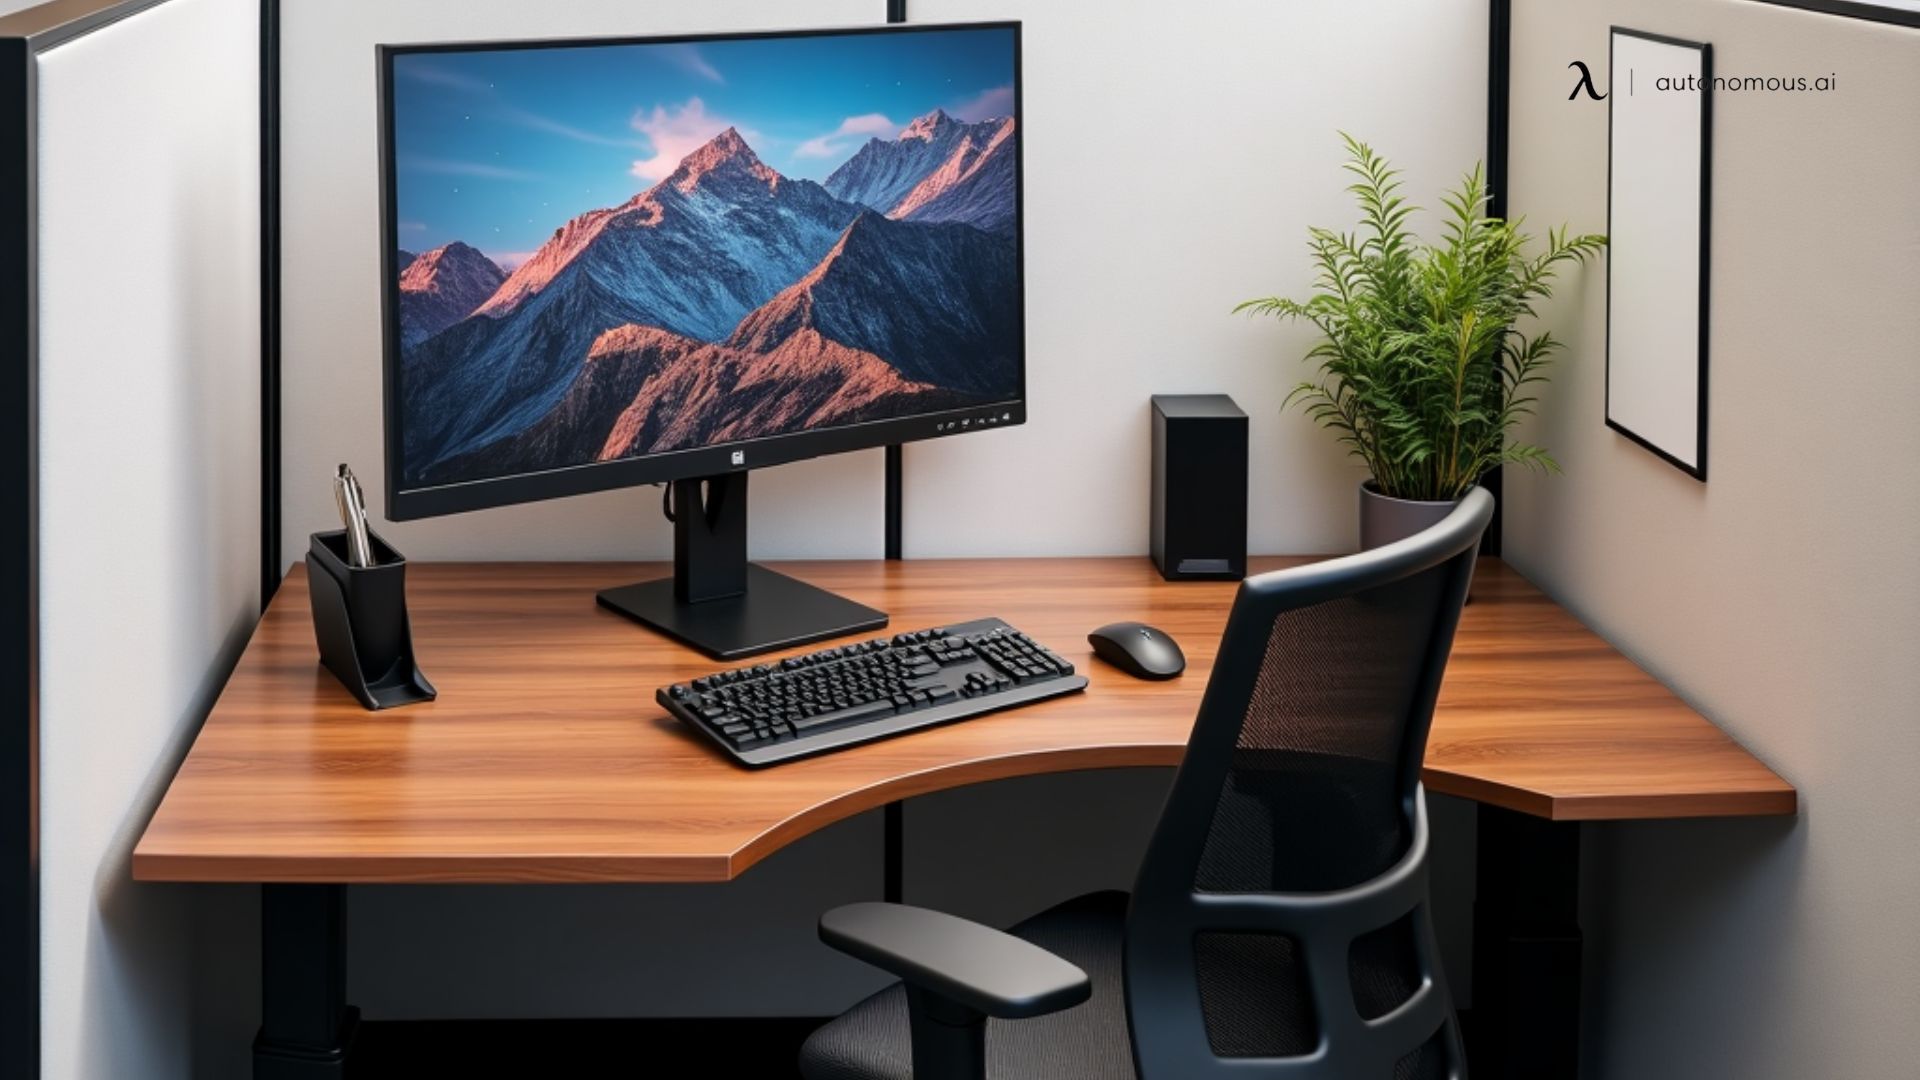
The Ultimate Guide to Office Cubicle Installation
Table of Contents
Office cubicle installation is a crucial step in setting up a productive, organized, and comfortable workspace. Whether you’re expanding your office or reorganizing your existing setup, understanding how to install office cubicles efficiently can save time, reduce costs, and enhance employee satisfaction. From selecting the right cubicle style to assembling each component properly, this guide covers everything you need to know about office cubicle assembly, planning, and common pitfalls to avoid.
Types of Office Cubicles to Consider
Before diving into the installation process, it’s essential to choose the right type of office cubicle that best suits your workspace and employee needs. Here’s a breakdown of the different styles available:
Modular vs. Traditional Cubicles
Office cubicles generally fall into two main categories: modular cubicles and traditional cubicles. Each has distinct advantages depending on your business needs.
Modular Cubicles
Modular office cubicles are designed with flexibility in mind. They consist of individual panels, work surfaces, and accessories that can be assembled in various configurations. These are ideal for businesses that expect changes in team size or layout needs over time. Some key benefits of modular cubicles include:
- Reconfigurability: Easily adaptable to office growth or changes.
- Customization: Employees can personalize their workspace with different panels, desk arrangements, and storage options.
- Cost-Efficiency: Though the upfront cost may be higher, modular cubicles save money in the long run by allowing for easy modifications rather than requiring complete replacements.
Traditional Cubicles
Traditional cubicles have a more rigid design with fixed panels and built-in work surfaces. These are common in offices with structured team setups and long-term seating arrangements. Their key advantages include:
- Durability: Built for longevity with sturdy materials.
- Privacy: Provides employees with a more enclosed workspace.
- Reduced Disruptions: Less noise and visual distractions compared to open layouts.
For businesses that don’t anticipate frequent reconfigurations, traditional cubicles may be a solid choice.

High-Walled vs. Low-Walled Cubicles
The height of cubicle walls plays a significant role in determining the level of privacy and interaction within the office.
High-Walled Cubicles
High-walled cubicles, typically ranging from 5 to 7 feet tall, provide maximum privacy and noise reduction. They are often used in industries where employees require deep focus, such as:
- Accounting and finance: Reduces distractions when working with numbers.
- Legal firms: Ensures confidentiality for case-related work.
- IT and programming: Minimizes external noise to maintain concentration.
However, high-walled cubicles may create a more isolated environment, which can be a downside for roles requiring frequent communication.
Low-Walled Cubicles
Low-walled cubicles, usually 3 to 4 feet tall, promote a more open and collaborative work environment. These are best suited for:
- Sales teams: Encourages quick communication between team members.
- Marketing departments: Allows for brainstorming and idea-sharing.
- Customer service teams: Enables easy supervision while still offering personal workspace.
A downside of low-walled cubicles is that they provide less privacy and can contribute to noise distractions, so they work best in offices with good sound management.
Open vs. Semi-Private Layouts
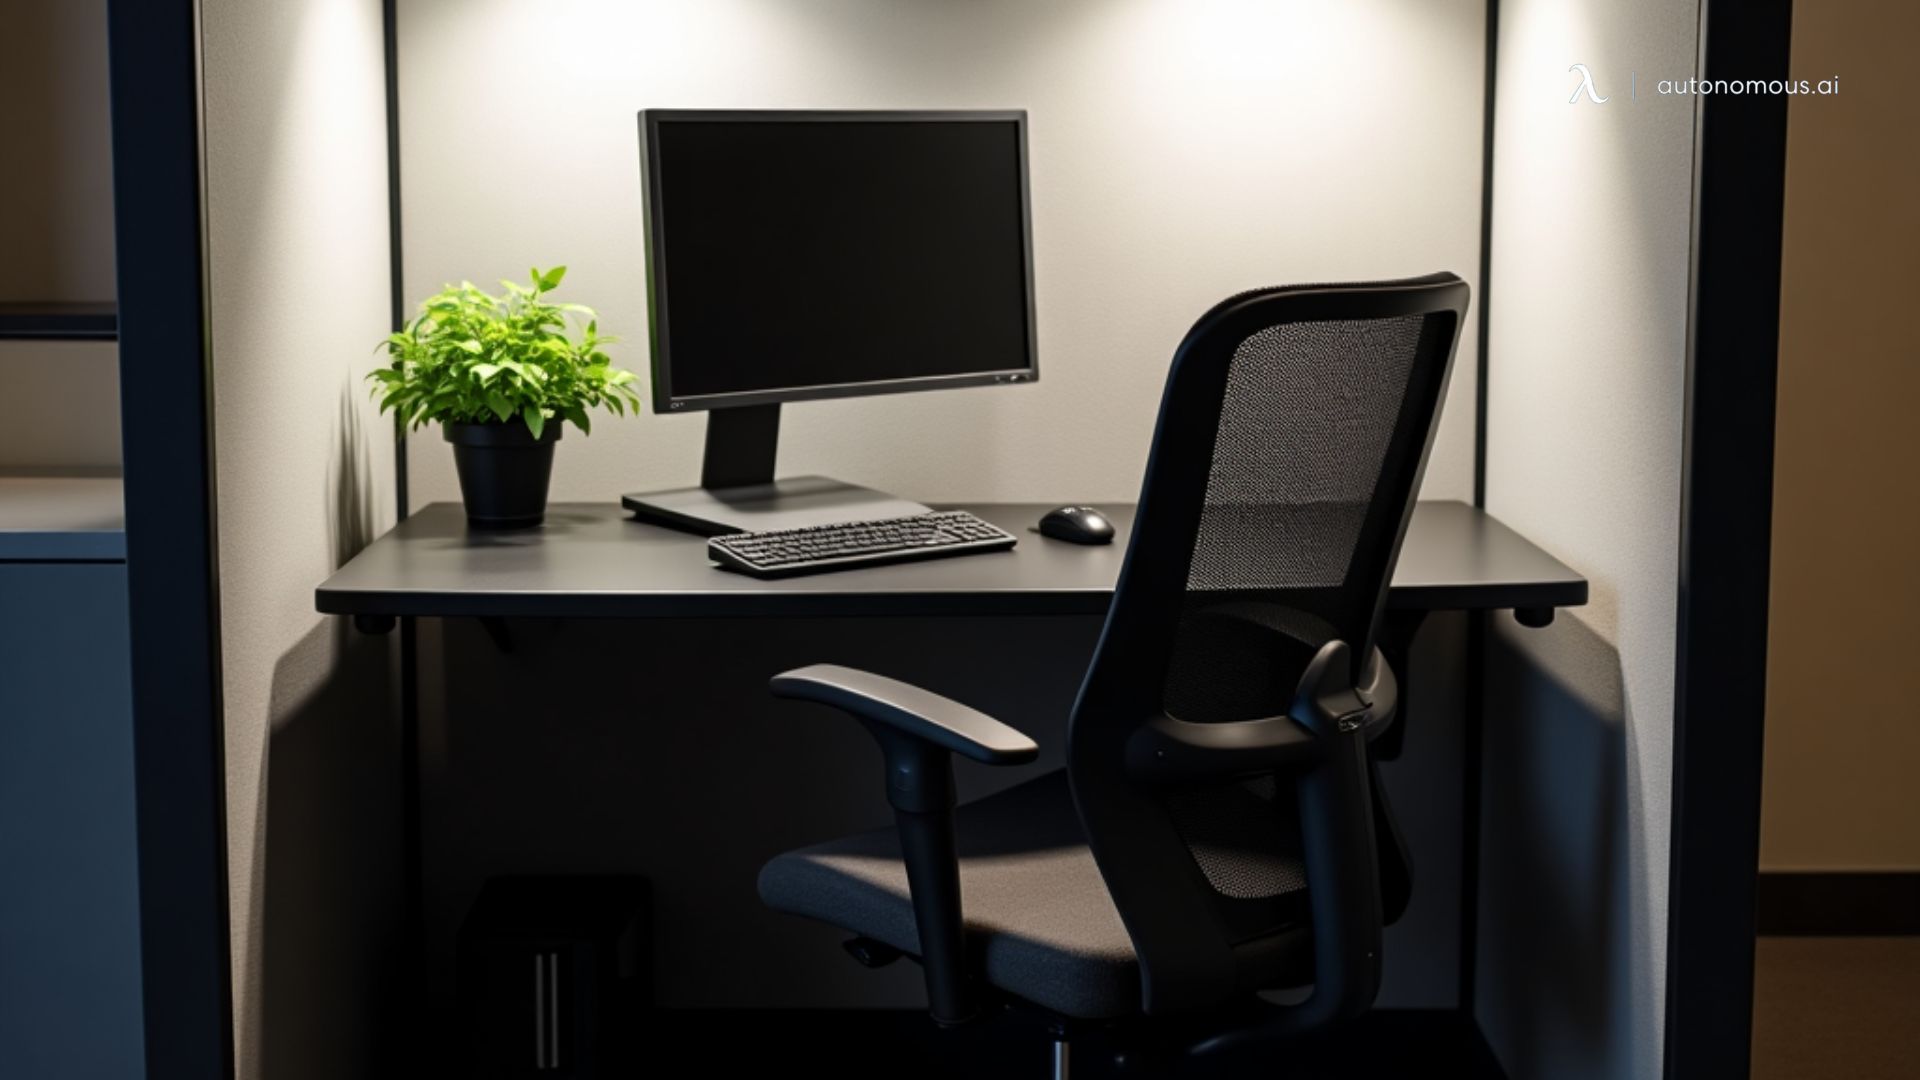
Office cubicle layouts also play a significant role in defining workplace culture and productivity.
Open Layouts
Open cubicle layouts feature minimal or no barriers between workstations. These setups work well for:
- Startups: Encourages a dynamic and fast-paced environment.
- Creative teams: Promotes collaboration and brainstorming.
- Tech companies: Facilitates quick decision-making and agile workflows.
However, an open office layout can also lead to higher noise levels and reduced focus, so they are best paired with dedicated quiet zones.
Semi-Private Layouts
Semi-private layouts provide a balance between openness and personal space. These cubicles often feature mid-height partitions that offer some separation without completely isolating employees. Ideal for:
- Project-based teams: Supports both collaboration and independent work.
- HR departments: Offers privacy while keeping the workspace accessible.
- Hybrid offices: Accommodates both teamwork and focus-intensive tasks.
Semi-private cubicles can be a great solution for companies that want to maintain a degree of interaction while also ensuring some level of workspace privacy.
Pre-Installation Planning Tips
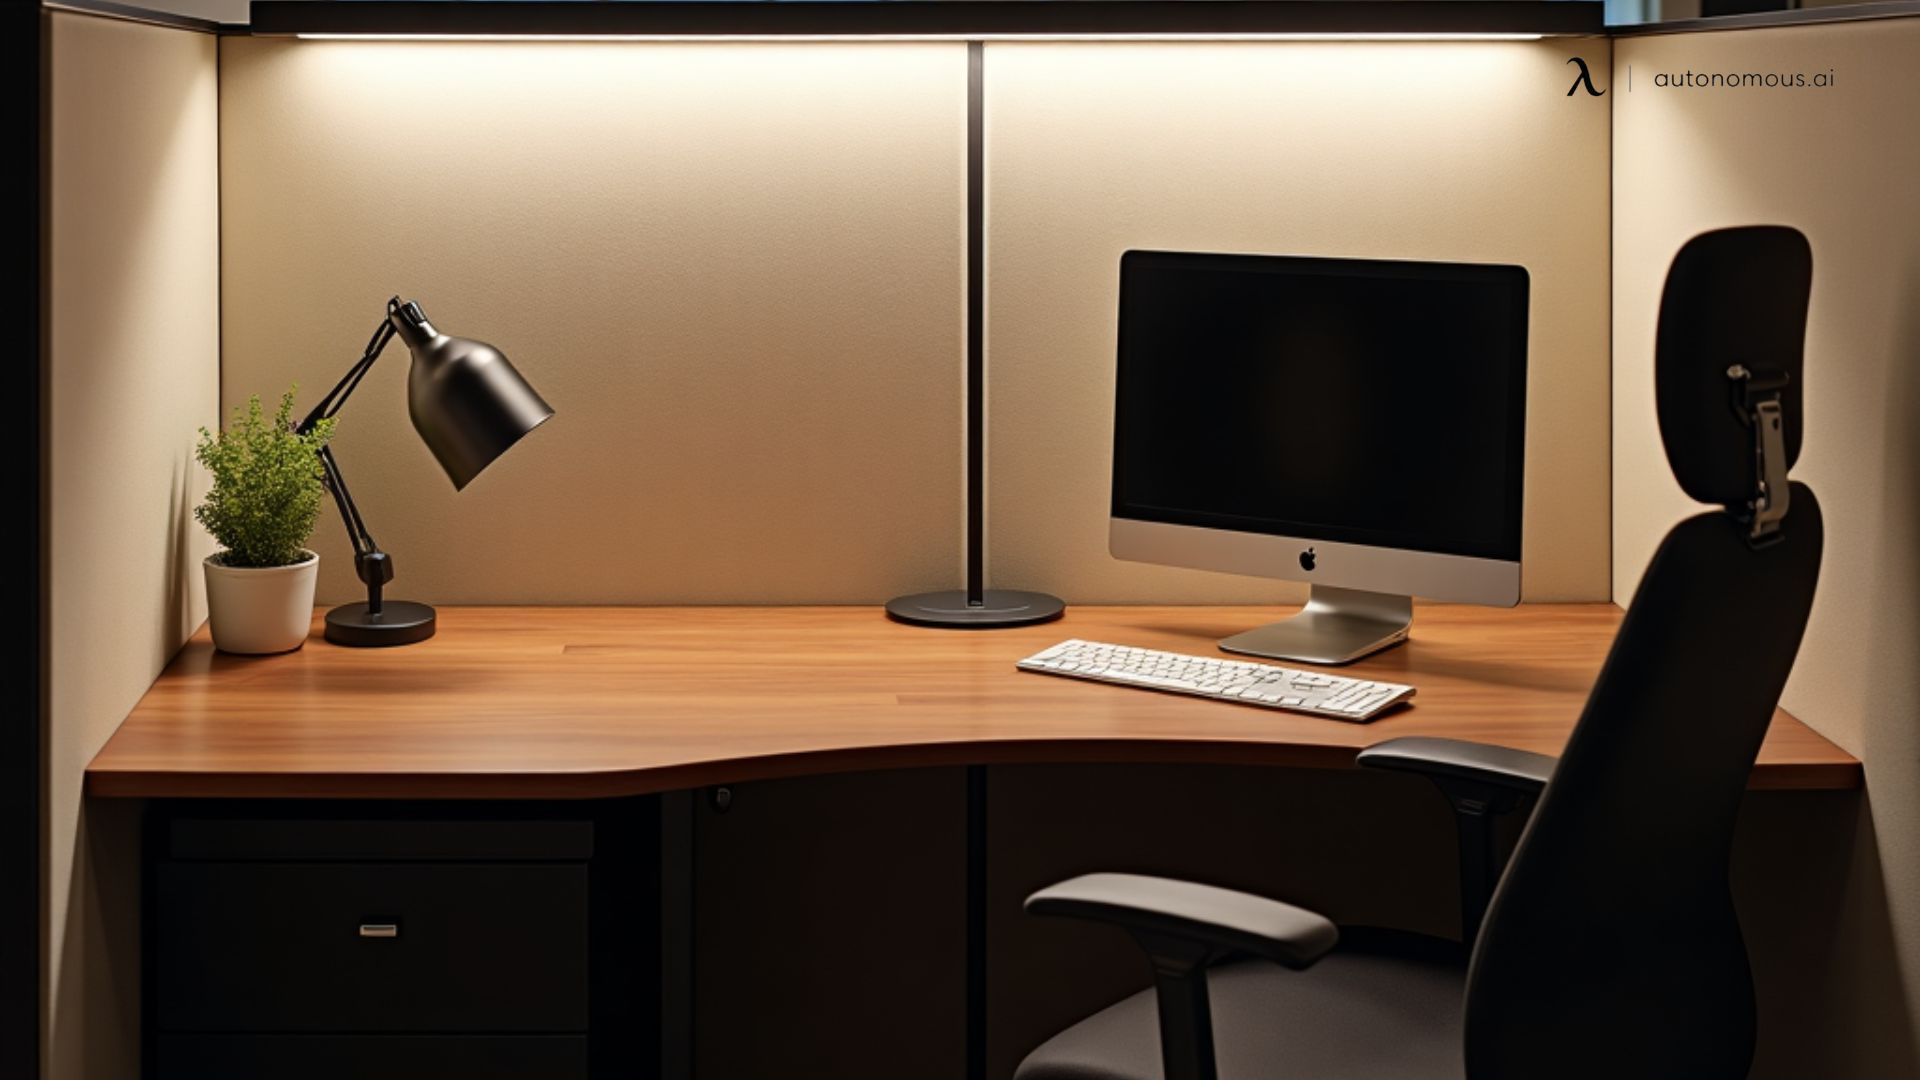
Proper planning is crucial for a seamless office cubicle installation process. Without careful preparation, businesses may face inefficient layouts, poor cable management, and long-term workspace inefficiencies. Below are key pre-installation planning steps to ensure an optimal setup.
1. Measuring Your Office Space Accurately
One of the biggest challenges in office cubicle installation is making sure that everything fits perfectly within the available space. Proper measurements help prevent overcrowding and ensure compliance with workplace regulations.
Steps for Accurate Measurement:
- Measure the total office area: Use a laser measuring tool or traditional measuring tape to calculate the length, width, and height of the office space.
- Identify immovable structures: Note the location of columns, windows, doors, air vents, and emergency exits.
- Leave space for walkways: Ensure at least 3-4 feet of walking space between rows of cubicles to maintain smooth movement.
- Use a floor plan tool: Software like AutoCAD, SketchUp, or basic graph paper can help visualize the layout before installation.
By measuring accurately, you avoid the hassle of dismantling and reconfiguring cubicles after installation.
2. Considering Power and Cable Management Needs
A poorly planned power and cable setup can lead to tangled wires, inefficiencies, and even safety hazards. When planning for cubicle installation, consider the following:
Power Supply Considerations:
- Check electrical capacity: Ensure the office can handle the electrical load of multiple workstations, especially if employees use dual monitors or high-power devices.
- Plan for power strip placements: Each workstation should have easy access to outlets without excessive use of extension cords.
- Follow safety regulations: Ensure all wiring complies with local electrical codes to prevent fire hazards.
Cable Management Tips:
- Use cable raceways or under-desk trays: Keeps wires organized and prevents tripping hazards.
- Color-code cables: Helps IT teams quickly identify power, data, and Ethernet lines.
- Invest in wireless solutions: Where possible, use Wi-Fi and wireless peripherals to minimize cable clutter.
Effective cable management not only keeps the workspace neat but also extends the lifespan of office equipment.

3. Planning for Future Office Growth
When setting up office cubicles, it's important to think about scalability. A workspace that can adapt to future growth will save time and costs in the long run.
How to Plan for Growth:
- Choose modular cubicles: These allow for easy reconfiguration as teams expand or restructure.
- Leave extra space for additional desks: If hiring is expected, ensure there’s enough room to add workstations without disrupting the flow of the office.
- Plan for additional power needs: Install extra power outlets and network ports in advance to accommodate future employees.
- Consider shared workstations: If your team includes remote workers or hybrid employees, shared desks or hot-desking setups can reduce unnecessary cubicle installations.
Planning for future office expansion ensures that the workspace remains efficient and adaptable to business needs.
By carefully selecting the right cubicle types and planning the installation process, businesses can create a well-organized, productive, and scalable office environment. The next step in the installation process involves assembling and setting up the cubicles correctly, which we will cover in detail in the next section.
Step-by-Step Office Cubicle Installation Process
Once you’ve selected the right cubicles and planned the layout, it’s time to proceed with the office cubicle assembly.
1. Preparing the Space
Before assembling cubicles, it’s essential to prepare the office space to ensure a smooth installation process.
- Clear the workspace: Remove existing furniture, office supplies, and other obstacles.
- Ensure the floor is level: Uneven flooring can cause cubicles to tilt, leading to instability.
- Mark designated areas: Use masking tape or chalk to outline cubicle placement based on the floor plan.
- Confirm electrical access: Identify power sources and data ports to align cubicles with necessary connections.
- Check ventilation and lighting: Ensure airflow and lighting are not obstructed by cubicle walls.
Skipping this step may lead to reconfigurations later, causing unnecessary delays and frustration.
2. Assembling Panels and Frames
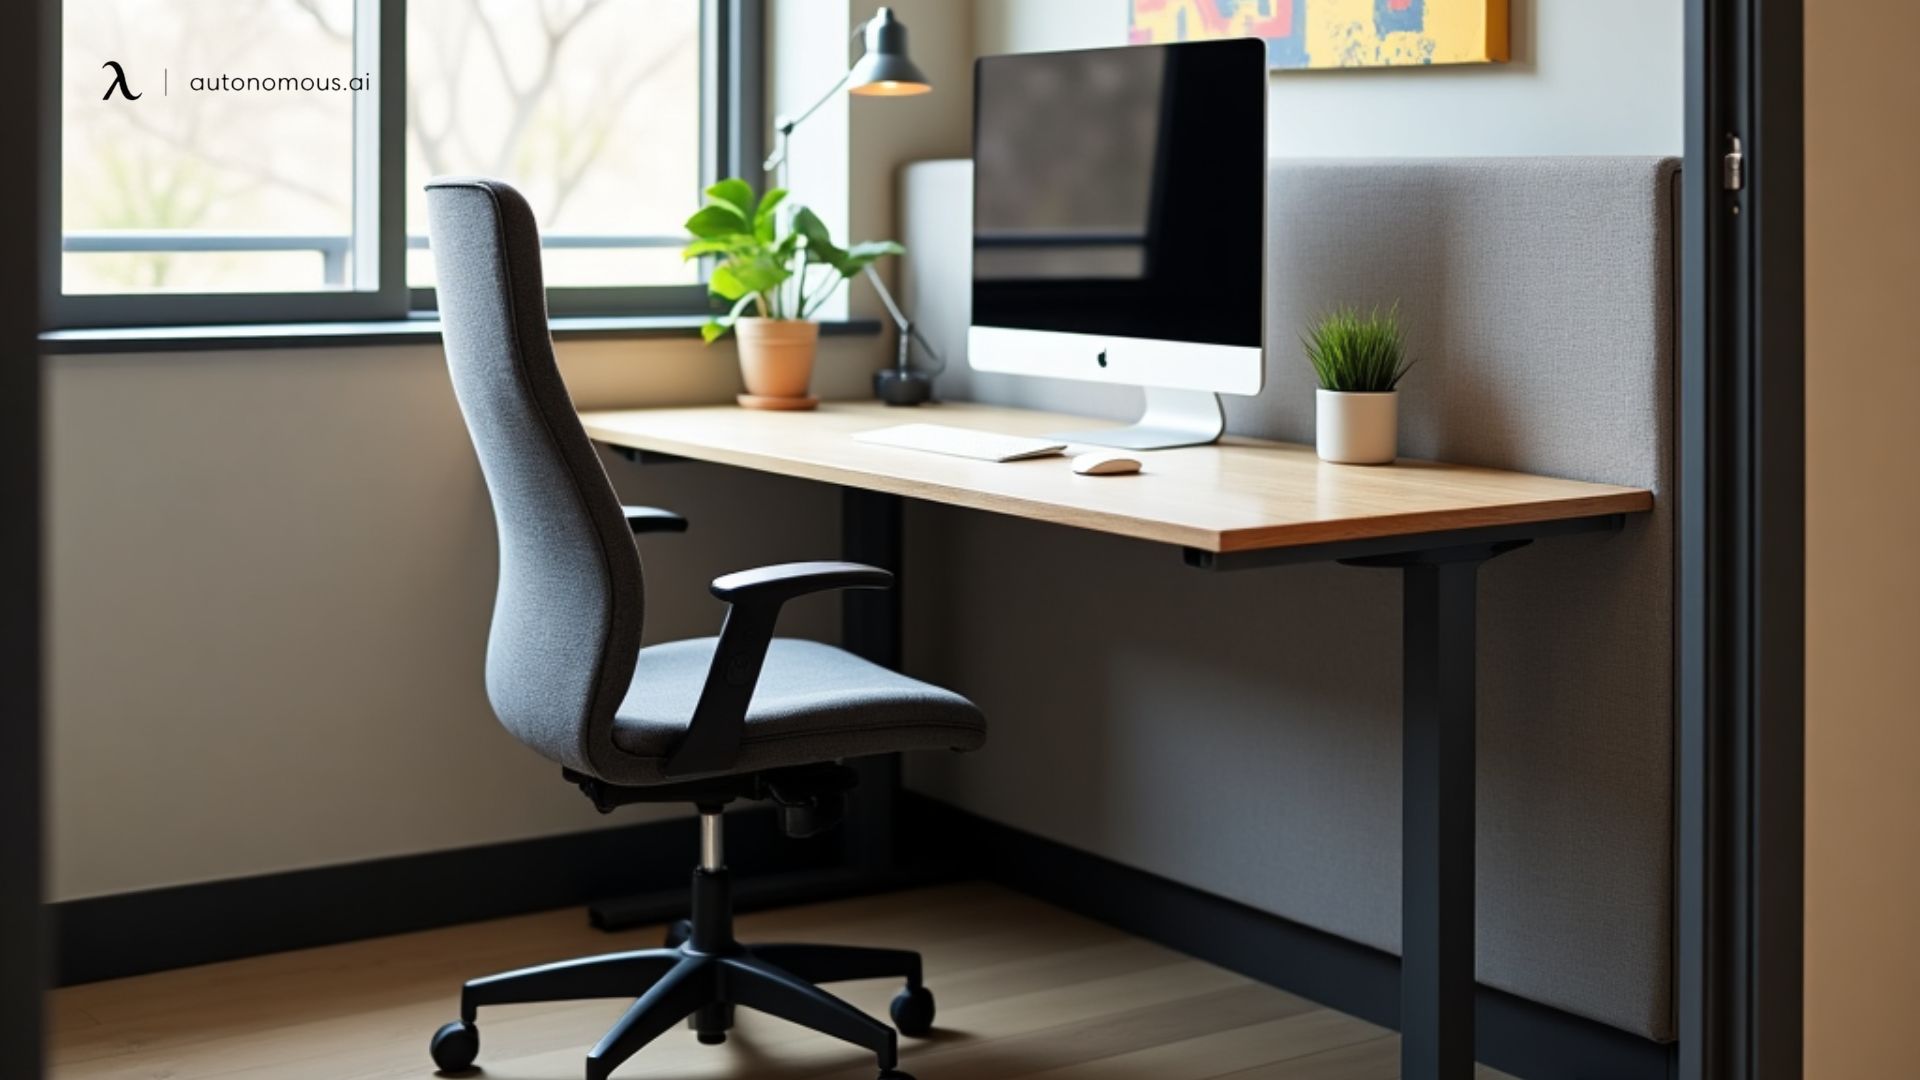
The core structure of an office cubicle consists of panels and frames, which serve as partitions and provide stability.
- Lay out all components: Unpack cubicle panels, brackets, connectors, and frames before assembly.
- Start from a corner: If installing multiple cubicles, begin with a corner workstation to set the alignment.
- Attach the panels: Use the provided clips or brackets to connect panels securely.
- Ensure stability: Check that panels stand evenly and do not wobble before securing them further.
For modular cubicles, ensure that panels are correctly interlocked to allow for future modifications.
3. Installing Work Surfaces, Drawers, and Accessories
After the structural panels are in place, the next step is to install the functional components of each cubicle.
Steps for Desk and Drawer Installation:
- Position the work surface: Align the desk with the pre-marked cubicle area.
- Secure the surface: Use screws and brackets to fix the desk onto the panels or frame.
- Install filing cabinets and drawers:
- Place under-desk drawers in the designated space.
- Use screws or sliders to attach drawer rails.
- Ensure drawers open and close smoothly.
Additional Accessories to Install:
- Overhead storage units: Attach to panel-mounted brackets if needed.
- Keyboard trays: Position at a comfortable height for ergonomic use.
- Monitor arms: Ensure they support screen weight and allow easy adjustments.
Properly installed work surfaces and accessories contribute to both aesthetics and functionality in a workspace.
4. Wiring for Power and Data
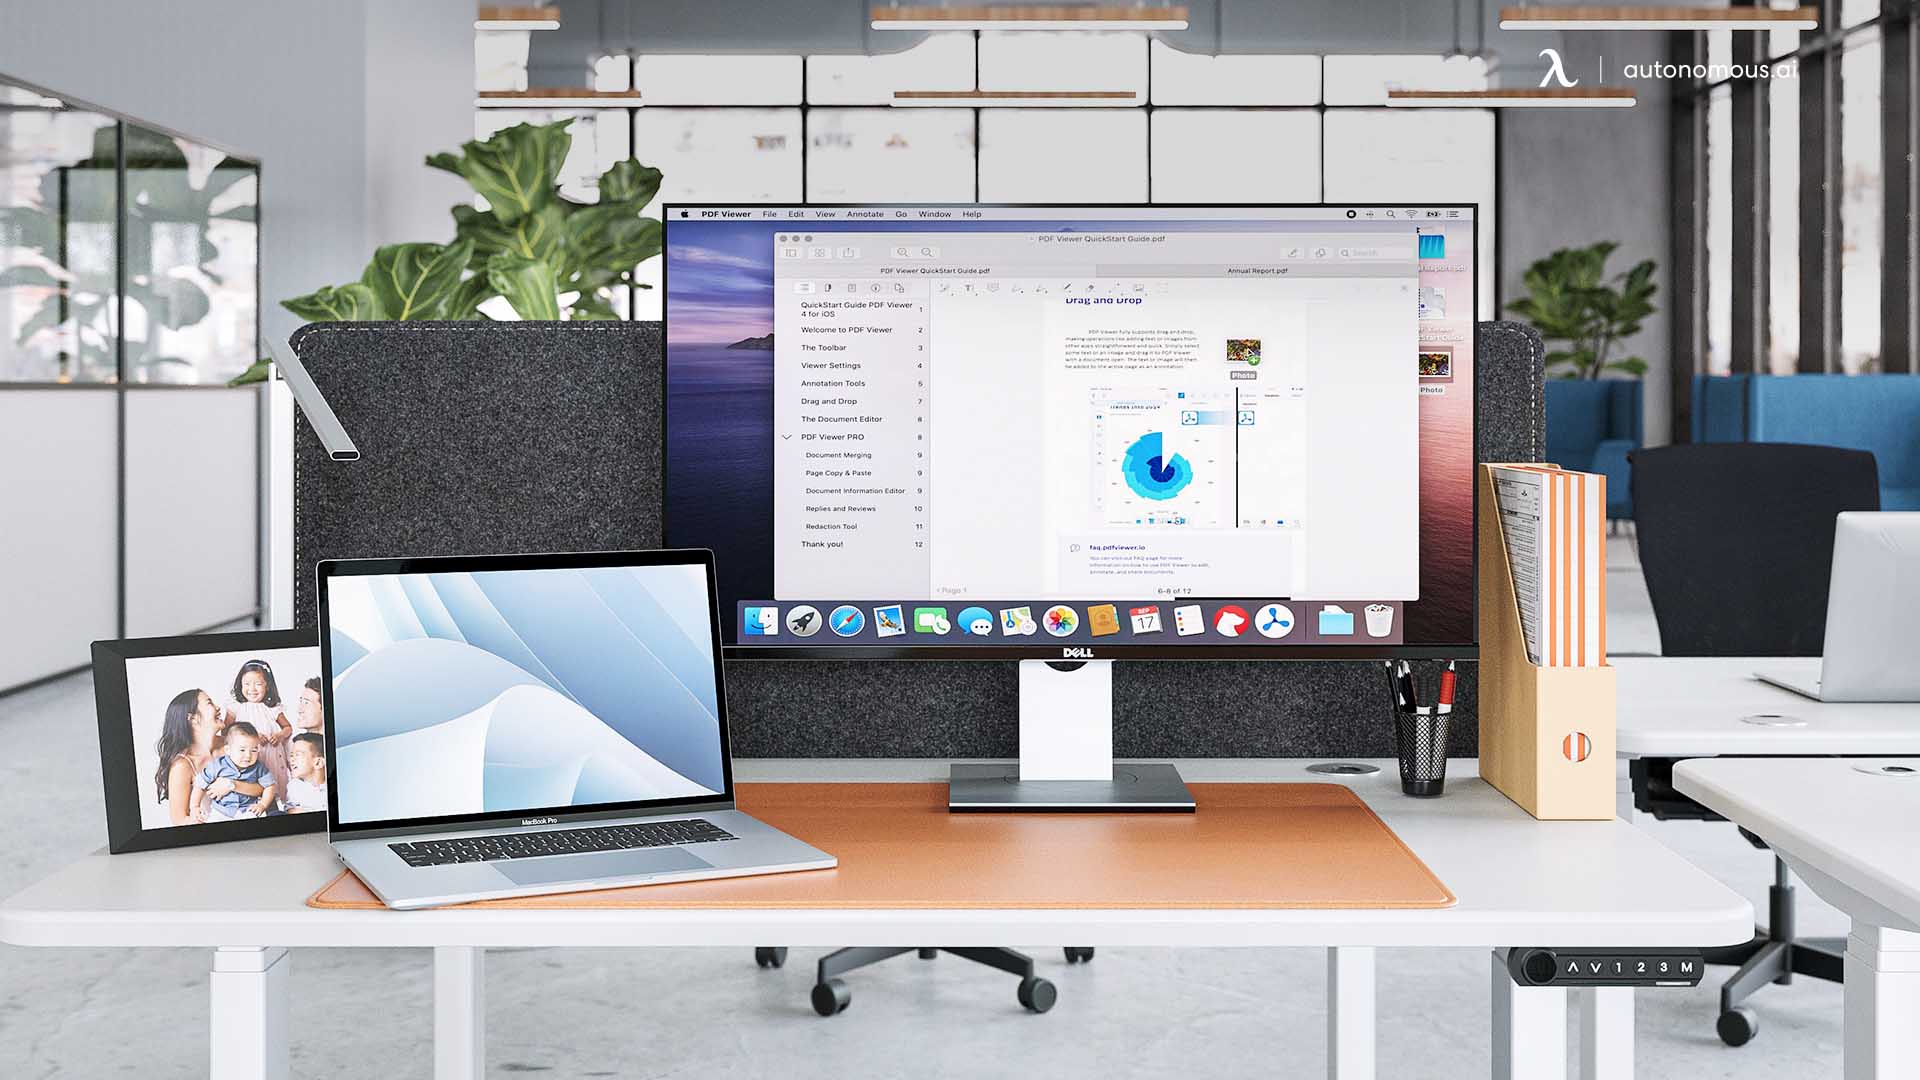
A crucial part of office cubicle installation is setting up power outlets and data connections. Poor cable management can lead to hazards and disorganization.
Steps for Power Setup:
- Identify power source locations: Each cubicle should have easy access to outlets.
- Use pre-installed cubicle wiring systems (if available): Some cubicles come with built-in power channels for a cleaner look.
- Install surge protectors: Protect office equipment from electrical surges.
- Avoid daisy-chaining extension cords: This is a safety hazard and may not comply with building codes.
Steps for Data and Network Setup:
- Run Ethernet cables neatly: Use raceways or under-desk trays to organize wires.
- Secure network switches if needed: If using multiple workstations, a small network switch may be required.
- Test all connections: Before completing the setup, ensure power and internet connections are stable.
A well-planned wiring system prevents tripping hazards and maintains a clean, professional office appearance.
5. Final Adjustments and Quality Check
Once all cubicles are installed, perform a final check to ensure everything is secure and functional.
- Ensure all panels and frames are stable and properly secured.
- Check that desks and work surfaces are at the correct height.
- Verify that power outlets and data connections are working.
- Test drawers and cabinets to confirm smooth operation.
- Inspect cubicle alignment to maintain a uniform appearance.
After confirming that everything is in place, employees can start moving into their workstations.
Common Mistakes to Avoid During Installation
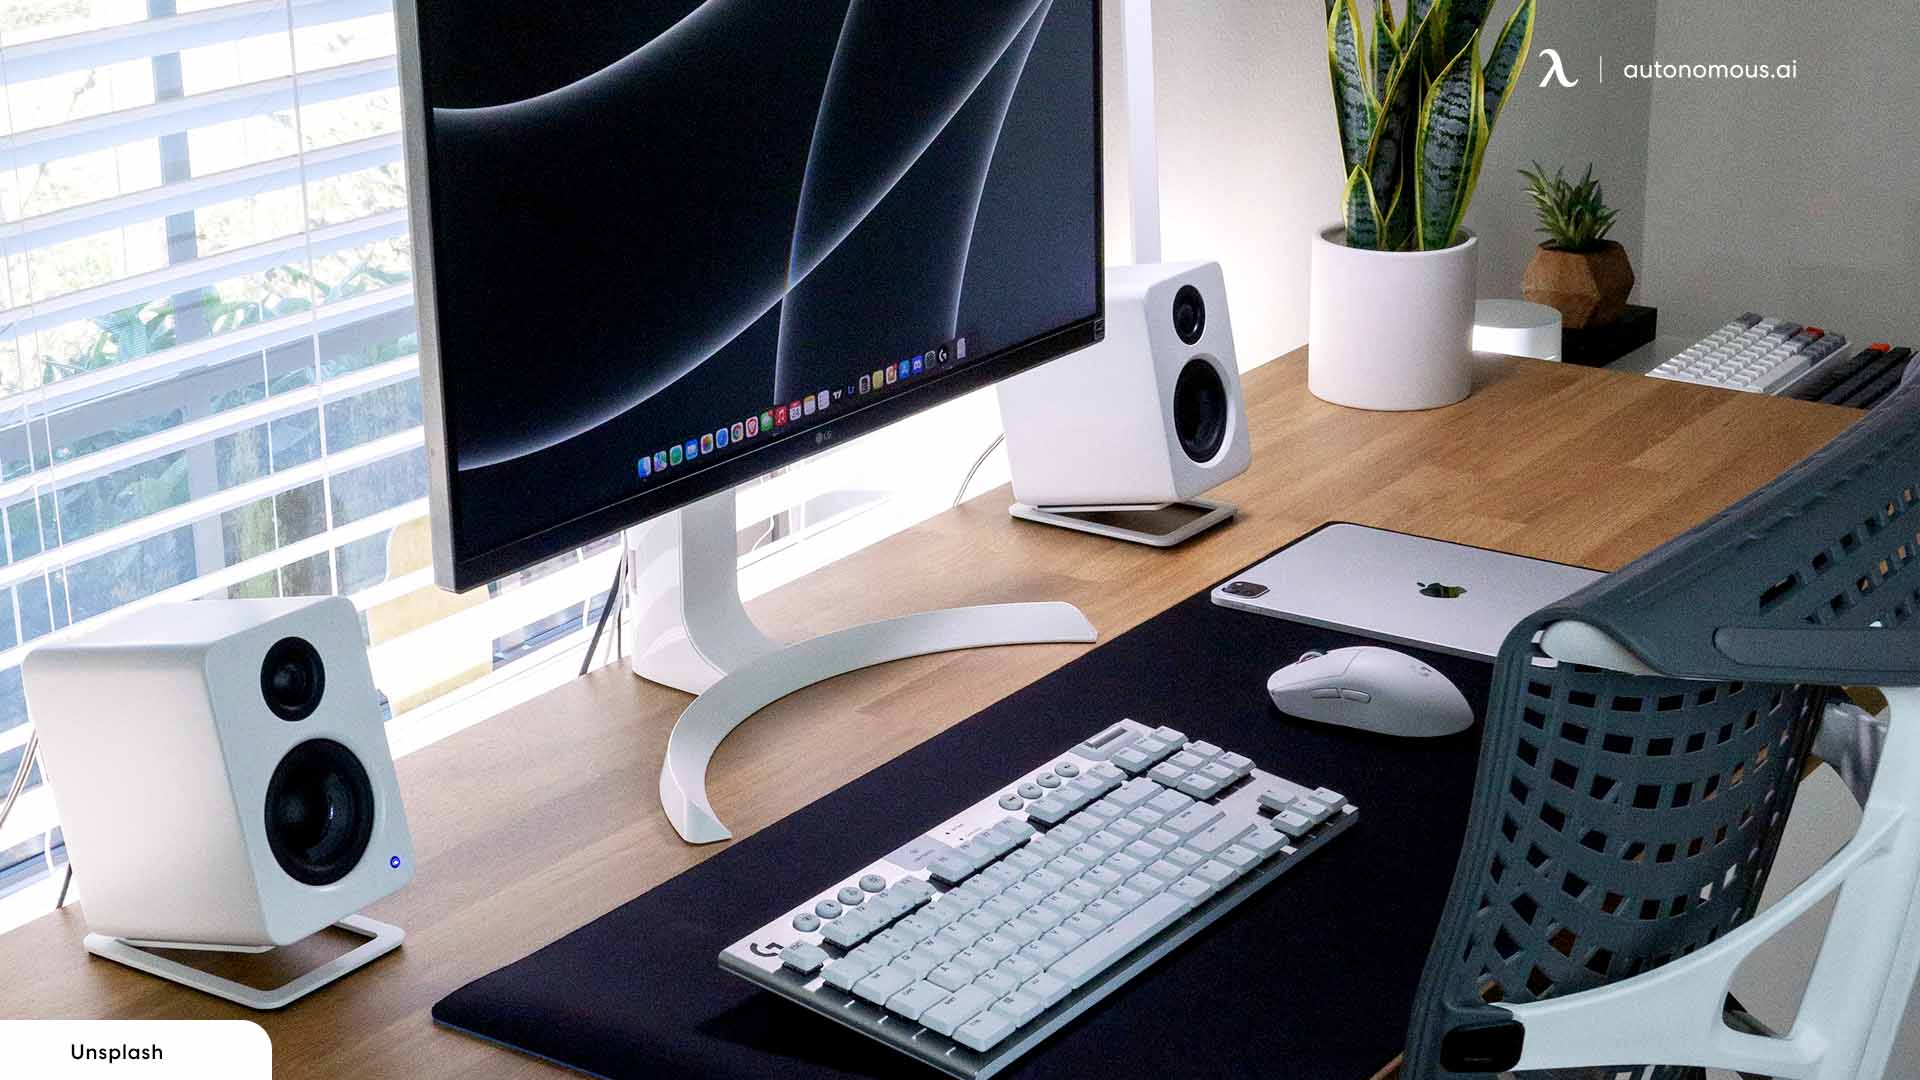
Even with a well-planned office cubicle decor and setup, certain mistakes can compromise the effectiveness of your cubicle installation. Here are some to watch out for:
Ignoring Ergonomic Considerations
- Ensure desk heights are adjustable or at a comfortable level.
- Provide ergonomic chairs to prevent long-term health issues.
- Position monitors at eye level to reduce strain.
Poor Space Utilization
- Avoid cramming too many cubicles in a small space, leading to discomfort.
- Balance the number of workstations with communal areas like break rooms and meeting spaces.
- Use storage solutions effectively to keep desks clutter-free.
Inadequate Planning for Lighting and Ventilation
- Position cubicles to maximize natural light without glare on screens.
- Avoid blocking air vents, ensuring proper airflow.
- Incorporate desk lamps if overhead lighting is insufficient.
Hiring Professionals vs. DIY: Which Is Better?
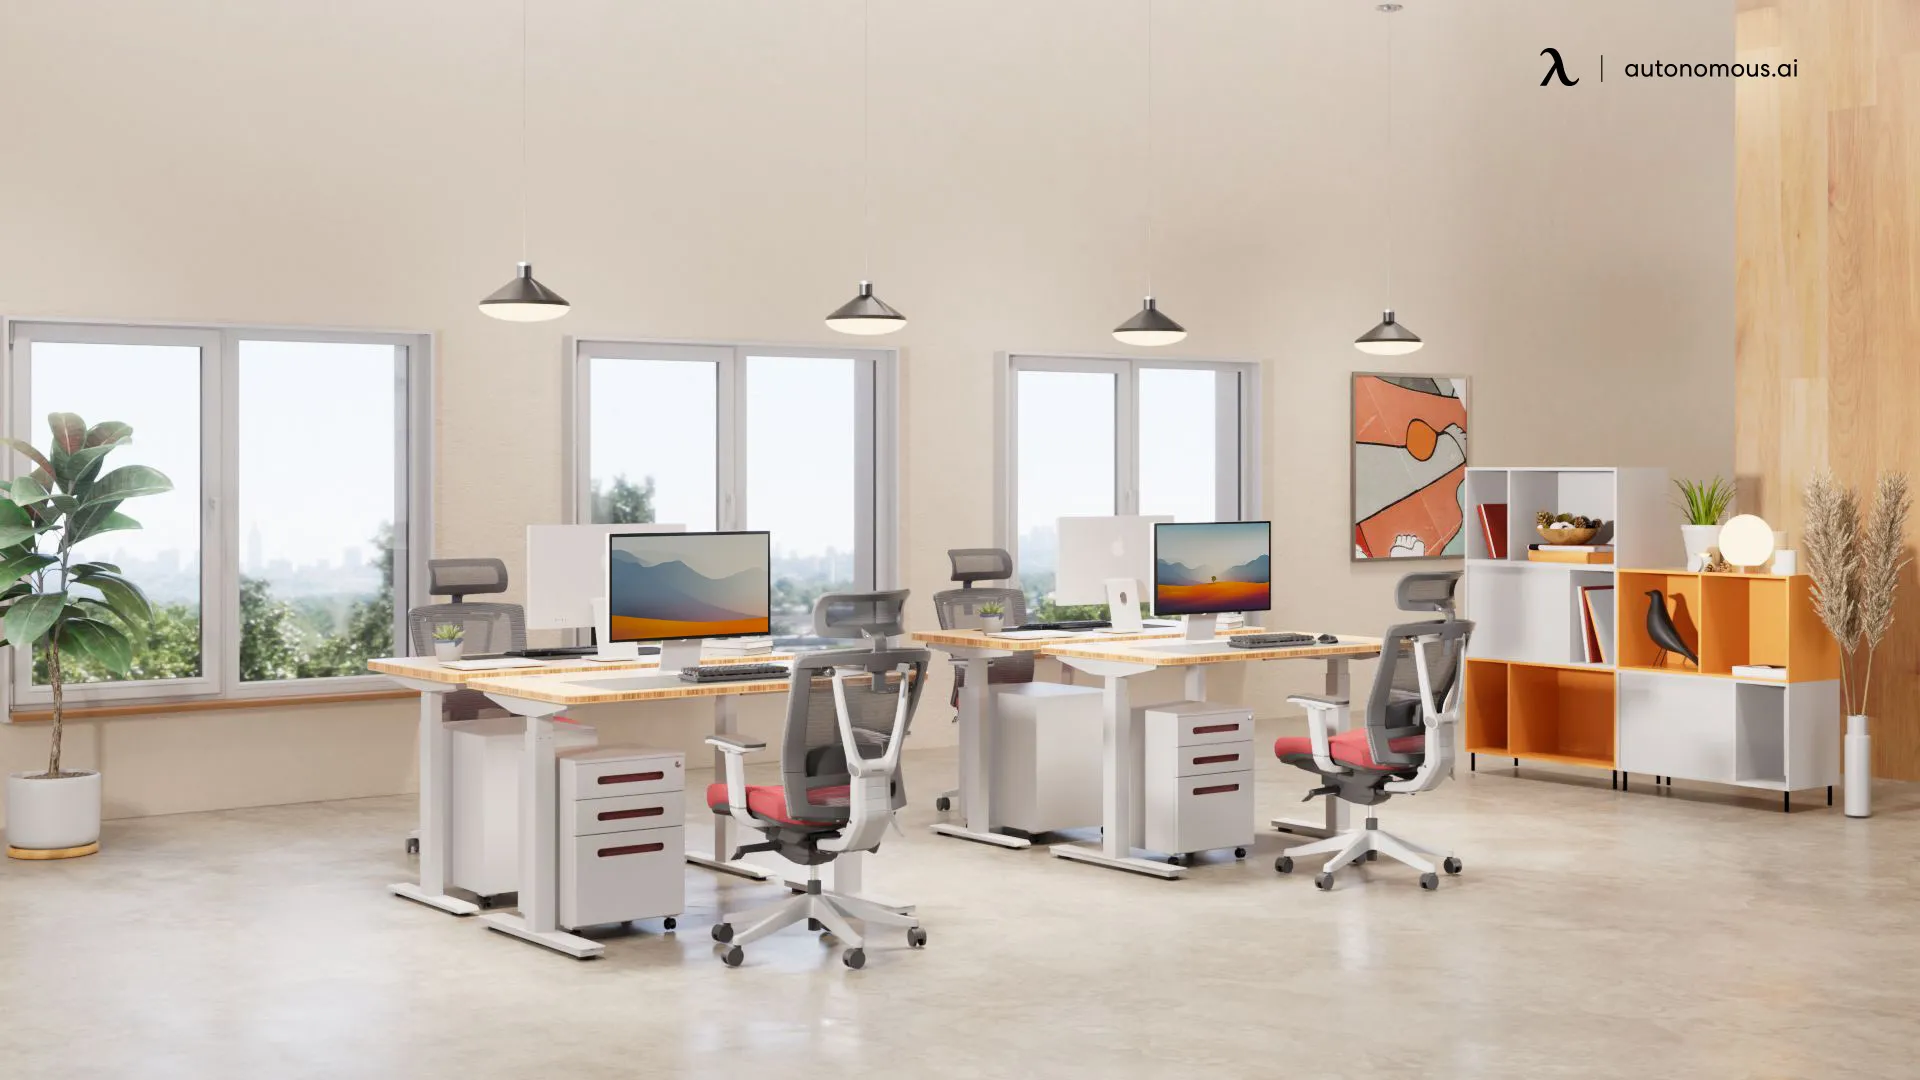
While some businesses opt for a DIY office cubicle installation, others hire professionals for efficiency. Here’s a comparison to help you decide:
Cost Comparisons
- DIY Installation: More budget-friendly but requires time and effort.
- Professional Installation: Higher cost but includes expertise and faster execution.
Time Efficiency
- DIY projects can take several days, depending on office size.
- Professional installers complete the setup quickly, minimizing business disruptions.
When to Call in Experts
- If cubicle wiring and data cabling require specialized knowledge.
- When dealing with complex office layouts or high-end furniture.
- If the business needs a fully operational office within a short timeframe.
Summary
A well-executed office cubicle installation creates a comfortable, productive workspace. By choosing the right cubicle type, planning ahead, following step-by-step assembly, and avoiding common mistakes, you can set up a functional office with ease. Whether you opt for DIY or professional office furniture installation solutions, ensuring a smooth and ergonomic setup will benefit your team in the long run.
Stay connected with us!
Subscribe to our weekly updates to stay in the loop about our latest innovations and community news!
Interested in a Link Placement?
Spread the word
.svg)
.svg)


/https://storage.googleapis.com/s3-autonomous-upgrade-3/production/ecm/230914/bulk-order-sep-2023-720x1200-CTA-min.jpg)

/https://storage.googleapis.com/s3-autonomous-upgrade-3/production/ecm/230920/Emily-Chambers.jpg)