.svg)

How to Build a She Shed With Electricity?
Table of Contents
- How to Build a She Shed with Electricity
- Step 1: Plan the Layout and Design
- Step 2: Choose the Right Location
- Step 3: Gather Materials and Tools
- Step 4: Build the Frame
- Step 5: Install Windows and Doors
- Step 6: Insulate the Interior
- Step 7: Add Electrical Wiring
- Step 8: Install Outlets and Lighting Fixtures
- Step 9: Consider Solar Power (Optional)
- Step 10: Keep It Maintained
- Building vs. Buying a Prefab She Shed with Electricity
- Considering WorkPod Solar for the Ultimate She Shed
- FAQs
- Conclusion
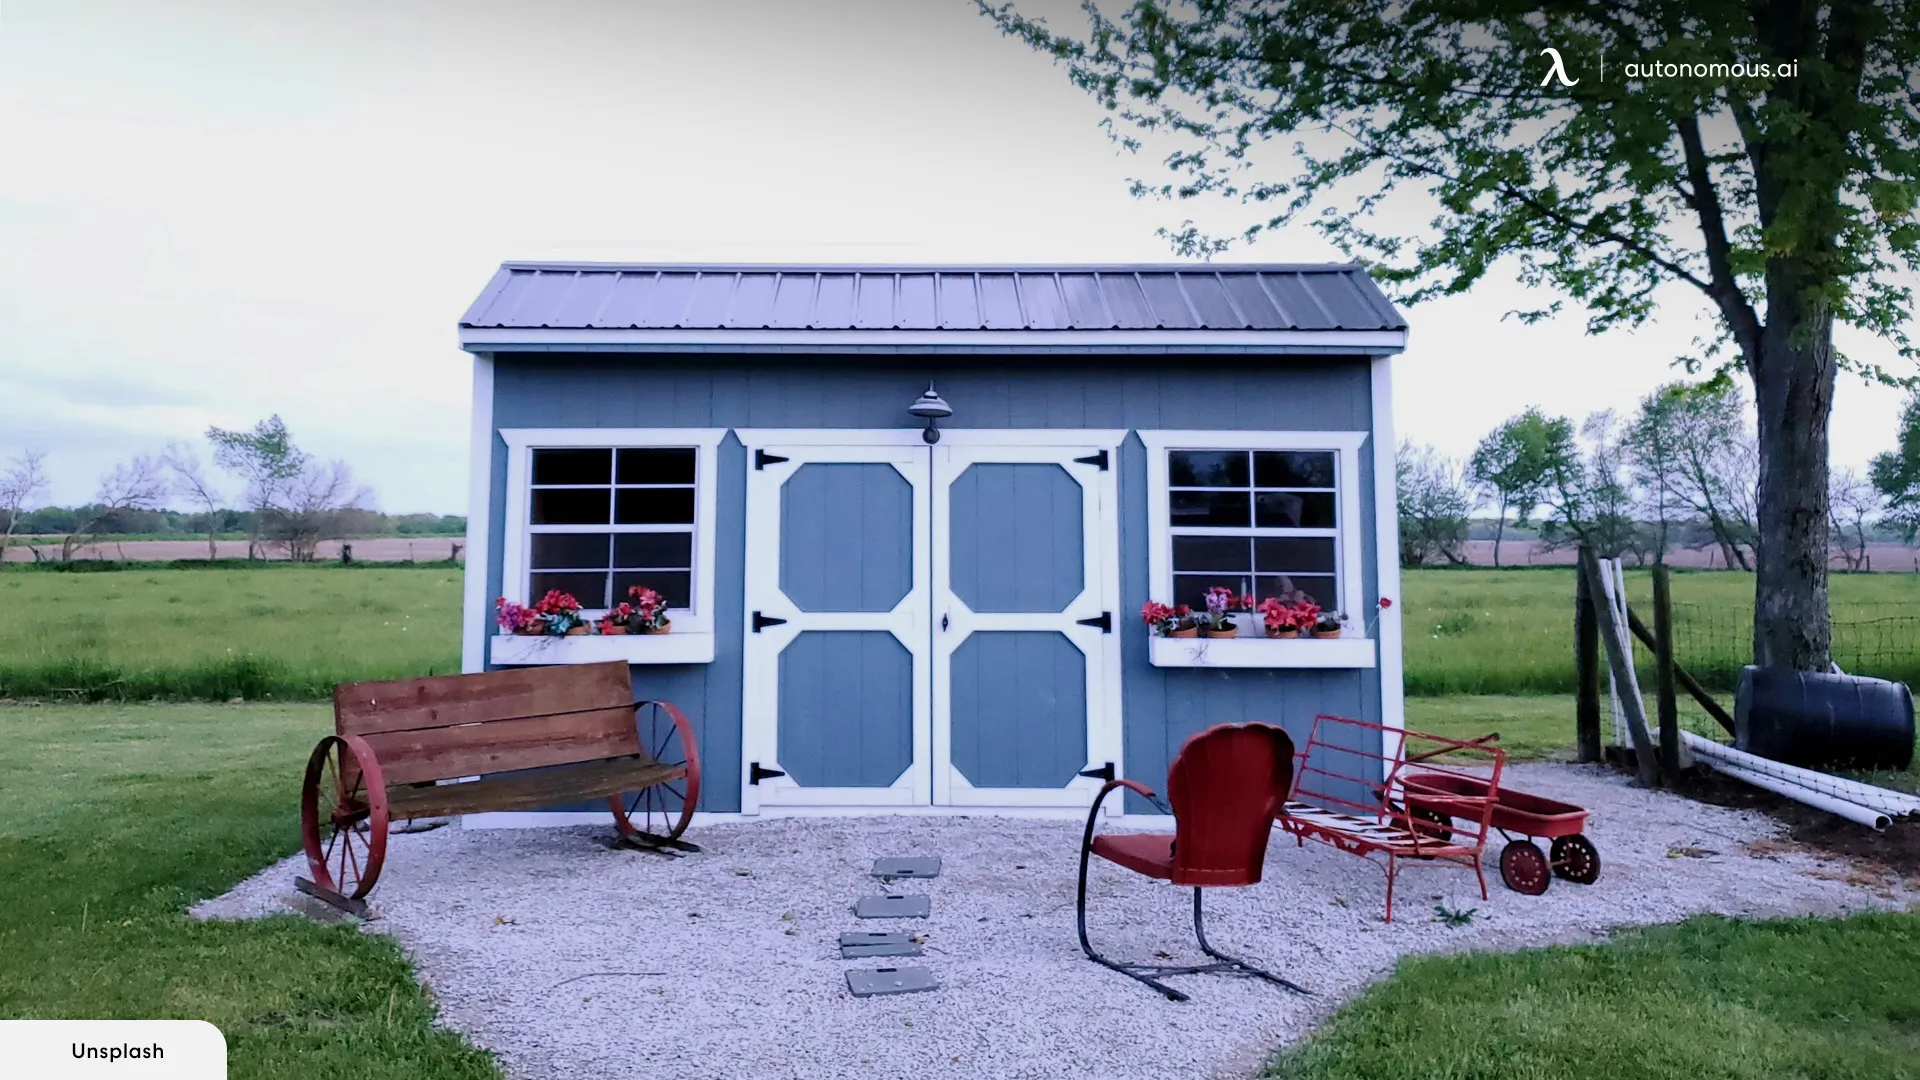
Looking to create your own cozy retreat in your backyard? Adding electricity to your she shed opens up a world of possibilities, from practical lighting to powering entertainment systems and even climate control with an AC unit for a shed. Modern sheds offer stylish and functional designs, perfect for transforming into a studio shed or personal sanctuary. Explore innovative she shed interior ideas, from decor to layout, to make the most of your space. Whether you're looking to create a peaceful workspace or a relaxing hideaway, adding electricity to your she shed can transform it into a comfortable oasis tailored to your needs.
How to Build a She Shed with Electricity
Creating a she shed with electricity opens up a world of possibilities—from a peaceful reading nook to a fully functional backyard office shed or creative outdoor art studio. But to make it truly comfortable and usable year-round, you’ll need more than just walls and a roof. Here's a step-by-step guide on how to build a she shed with electricity, insulation, and all the essentials for a cozy, powered-up retreat.
Step 1: Plan the Layout and Design
Start by envisioning how you'll use the space. Will it be a home office, an art studio, or a personal escape zone? This will help you plan where to place windows, doors, lighting fixtures, and especially the electrical outlets. Make sure your layout supports both form and function, including plenty of natural light and room for your essentials.
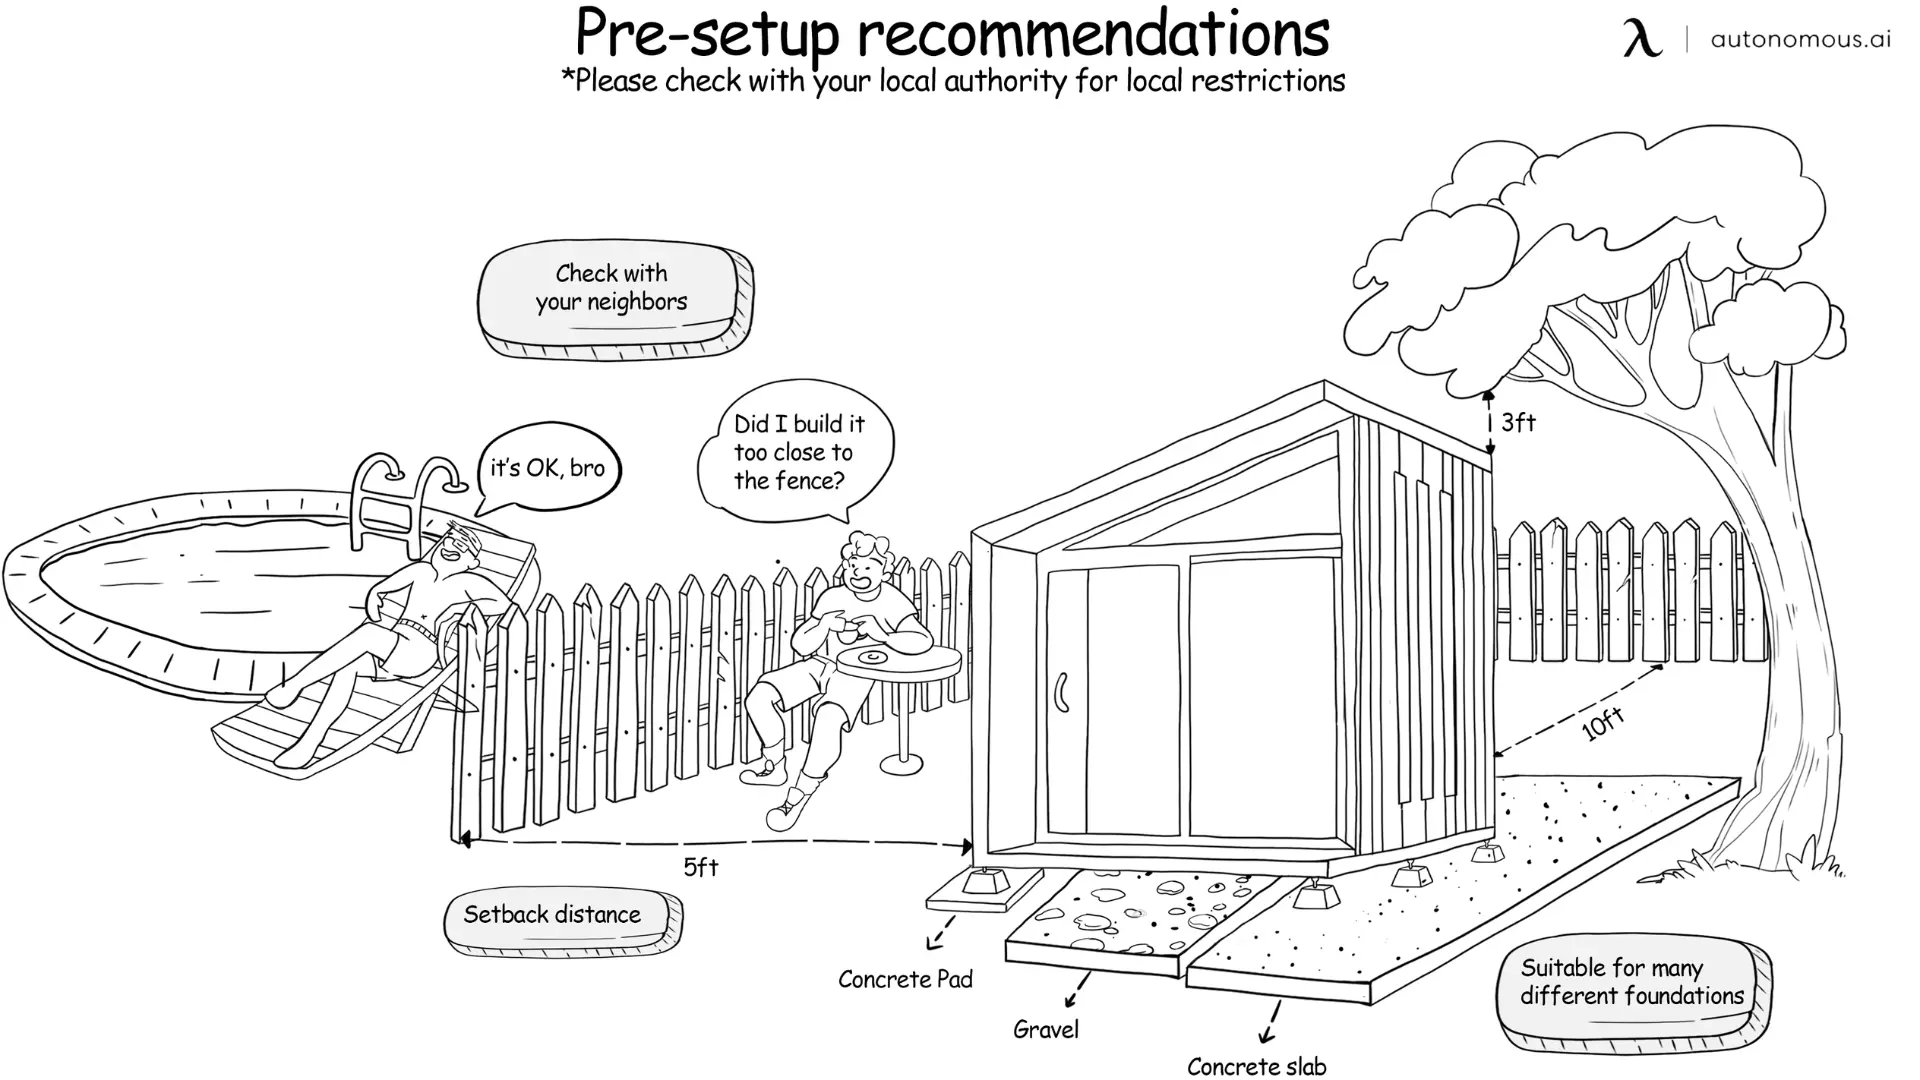
Step 2: Choose the Right Location
Pick an even, well-drained spot in your backyard. Look for a place that gets good sunlight, has pleasant views, and is easily accessible. Before you build your she shed with electricity, make sure the site complies with local building codes and zoning laws—especially if you’re planning to run power to the structure.
If you're in California, it’s important to review the 2025 ADU laws in California, which may influence what you can build and where. You’ll also want to understand the California ADU setback requirements that apply to structures placed near property lines.
Not sure where to start? This guide on ADU zoning regulations breaks down the basics. If you're unsure whether your project needs approval, read up on the permit requirements for ADUs in the U.S. or what happens if you build an ADU without a permit in California.
For larger backyard projects, you can explore building a prefab ADU in Southern California or see what’s available in North Carolina for prefab ADUs, both of which follow local zoning and permit guidelines.
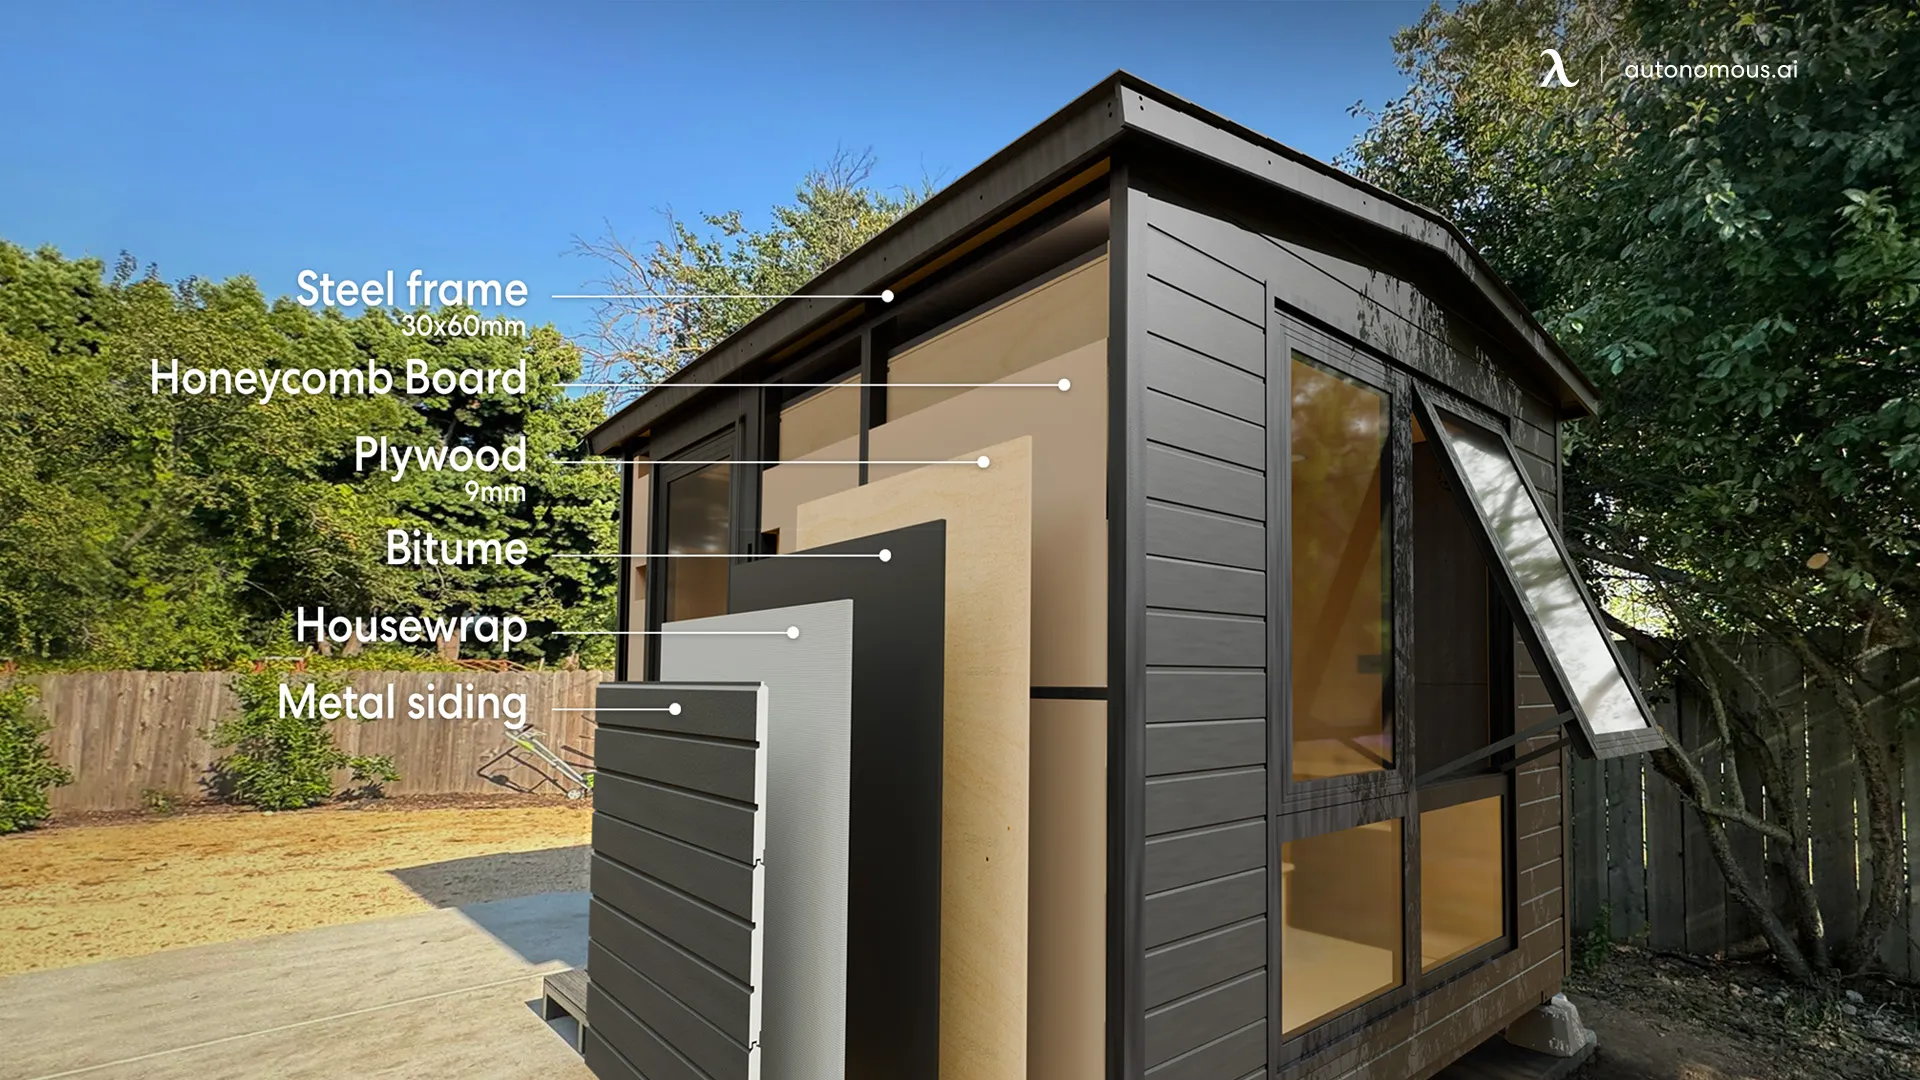
Step 3: Gather Materials and Tools
Before you build, gather all your supplies. For an insulated she shed with electricity, you'll need:
- Lumber and roofing materials
- Windows and doors
- Insulation (foam board, fiberglass, or spray foam)
- Electrical wiring, outlets, switches, and fixtures
- Weather-resistant siding and sealants
Using durable, weather-resistant materials will help your she shed last through all seasons.
Step 4: Build the Frame
Construct the shed’s frame according to your design. Use pressure-treated wood and solid anchors for durability. If framing isn’t your strong suit, consider hiring a contractor to make sure the structure is safe and up to code.
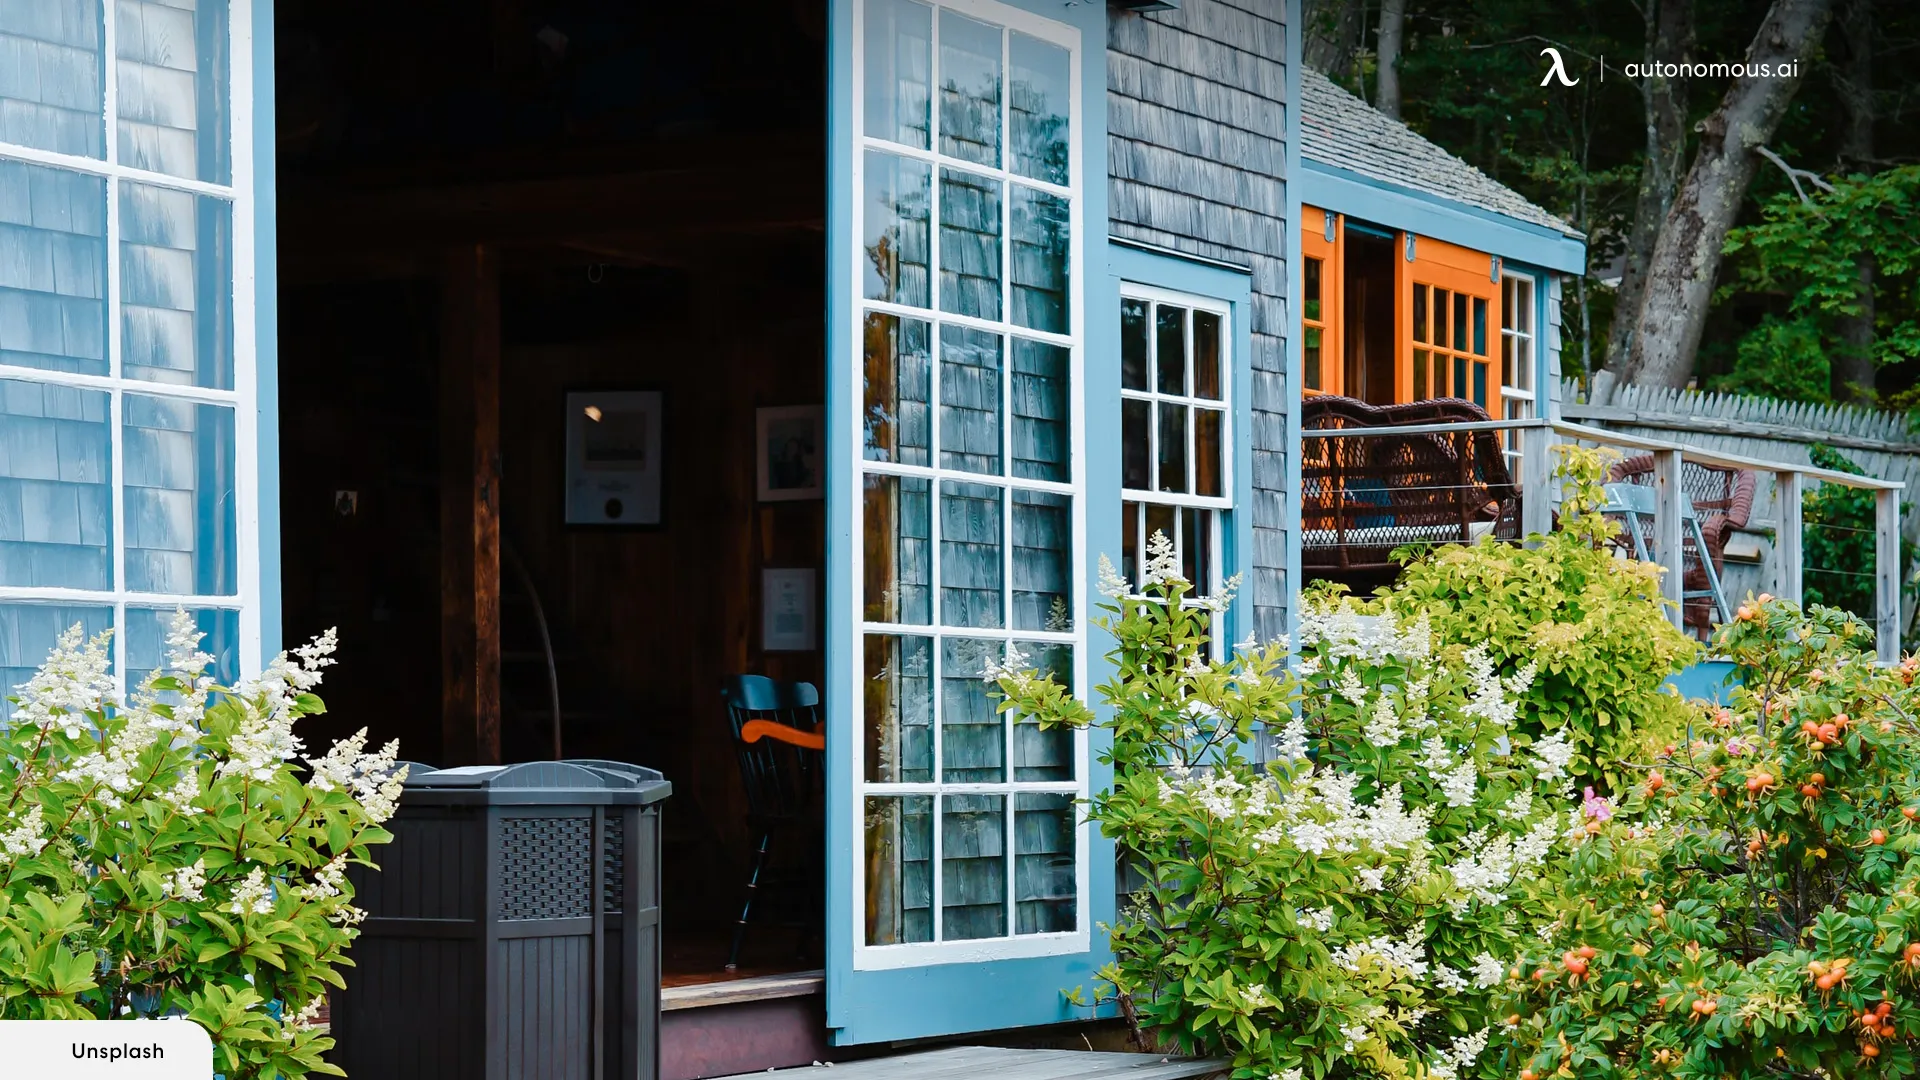
Step 5: Install Windows and Doors
Once the frame is up, cut and install windows and doors. Opt for energy-efficient windows to let in plenty of natural light while keeping the interior temperature stable. Secure them tightly to prevent drafts and moisture leaks.
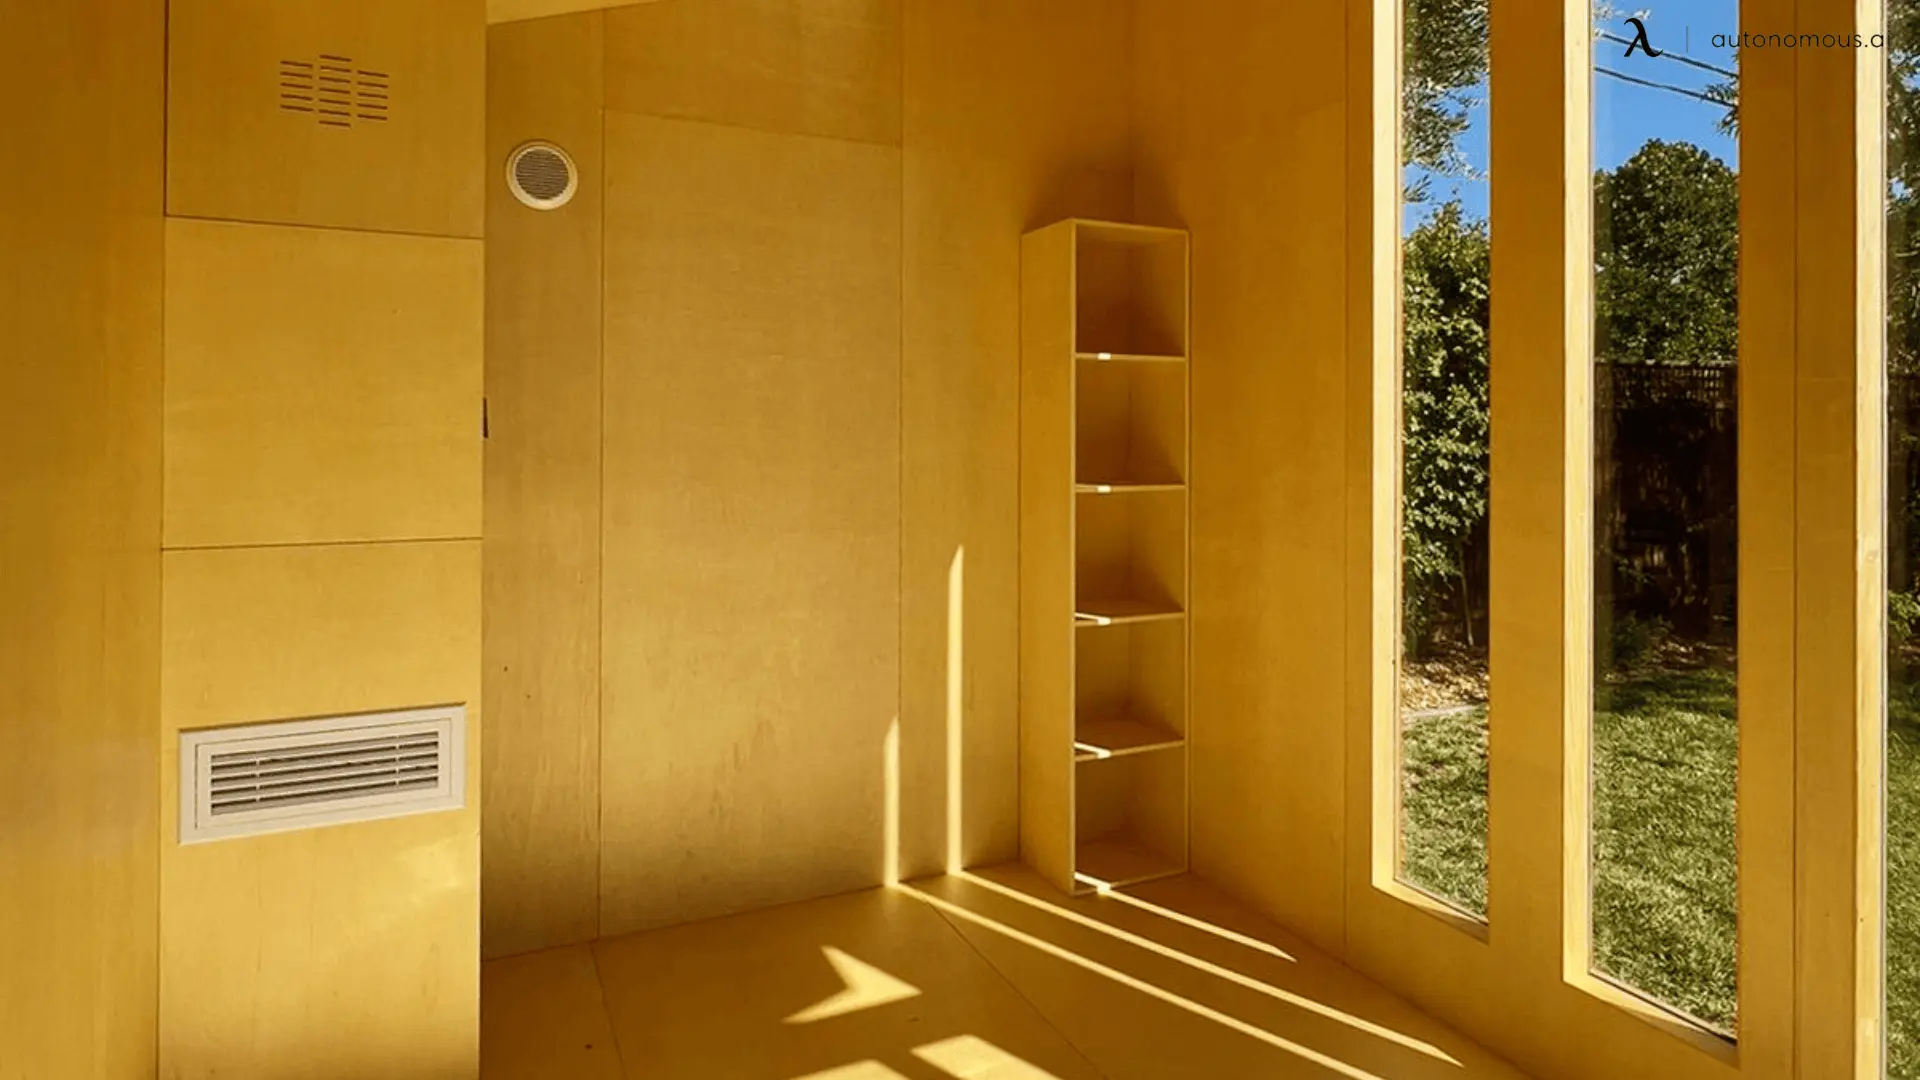
Step 6: Insulate the Interior
To create an insulated she shed with electricity, you'll need to line the walls, roof, and floor with the right type of insulation. This not only keeps the space comfortable year-round but also helps reduce energy usage—especially if you plan to heat or cool the space.
For tips on choosing materials and methods, check out our guide on how to insulate an insulated garden shed. If your she shed doubles as a workspace, you might also find inspiration in this article on designing an insulated garden office that stays cozy in any season.
Step 7: Add Electrical Wiring
Hiring a licensed electrician is essential when adding power to your shed. They’ll install the wiring safely and ensure everything meets local electrical codes. Plan ahead for outlet placement, switches, overhead lighting, and any specialized equipment you might use.
Step 8: Install Outlets and Lighting Fixtures
Once the wiring is in, install your electrical outlets and lighting. Add outlets wherever you plan to plug in lamps, chargers, or other gadgets. Choose indoor and outdoor lighting options that suit your vibe—whether it’s cozy string lights or sleek task lighting.
Step 9: Consider Solar Power (Optional)
If you're eco-conscious or want to keep your energy bills low, solar panels are a smart alternative to running power from your home. A small solar setup can easily power lights, fans, and a few devices, making it a sustainable option for your she shed with electricity.
If you’re in California, be aware of the ADU solar requirements, which may influence whether or not solar is required for your shed.
Step 10: Keep It Maintained
Check in on your shed regularly. Look for signs of wear on the electrical system, seals around windows, and any insulation damage. A little upkeep goes a long way in keeping your shed safe, cozy, and fully functional.
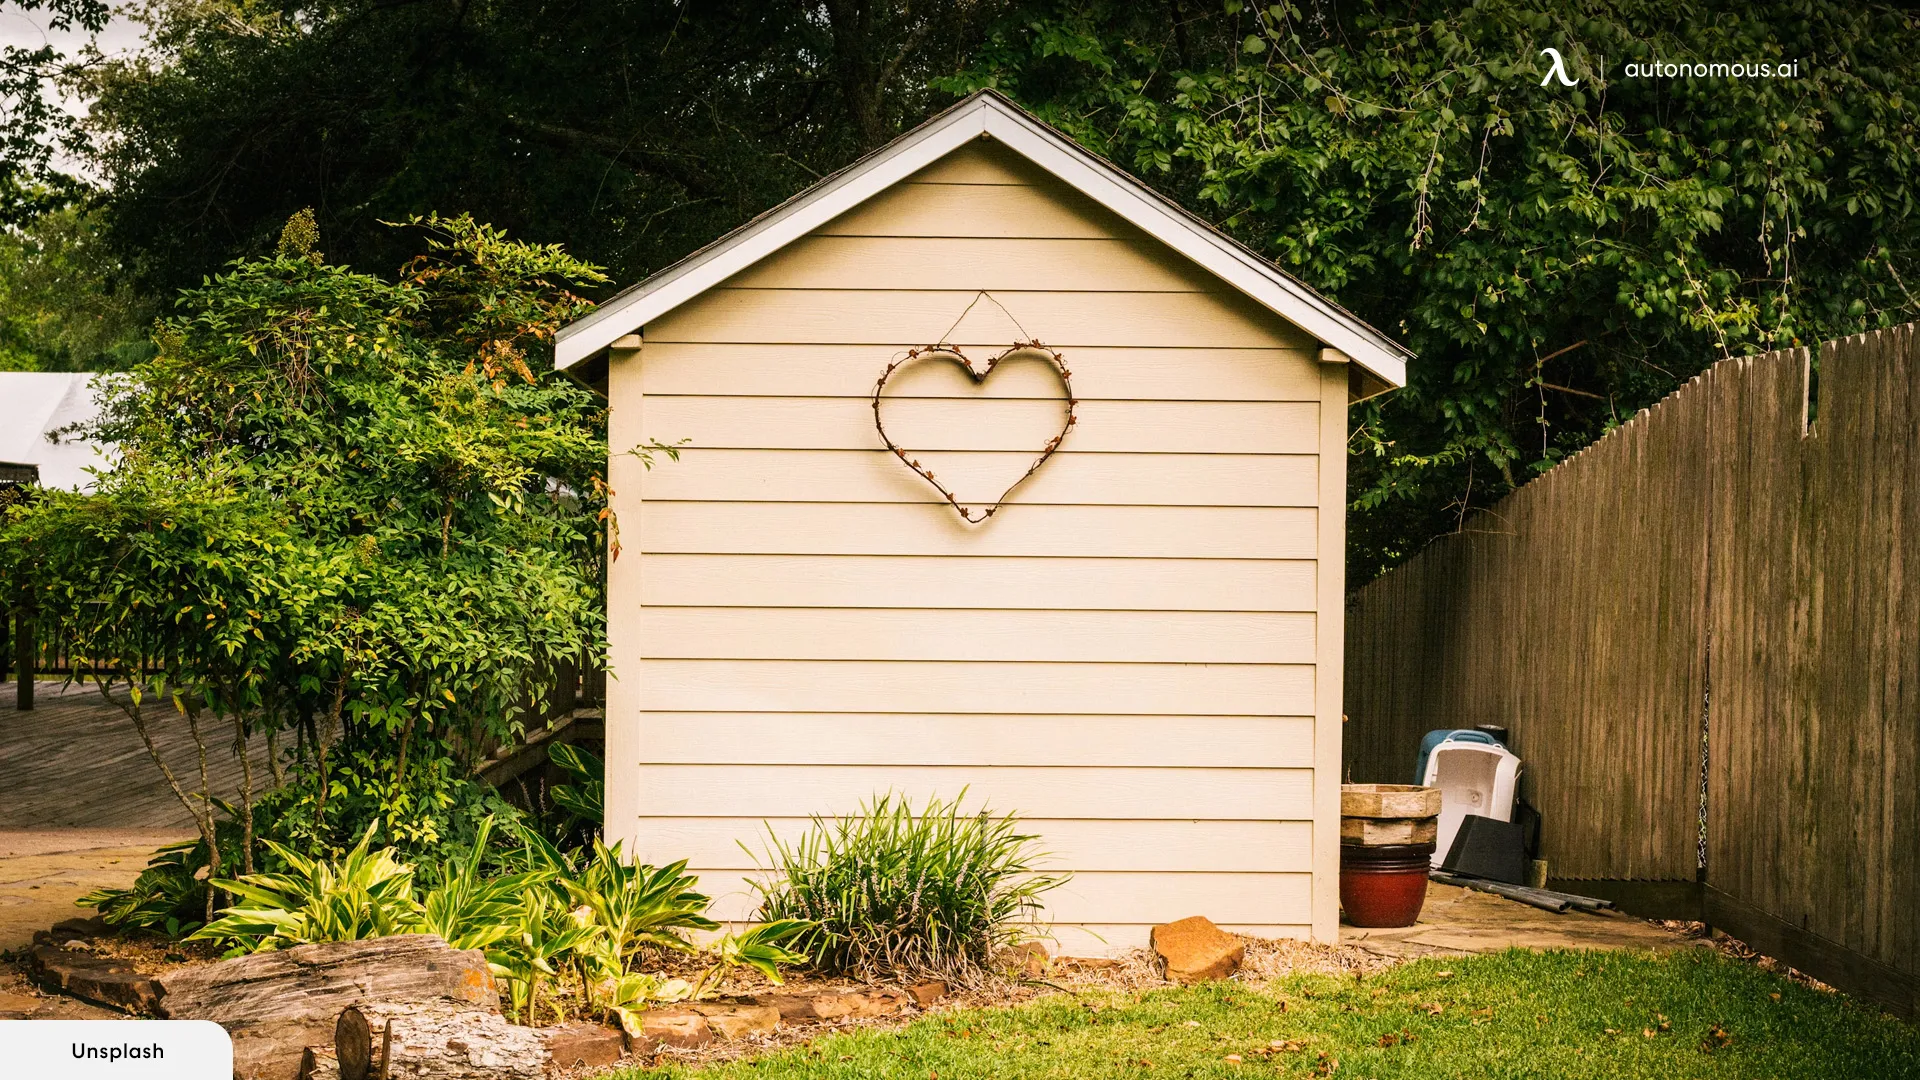
Building vs. Buying a Prefab She Shed with Electricity
So, you’re ready to create your own cozy she shed with electricity—but should you build it yourself or go for a prefab one? Here’s a simple breakdown to help you figure out what makes the most sense for your space, time, and budget.
Building It Yourself
Why it’s great:
- Totally custom: You can design it exactly how you want—layout, finishes, window placement, lighting… everything.
- Budget control: Depending on how resourceful you are (and if you already have some tools), you might save some cash doing it yourself.
- Proud moment: There's something really rewarding about stepping into a space you built with your own hands.
Things to keep in mind:
- Takes time: Between planning, sourcing materials, and actually building it, this isn’t a weekend project.
- You’ll need help: Especially for the wiring—bring in a licensed electrician to keep things safe and up to code.
- Permits matter: Yep, you’ll probably need to deal with permits and local building codes, especially if you’re running power.
Buying a Prefab She Shed
Why it’s awesome:
- Way faster: Some prefab sheds can be delivered and set up in a day or two. No months-long projects here.
- Ready for power: Many prefab models are already pre-wired or set up to add electricity easily.
- Peace of mind: Reputable prefab companies design their sheds to meet building standards, so you’re less likely to hit snags with permits or inspections.
What to watch for:
- Costs more upfront: You’re paying for the convenience, which means prefab sheds can get pricey—especially if they come insulated and powered.
- Not 100% yours: You’ll get some design options, but overall, you’re working within a preset structure.
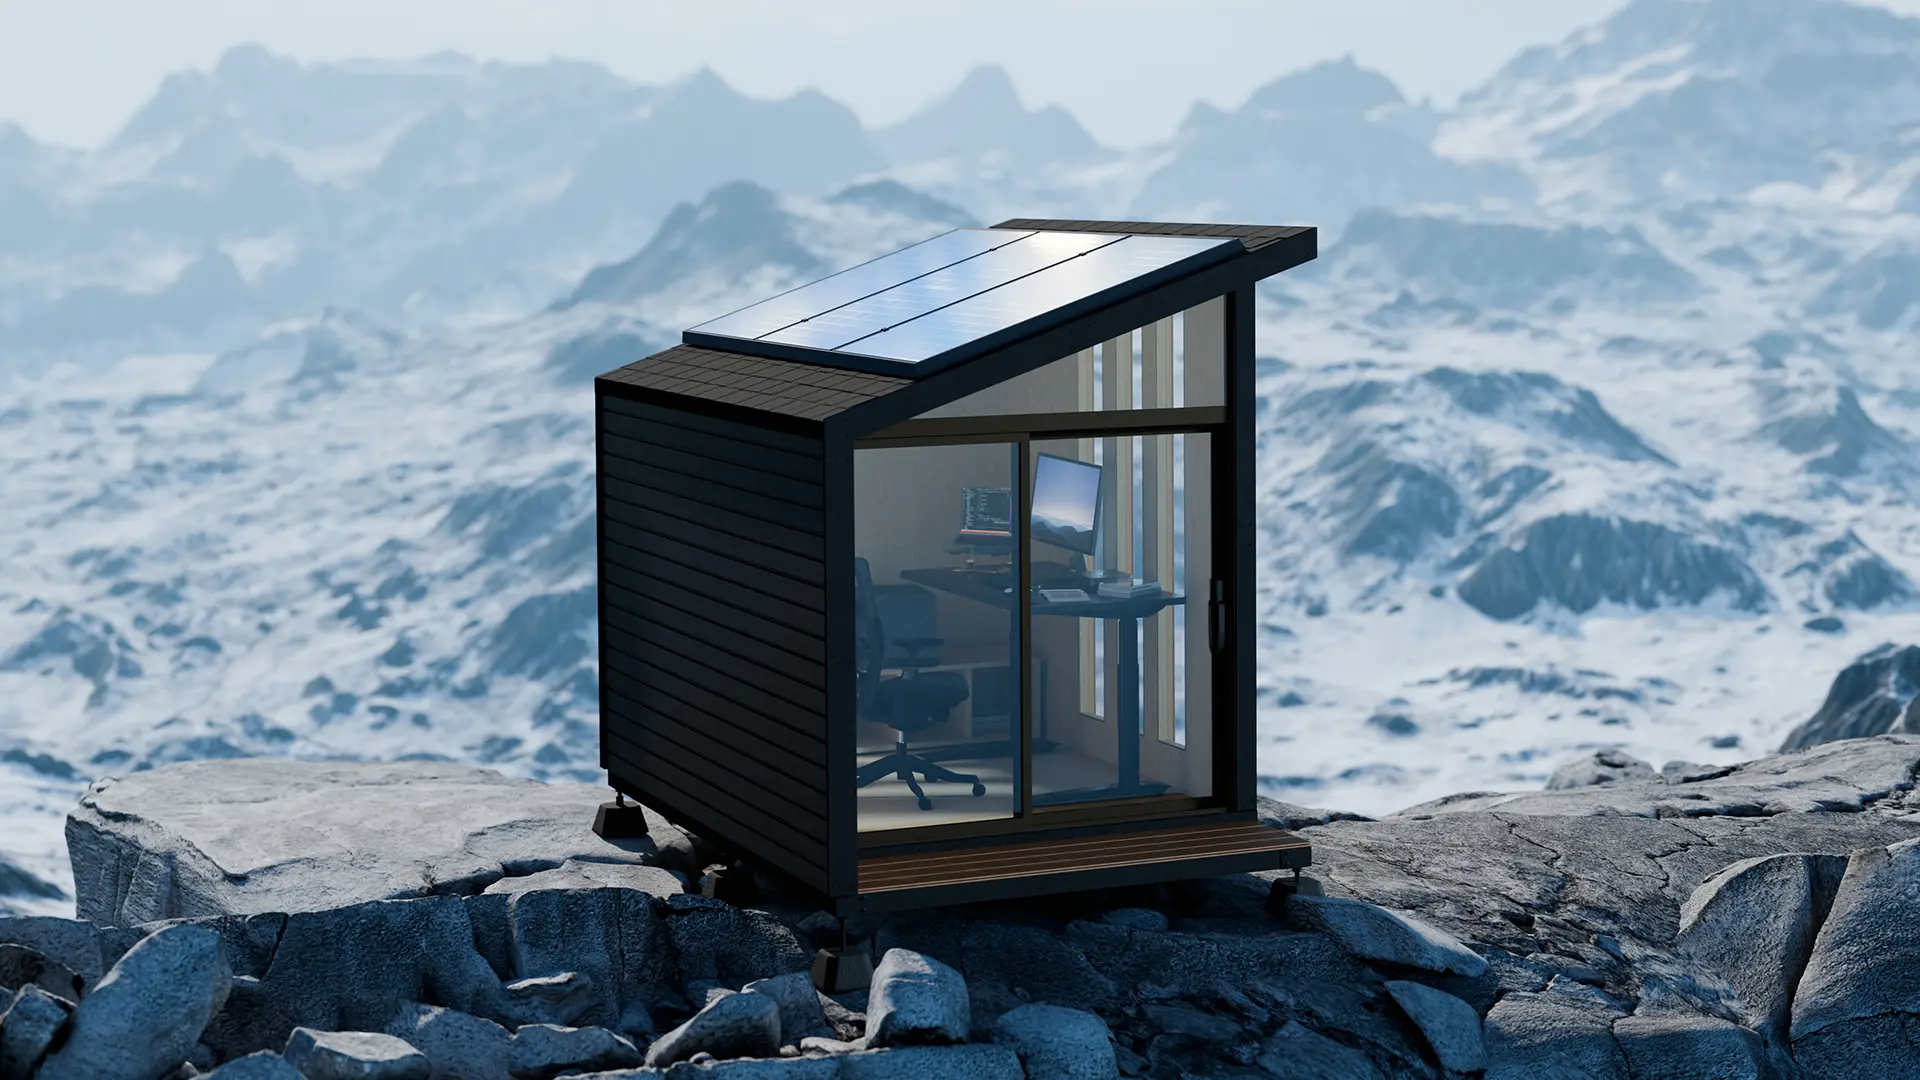
Considering WorkPod Solar for the Ultimate She Shed
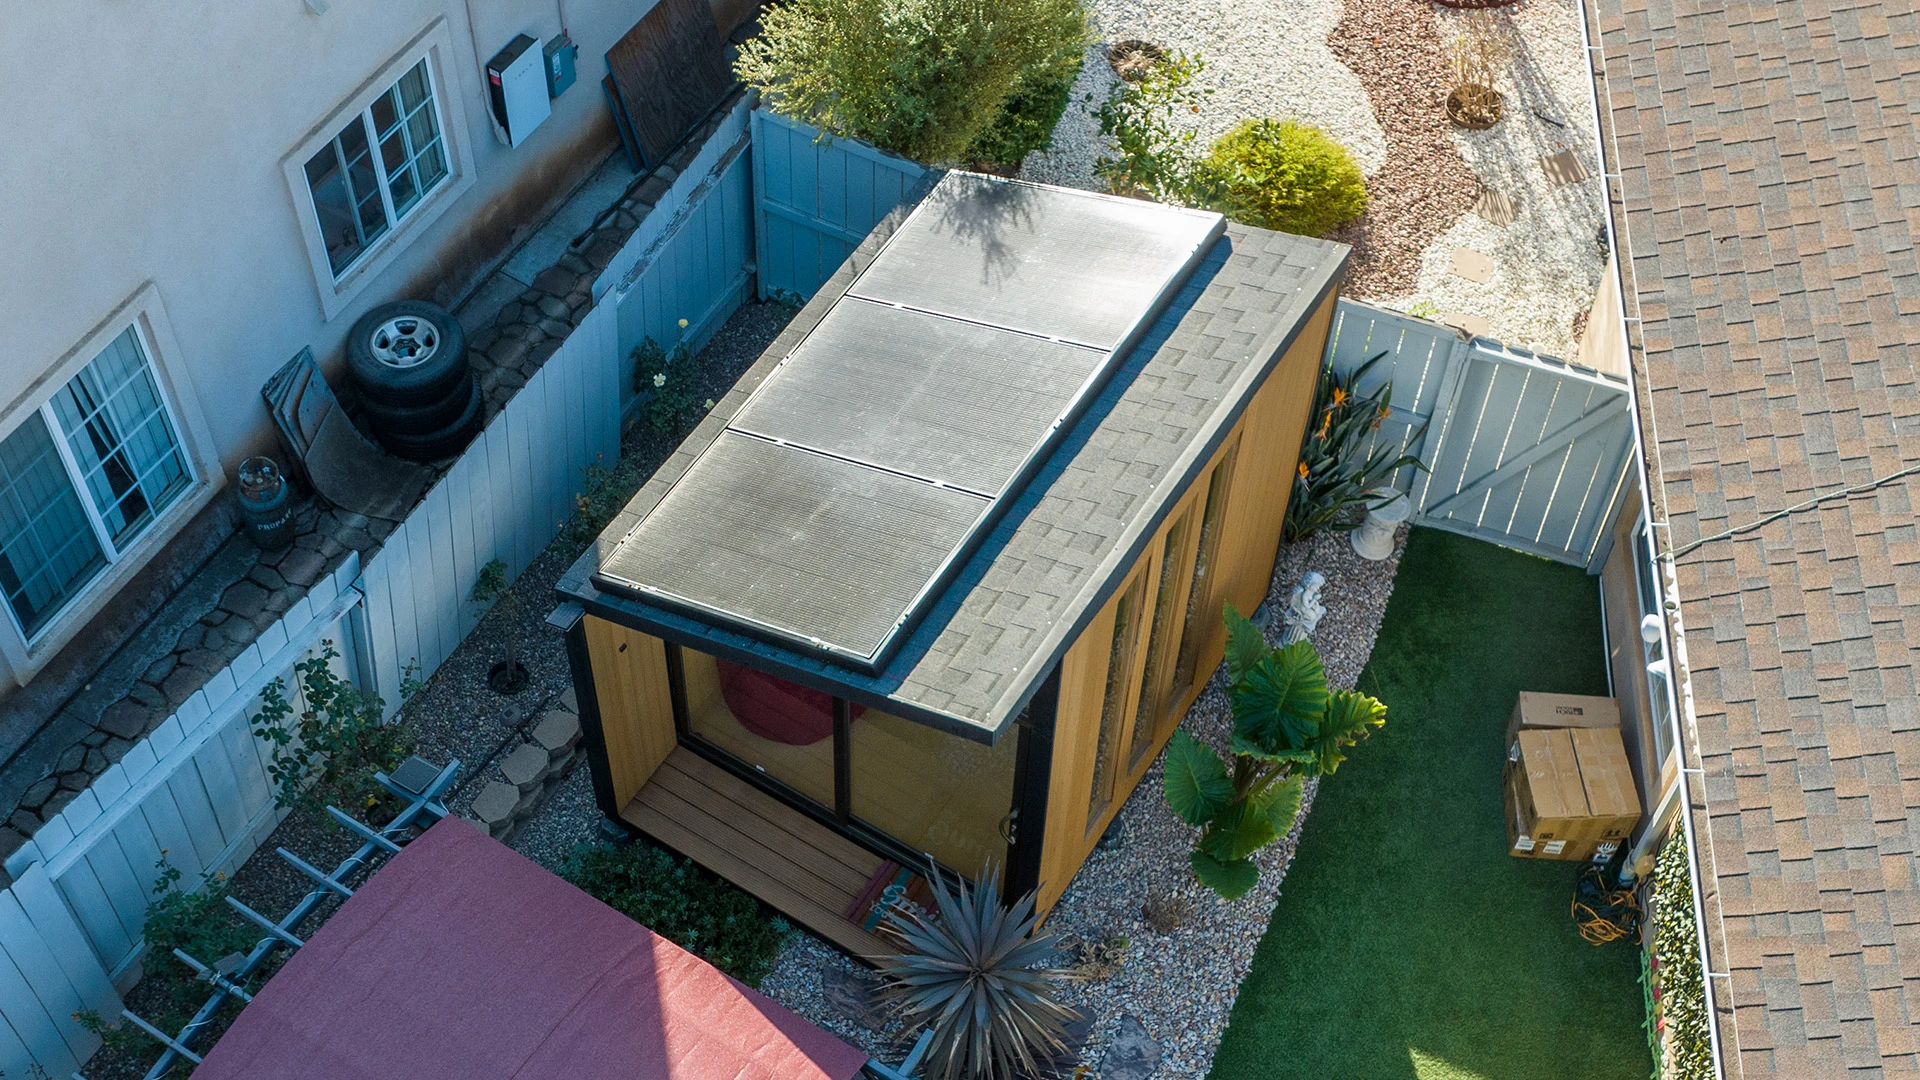
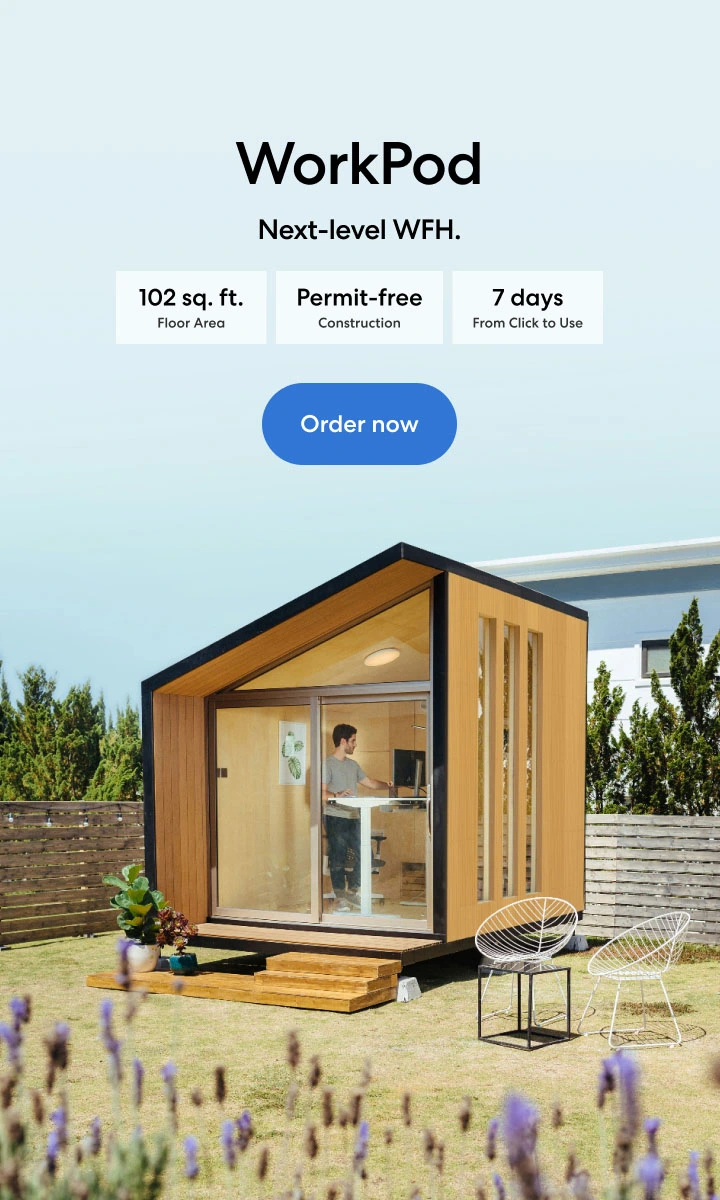
If you're dreaming of a backyard she shed but don’t want to deal with running electrical wiring, WorkPod Solar is an ideal solution. This ready-made, off-grid structure combines modern design with renewable energy, making it the perfect low-maintenance, eco-friendly option for your backyard retreat.
Why Choose WorkPod Solar for Your She Shed?
- Sustainability at Its Core: Powered entirely by solar energy, it eliminates the need for traditional wiring while reducing your carbon footprint.
- Quick and Hassle-Free Setup: With its plug-and-play solar system, you can have a fully functional She Shed in just days—no permits, no trenching, no problem!
- Comfort All Year Round: Thermal insulation and soundproof walls ensure a cozy, distraction-free space, perfect for relaxing, crafting, or working.
- Adaptable to Any Space: The compact yet spacious design (102 sq. ft.) fits beautifully into most backyard layouts.
What’s Included?
WorkPod Solar comes equipped with solar panels, a high-capacity battery, an inverter, and even optional ergonomic furniture for a complete She Shed experience.
If traditional electricity feels like a daunting project, WorkPod Solar offers an innovative and sustainable way to bring your dream She Shed to life.

 Optimize every square foot of your 102 sq. ft. WorkPod Solar for maximum productivity and comfort.
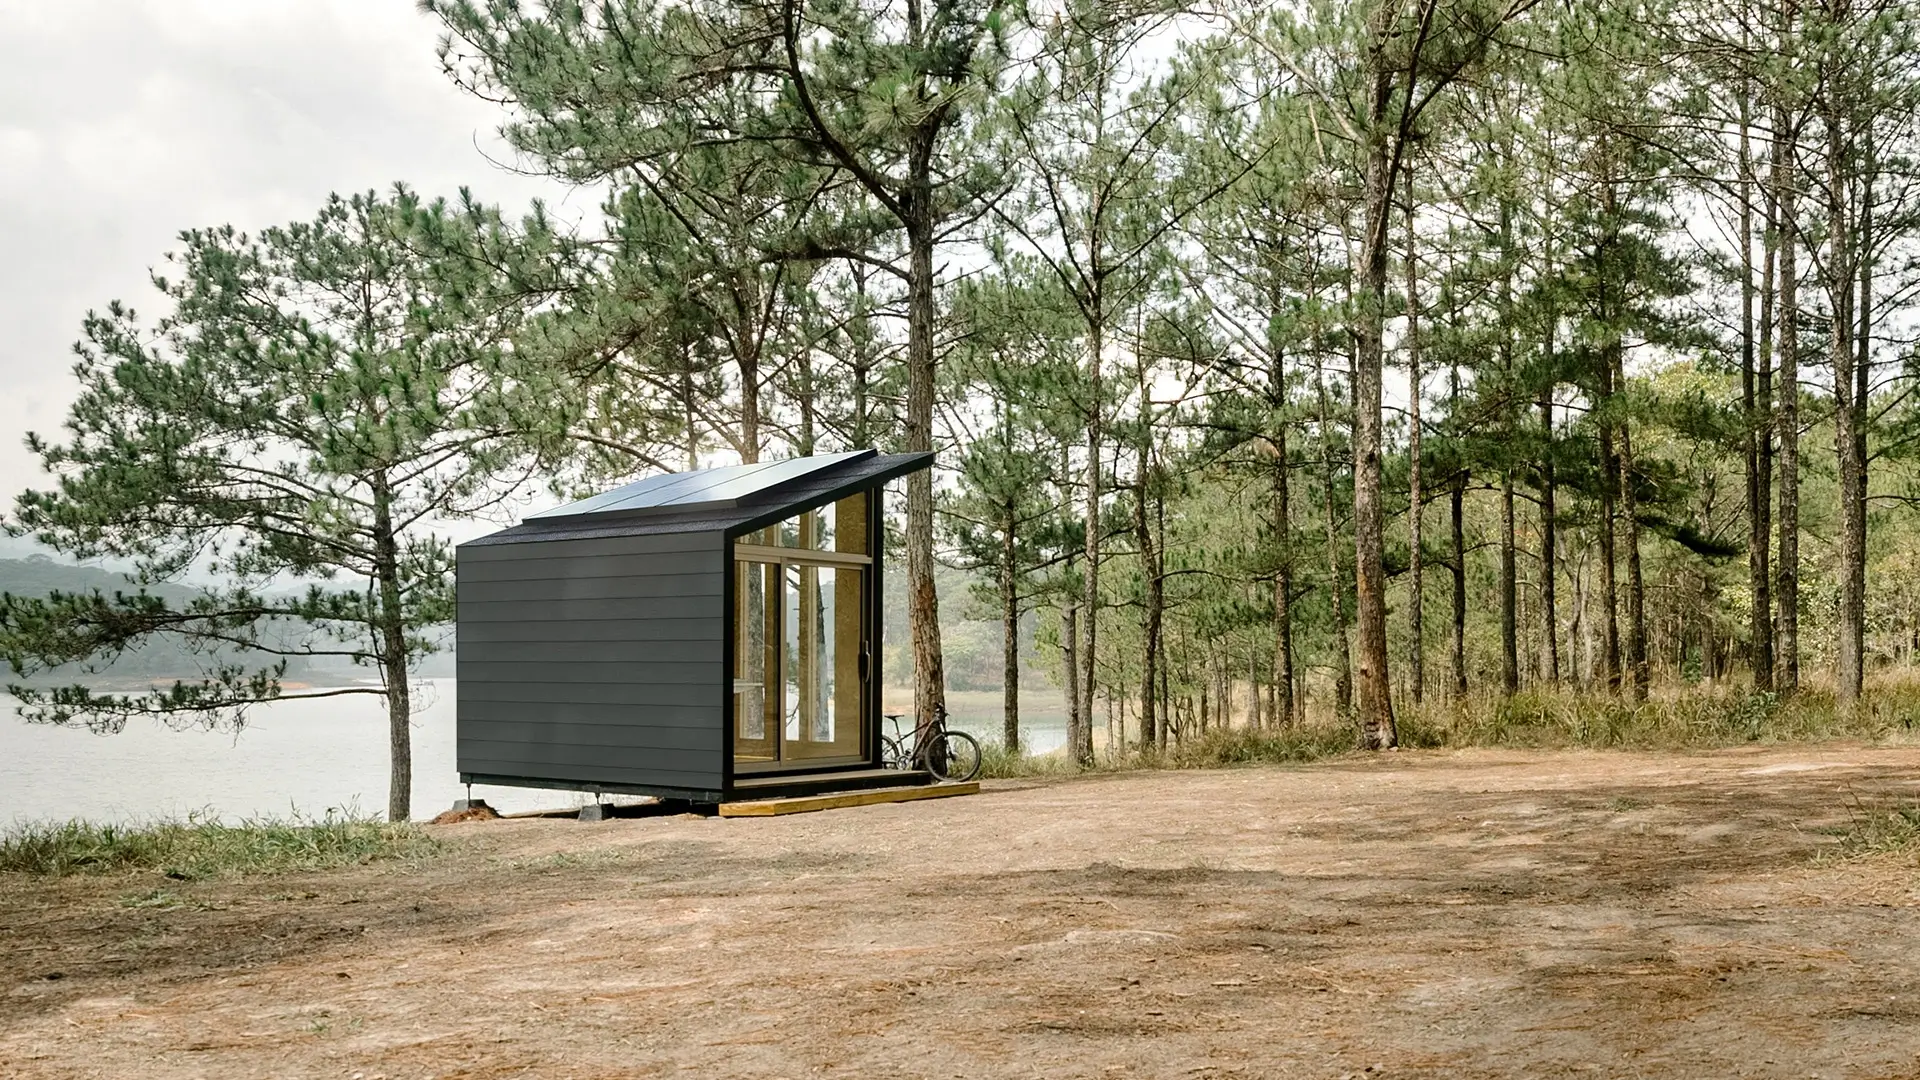 Go green and achieve more with a workspace that works as hard as you do—all powered by the sun.
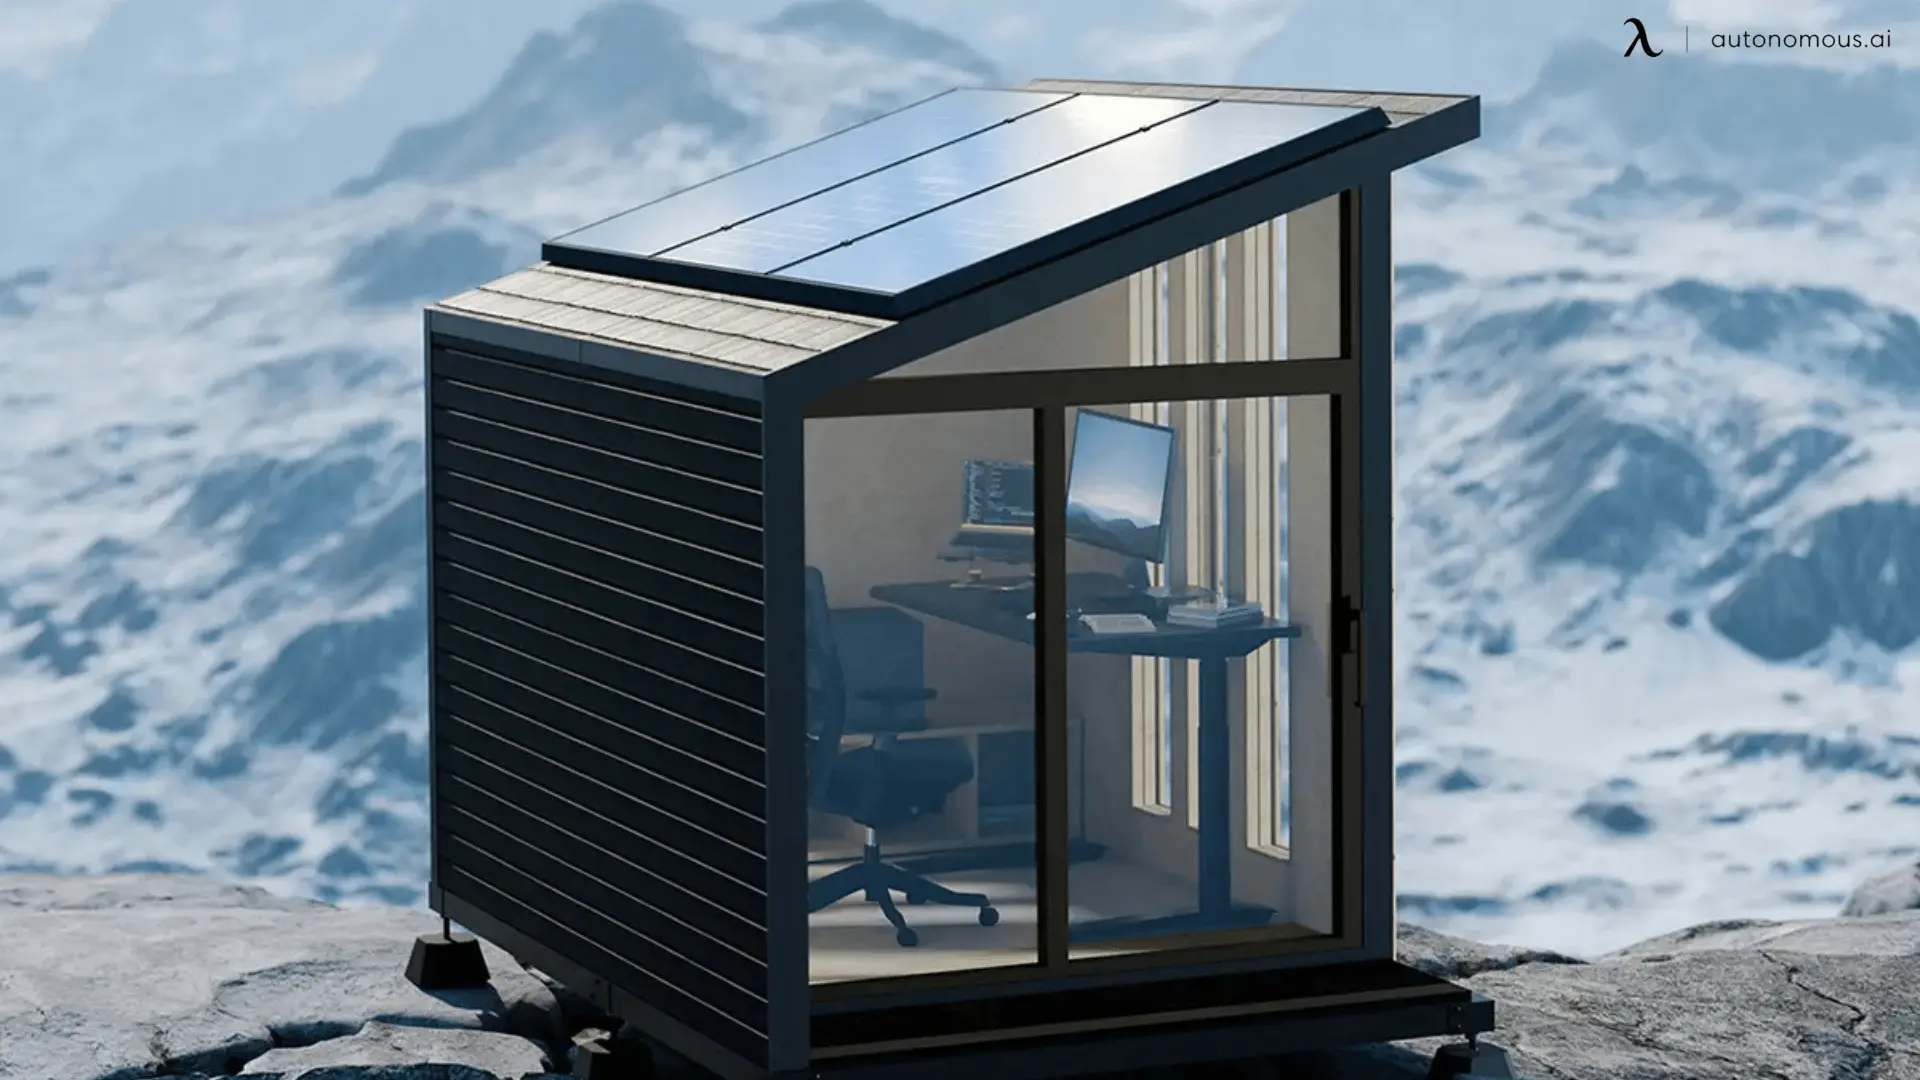 Ergonomic design meets functional innovation. Feel at ease and focused in your personal office.
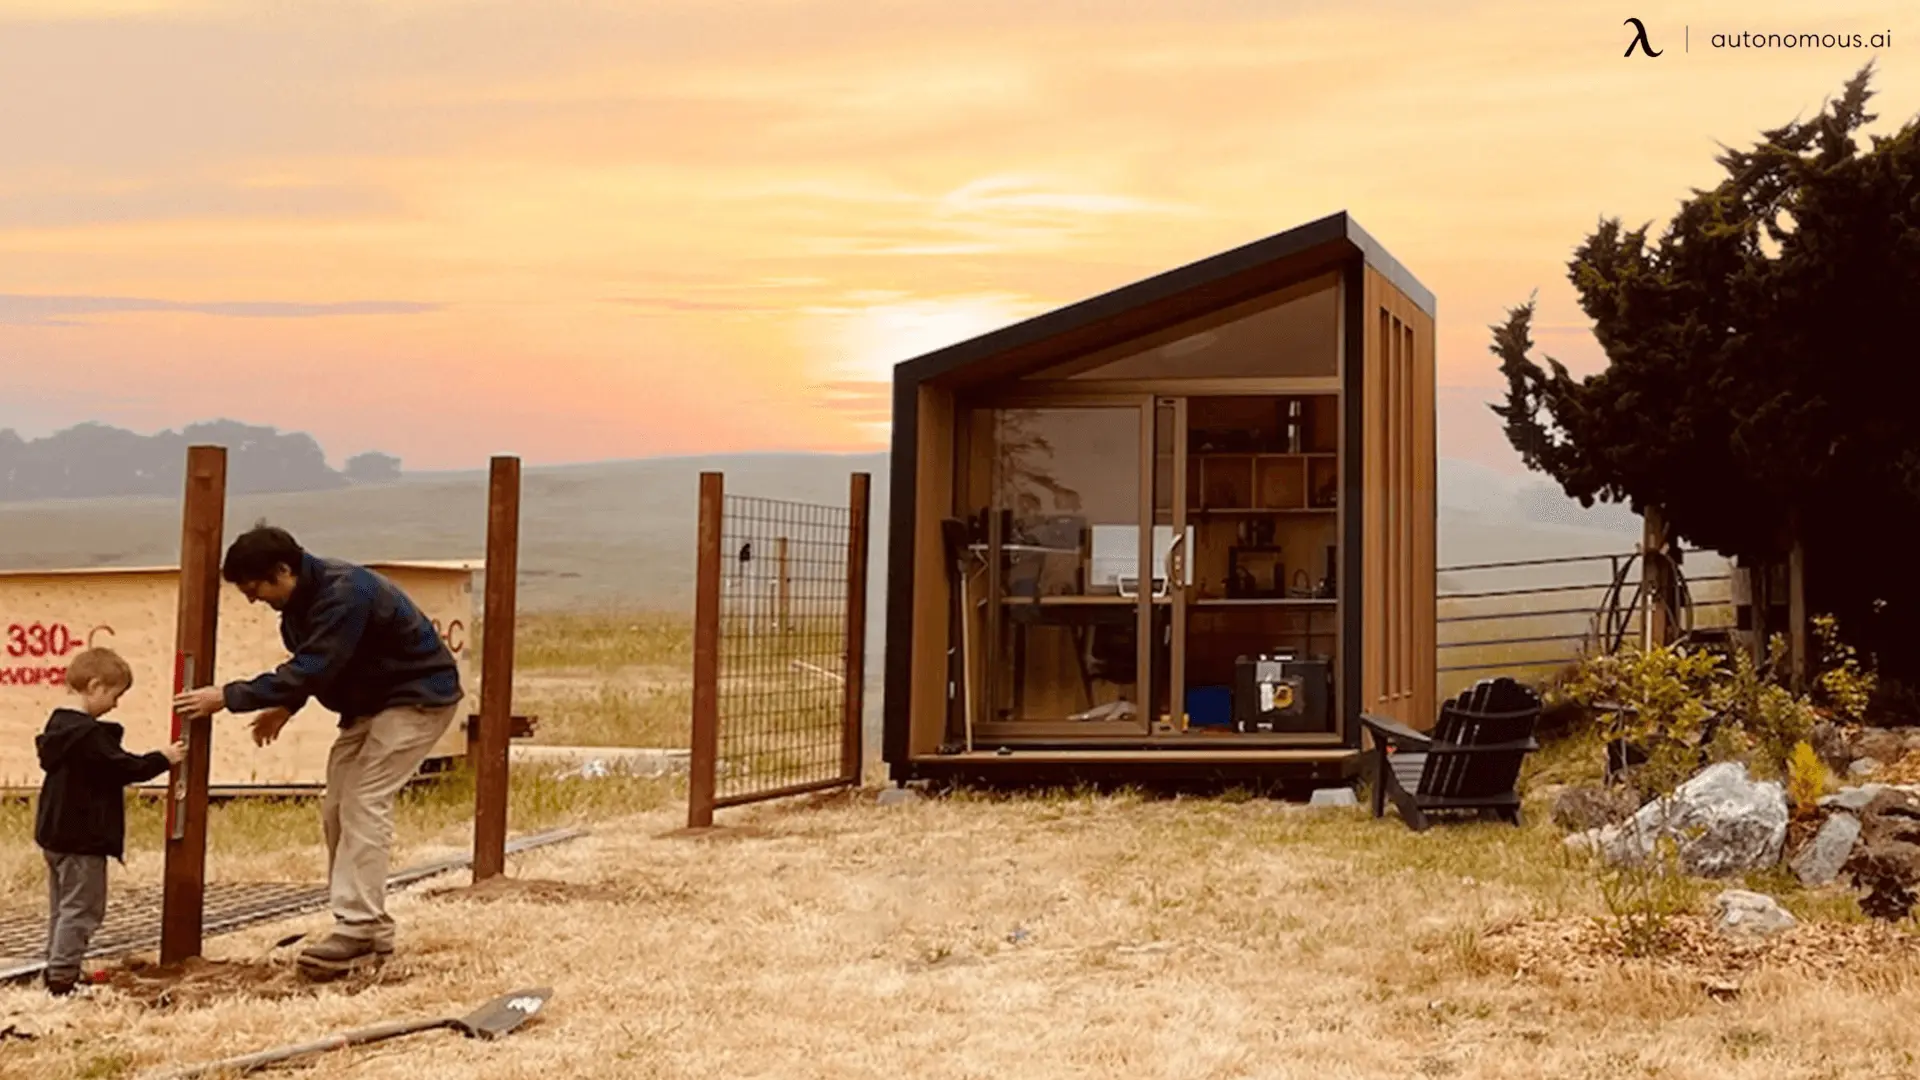 From energy systems to installation, WorkPod Solar is designed to let you focus on what you do best.
FAQs
1. Can I build a she shed with both electricity and plumbing?
Yes, it is possible to build she sheds with electricity and plumbing. However, this will require careful planning and likely the assistance of professionals to ensure proper installation and safety.
2. How much does it cost to build a she shed with electricity?
The she shed cost with electricity can vary depending on factors such as size, materials, and labor costs. On average, you can expect to pay anywhere from $3,000 to $10,000 or more.
3. Can I power my she shed with solar power?
Yes, you can power your she shed with solar power. Installing solar panels can be a sustainable and cost-effective way to power your she shed with solar power, especially if you live in an area with plenty of sunlight.
4. How do I run electricity to my she shed?
Running electricity to your she shed involves installing underground electrical wiring from your main power source to your shed. It's important to hire a licensed electrician to ensure the wiring is installed correctly and meets safety standards. Read how to run electricity to a shed for further information.
5. Are there prefab options for office sheds and ADUs with electricity?
Yes, there are prefab ADUs available like prefab office sheds and simple ADUs (Accessory Dwelling Units) that come equipped with electricity. These prefabricated structures can be a convenient and cost-effective solution for adding extra space to your property.
6. What are the benefits of adding electricity to a she shed?
Adding electricity to a she shed allows you to use it for a variety of purposes, such as a home office, art studio, or entertainment space. It also provides the convenience of powering lights, appliances, and electronic devices.
7. Can I add electricity to an existing she shed?
Yes, it is possible to add electricity to an existing she shed. However, this will require running electrical wiring from your main power source to the shed, which may involve digging trenches or using conduit to protect the wiring.
8. How long does it take to run electricity to a she shed?
The time it takes to run electricity to a she shed can vary depending on factors such as the distance from your main power source, the complexity of the wiring, and the weather conditions. In general, it can take anywhere from a few days to a week or more.
Conclusion
Crafting a she shed with electricity is a rewarding project that brings both comfort and function to your backyard. With thoughtful planning and attention to detail, you can build a space that fits your lifestyle—whether it’s a quiet spot to relax, a fully functional office, or a creative escape.
Looking to elevate your setup even more? If you want year-round comfort, explore how to build a she shed with AC. For creative inspiration, check out these she shed craft room ideas or browse through she shed office ideas inside to help design your perfect interior.
Your electric shed can be more than just a building—it can be your personal sanctuary.
/https://storage.googleapis.com/s3-autonomous-upgrade-3/production/ecm/230914/bulk-order-sep-2023-720x1200-CTA-min.jpg)
Stay connected with us!
Subscribe to our weekly updates to stay in the loop about our latest innovations and community news!
Interested in a Link Placement?
Spread the word
/https://storage.googleapis.com/s3-autonomous-upgrade-3/production/ecm/230824/image_78sctd8d_1692158325567_raw-80639991-bedf-4e11-a77c-1c8e0a351b40.jpg)