Table of Contents
Building a PC for video editing requires a careful selection of high-performance components to handle demanding tasks like rendering, color grading, and 4K or 8K editing. Whether you're a beginner or a professional content creator, having a well-optimized system can significantly improve workflow efficiency. This guide walks you through how to build a PC for video editing, covering the best hardware choices, software compatibility, and common questions.
Choosing PC Hardware for Video Editing
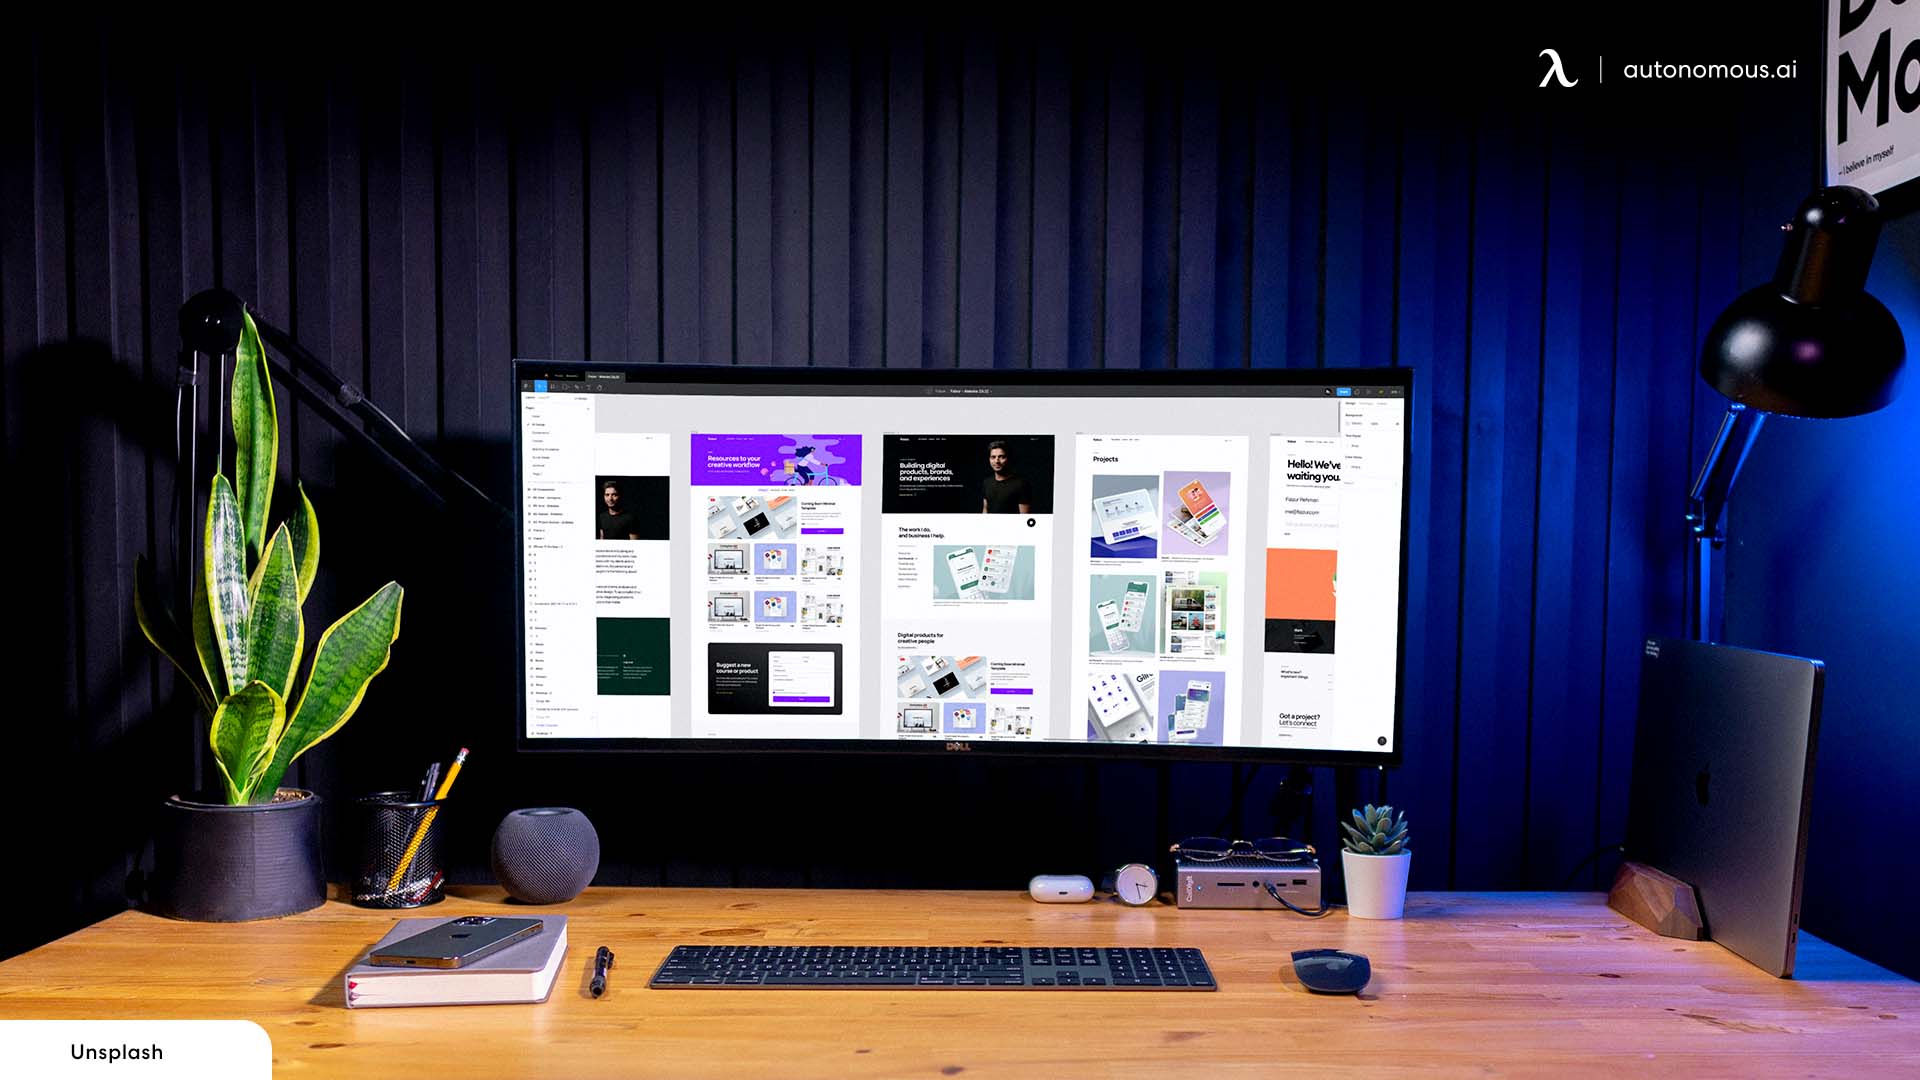
The right hardware is essential for smooth video editing performance. Unlike gaming PCs, which prioritize frame rates, a PC build for graphic design and video editing needs a balance of CPU power, GPU acceleration, RAM, and storage speed. Here’s what to focus on:
Processor (CPU) – The Foundation of Your Build
The processor is the most important component in a video editing workstation. Since video editing software relies heavily on multi-core performance, choosing a CPU with a high core count and fast clock speeds will significantly improve rendering and playback performance.
What to Look for in a CPU for Video Editing:
- Multi-Core Performance: More cores and threads allow for faster rendering and multitasking.
- Clock Speed: A higher clock speed enhances responsiveness when working with large files and effects.
- Software Optimization: Ensure the processor is compatible with the video editing software you plan to use.
For best results, aim for a processor that balances core count and speed while remaining within your budget.
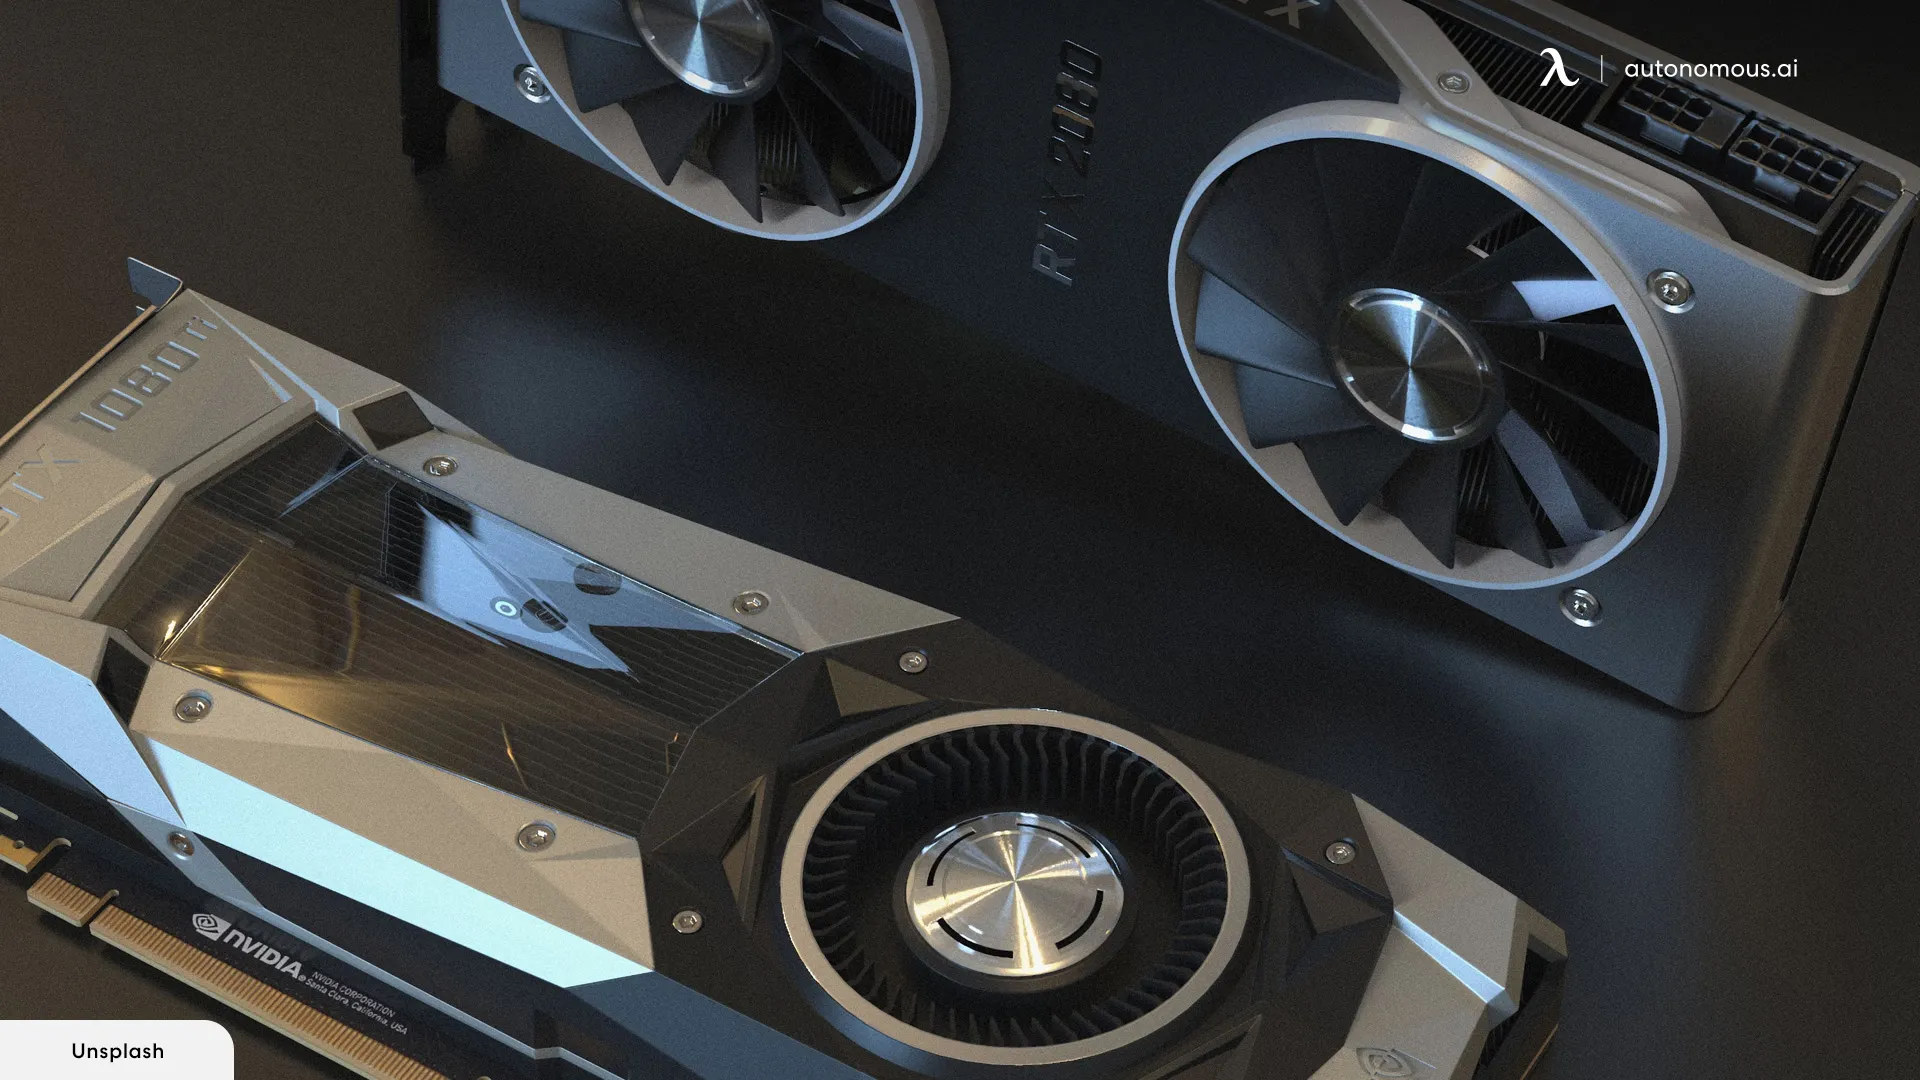
Graphics Card (GPU) – Enhancing Performance
While video editing primarily relies on the CPU, modern software takes advantage of GPU acceleration for rendering, color grading, and effects processing. A dedicated graphics card speeds up playback and reduces export times, especially for high-resolution projects.
Key Considerations for Choosing a GPU:
- VRAM Capacity: Higher VRAM helps with handling complex timelines and multiple video layers.
- CUDA or OpenCL Support: Some software benefits from GPU acceleration, so check for compatibility.
- Cooling and Power Requirements: Ensure the GPU fits within the case and is supported by the power supply.
For those working with 4K or higher resolutions, a well-optimized graphics card will significantly enhance performance.
For more insights:
Memory (RAM) – Ensuring Smooth Editing
Editing large video files requires substantial memory to handle multiple tracks, effects, and background processes. Insufficient RAM can lead to slow performance, lagging playback, and frequent crashes.
How Much RAM Do You Need?
- 16GB: Suitable for basic 1080p video editing.
- 32GB: Ideal for smooth 4K editing with multiple layers.
- 64GB or more: Recommended for professional editing, 8K workflows, and complex projects.
If you often work on large projects or multitask with other applications, opting for more RAM will help maintain system responsiveness.
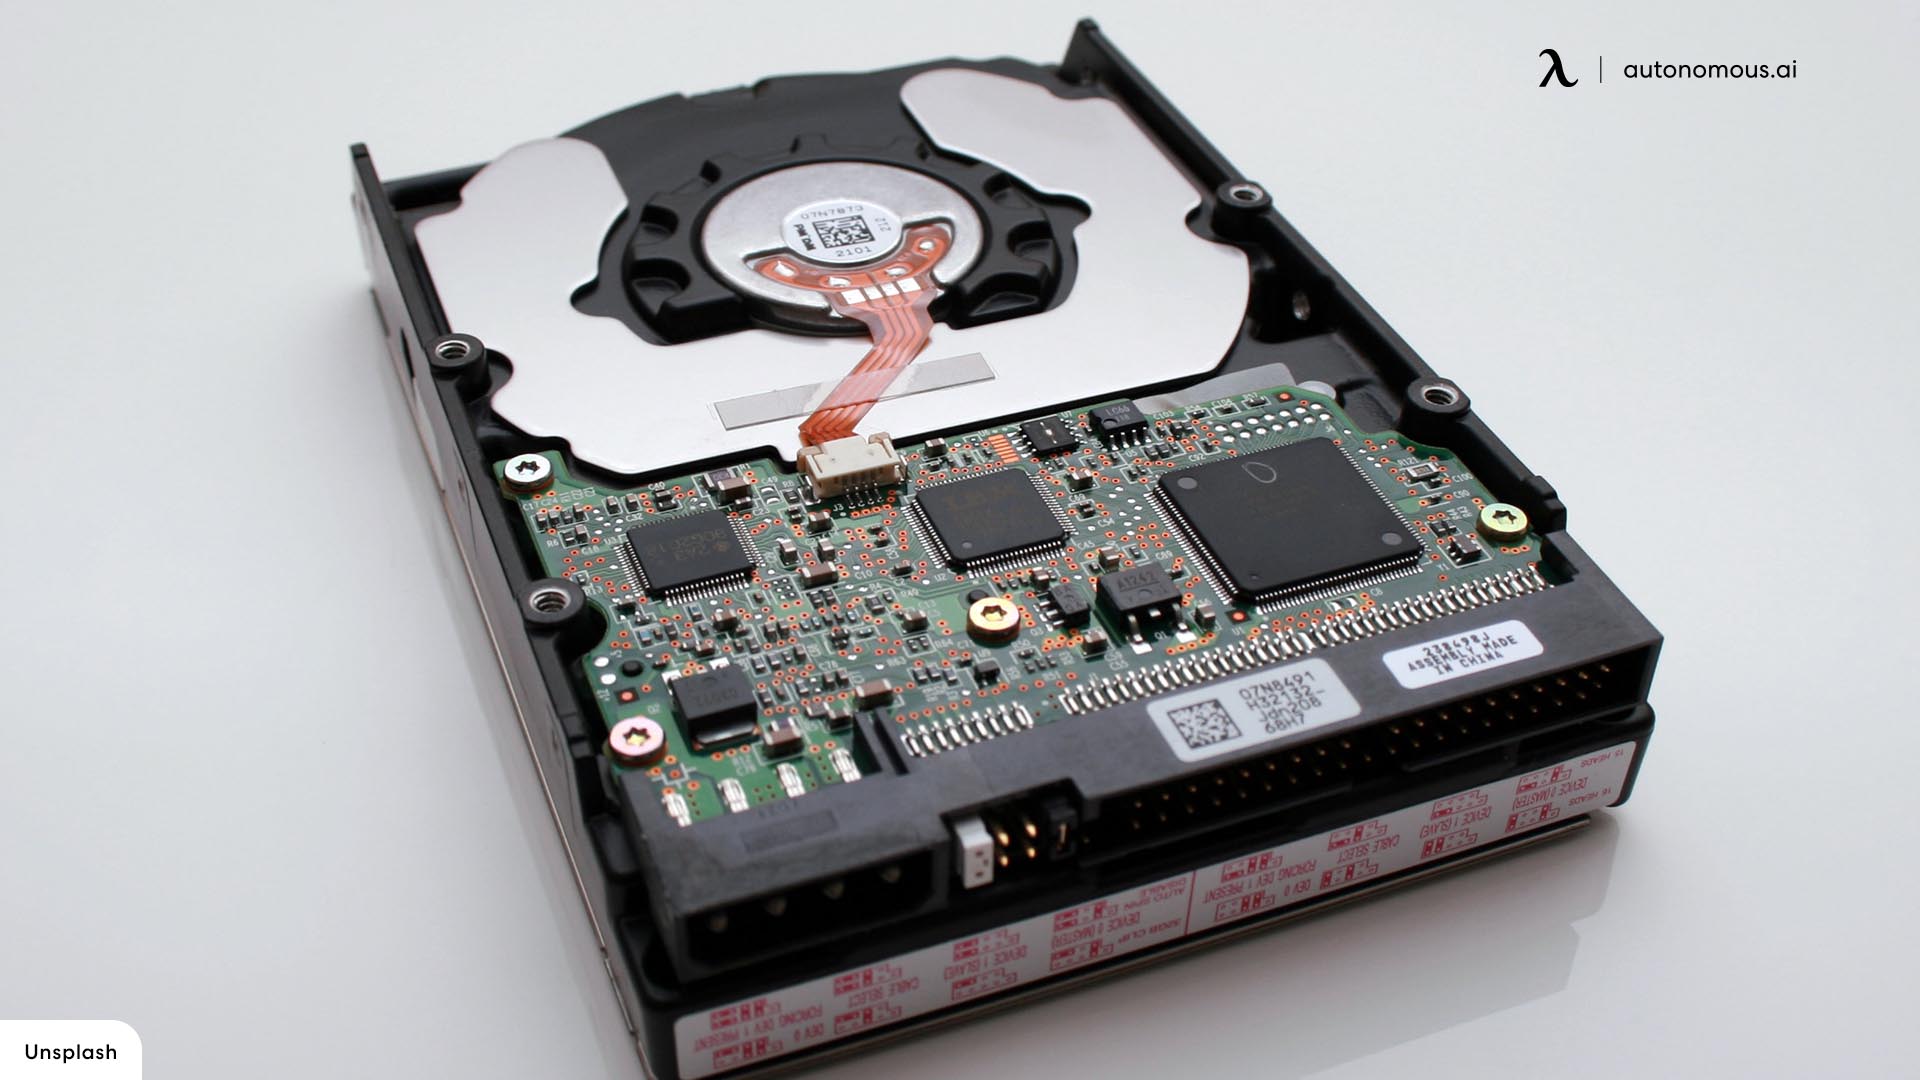
Storage – Speed Matters
Video files take up significant storage space, and choosing the right storage solution can greatly impact workflow efficiency. A combination of different storage types is recommended for optimal performance.
Types of Storage for Video Editing:
- Solid-State Drives (SSD): Faster boot times and quicker file access. Ideal for operating systems and active projects.
- NVMe SSDs: Provide even faster read/write speeds for seamless editing. Best used for scratch disks and editing large files.
- Hard Disk Drives (HDD): Cost-effective storage for archiving completed projects.
Using multiple drives—one for the OS, one for active projects, and one for storage—ensures efficient data management and minimizes system slowdowns.
Motherboard – The System’s Backbone
The motherboard determines how all components interact, so choosing one with adequate expansion slots, fast connectivity, and power delivery is essential.
Features to Look for in a Motherboard:
- Support for High-Speed RAM: Ensures stable performance when working with large files.
- Multiple PCIe Slots: Allows for future upgrades, such as additional storage or capture cards.
- USB and Thunderbolt Ports: Faster file transfers for external drives and cameras.
Choosing a motherboard with future-proof features will make upgrading easier as editing demands grow.
Power Supply (PSU) – Keeping Your System Stable
A reliable power supply ensures all components receive adequate and stable power. Selecting a unit with enough wattage and efficiency rating is essential for system longevity.
Power Supply Considerations:
- Sufficient Wattage: Account for all components, including potential upgrades.
- Efficiency Rating: Look for a PSU with an 80+ certification for better power management.
- Modular Cables: Help with cable management and airflow within the case.
A well-chosen power supply prevents unexpected shutdowns and hardware damage.
Cooling System – Maintaining Performance
Efficient cooling is necessary to prevent overheating and performance throttling, especially during rendering and exporting.
Cooling Options for Video Editing PCs:
- Air Cooling: Works well for moderate workloads and budget-friendly setups.
- Liquid Cooling: Provides better heat dissipation for high-performance systems.
- Case Ventilation: A case with good airflow prevents excessive heat buildup.
Ensuring proper cooling will keep your PC running efficiently under heavy workloads.

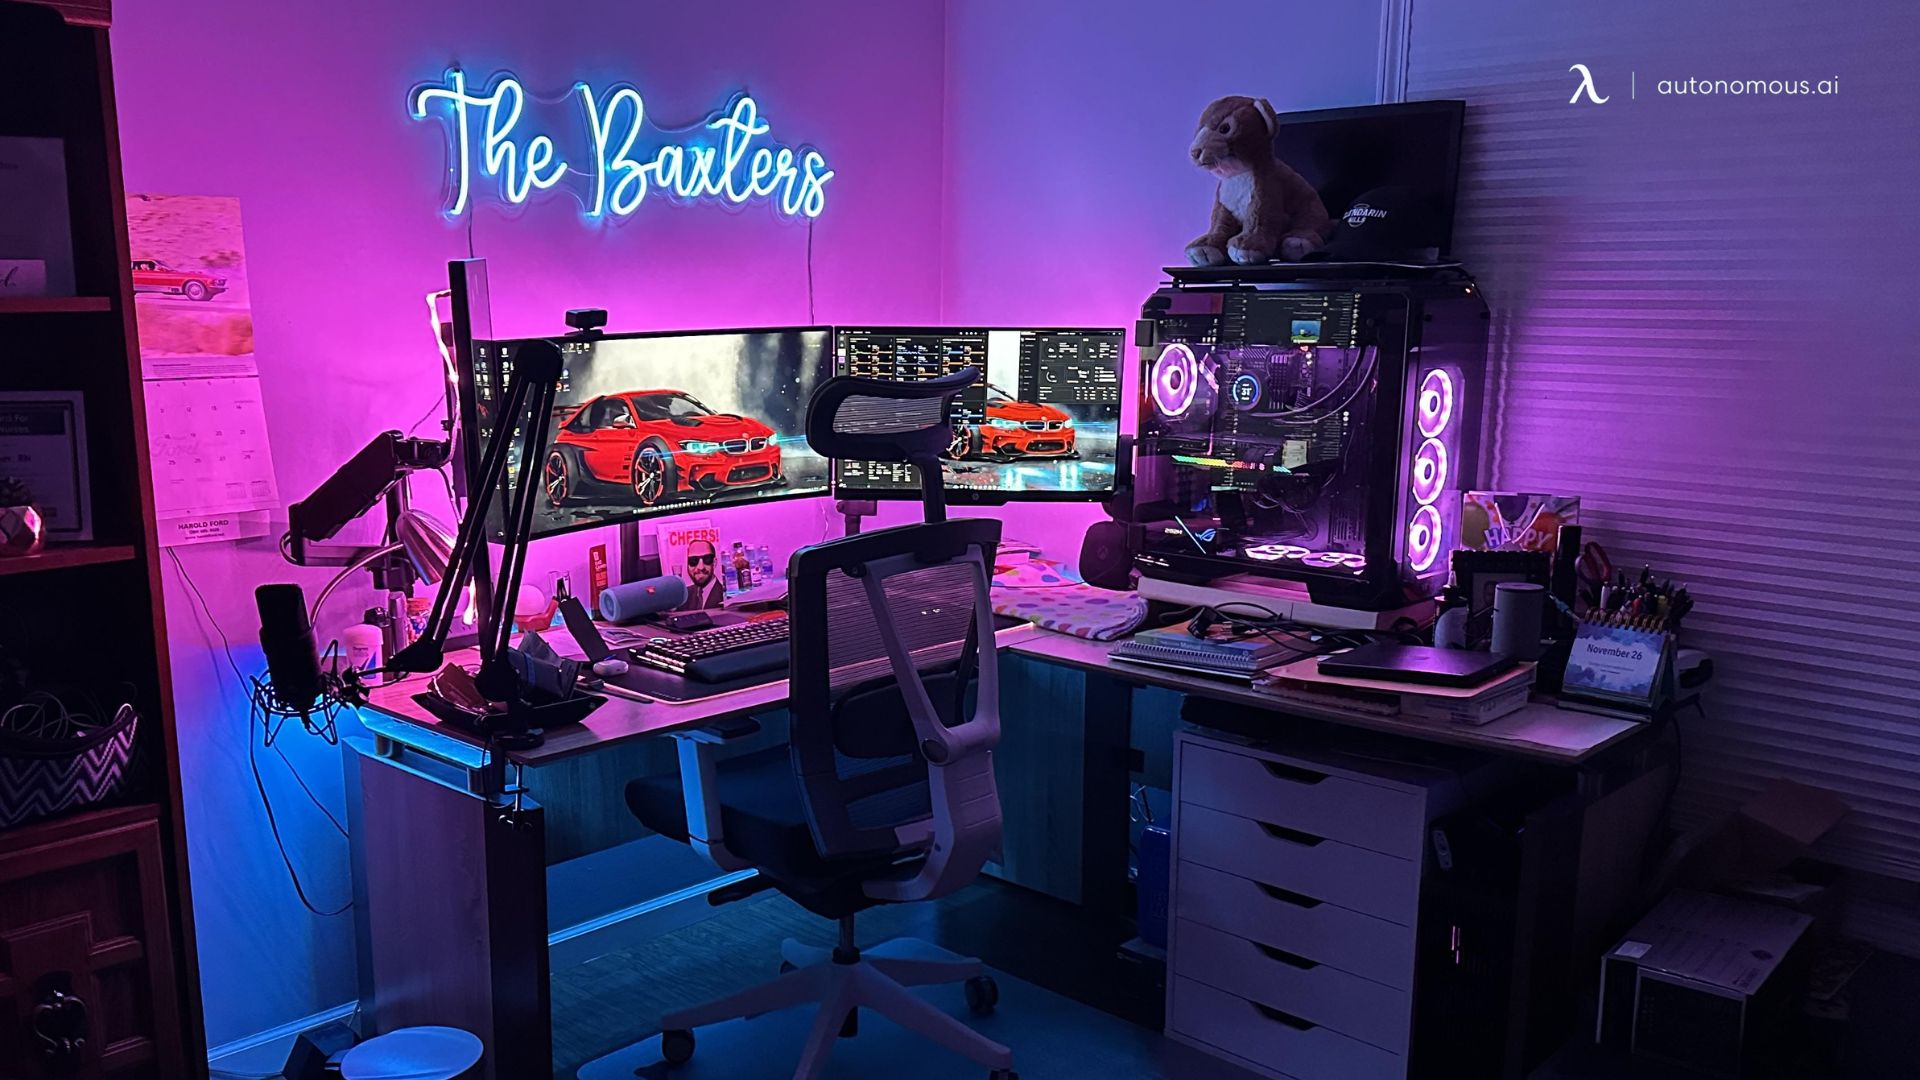
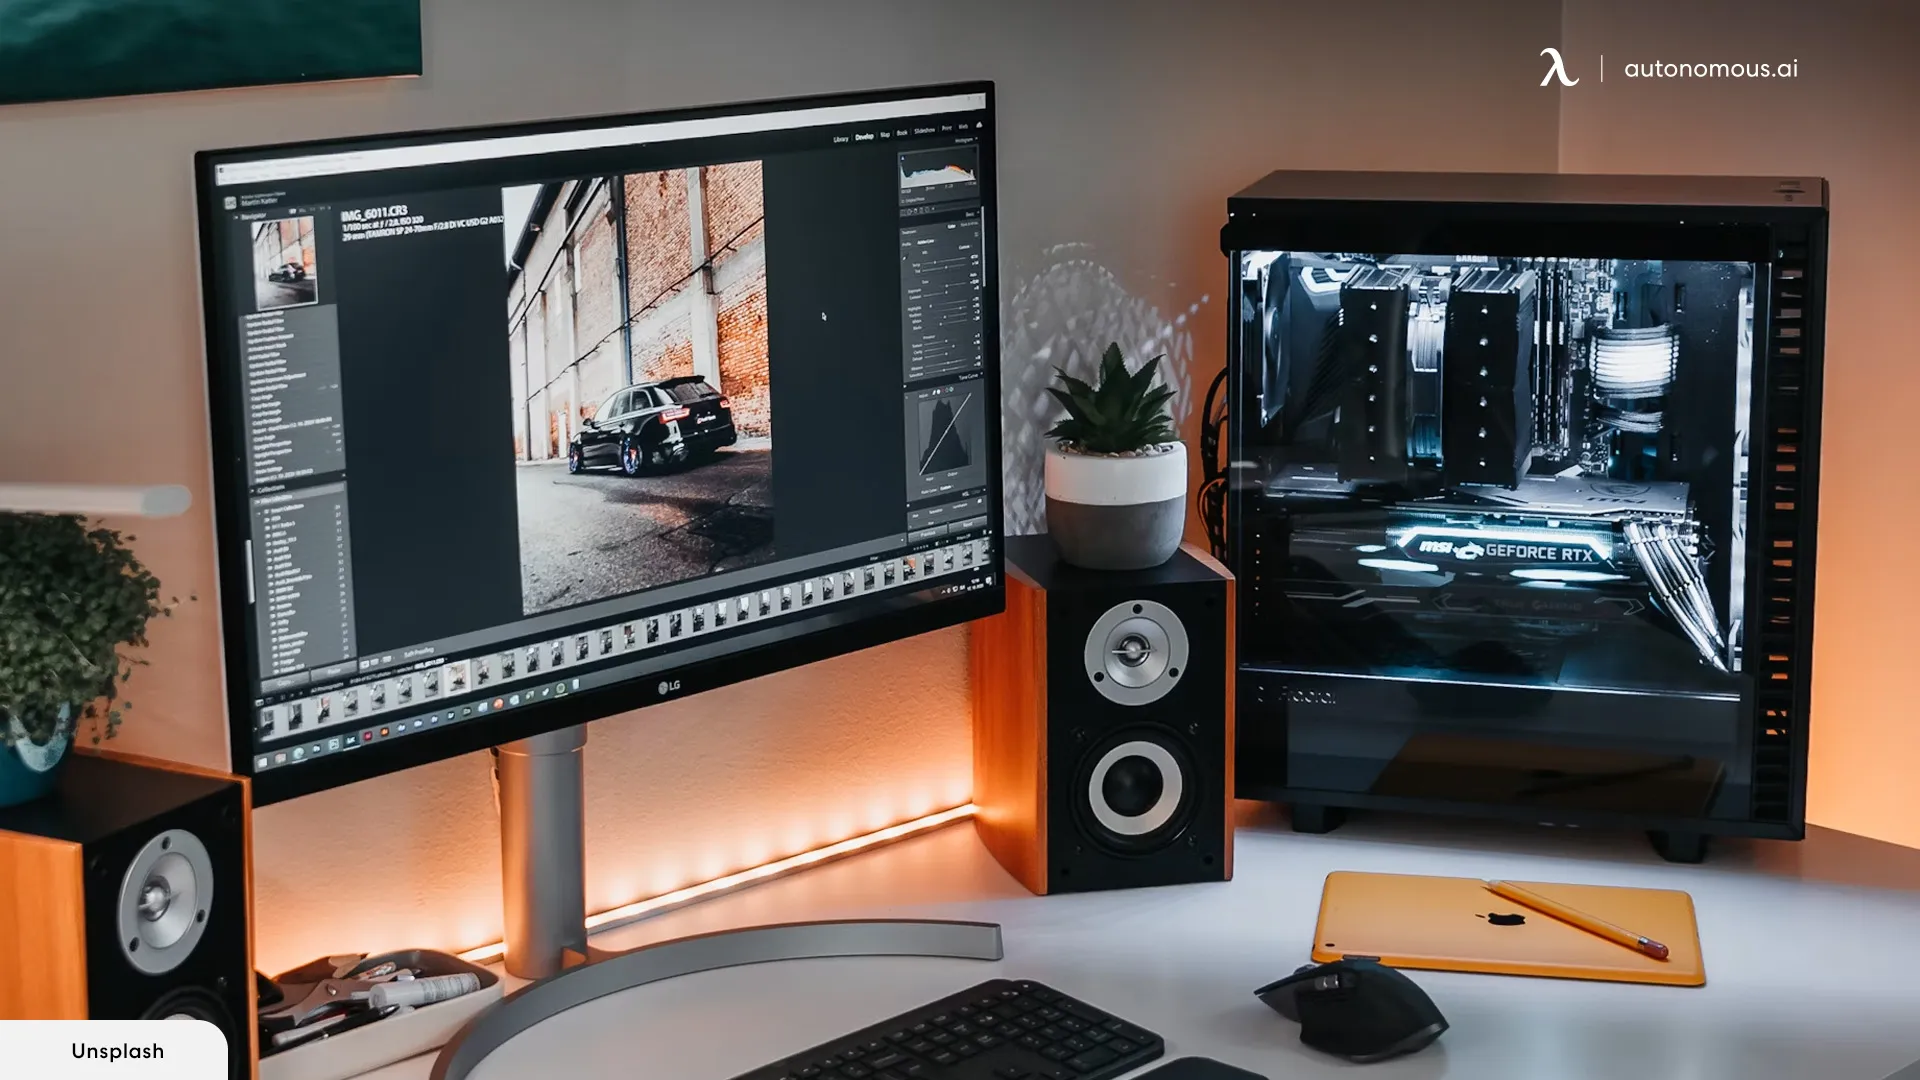
Choosing the Right PC Case
The case should accommodate all components while providing sufficient airflow and space for cable management.
Considerations for Selecting a Case:
- Size Compatibility: Ensure all components fit comfortably, with room for upgrades.
- Airflow and Cooling Support: Look for cases with multiple fan slots or liquid cooling support.
- Cable Management: Proper routing helps maintain a clean and organized build.
A spacious and well-ventilated case contributes to both aesthetics and performance.
For more insights:
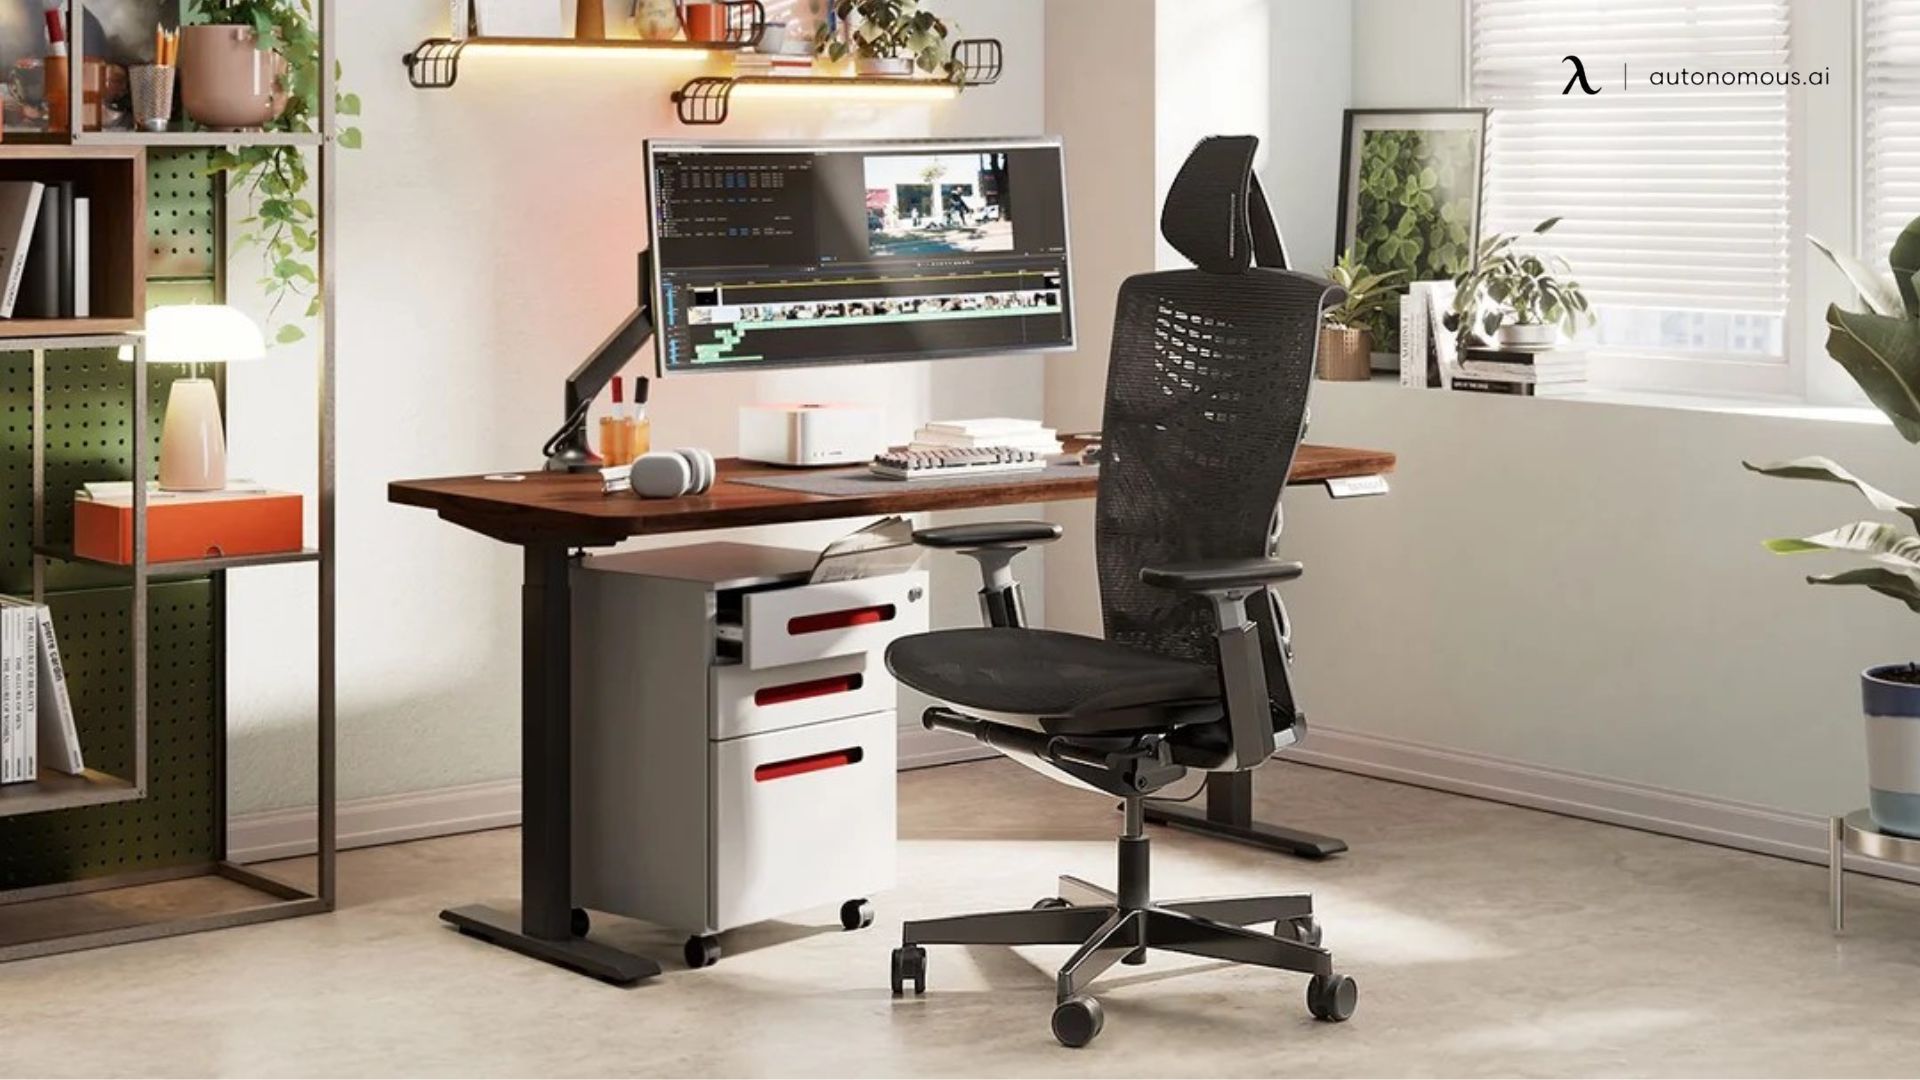
Building a PC for Video Editing – A Step-by-Step Guide
Once you’ve gathered all the necessary components, assembling the system correctly is crucial for stability and efficiency.
1. Preparing Your Workspace
- Ensure you have a clean, static-free surface to work on.
- Gather all tools, including a screwdriver, zip ties, and thermal paste if needed.
2. Installing the Processor (CPU)
- Align the processor correctly with the motherboard’s CPU socket.
- Secure the CPU cooler in place and apply thermal paste if necessary.
3. Installing Memory (RAM)
- Insert RAM sticks into the designated motherboard slots, ensuring proper alignment.
- Check for compatibility with dual-channel or quad-channel configurations.
4. Mounting the Motherboard
- Secure the motherboard onto the case using the provided screws.
- Connect the power supply cables to the CPU, GPU, and storage devices.
5. Installing Storage Drives
- Mount SSDs or HDDs in the designated drive bays.
- Connect data and power cables properly.
6. Installing the Graphics Card (GPU)
- Insert the GPU into the PCIe slot and secure it with screws.
- Ensure adequate clearance for cooling and airflow.
7. Connecting Power and Cables
- Route cables neatly to improve airflow and accessibility.
- Double-check all power and data connections before turning on the PC.
8. Installing the Operating System and Drivers
- Boot up the system and install an operating system.
- Download and install necessary drivers for the CPU, GPU, and motherboard.
Once setup is complete, run a stress test to ensure stability before starting video editing projects.

Building a PC for video editing requires thoughtful component selection and proper assembly. By investing in the right hardware, balancing performance with budget, and ensuring future upgradability, you can create a powerful workstation capable of handling demanding editing tasks. Whether working on short clips or large cinematic projects, a well-optimized system will enhance productivity and streamline the creative process.
For more insights:
Video Editing Software: Choosing the Right Tool for Your Workflow
Once your PC build is ready, selecting the right video editing software is the next step. Here are some of the best options:
1. Adobe Premiere Pro (Best for Professionals)
One of the most widely used video editing programs, Adobe Premiere Pro is a non-linear editing system (NLE) that offers a vast range of professional tools. It is popular among filmmakers, YouTubers, and content creators.
- Pros: Industry-standard, great for 4K/8K editing, seamless Adobe ecosystem integration.
- Cons: Subscription-based, requires a high-performance PC.
2. DaVinci Resolve (Best Free Option)
DaVinci Resolve is an all-in-one editing solution that combines professional video editing, color grading, audio post-production, and visual effects in a single program. It’s widely used in Hollywood post-production.
- Pros: Free version offers powerful color grading and editing tools.
- Cons: Steeper learning curve for beginners.
3. Final Cut Pro (Best for Mac Users)
Final Cut Pro is Apple’s flagship video editing software designed for macOS users. Known for its optimized performance on Mac hardware, it provides a smooth editing experience, even for 4K and 8K projects.
- Pros: Optimized for macOS, excellent performance, user-friendly interface.
- Cons: Not available for Windows.
4. Sony Vegas Pro (Beginner-Friendly)
Sony Vegas Pro offers a balance between professional and beginner-friendly features, making it a great choice for those transitioning to more advanced editing.
- Pros: Simple UI, affordable one-time purchase.
- Cons: Lacks advanced features found in Adobe and DaVinci.
Choosing the right software depends on your workflow, budget, and level of experience.
Frequently Asked Questions About Video Editing
1. Can I Use a Gaming PC for Video Editing?
Yes, but a build PC for video editing and gaming should prioritize CPU performance, RAM capacity, and storage speed over just GPU power.
2. Do I Need a High-End GPU for Video Editing?
Not necessarily. For 1080p or basic 4K editing, a mid-range GPU is sufficient. However, if you work with 3D effects or motion graphics, a high-end GPU is beneficial.
3. Should I Get a Mac or PC for Video Editing?
Both are excellent, but PCs offer more customization and upgradability compared to Mac systems.
4. Is 32GB RAM Enough for 4K Editing?
Yes, 32GB RAM is ideal for 4K editing, while 64GB+ is recommended for 8K projects.
5. How Much Storage Do I Need?
At least 2TB SSD for active projects and a 4TB+ HDD for archived files.
Conclusion
Building your own PC for video editing ensures you get the best performance for your budget while maintaining the flexibility to upgrade over time. By choosing the right CPU, GPU, RAM, and storage, you can create a powerful, efficient workstation for video editing and content creation. Whether you're working on 4K projects, gaming content, or professional filmmaking, a well-optimized PC build will significantly enhance your workflow.


Stay connected with us!
Subscribe to our weekly updates to stay in the loop about our latest innovations and community news!
Interested in a Link Placement?