The Ultimate Guide to Monitor Arms for Thick Desks
Table of Contents
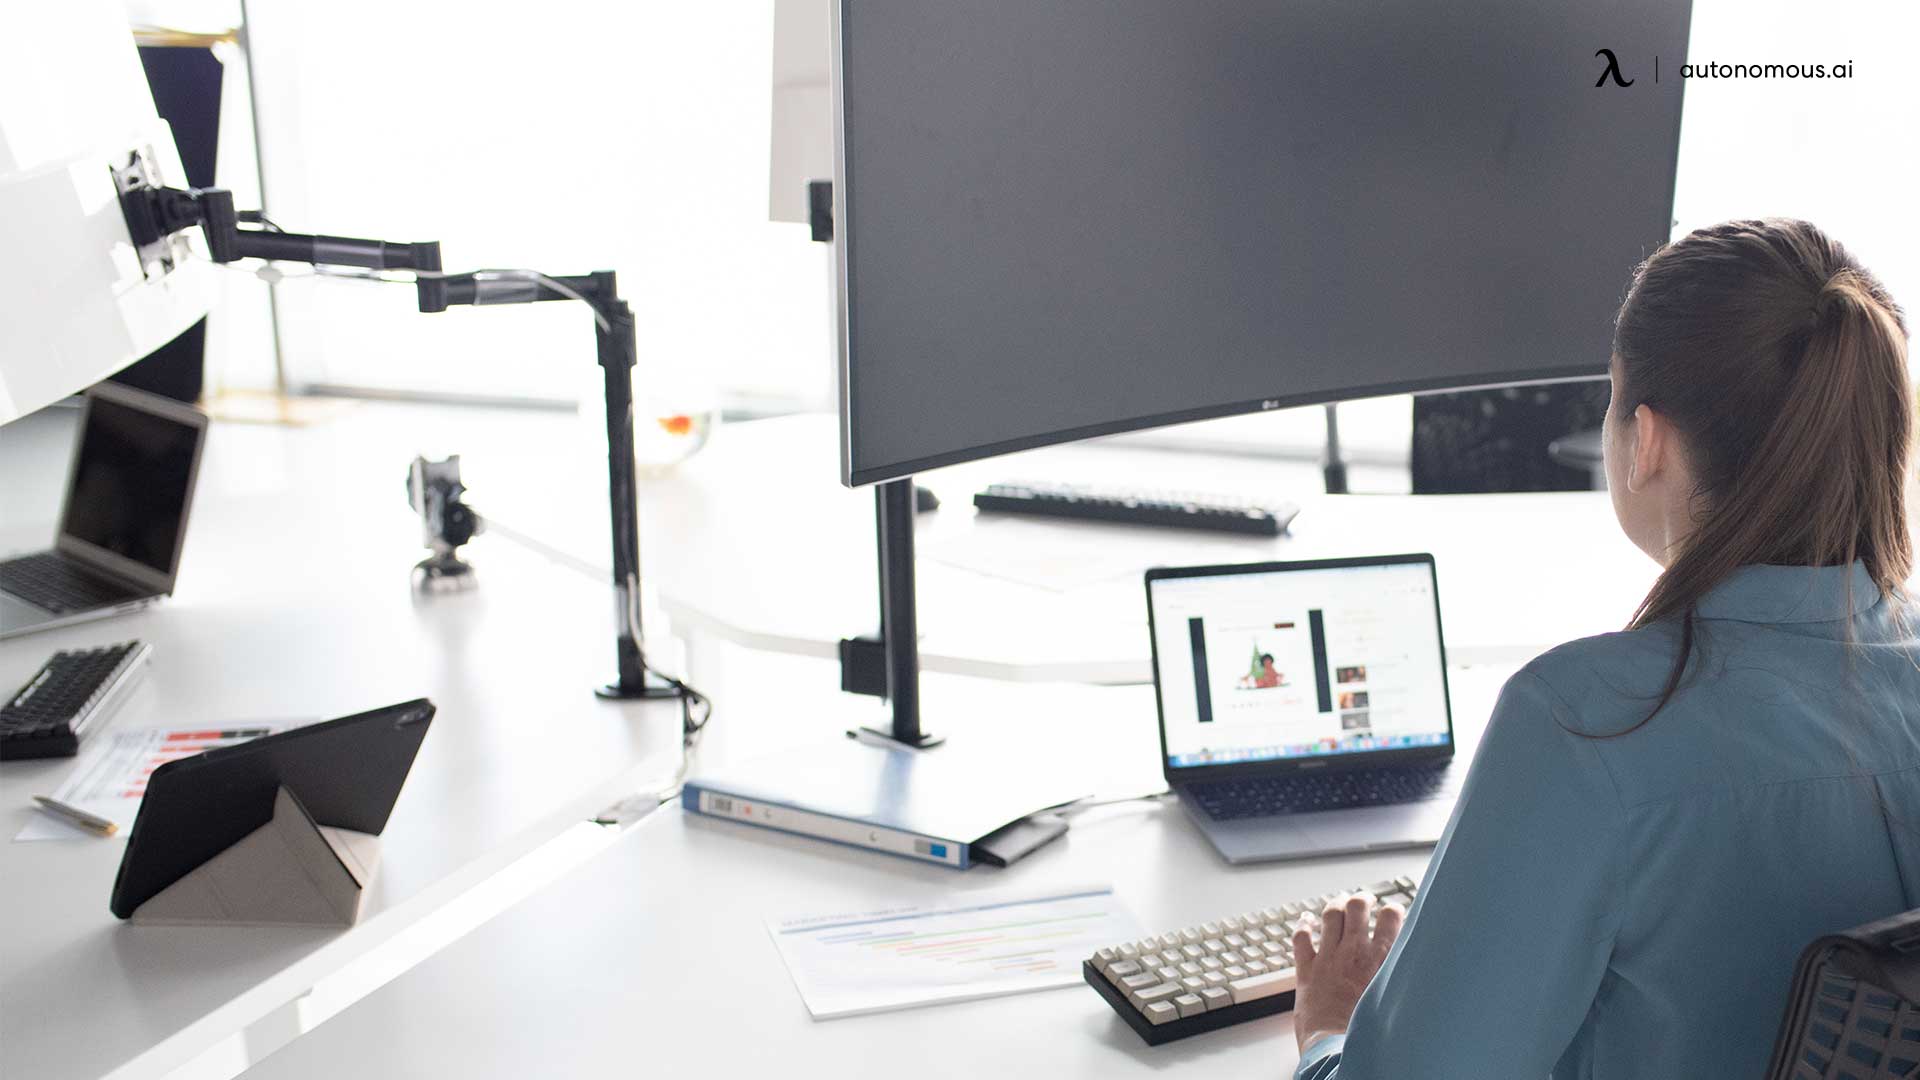
When it comes to setting up a productive and ergonomic workspace, a monitor arm for thick desks can make a significant difference. Not only do they free up valuable desk space, but they also allow for better posture by providing flexible height adjustments, ensuring your monitors are positioned at the ideal eye level.
But choosing the right monitor arm for a thick desk requires careful consideration. This ultimate guide will walk you through everything you need to know about selecting, installing, and optimizing your monitor arm setup for thick desks.
Key Considerations for Thick Desk Monitor Arms
Before diving into the different types of monitor arms available, it’s crucial to understand the key factors to consider when choosing one for your thick desk. Each desk setup is unique, and the right monitor arm will vary based on a few important specifications.
Weight Capacity
One of the most important factors to keep in mind is the weight capacity of the monitor arm. Thick desks often accommodate larger, heavier monitors, and you need to ensure the arm can support your monitor’s weight.
Check both the monitor weight and the arm's weight limits. Many arms can handle between 15 to 30 pounds, but if you're working with an ultra-wide or curved monitor, double-check the capacity to avoid any mishaps. If you're running a multi-monitor setup, such as a 4-monitor setup, you will want arms that can handle the combined weight.
Height Adjustment
Height adjustment is a key feature of monitor arms that enhances ergonomics. A well-positioned monitor prevents neck strain and allows you to work comfortably. The ability to adjust the height of the monitor to suit your seated or standing position is crucial, especially if you have a standing desk.
Some monitor arms offer a wide range of vertical adjustment, while others have more limited options. Make sure to choose a monitor arm that can move to your preferred height, whether you're seated or standing.
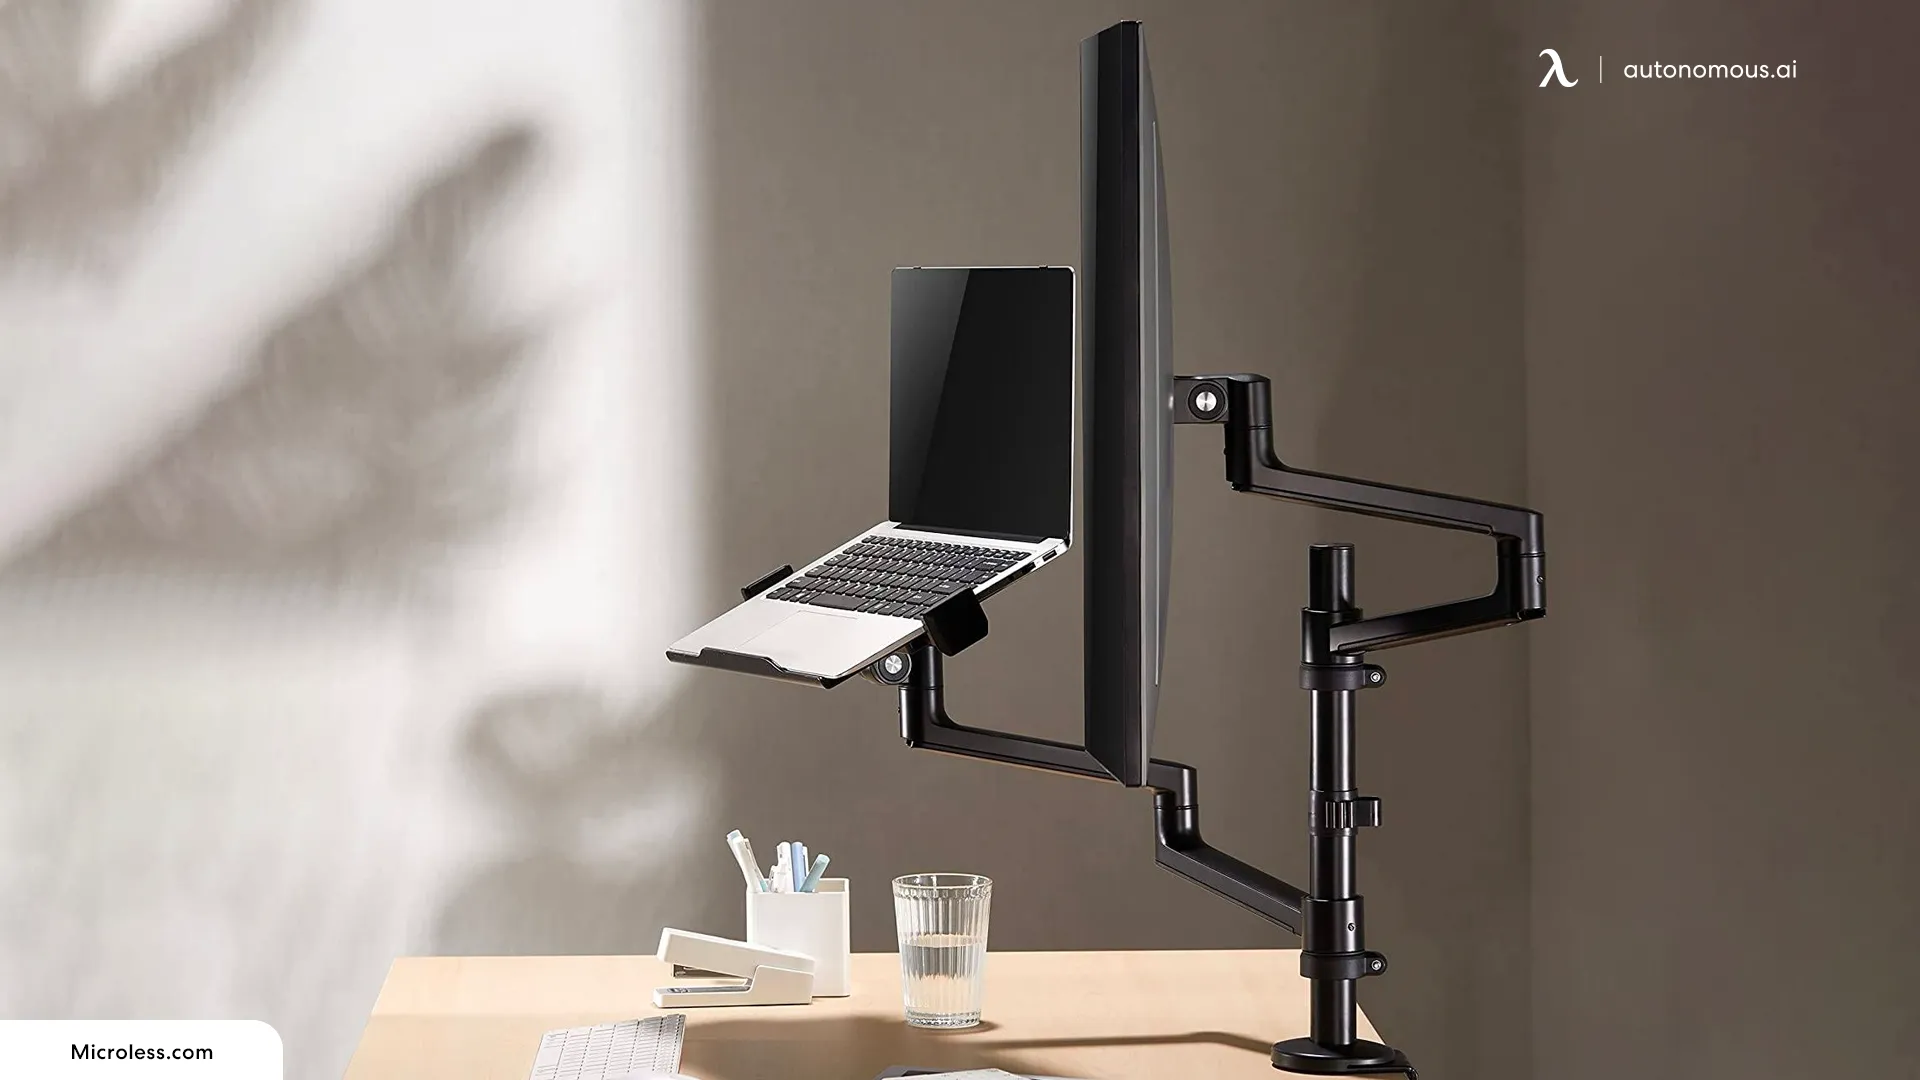
Arm Length and Reach
The arm length and reach of your monitor arm are essential for providing flexibility in how you position your monitor. This is especially important for thick desks, as the monitor may need to extend over a greater distance to ensure comfort and usability.
Long-reach monitor arms allow you to pull the monitor closer or push it further away, making it easy to adjust depending on your needs. If you plan to integrate your monitor arm into a triple monitor setup, it's important to have enough reach to accommodate each screen comfortably.
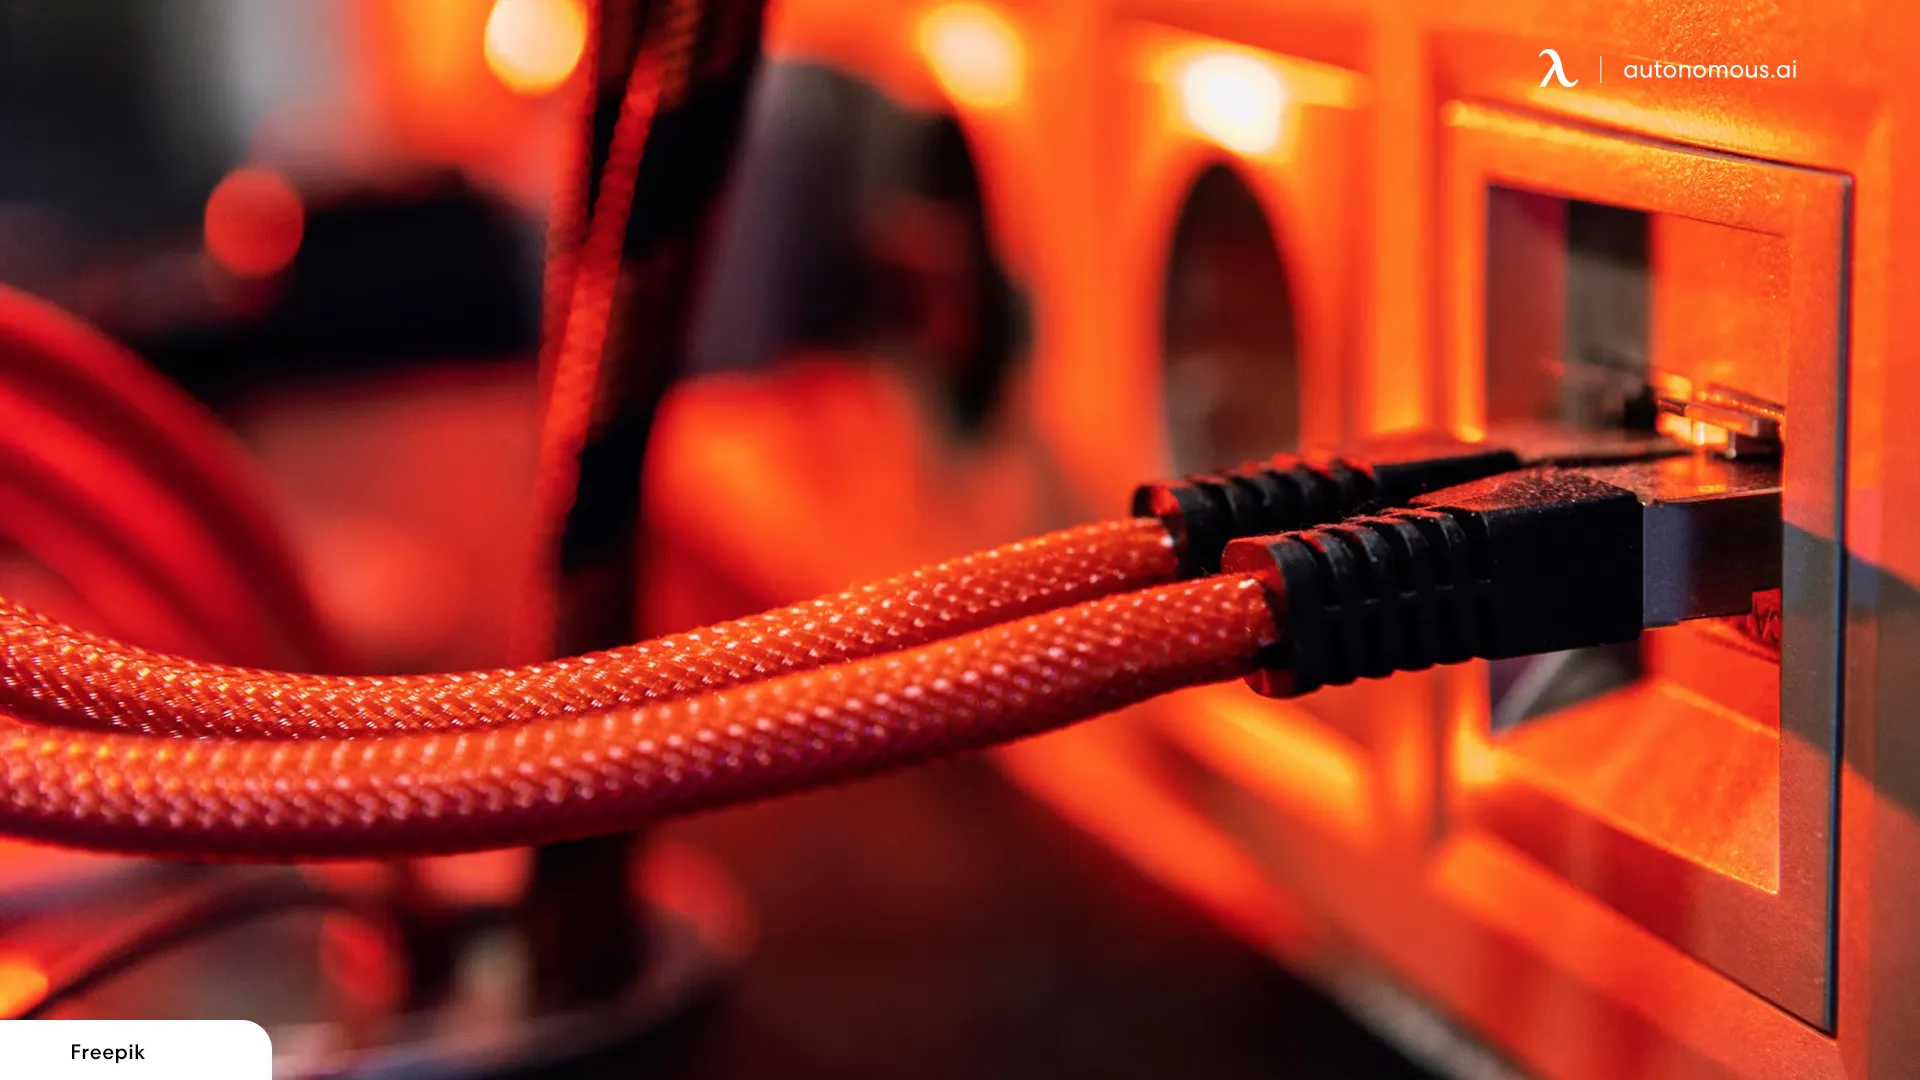
Cable Management
With multiple monitors or a single larger display, you’ll likely have plenty of cables cluttering your workspace. A good monitor arm will have built-in cable management to keep those cords neatly tucked away, improving both aesthetics and organization. This feature is especially useful for gamers who often deal with multiple peripherals in their gaming desk setup.
Compatibility with Desk Thickness
Perhaps the most important consideration is ensuring the monitor arm is compatible with your desk thickness. Not all monitor arms are designed to handle thick desks, so you’ll need to check the clamp or grommet mount’s maximum desk thickness.
Many monitor arms specify the range they can accommodate, typically around 2-3 inches. However, if your desk is thicker, you’ll need to look for heavy-duty options specifically designed for thick surfaces.
Types of Monitor Arms for Thick Desks
Once you've considered the key factors, it's time to explore the different types of monitor arms available. Each type offers different benefits, and selecting the right one depends on your specific needs.
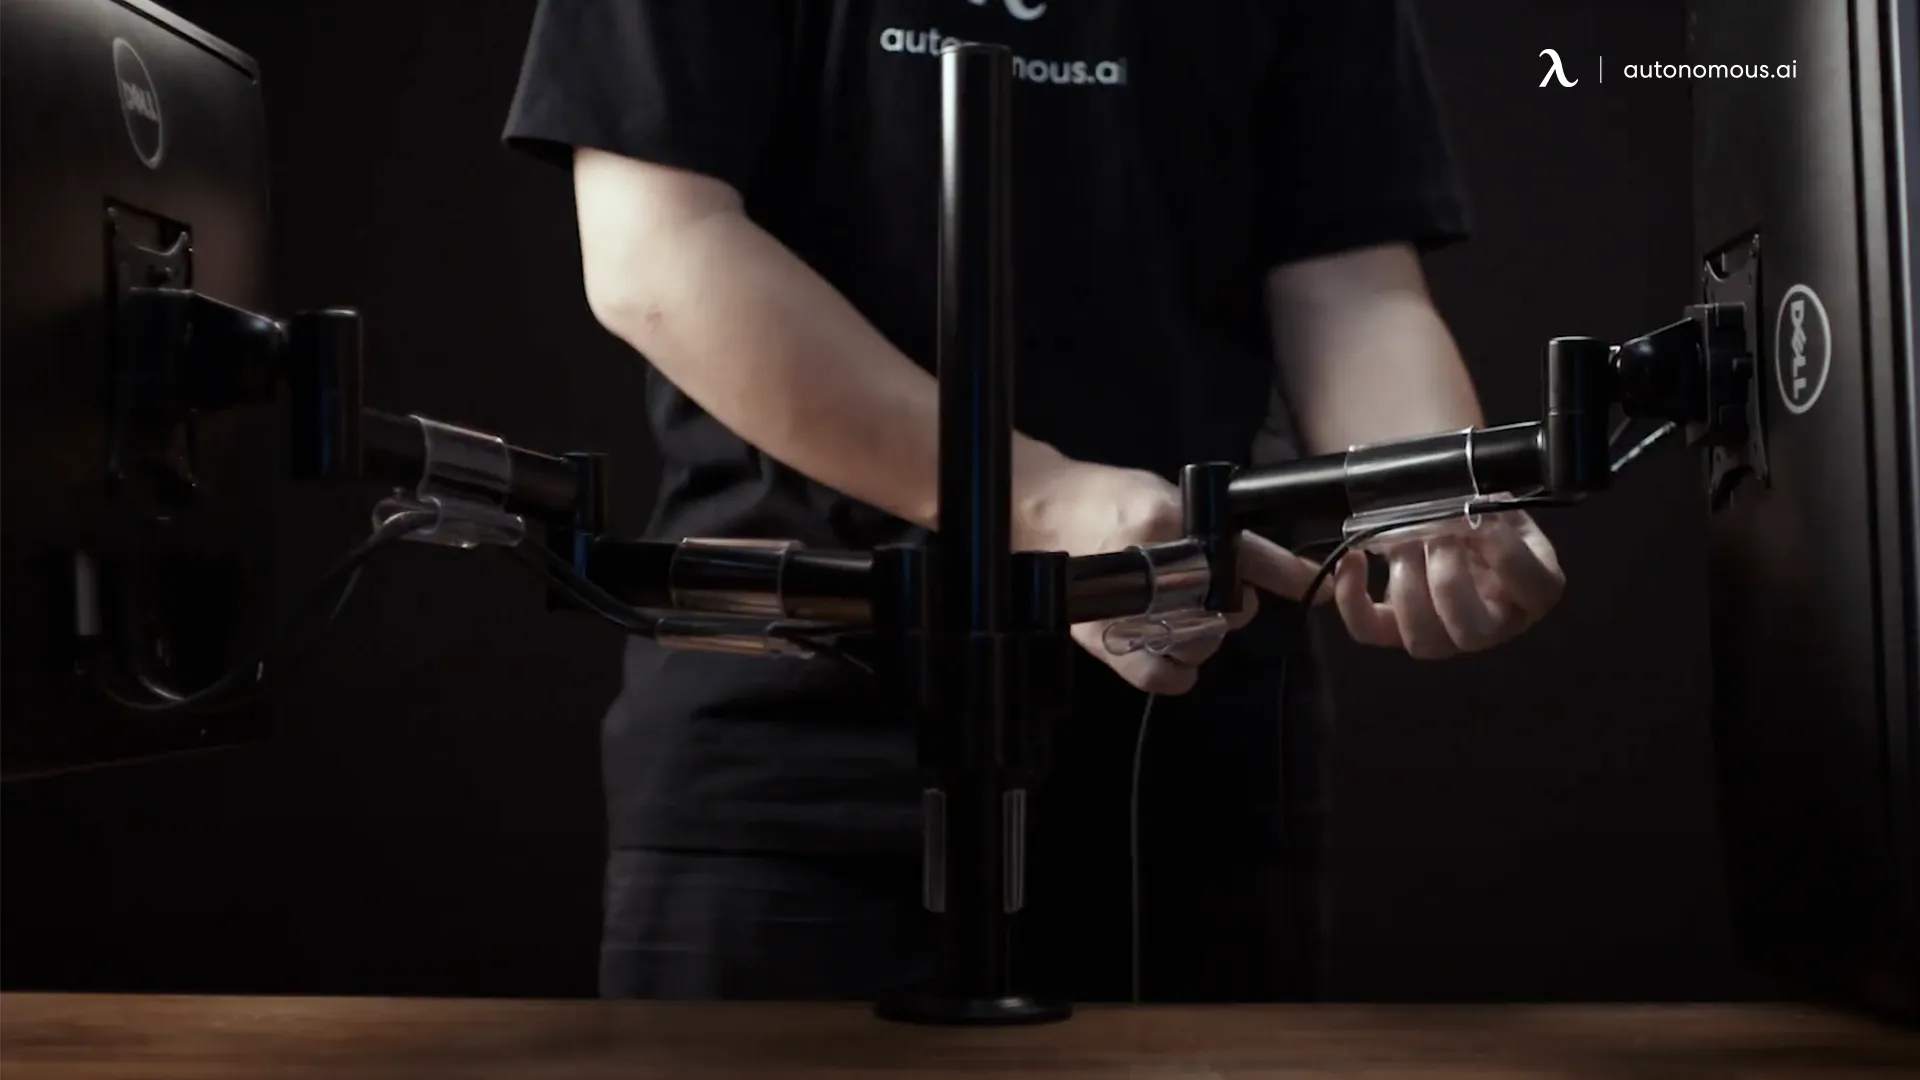
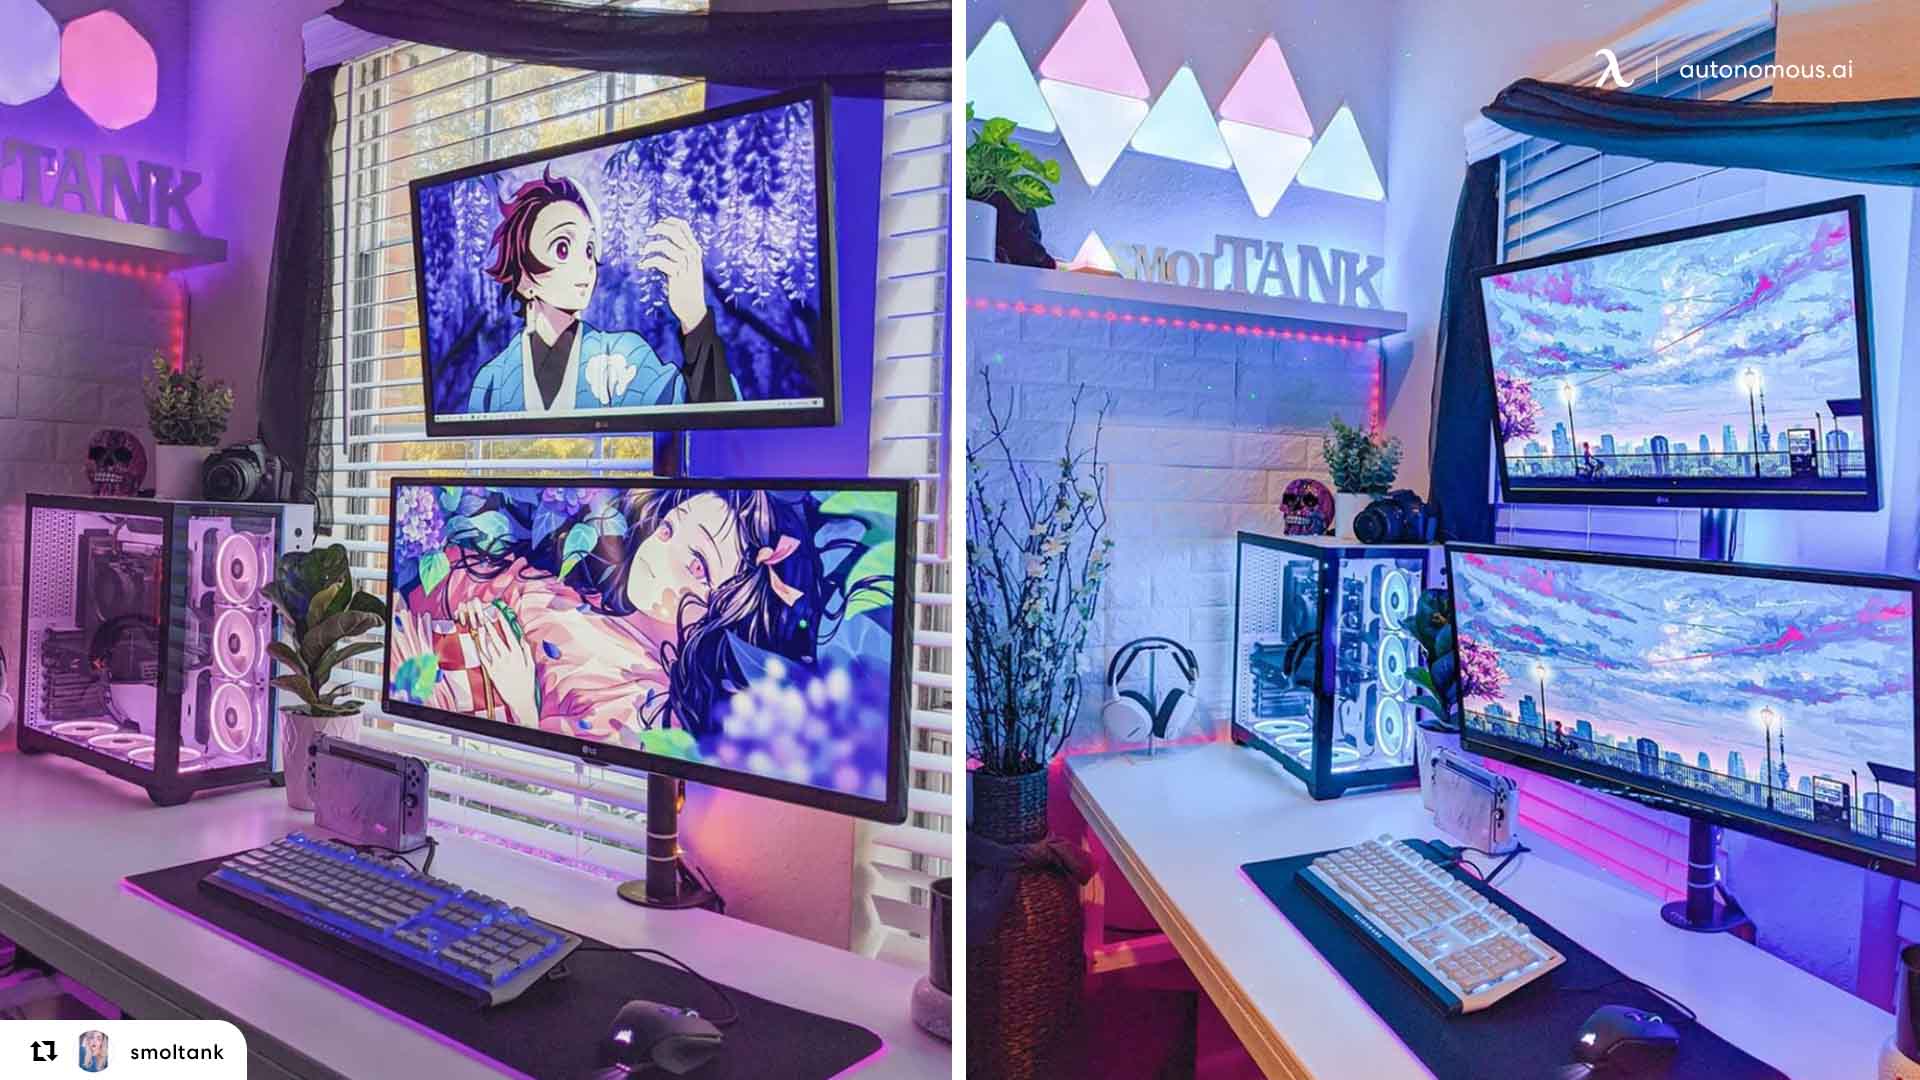
Single-Arm vs. Dual-Arm
Single-arm monitor mounts are designed to support one monitor, making them ideal for minimalistic setups or those with limited desk space. If you only use one monitor for work or gaming, a single-arm solution is typically sufficient.
However, if you use two monitors, consider a dual-arm monitor mount. Dual-arm mounts provide better flexibility, as they allow you to move each monitor independently. This is especially beneficial if you need a vertical dual monitor setup for coding, editing, or gaming.
Clamp vs. Grommet Mount
Monitor arms are mounted in two primary ways: clamp mounts and grommet mounts. Clamp mounts attach to the edge of the desk, making them easier to install and adjust. These are perfect for thick desks, as they don’t require any drilling or modifications to your desk surface.
Grommet mounts, on the other hand, require a hole to be drilled through the desk, providing a more secure attachment. If your desk already has a cable management hole, a grommet mount may be a great solution.
Gas Spring vs. Mechanical Lift
Monitor arms typically adjust using either a gas spring or mechanical lift mechanism. Gas spring arms are smooth and easy to adjust, requiring minimal effort to move the monitor into the desired position.
These are ideal for dynamic setups where you frequently change your monitor height. Mechanical lift arms are more rigid, providing less flexibility but often being more durable. If you require constant adjustments, a gas spring arm is the best option.
Step-by-Step Guide
Installing a monitor arm for thick desks can greatly enhance the functionality and ergonomics of your workspace. By following these detailed installation steps and choosing the right arm, you’ll create a more comfortable and organized setup.
Step 1: Measure Your Desk Thickness and Choose the Right Monitor Arm
Before you even begin the installation process, it’s critical to ensure your desk is compatible with the monitor arm. Desks can vary widely in thickness, and thick desks (typically over 2 inches) require specific monitor arms that are designed to handle these dimensions.
- Measure Your Desk: Using a measuring tape, measure the thickness of your desk. This is crucial because some monitor arms only support desks up to a certain thickness (typically 2-3 inches).
- Choose the Right Monitor Arm: Ensure the monitor arm clamp or grommet mount supports your desk thickness. If you're dealing with a particularly thick desk, opt for heavy-duty clamps that can accommodate desks up to 4 inches. Most product descriptions for monitor arms will list the maximum supported desk thickness, so always double-check before purchasing.
- Consider Your Desk’s Material: The material of your desk can also play a role. For example, desks made of particleboard may not support heavy arms or large monitors as well as solid wood or metal desks. Ensure your desk is sturdy enough to handle both the arm and the monitor weight.

Step 2: Gather Tools and Materials
Before installation, make sure you have the necessary tools and materials ready. These include:
- Screwdriver (most commonly a Phillips head)
- Allen wrenches (usually included with the monitor arm kit)
- Measuring tape
- Pencil or marker for marking positions
- Drill (only if you plan to use a grommet mount)
By gathering these tools beforehand, you’ll save time and ensure the process runs smoothly.
Step 3: Determine the Best Mounting Location
The next step is deciding where to place your monitor arm on the desk. Consider the following factors to choose the optimal location:
- Desk Layout: Think about how you plan to use your desk space. Will you need the monitor to be at the center of the desk, or do you prefer a side mount to free up space?
- Wall Clearance: Ensure that the monitor arm has enough clearance from the wall or any other furniture behind your desk. Some monitor arms extend quite far, so make sure there's no obstruction behind the desk that might restrict movement.
- Ergonomics: Choose a location that keeps your monitor at the optimal distance from your eyes (generally about an arm's length away) and at the correct height (the top of the monitor should be at or slightly below eye level).
- Cable Management: Position the arm near power outlets and ensure that your cables can be managed neatly.

Step 4: Install the Clamp or Grommet Mount
There are two common ways to mount a monitor arm: clamp mounts and grommet mounts. Follow the instructions based on the type of mount you are using.
For Clamp Mounts:
- Attach the Clamp to the Desk Edge: Position the clamp at the edge of your desk where you’ve determined the arm should go. The clamp has adjustable screws that you’ll tighten to secure the mount onto the desk.
- Tighten the Screws: Use your screwdriver or Allen wrench (whichever is included with the mount) to tighten the screws and ensure the clamp is secure. Avoid over tightening, which can damage the desk, but ensure the arm is firm and won't wobble or move.
For Grommet Mounts:
- Drill a Hole (If Necessary): If your desk does not already have a grommet hole (often used for cables), you’ll need to drill a hole to mount the monitor arm. The grommet mount will typically require a hole around 2-2.5 inches in diameter. Measure and mark the location where you want the hole before drilling.
- Insert the Mounting Bolt: Once the hole is drilled, insert the grommet mounting bolt through the hole and tighten it beneath the desk with a washer and nut. This secures the arm directly to the desk.
- Secure the Arm: Once the bolt is secure, attach the monitor arm to the grommet mount and ensure everything is tightly fastened.
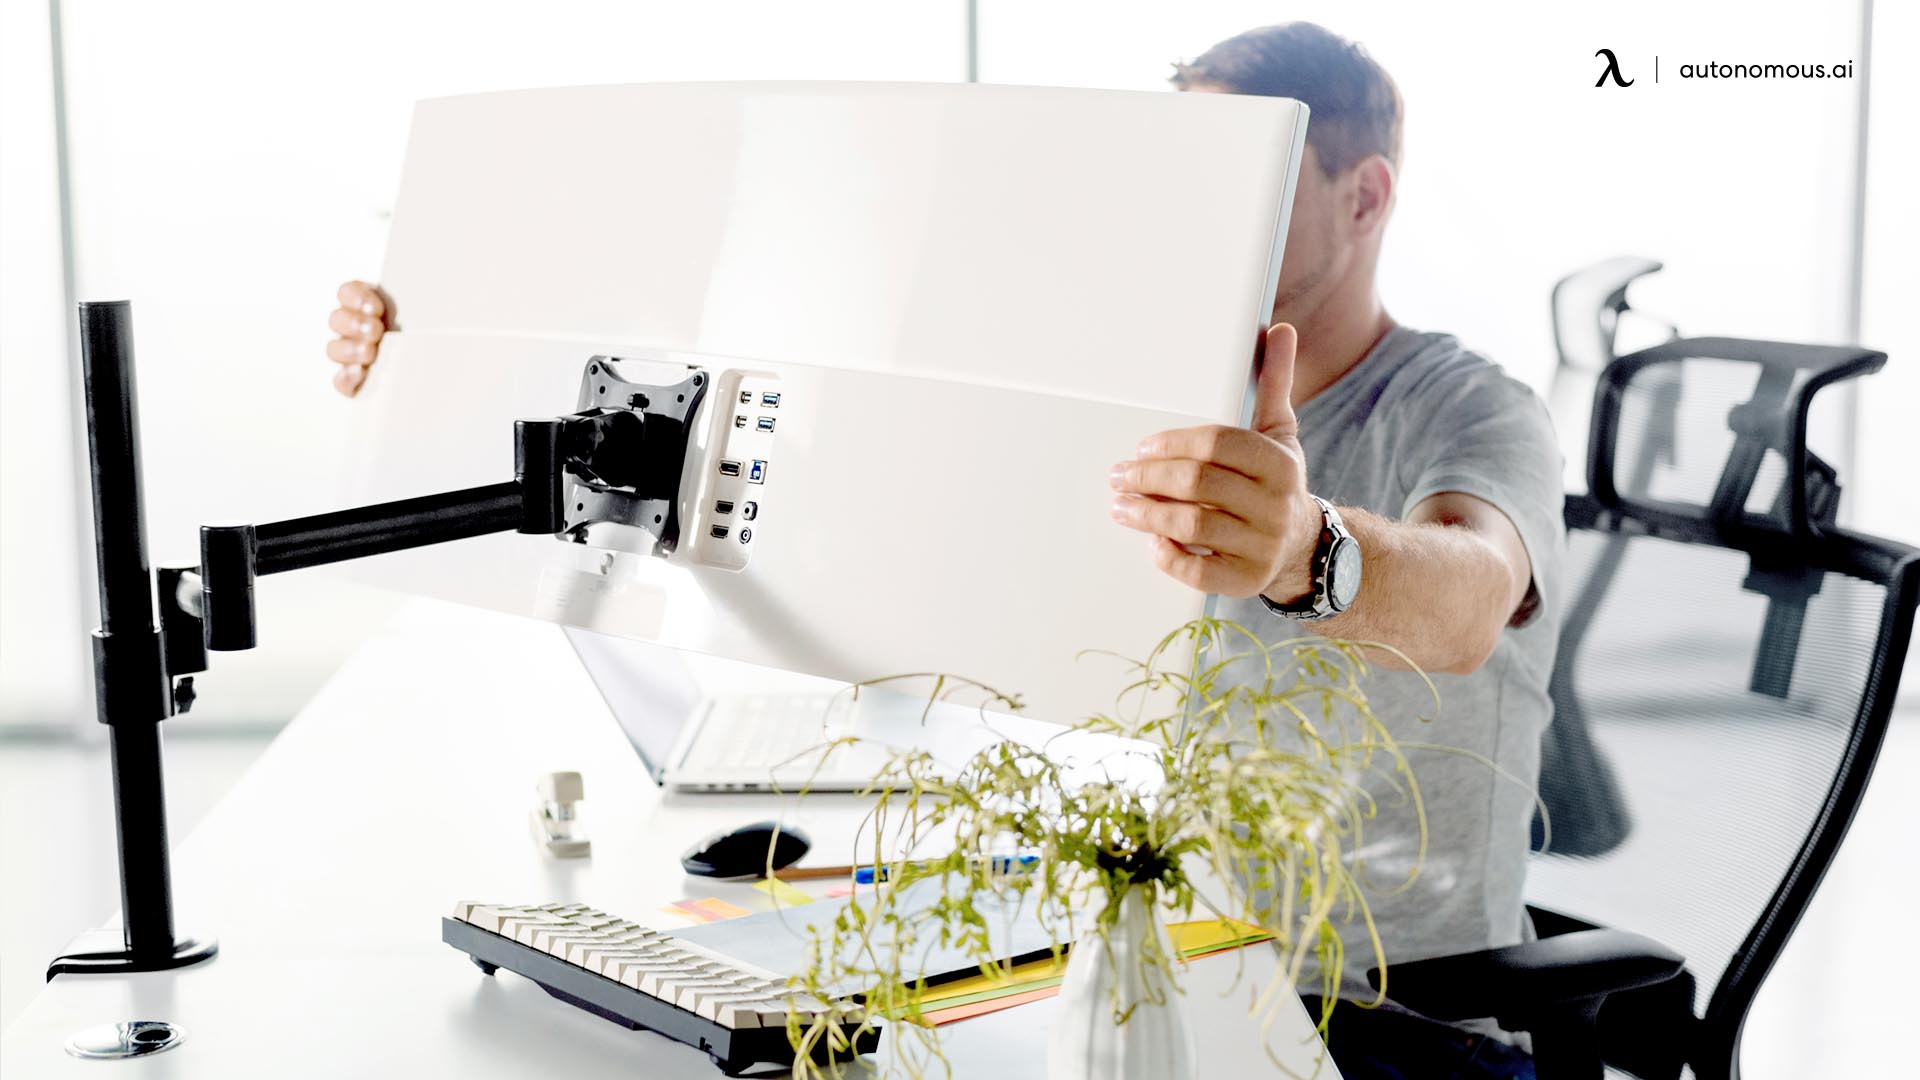
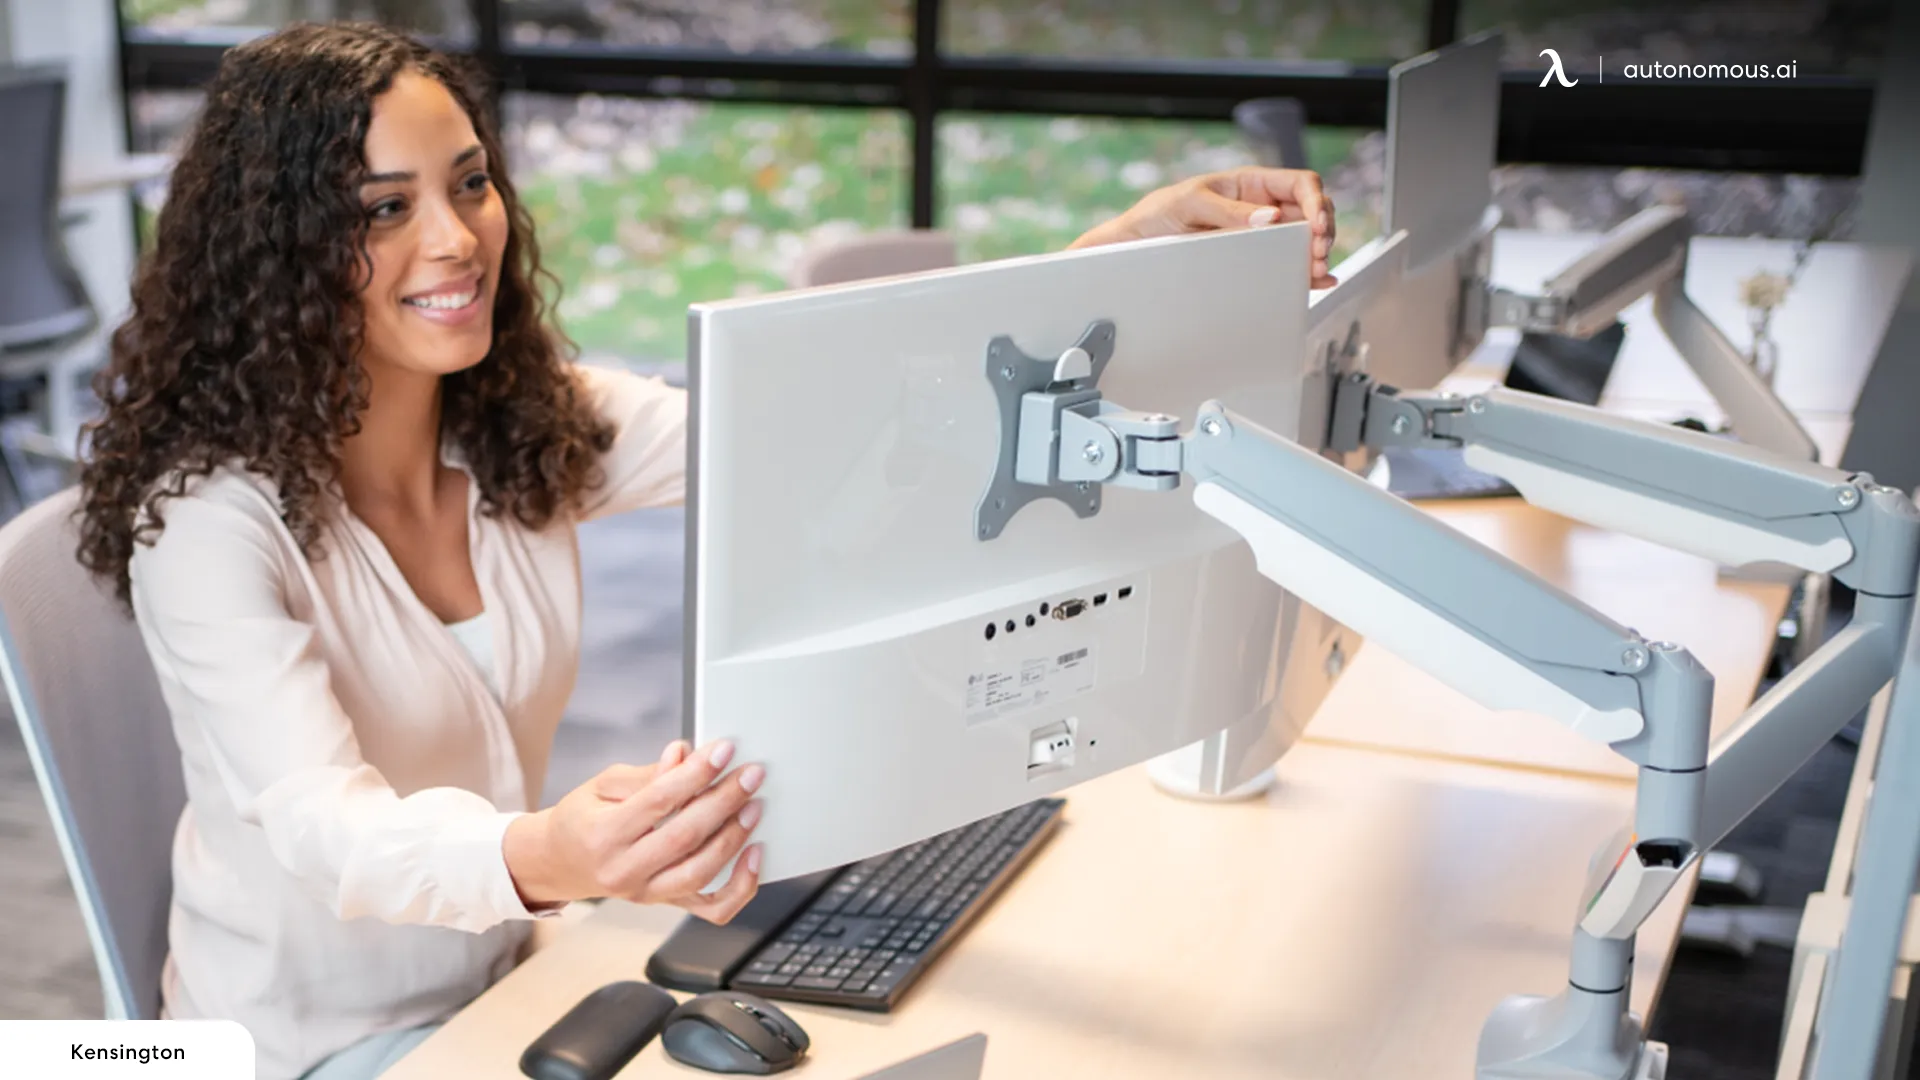
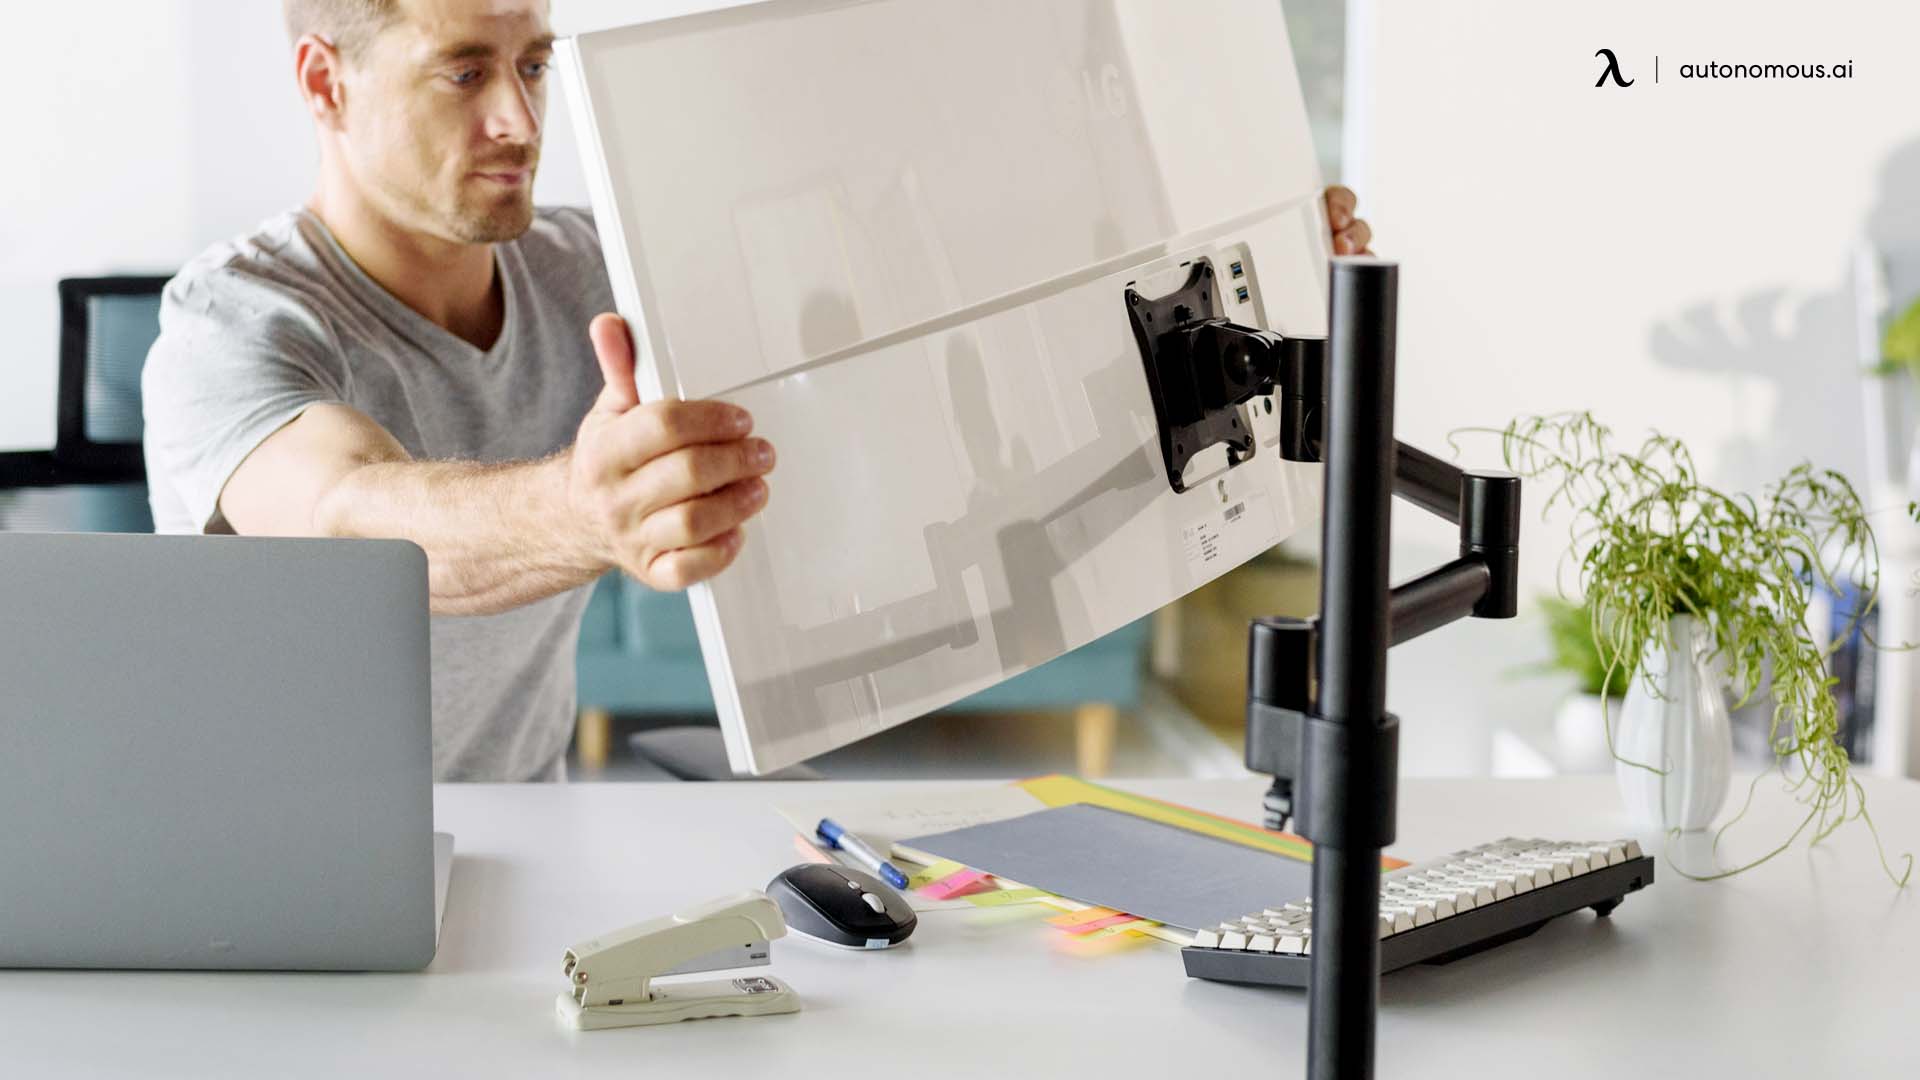
Step 5: Attach the Monitor to the Arm
After the mount is securely fastened to your desk, the next step is attaching your monitor. Here’s how to do it:
- Check VESA Compatibility: Ensure your monitor has VESA mounting holes on the back. Most modern monitors come with these standard mounting holes, but if yours doesn’t, you may need a VESA adapter.
- Attach the Monitor to the VESA Plate: Depending on the design of the arm, you’ll either attach a VESA mounting plate to the back of your monitor or directly attach the monitor to the arm.
- Tighten the Screws: Use the included screws (usually 4) to fasten the monitor securely to the arm. Make sure the monitor is stable and that the screws are fully tightened.
- Secure and Adjust the Tension: Once attached, ensure that the arm is strong enough to support the weight of the monitor. If your monitor arm uses a gas spring mechanism, adjust the tension to match the weight of your monitor. You’ll find adjustment points (often screws or knobs) that let you increase or decrease the tension for smooth movement.
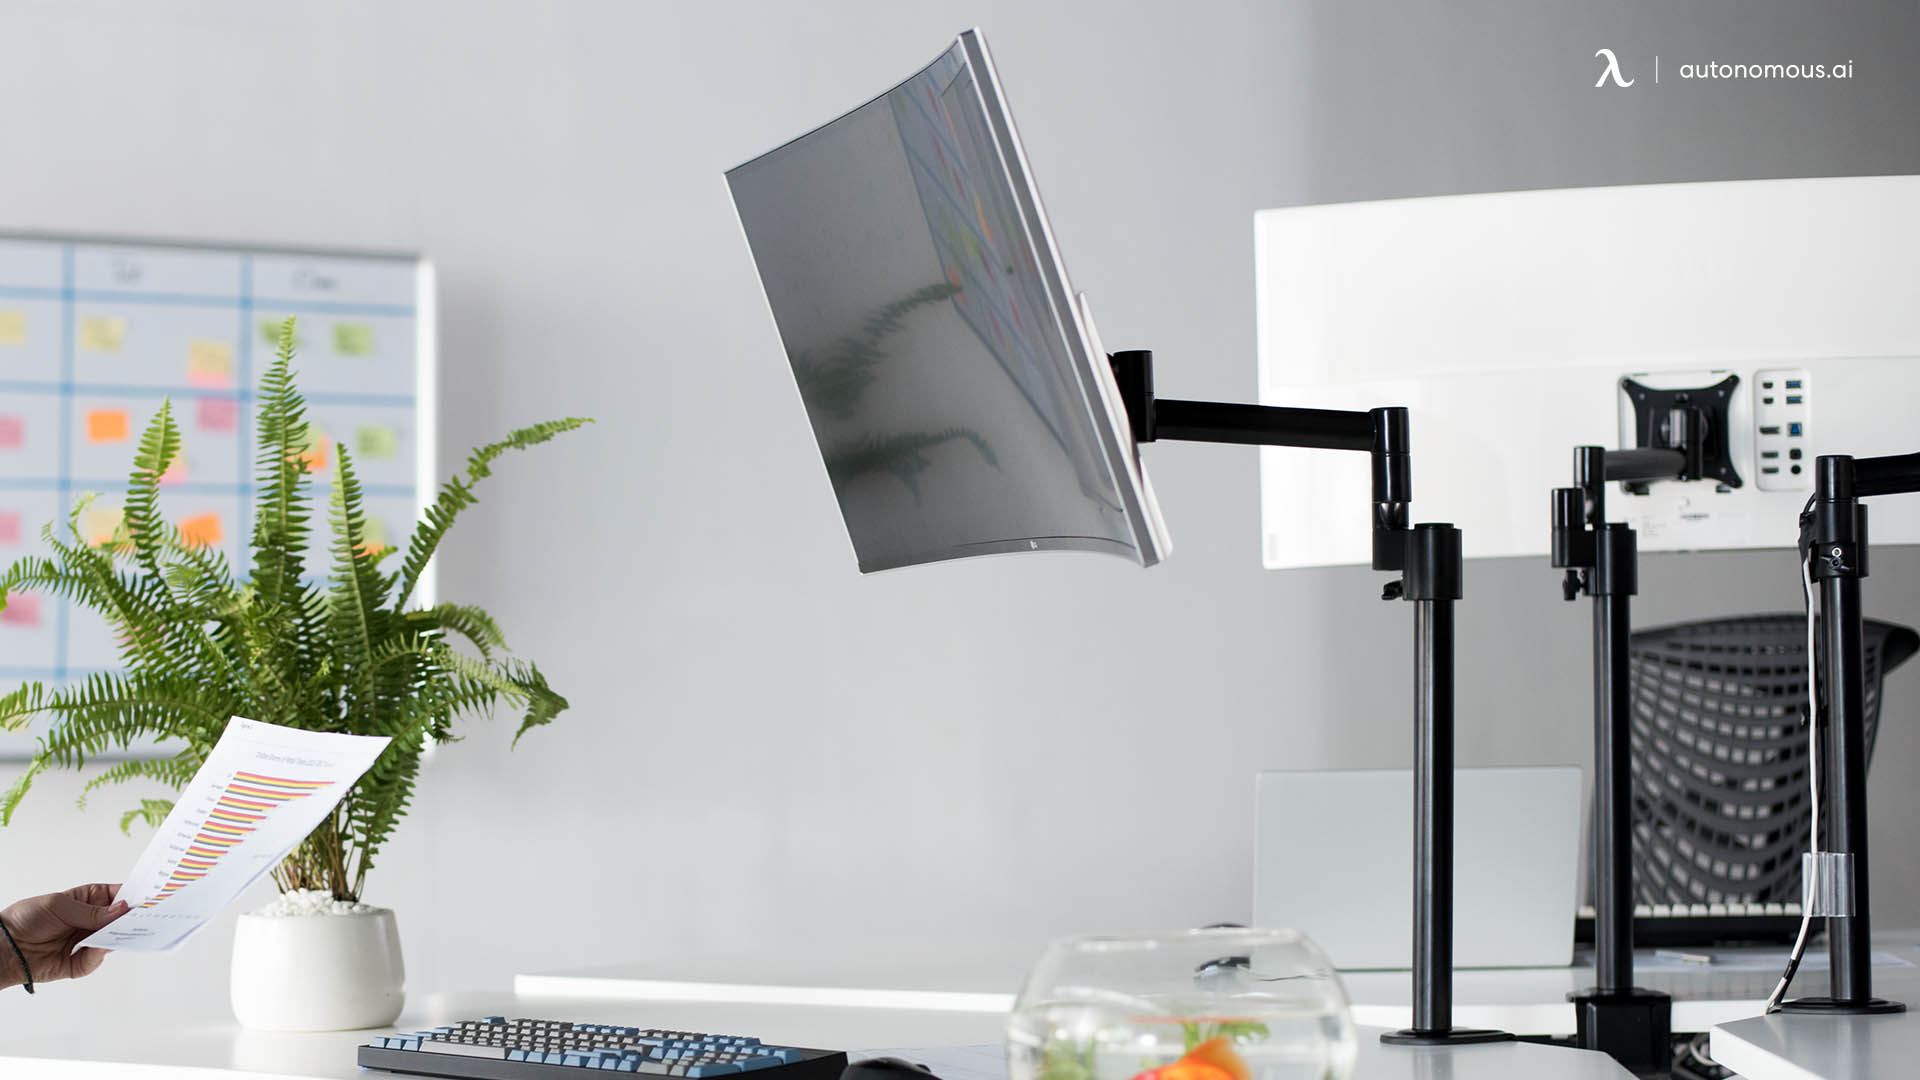
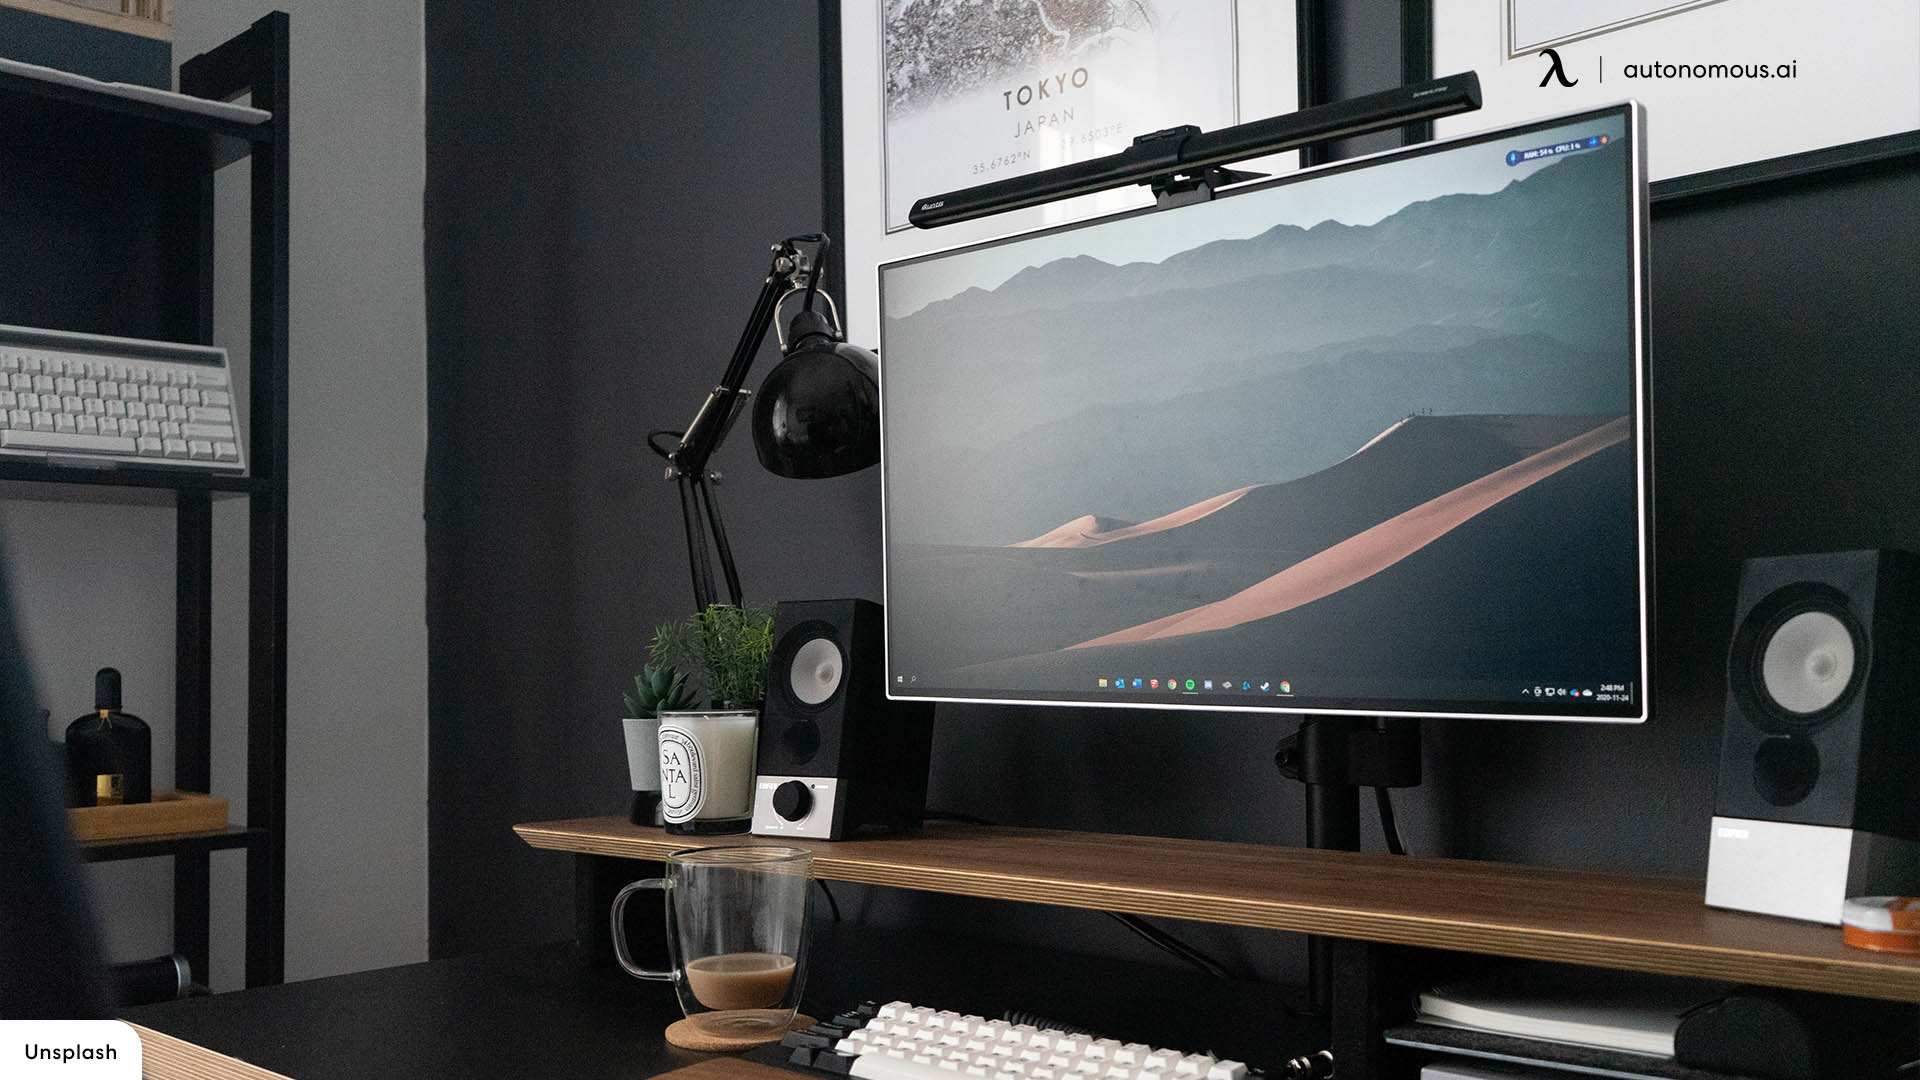
Step 6: Adjust the Monitor Arm for Optimal Positioning
With the monitor securely attached to the arm, it’s time to adjust the arm for optimal ergonomics and comfort. Here's how:
- Height Adjustment: Adjust the monitor arm to the correct height so that the top of the screen is at or slightly below eye level. This will help prevent neck strain. If you're using a standing desk, ensure the monitor arm has enough vertical range to accommodate both sitting and standing positions.
- Distance from Eyes: Position the monitor at least an arm's length away from your eyes. If you have a curved monitor, this distance might vary slightly based on the curvature.
- Tilt and Swivel: Adjust the tilt and swivel to reduce glare and achieve the most comfortable viewing angle. Most arms offer a wide range of motion, allowing you to tilt the monitor up and down or swivel it left and right.
- Lock the Position: Some monitor arms come with locking mechanisms to ensure the monitor stays in the set position. Once you’re happy with the position, lock the arm in place to avoid accidental movement.
Step 7: Manage the Cables
One of the major benefits of using a monitor arm is better cable management. Most monitor arms come with built-in cable clips or channels to keep cables tidy and off your desk.
- Route the Cables: Use the arm’s cable management system to route your monitor’s power and display cables along the arm. Keep them neatly tucked away to avoid cluttering your desk.
- Secure the Cables: If the monitor arm doesn’t have a built-in cable management system, you can use zip ties or Velcro straps to bundle the cables and attach them to the arm. Avoid pulling cables too tight as this may cause wear or damage over time.
- Plug in Your Monitor: Once the cables are secured, plug them into your power source, computer, or docking station. Double-check that the cables have enough slack to accommodate movement of the monitor arm.
Step 8: Test the Setup
Now that everything is in place, test your monitor arm to ensure it functions correctly. Adjust the arm to various positions and heights to check its stability and range of motion.
- Ensure that the monitor remains stable when moving the arm.
- Test the tension to ensure the monitor stays in place at various angles.
- Check the cable management to make sure that nothing is tugging or in danger of getting damaged.
Safety Precautions
- Weight Check: Make sure your monitor arm can support the weight of your monitor. Failure to do so could result in damage to both the arm and your screen.
- Even Surface: Ensure your desk surface is even and flat before installing the mount. Uneven surfaces may cause the clamp to loosen over time.
- Tighten the Screws: Periodically check the screws and bolts of your monitor arm to ensure they haven’t loosened, especially if you adjust your monitor frequently.
Addressing Common Questions About Monitor Arms for Thick Desks
Can a monitor arm support a curved monitor?
Yes, many monitor arms are designed to support curved monitors, but you’ll need to check the weight and VESA compatibility. Curved monitors are often heavier than standard flat monitors, so ensure the arm you select can handle the extra weight.
How do I choose the right arm length?
Choosing the right arm length depends on how far you need the monitor to extend. For example, if you’re working with a multi-monitor setup, longer arms may be necessary to position the screens comfortably. You’ll also want to ensure the arm can retract far enough when not in use.
Is it difficult to install a monitor arm on a thick desk?
No, it’s not difficult, but it does require choosing a monitor arm that’s compatible with your desk’s thickness. Most monitor arms come with adjustable clamps that can fit desks up to 3 inches thick. For thicker desks, you may need to look for arms specifically designed for heavier-duty setups or opt for a grommet mount installation.
Can I use a monitor arm with a standing desk?
Yes, you can use a monitor arm with a standing desk. In fact, pairing a monitor arm with a standing desk allows for even more ergonomic flexibility. Ensure the monitor arm has enough height adjustment range to accommodate both sitting and standing positions.
Conclusion
Selecting the right monitor arm for thick desks involves understanding your workspace needs, the type of desk you have, and the features that will best support your work style. By considering factors such as weight capacity, height adjustment, and compatibility with desk thickness, you can create a more efficient, ergonomic, and clutter-free workspace.
If you're looking to upgrade your entire desk setup, check out some related articles on desk accessories, setups, and monitor sizes:
With the right monitor arm, your thick desk will be transformed into a more functional and comfortable workspace!


Stay connected with us!
Subscribe to our weekly updates to stay in the loop about our latest innovations and community news!
Interested in a Link Placement?